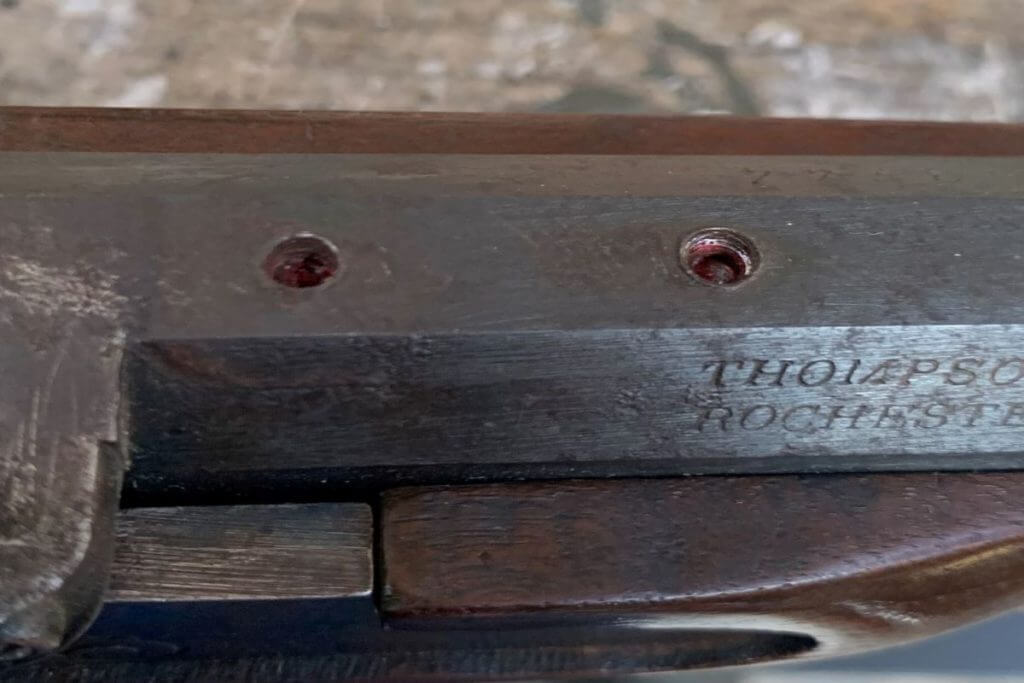
I do some gunsmithing work in a local gun shop. Recently, a gentleman came in with a .50 caliber muzzleloader. He wanted to mount a scope on it and get it put back into working order otherwise. Initially, this seemed to be a pretty straight forward job. It was already drilled and tapped for a scope mount and appeared to just be missing the cap nipple. However, as I got started it was apparent that this was a much larger task than simply mounting a scope.
When the rifle arrived there were plug screws in the scope mount screw holes. As I attempted to remove them, I discovered something wasn’t right. These plug screws had been placed loose into thread locking compound, rather than being actually screwed into the holes. Further inspection revealed why. The holes were completely ruined. All of the holes were “egged” out and the threads were stripped.
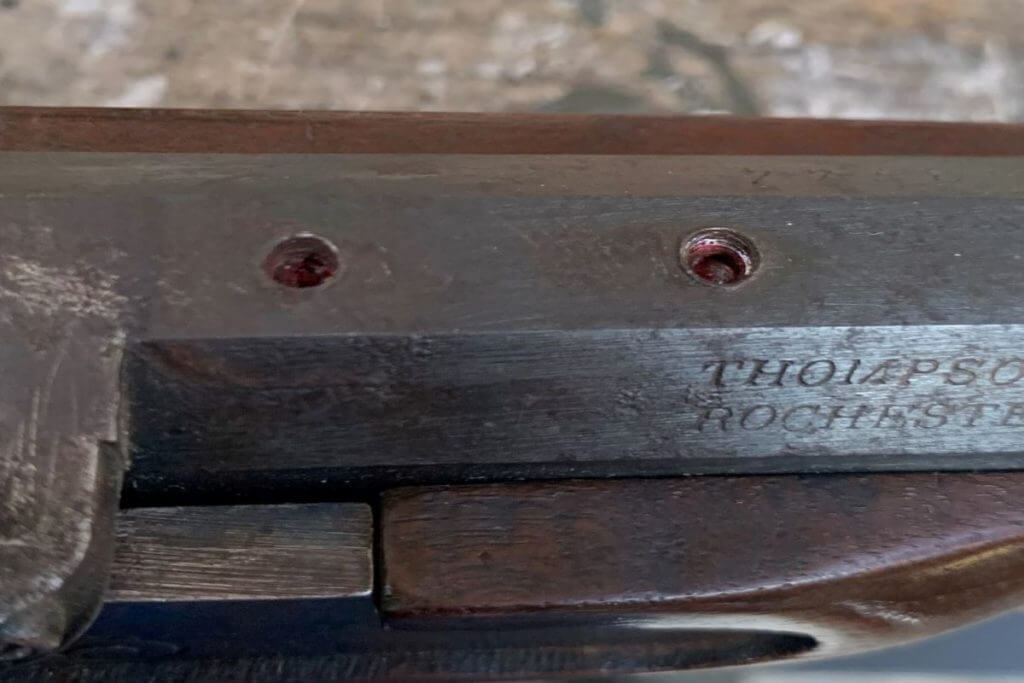
This is not an uncommon problem in hunting rifles in general. Somewhere along the line, someone who doesn’t know how, attempts to mount a scope on a rifle and damages the holes in the process. If you’re a hobby gunsmith, you are reasonably likely to run into a project of this type. So I thought I would describe a way to deal with such a situation.
Once I had determined that the holes were completely unusable, the next thing was to figure out what size thread to open it up to. This isn’t as simple as it might seem. The tap drill needs to completely clean up the holes. But you also don’t want to go up too many sizes, or you won’t be able to get enough threads in the holes. Bigger diameter threads have coarser thread pitches-in standard sizes at least. If you’re really desperate you could custom make screws (if you have that capability), but this is a fair amount of additional work. At any rate, you need to spend some time looking at a thread size chart checking out the major and minor diameters of perspective threads to pick the best one for the size of your holes.
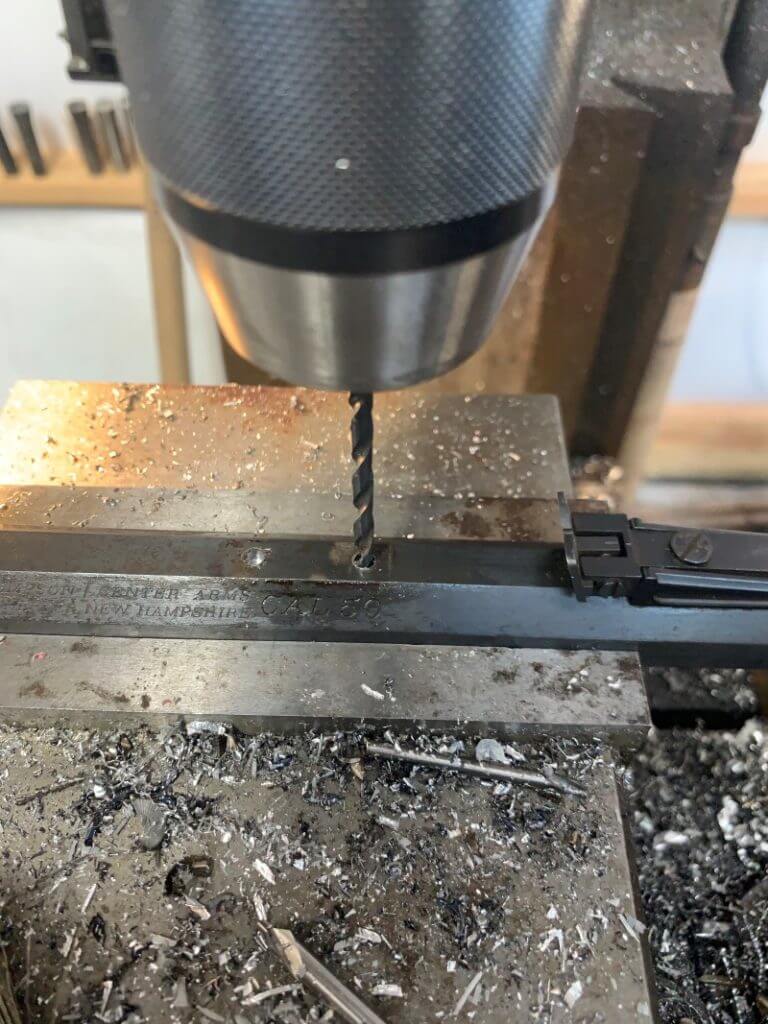
Once you have your thread size picked out, it’s time to machine the old holes. Everything needs to be lined up properly. The action needs to be level. The holes need to be straight and properly located or you will have problems with your scope mount when you get to that point. The good news is that your drill will want to follow the existing hole, which will help some. I was going to try to go to an 8-40 thread but the holes didn’t clean up, so I had to go with 10-32. The holes I was dealing with here were blind holes (meaning that they don’t go all the way through), so I really had to watch my depth when re-drilling them with the tap drill. I didn’t want to go any deeper than they already were for risk of breaking through into the barrel.
After each hole was re-drilled, I chamfered each hole to help the tap get started. I drilled and chamfered all of the holes, one at a time. Then I tapped each hole by hand. It’s very important to get the tap started straight, as there isn’t very much room for error here. So take your time and be careful. You also REALLY don’t want to break a tap off in the hole. It’s really easy to do so by hitting the bottom of the hole with the tap. Go in a little, back off, and go in a little more. I did this until I felt the tap touch the bottom of the hole.
At this point, I need to explain a few things regarding taps. Taps come in different shapes and types. For a blind hole like this one, I needed to use a bottoming tap. Bottoming taps are specifically for cutting threads as close as possible to the bottom of a blind hole. Bottoming taps can be tricky to start, so I use a taper tap to start threading. Then I use the bottoming tap to finish. There is a whole crapload of different types of taps, but these two are what’s best suited for this task.
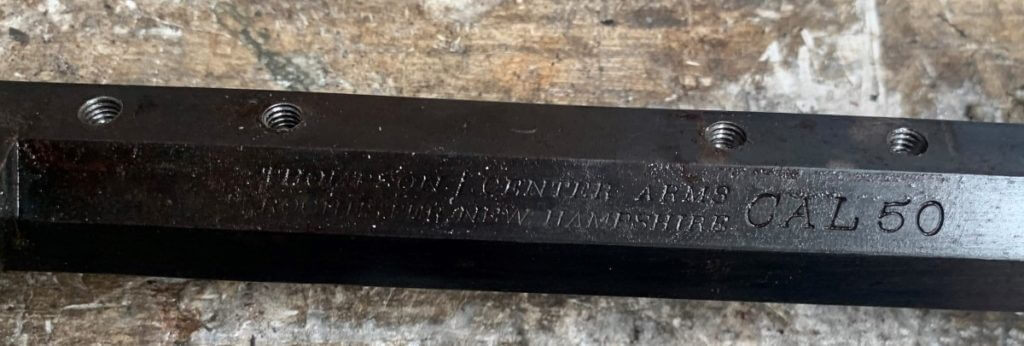
At this point, I needed to get some screws to attach the scope mount. 10-32 screws are longer than what I needed to have to mount the scope bases, even in the shortest length I could find locally. In this state, the screw bottoms out in the hole before the base is tightened down. So I needed to shorten the screws to get them to work. I find that occasionally I need to shorten screws for a project. It’s a little more complicated than just cutting the end off with a hacksaw. So I’m going to describe how I do it, as I think it’s a really handy skill to have.
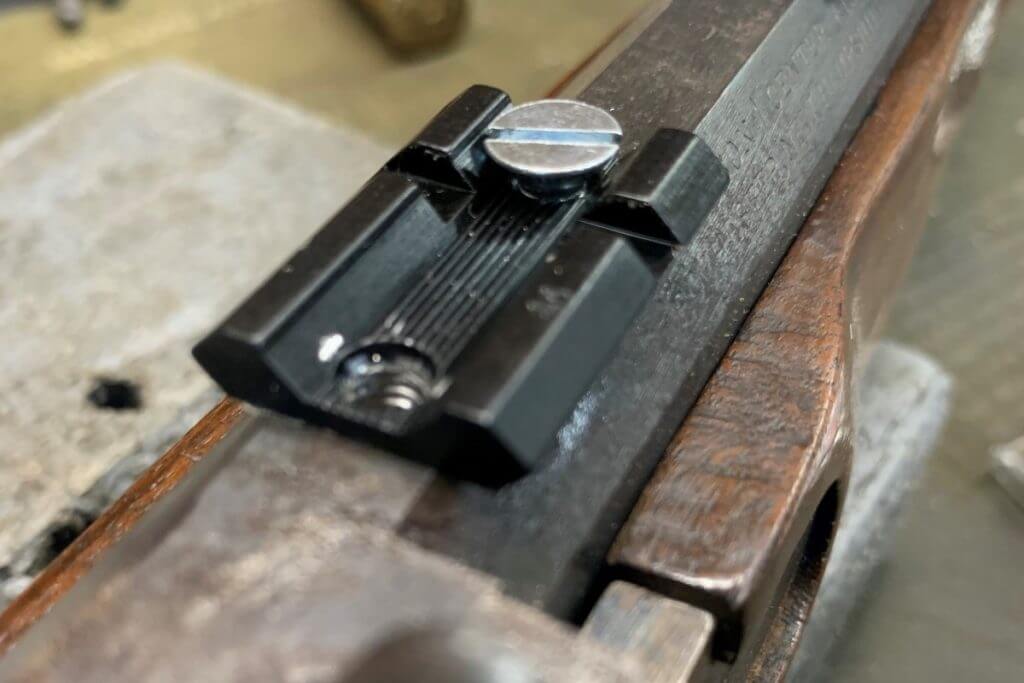
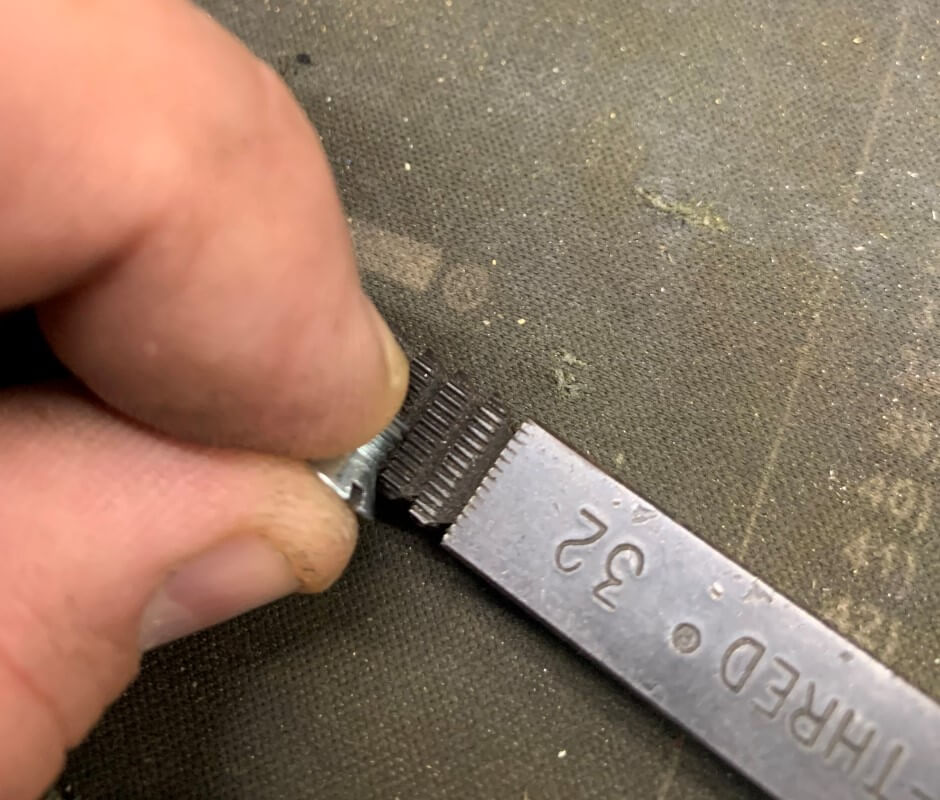
I start by putting the screw into the hole, screwing it down to the bottom but not tightening it. The idea here is to get a rough idea as to how much material I need to remove from the screw. If it’s a lot, then I cut most of it off with a hacksaw. If it’s a moderate amount, I use a belt sander or a grinder to remove most of it. The idea in both cases here is to leave some material for final fitting. I use a file to put something of a taper on the end of the screw. This is to help the screw get started in the hole. I find it very difficult to use a belt sander or grinder to put a taper on those little screws, which is why I use a file. Then I use a thread repair file to clean the threads up. It seems like there’s almost always a bur or damaged thread from shortening the screw. A thread repair file cleans this up to make sure you have nice threads on the end of the screw. I use a flat file (it really doesn’t matter exactly what type of file, so long as it has a flat side) to get the length just right. There is a bit of back and forth with the thread file and the flat file as you get the length right and clean the threads up from that work. To check my work, I took the scope base and installed one screw. Tightening that screw will snug up the whole base if the screw is the right length. Then I remove that screw and try another, and so on until I have verified that all of the screws will tighten up properly.
I didn’t have a one piece base for this project, but I did have pieces of two piece mounts. The two holes lined up with 2 different pieces. But at this point, I had a few problems. The 2 mount pieces were different heights, which obviously wouldn’t work. And the existing countersinks were too small to accommodate the new, larger screws.
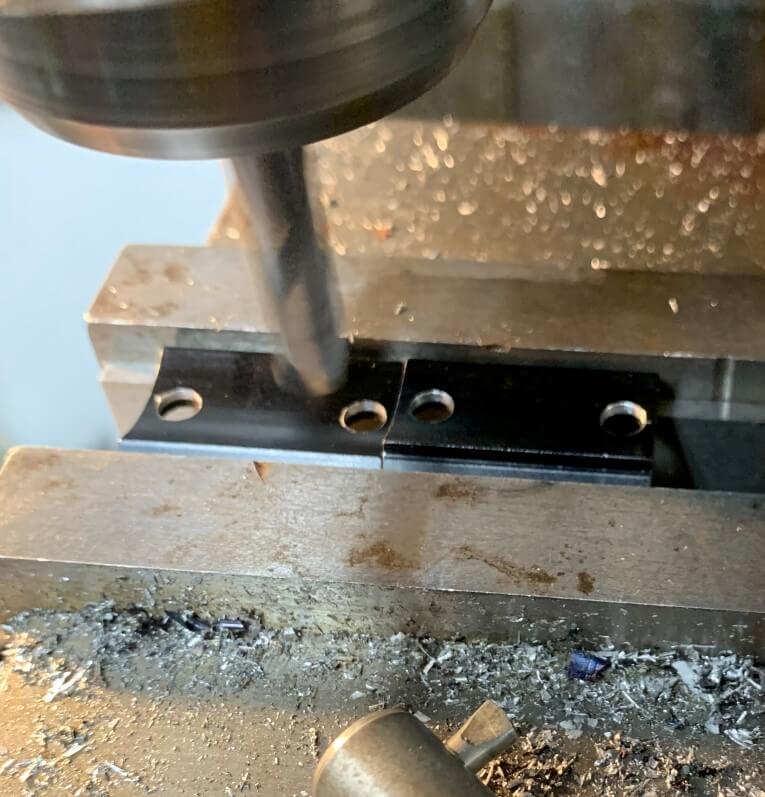
First, I put the scope mounts in the mill and machined them to the same height. It’s absolutely critical that the angled surfaces on the sides line up evenly. I milled off material from the bottom of the thicker base until they were the same height. Then I went on to the countersinks. I flipped them over and used a countersink to enlarge the existing countersinks. This was necessary to allow the screws to sit low enough to clear the scope rings when mounted. Obviously, a fairly high set of rings would be needed to allow the scope to clear the hammer. Fortunately, I had a set of “see through” rings that did the job wonderfully.

While some may wonder why bother to put a scope on a muzzleloader, the techniques used for this project are applicable to a lot of other firearms. There are lots of rifles out there with “buggered-up” scope mount holes. Likewise, there are also a lot of rifles out there that may require a custom scope mount for whatever reason. Until next time, Happy ‘Smithing!

Mr. Mace, are you accepting new work?
For a common size thread like 10-32 why not use electrician wire strippers that have screw ‘cutters’ and then just touch up the starting threads with a file? Thanks for the article. D.
a) Dremel cut-off disc is great for trimming small machine screws to length.
b) Champfer the end while cleaning up cut to make it easier to start in threaded hole.
c) Note there are finer-than-normal threads available that are special-order standards. I’ve used #8-36, for example, with tap and screws delivered to the shop.
I would like to see a follow-up article discussing filling old screw-holes in a tidy manner, and refinishing concerns.
The customer of this particular job was trying to have the rifle back while hunting season was still going, so I didn’t want to have to order in hardware or tooling-especially given the likelihood of delays in shipping(which seem to happen to me quite regularly as of late).
I do put a small chamfer on the screw ends. But I usually need to clean up the “teeth” a little bit anyway.
Since there appears to be some interest, I will definitely write a future article on filling in unwanted screw holes. While I don’t presently have something to work on in this manner, I’m sure I will encounter such a project at some point.
I do have some other interesting projects coming up (whenever I can get the tooling in hand), so “stay tuned”!
Good job! I would have opted to use a metric threads and screws. Metric threads are a finer pitch, so you end up with more thread engagement.
Would welding the holes with a filler rod and redrilling and tapping be a better option?
The problem with welding up the holes in this case, is that they were in the barrel. When you weld something, the bead contracts as it cools. Take a thin piece of steel and put a couple beads on one side, and it’ll warp it. In this case, that bit shrinkage isn’t going to flat out warp the barrel, but it will introduce a lot of internal stress into it. Even in re-drilling and tapping that stress will remain there. Not ideal by any means for this particular job, though in some other cases it might just be the ticket if you can keep the heat affected zone to a minimum.
Excellent repair. You also did a good job explaining the details in your write up. With the equipment you had on hand, did you consider relocating the holes by drilling new ones in the original size? Admittedly, that may not be possible on all types of receivers, but might have been less work on the nice flats of that muzzle loader barrel. Relocating the holes as much as 1/2 inch in either direction (toward or away from the muzzle) would still leave enough adjustment for eye relief by sliding the scope in the rings. Thanks!
While I could’ve done that, it would’ve been more work to do it right because then I also would have needed to “fill” in the old holes, and make the repair presentable.
Can/would a diamond encrusted tile saw or jig saw work on those itty bitty, teenie-tiny, imaginary, non-existent threads?
I have never tried that approach. For a screw that isn’t going to take very much torque, you might be able to get away with it. You would be changing the actual thread geometry, so you would likely lose some strength-which is important for a scope mount screw. I have used a small triangular file before, but it would be tricky to do on small, fine threads.
Thread repair files aren’t particularly expensive-especially considering each individual file can repair a number of threads if you don’t want a whole set. And these have the correct thread form made into the teeth.