If you didn’t just start carrying a handgun recently, and have been doing so for a while, you probably have noticed that carrying a particular pistol every day can be hard on it. Everyday carry pistols get worn on the finish, dirt in the internals, sweat, pocket lint, you name it. Depending upon your particular practice routine, they may also be fired quite regularly and have internal wear as well-which is accelerated by the aforementioned crud that gets inside them. A lot of handguns that are carried daily emit a plume of lint and dust when the first round is fired out of them on the range, from all of the crud they collect. Most people I know end up replacing their daily carry piece every few years-usually when something they like better comes along. And that’s probably just as well, given how hard daily carry can be on a firearm. But it doesn’t have to be like that if you really like what you have.
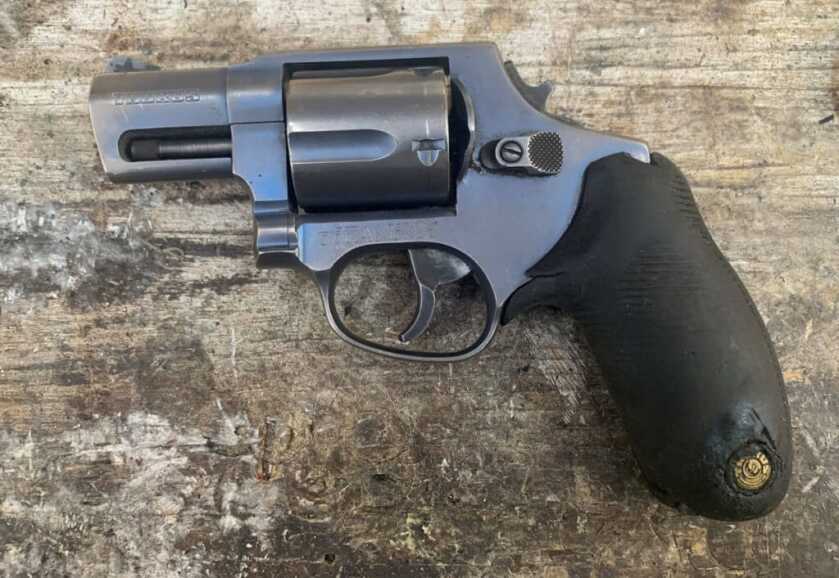
The subject of today’s article is a former everyday carry piece of mine. It’s a Taurus 445ti revolver, chambered in .44 Special. It was my everyday carry for several years. It had some fairly significant finish wear as a result. The original rubber grip really needed to be replaced. It had worn down considerably, and the rubber itself had degraded significantly. It also needed the internals cleaned out, as carry pistols tend to accumulate dirt and crud inside (or at least mine always do). I also wanted to do something to improve the front sight. But this particular revolver has a ported barrel, so unfortunately I couldn’t come up with a good option for improving the front sight because the ports are right at the front sight and would likely damage a sight insert (to that end, if someone reading this has any suggestions, I’d love to hear them). In spite of this, it is still in very good shape mechanically speaking. It locks uptight and is still properly timed, so I didn’t need to do any major internal work. The reasons it appealed to me years ago, still do. And so, I decided to refurbish it.
At one point I took it to a local gunsmith where I lived at the time to see about modifying the hammer. I wanted him to modify the hammer to make the pistol a bit more user friendly for carry. Specifically, I wanted to have the hammer shortened, and then the stub built up. Basically, I was trying to mimic the “pocket hammer” that was on some of the older Charter Arms .44 Special revolvers from a few decades ago. I guess I didn’t make my request clear enough as this gentleman simply bobbed the hammer, and serrated the small stub he’d left. Unfortunately, this didn’t give me enough leverage to cock the hammer for single-action, which was a capability I really wanted to retain. At the time I didn’t have the skills or equipment to do this job myself. Every time I looked at the hammer, it irked me. So when the grips started showing real wear, I set this revolver in the back of the safe. As part of this project, I am going to rework the hammer to what I had originally envisioned.
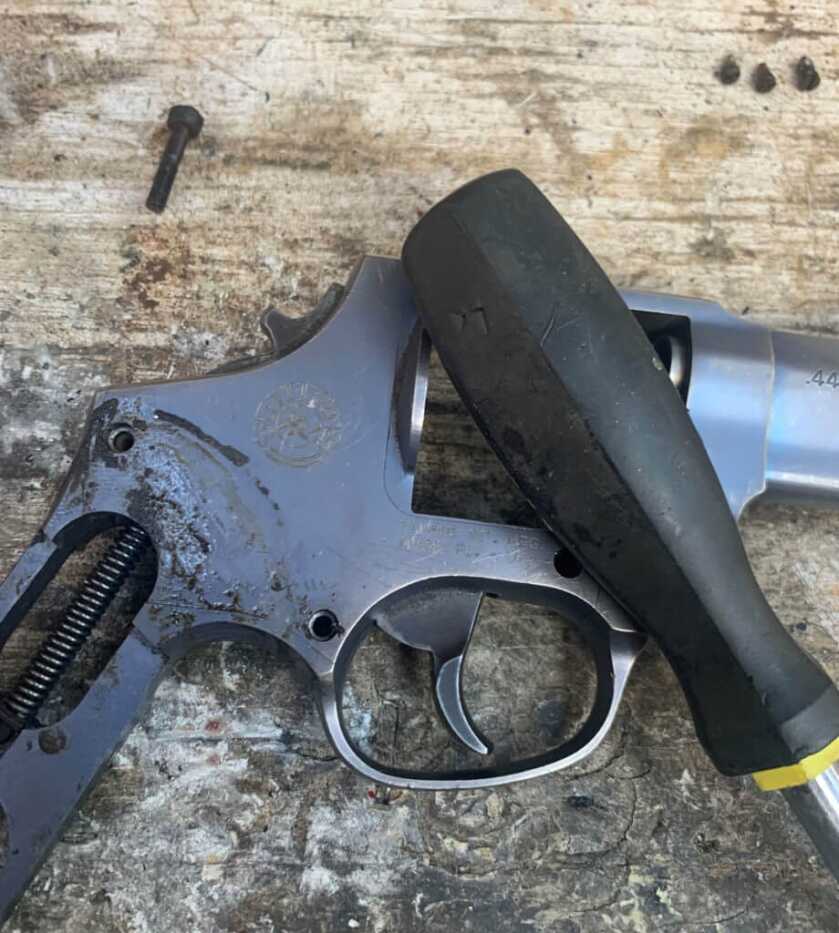
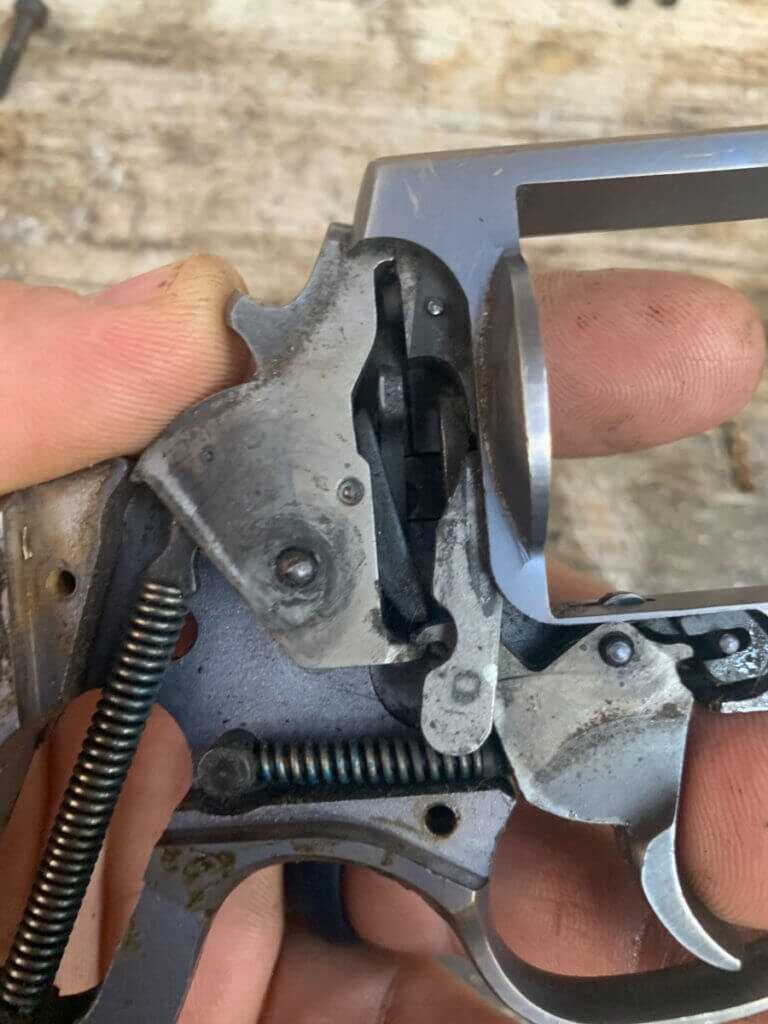
The first step was to disassemble the revolver. If you’ve never worked on a revolver, it is a bit intimidating. But they’re really not that complicated if you understand how the particular model functions. Most Taurus revolvers are similar in operation to Smith and Wesson revolvers. The grip and screw were the first parts to remove. After that, I removed the sideplate. Removing the sideplate has a few considerations of its own. First, keep track of which sideplate screws came from which hole, as they are not all the same. Then to actually remove the sideplate, tap the frame with a screwdriver handle. A couple of raps and the plate will pop out. Do not try to pry the sideplate out; you WILL damage it. I went further with disassembly than what’s normally necessary because I wanted to refinish it. With everything operating how it should, and the fact that this particular revolver isn’t that old relatively speaking, I didn’t replace any of the internal parts or springs. I didn’t feel it was necessary in this case. If you are working on something older or with more wear, I would go ahead and replace the springs while you have everything apart anyway. Once it was disassembled, I proceeded to give everything a good cleaning.
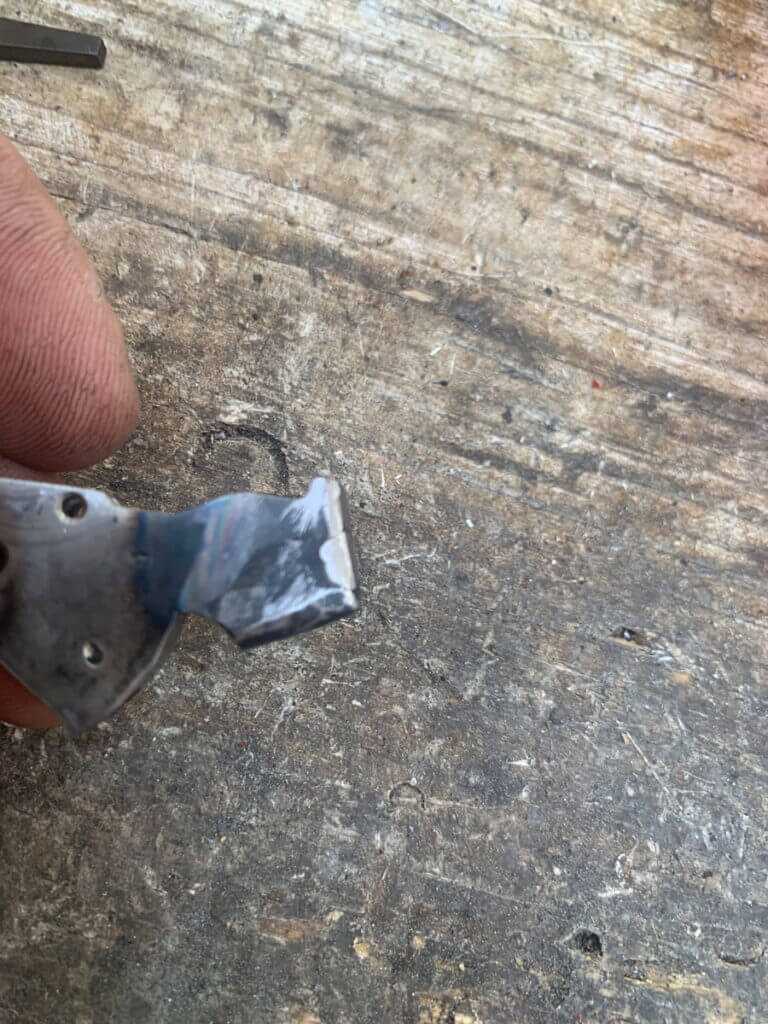
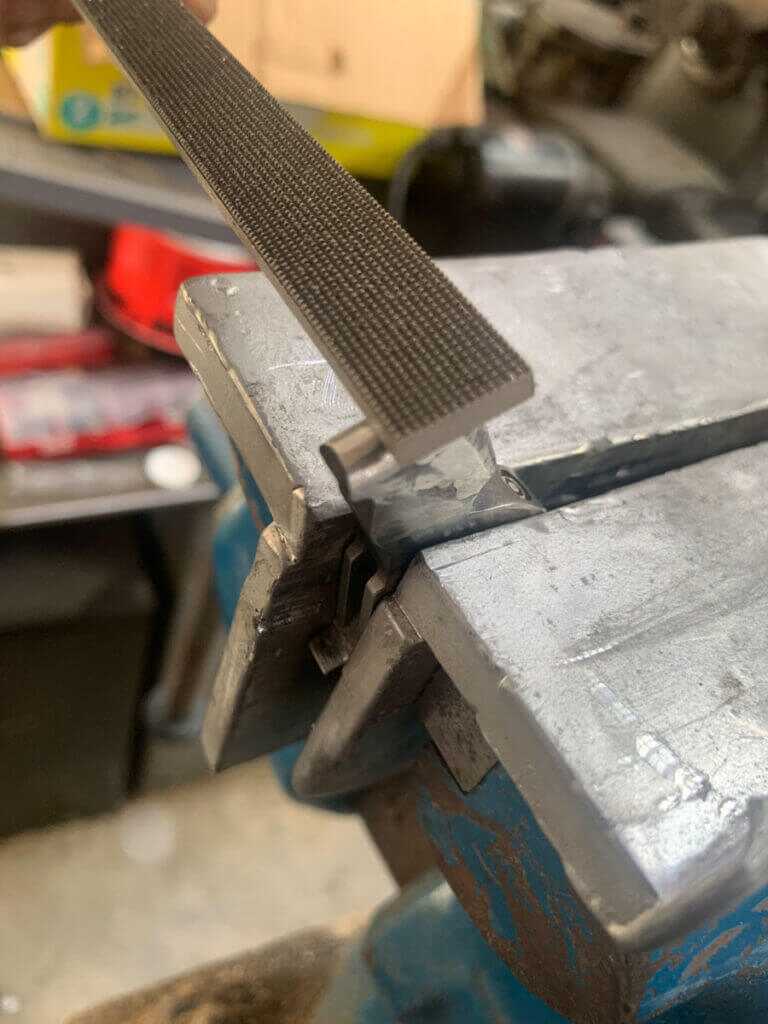
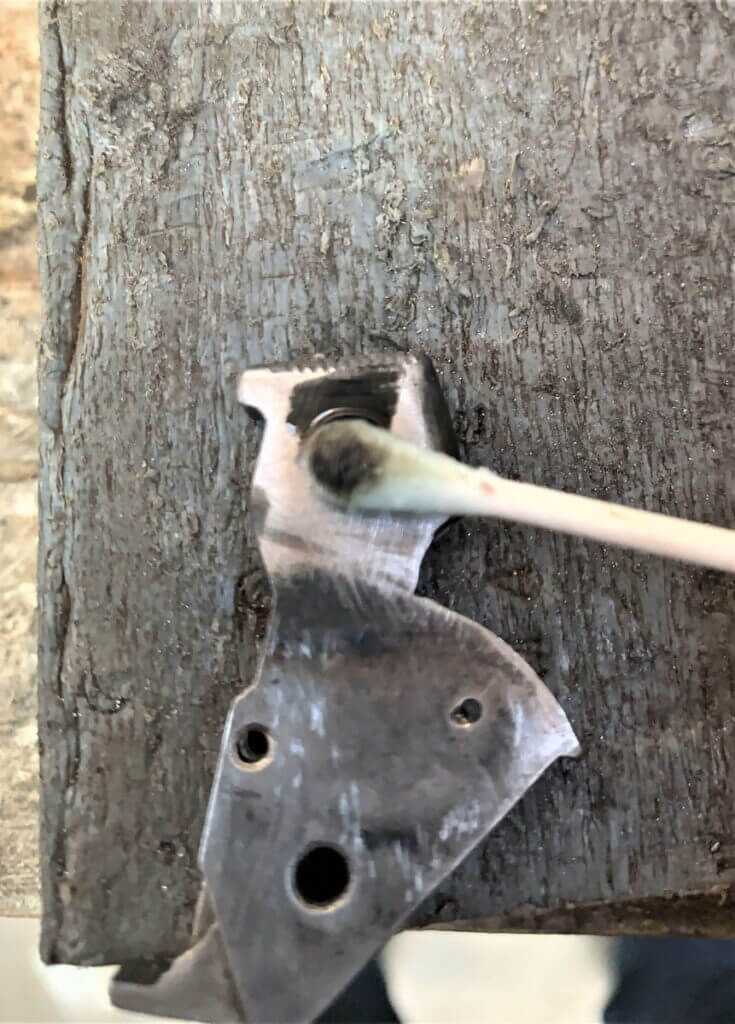
As I mentioned, I wanted to reconfigure the hammer to be more to my liking. I wanted a hammer that was not prone to snagging like a regular spur hammer because this is a carry piece. But I also wanted to have single-action capability for the same reason. As I mentioned earlier, my inspiration came from the “pocket hammers” Charter Arms put on some of their revolvers at one point. The modification done previously didn’t allow for enough leverage to cock the hammer. So I needed to build up the hammer spur in order to get that leverage. I TIG welded the hammer to accomplish this task. But obviously, the hammer is a heat-treated part. So it was necessary to control where the heat was allowed to go. I used heat stop paste from Brownells to assist with this task. I applied it liberally around the surfaces that contact the fire control components. I basically welded in layers, allowing the part to cool between them. This also helped in keeping the heat out from where I didn’t want it. Once the hammer had enough material added, it was time to file it into the final shape and size. Then, I used a checkering file to serrate the hammer both for a better gripping surface and general aesthetics. Lastly, I used cold blue to put a finish on the freshly welded metal.
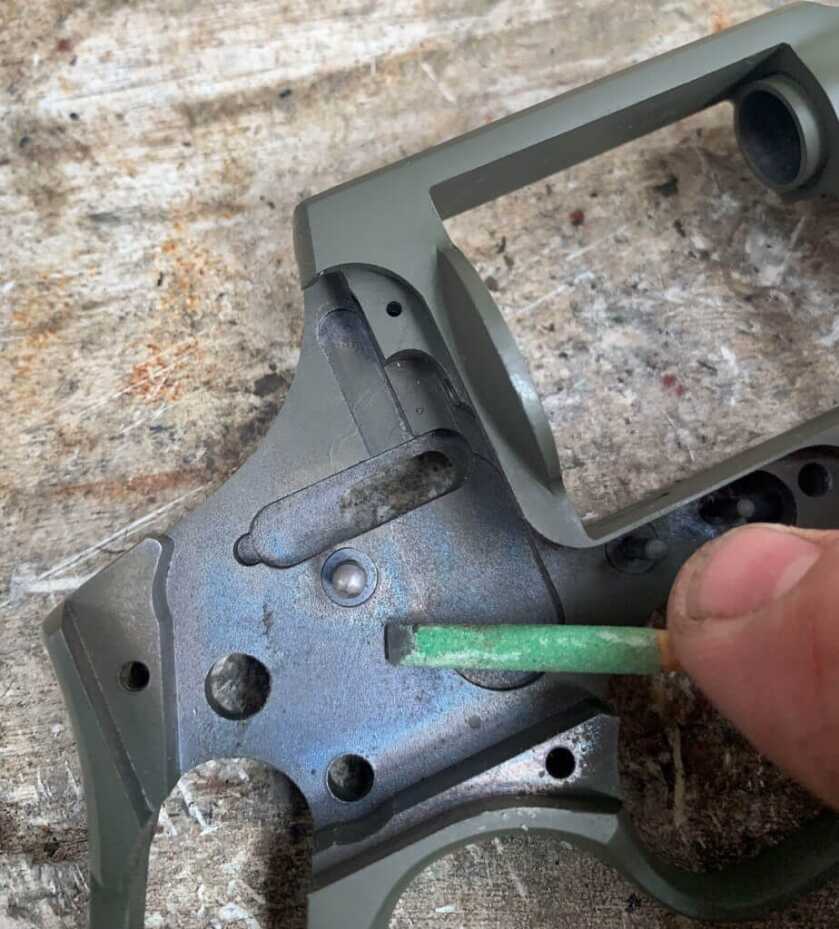
While I had everything apart, I figured I’d go ahead and clean up the trigger a little. There is a commonly held opinion that trigger work could potentially result in legal trouble if it were used in a defensive shooting. I’m not one to argue such things, as I really would rather not be a test case, so I don’t consider major trigger work on “duty weapons”. So this being something I will probably carry again, all I really wanted to do here is to remove a few rough edges or burrs to smooth things up a little. I used stones and other abrasives to polish out machining marks and other roughness on the interior surfaces of the frame where the various fire control parts function. In all reality, this would happen naturally through wear to some degree just by the action being cycled. This work I did just accelerated the process by manually “wearing” these surfaces smooth. At any rate, this sort of work does smooth out the trigger pull rather nicely. Really, a lot of internal revolver work involves this concept.
Since this revolver had some finish wear from years of daily carry, I decided to refinish it. Because of the titanium frame and components, regular bluing was out as was parkerizing. So I really felt like the only options were more modern spray-on finishes. I used Alumahyde from Brownells for this purpose, since I had some on hand. This actual process I will describe in a future article. However, I should go over a couple of considerations for refinishing this particular firearm. Since this is a double-action revolver, care should be taken not to rough up the internal surfaces. Those surfaces need to be smooth to have a decent trigger pull. Part of the prep work for applying this, or most other modern spray on finishes, involves sandblasting the metal surfaces to allow the finish to adhere. Obviously, this would indeed rough up those critical surfaces. You also really want to take care with a number of surfaces of a revolver if you’re going to refinish it with these types of finish, such as the portion of the crane the cylinder actually rotates on, the ejector rod, the inside of the frame, etc. So while you absolutely can refinish a revolver with these types of finishes, some thought and care is required if you want good results.
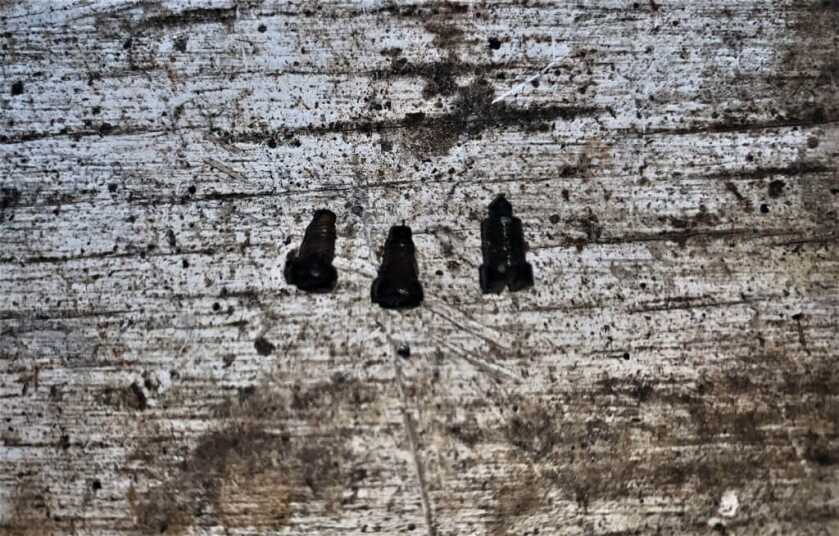
After the parts were refinished, I reassembled them. Obviously, this is basically done in the reverse order of disassembly. Just like when you took it off, exercise some care putting the sideplate back on. With revolver internals not typically accessible during routine cleaning, it’s a good idea to lubricate them while you have everything disassembled anyway. I usually don’t get too far down the rabbit hole that is firearm lubricants, but this time I’ll recommend something specific. I really like Froglube for lubricating revolver internals. Unlike oils and solvents, it stays where you put it and doesn’t dry up; two excellent qualities for this particular task. I’ve had very good luck with it in revolvers. However, you definitely want to apply it sparingly due to all of the crud and dirt that gets into carry revolvers as I mentioned earlier. And to finish it off, the last thing I did was install the new grip. I chose a rubber grip from Hogue. I feel as though a nice cushioned rubber grip helps keep this revolver comfortable enough to shoot regularly.
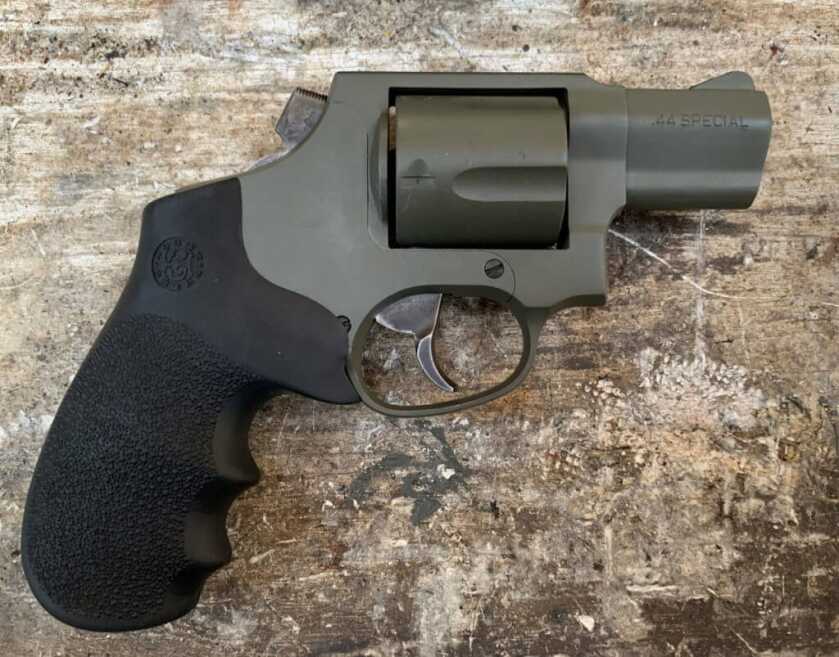
Sometimes all it takes is a little tune-up, and it’s like you have a whole new firearm. I took a revolver languishing in the back of the safe with some wear and quirks and reworked it into something a lot more to my liking. If you have a daily carry piece, I would recommend that you detail disassemble it, clean it out, and replace springs at regular intervals to keep it in the best shape possible. An occasional refinishing when it needs it isn’t a bad idea either. You are trusting your life with it after all. Of course, these techniques will be also applicable to a variety of other firearms that might not be daily carry pistols. Until next time, Happy ‘Smithing!

Your photos of the frame grip area don’t show the bottom area, so I don’t know if this will work for you. For Charter Arms and S&W J frames, I cut the grips (three finger groove type like you show) at or just below the frame bottom. This leaves two fingers for grip, with the little finger curled under the bottom. Recoil control on .38 and .44 spl snubbies is just as good as with 3 fingers, but concealment is very much enhanced. These lightweight snubbies must have the backstrap covered with soft rubber to allow enough practice to maintain your skills. The trigger face should be smooth, not serrated, for precise DA shooting. I also put a small bevel on the front and rear edge of the cylinder, so it doesn’t chew up the holster. (some of them are near sharp enough to shave with) Mount it on a drill press or drill motor mounted in a vise, and use a Fordom or Dremel to grind the bevel. 0.030″ wide, @45 degrees seems to work well, and is what S&W does when they bother.
Polish any internal frame surface and component rubbing surface for best trigger feel. Avoid doing the actual sear engagement surfaces, as often this gets done too enthusiastically, and leads to problems. You don’t want to change dimensions, just make parts more slippery.
You did a nicer job than Charter Arms did on my 44. Bulldog Pug I wanted it cleaned reshape the front barrel (worn off). A little rust removal and re-bluing. When I picked it up they replaced the barrel with a bluing on it and painted the frame and cylinder! After carrying it for a week or so the extractor rod started to come apart and I was unable to unload It. Had to take it back. They wrecked my Bulldog. Your hammer looks just like my hammer. Nice job!
Fantastic refurb! Looks like a custom shop job. I used to hsndload 44spl and someday I may get another jovino model 24 and do it again
Try brazing a brass bead in the front sight. Drill a hole of your size preference in the front sight and fill with brass. Durable, visible and old school.
That’s a marvelous idea. Thank you very much!
The nice, functional hammer Charter Arms put on their .44 Bulldog, in the 1990’s, can be seen in Fitsgerald!s book Shooting published in 1930!!
Nice job on your revolver. I’ve carried mine for 35 years and mine could use a clean up as well.
Nice Pocket Gun, or a nice homemade holster for the small of your back as I use most of the time. I have a suggestion on the front sight, and I think you have 3 or 5 small ports on each side of the sight. First, you might try some heavy white paper held on the sides of the sight to see how much blast you are getting. It may not be enough to damage the type of sight you are looking to install. If you have to protect the sight you want to install you may be able to build small blast shields that angle up from the base of the sight to redirect the blast. You might even be able to mill the existing ports a little to get the blast to go outward more. With the work you did on the hammer you will figure it out.
A few years back I went back to revolvers as I just did not clean my mini semi auto pockets or DCC firearms often enough to stay 99.99% reliable. I chopped some of my Hammers, but I went totally flush, and when I want a SA trigger I simply pull the trigger part-way back, hook my thumb over the hammer and pull it into single action. No it is not crazy as the gun will not discharge should the hammer slip as the trigger ain’t pulled back far enough. If I want to decock I just put my finger over the hammer and pull the trigger, and then release the trigger after I let the hammer return home. I figure it is good enough for 99.99% of the times I want a SA pull.
Thanks for the write up and a lot of good old common sense info that we all need to practice with our DCC firearms. I like your T 44, but I am sticking with my 357. I had a T 357 7 shot 2″ ported that was oh so nice, but it was just to fat for my DCC. I run mini Ploy Taurus, Charter, and Ruger wheelguns now-a-days. Some say I don’t have enough rounds with only 5 chambers, but the old saying is if you hit em once with a 45, 44, 40 (yes 40 Charter), or a 357 you only have to shot em once, and move one to next one. Thanks Dave
I’m definitely getting some blast on the sight from the ports. I typically end up with decent lead deposits on the front sight if I shoot lead bullets. If I don’t come up with anything else satisfactory, I may try modifying the ports.
Nice job on the revolver! I should have thought though “while you were at it”, you should have done a trigger job on and maybe put some race springs in it to help it double action mode! I have only worked on one pistol myself, I have a S&W 340 SC double action only and I wanted to improve the pull. I got a Wilson Combat spring kit and popped those in and boy, did it make a big difference shooting that revolver! I have been carrying it for well over 10 years now and the finish is starting to get beat! Something about the scandium frame being so hard that finishes don’t want to stay on it. I have to do some research to see what my options are for refinishing. Thanks for the good article!
Really great article! Super interesting and well written! Would love to get a nice revolver to carry aswell but I want one with a 3 incg barrel. Jusy revolver prices have gotten ridiculous. Really wish Taurus would let Rossi put Revolvers out again. I liked their look and LOVED their smooth action!
Nice work. Came out great. I have a Taurus 431 in .44 Spl. Giving me some good ideas.
Thanks, it was a good read. Nice work on the hammer. Go Army!
My friends son is an armorer and gunsmith for the FBI. The #1 problem with 99.9% of the carry firearms is lint, and it packs in everywhere.
Excellent article. Thanks for taking the time to do it.
Well done, the difference is night & day. I was impressed with your DIY hammer work. Using TIG welding was a great idea, I would have only thought to buy and modify a new hammer.