Once you have completed assembling and test firing your first homebuild, you’re often left with a little bit of a dilemma. With a lot of builds, you’re left with the whole firearm with exposed bare steel or at least bare in places. Obviously leaving it in this state is inviting the rust monster to inflict disastrous results upon your neat new build. Most of us have seen enough rough bad spray paint jobs on guns to have a little bit of an aversion to going that route. The more traditional hot bluing is pretty equipment intensive (needing several tanks), so for a lot of builders, it’s not really an option. There are a variety of spray-on finishes out there, but that may not be what you’d like for your particular build. Fortunately, there is another home-builder friendly option out there: Parkerizing.
Parkerizing, sometimes referred to as phosphating, is a finishing process that has been with us quite a while. It was first really seen on US WWII firearms. It has been commonplace on firearms since that point. That dull, dark grey finish on your AR15 barrel or 1911 slide is parkerizing. Even if you don’t have one of those, there’s a pretty good chance you own a firearm with at least a portion of it that has a parkerized finish. The purpose of a parkerizing is to provide a protective finish on steel parts. Compared to bluing, it has a rougher finish, which helps hold oil on the metal. It is a very durable finish as well.
However, it does have its limitations. Parkerizing only works on carbon steel parts. Stainless steel parts will not take a parkerized finish. It does not work on aluminum parts either. In addition, the rough surface finish of parkerizing is not suitable for some parts such as some magazines that need a smooth interior (remember the Military Beretta M9 mags from the late 90’s-early 2000s? That’s why they didn’t work so well in the desert). It’s also probably not the best finish for revolver internals for the same reason. Not that it stopped the US Government from doing just that with issue revolvers in WWII. Welds oftentimes will not turn out the same color as the rest of your part. So you might consider another finish for those kinds of builds or parts of builds.
There are some things you should be aware of if you intend to do some parkerizing. The process of parkerizing steel parts gives off hydrogen gas as a byproduct, so there are some safety considerations when finishing parts in this manner. You definitely don’t want to do this in a spot without any ventilation for safety reasons. You are going to be working with various liquids near the boiling point, so some care is required. And of course, you should take a look at the safety portion of the instructions for your parkerizing solution because these solutions are forms of acid, after all.
One of the main attractions of parkerizing for home builders is that you really don’t need a lot of equipment; especially compared to other finishing processes. You need a stainless steel container big enough to hold the parts you intend to parkerize, a heat source, some means to sandblast your parts, some means to degrease your parts, some sort of oil as a post-treatment protective, and the parkerizing solution itself. That might sound like a lot just looking at it. But a lot of it is stuff you likely already have or can acquire locally for fairly cheap. If you’re only intending on doing one or two firearms, it’s probably best to farm this work out, unless you just want to do it yourself. But if you’re into homebuilding, you likely have several “projects” that need some kind of finish. At that point, it’s definitely worth it to do it yourself.
Suitable tanks for parkerizing are not too hard to obtain for a lot of projects. The only 2 requirements are that they’re made of stainless steel and that they’re large enough to hold what you’re wanting to parkerize. If you want to refinish a handgun, for example, you can literally just use a small stainless pot. I bought some stainless trays from a restaurant supply store to do some larger parts, though this is still too small for longer barrels or barreled actions (hey, I’m still working on my equipment just like a lot of you). Whatever you use, you need to dedicate it to this process. Don’t think you’ll be able to “borrow” a pot from your wife and return it when you’re done! Just to show how simple your parkerizing tank can be, I did a batch of parts in a small stainless steel pot; the sort of thing you could find at your grocery store.
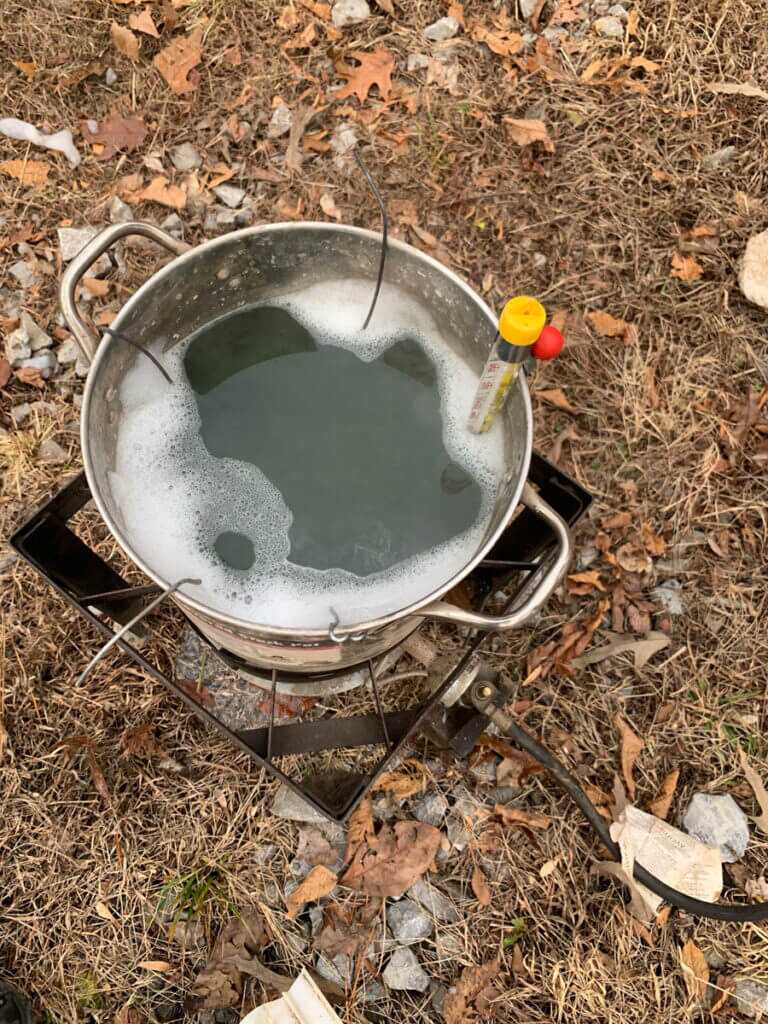
Much like the tank, you can use almost any kind of heat source. If you want to get wartime serious about parkerizing a bunch of parts, you can buy complete setups from various sources for this purpose. There are plans floating around the internet on how to make complete heating setups as well. However, this is probably more than most of us refinishing our own firearms really need. I use the propane heating portion of a turkey fryer for my heat source. Having 2 separate heat sources is preferable (one for each tank) but you can make do with just one which I am about to show you. There are a lot of different opinions about how parkerizing should be done. This isn’t intended to be an absolute step-by-step instruction on how to parkerize. This is an overview of the process and some ways you can adapt it to make it more user-friendly to a hobbyist.
The parkerizing solution itself is available from Brownells. There are two different kinds, zinc and manganese. The process is the same for both; they just have slightly different appearances (the manganese is typically darker). If you have a particular preference, then go with the type to produce that. Otherwise, it’s not really a big deal. I have seen some “homebrew” parkerizing solutions on the internet, but I really don’t recommend them. Parkerizing solution is not particularly expensive (a LOT less than most of the parts you would put in it), so it’s really not worth the risk of ruining your parts over a few dollars. You’re better off to just buy the solution, like the stuff sold by Brownells that I use.
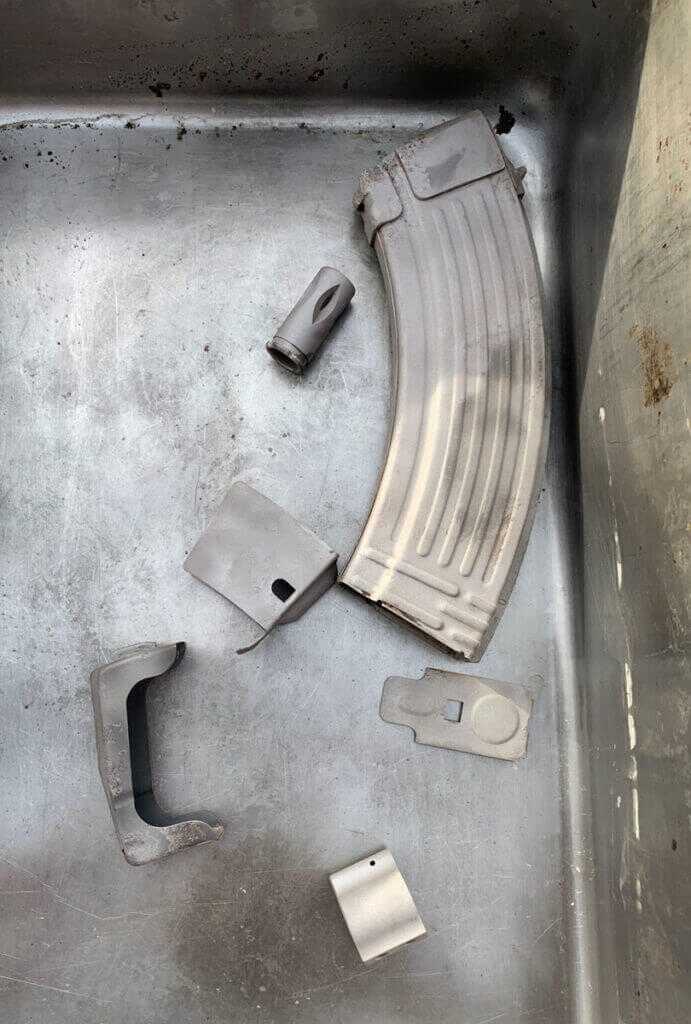
As with most firearm finishes, the prep work is more work than the actual finishing process. Surface preparation is key to a quality finish. Parkerizing will not cover blemishes on the part surface. Fortunately, the process of sandblasting your part will remove a lot of the less significant blemishes. Bigger blemishes should be cleaned up prior to blasting. I had a number of odd parts lying around my shop that needed to be refinished, so that’s what I’m using to illustrate the parkerizing process.
If you want to refinish a part that is particularly greasy, then you should degrease it prior to blasting it. But most of the time, this isn’t really needed. 80 grit aluminum oxide is the media you want to use for your blasting portion of the process. I think the stuff I have in my blaster is actually 70 grit, but for our purposes here that’s close enough. Glass beads will not rough up the surface enough (in my experience anyway) for the parkerized finish to have the desired thickness and hence durability. Once the part has been blasted, you do not want to handle it with your bare hands (to prevent oil contamination), so wear some latex or rubber gloves from this point forward if you haven’t done so already.
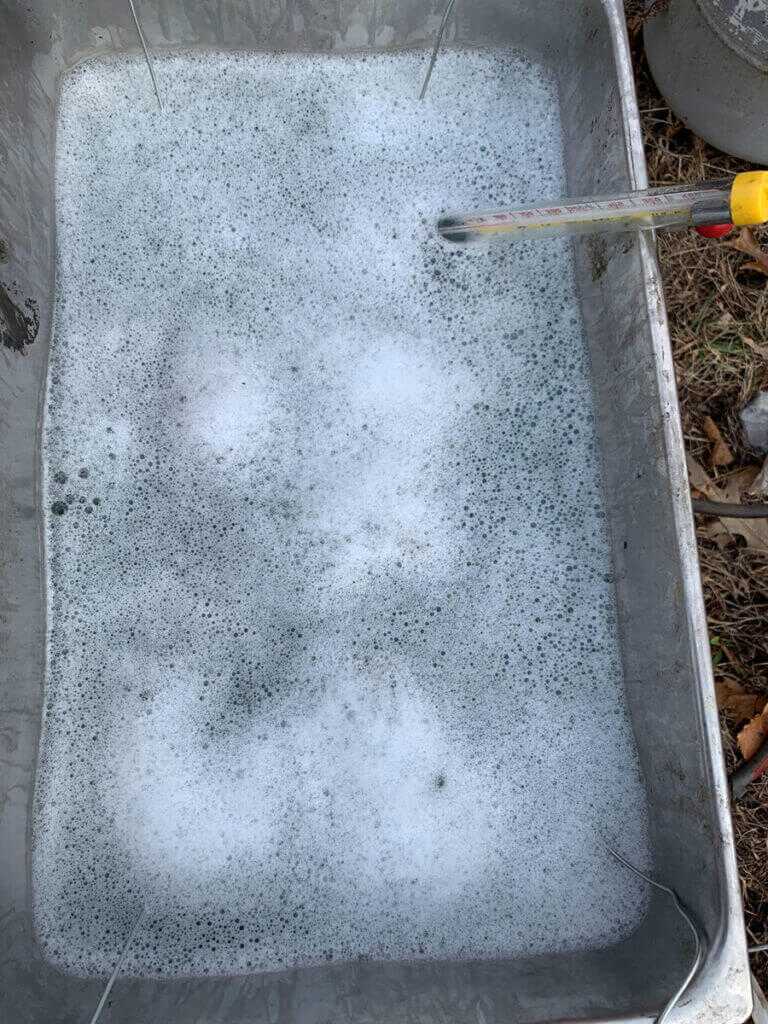
There are a few additional things necessary to do before putting the parts in the tank. If you are parkerizing a barrel, you should put some plugs in it to keep the parkerizing solution out of the bore. It will etch your bore, and it doesn’t take a rocket scientist to see that this is not good. Brownells sells a set of rubber plugs just for this purpose, though I have had a little luck finding some of these (definitely not all, however) at my local hardware store. You’ll also need some way to suspend the parts in your “tank”. Typically, I use non-coated metal coat hangers for this purpose.
Even if you’ve been very careful up to this point, you still need some kind of degreasing operation. When I first started parkerizing at home, I just used a bucket of simple green for this purpose. I actually had pretty good luck with it for the most part. A hot or degreasing method (not boiling) is definitely preferable, as it will clean your parts much more thoroughly. So I use an additional tank for this purpose. For the actual degreasing solution, there are a lot of options out there. I just use a solution of plain dawn dish soap because I can get it locally and it’s inexpensive.
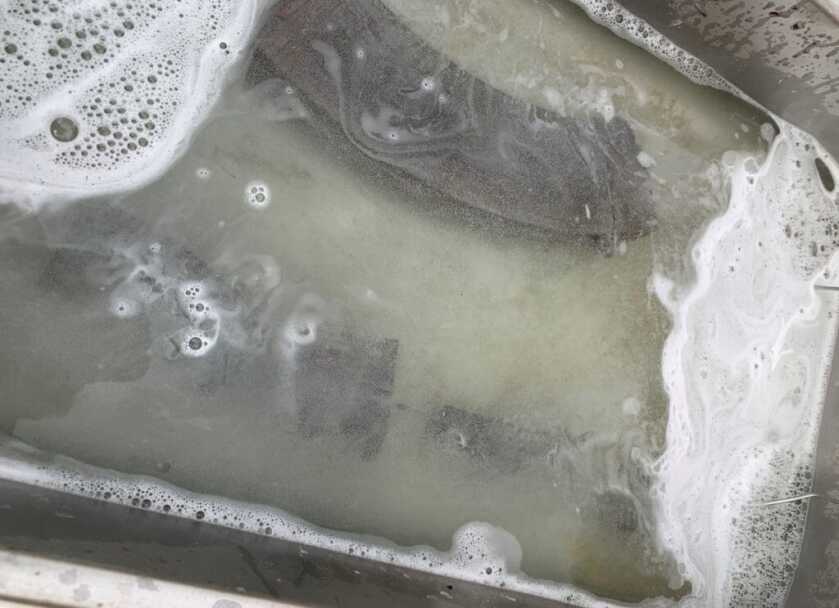
Once you’ve put your parts through the degreasing cycle, it’s time to put them in the parkerizing tank. You want to make sure that your parts are suspended in the tank, not resting on the bottom of it. The tank needs to be 170-175 degrees ideally. You’ll see tiny bubbles start to appear on your part. In a perfect world, these will continue until your part is done. However, if your part is still bubbling at the 15-minute mark, just go ahead and take it out of the tank.
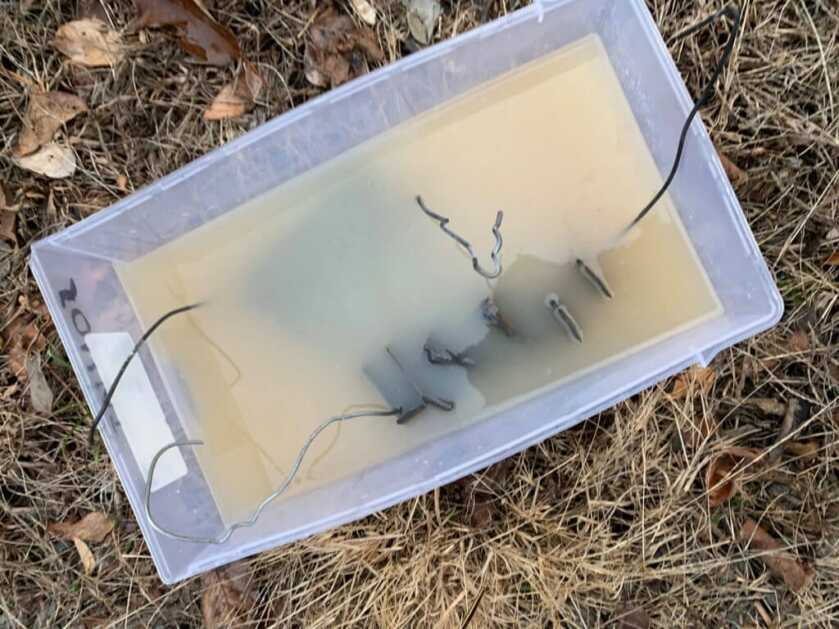
After you’ve removed your parts from the parkerizing tank, you need to rinse them off. Then apply some oil to them. The part will be completely void of any oil at this point and if left uncoated they will rust pretty quickly. Again, there are commercially available oils specifically for this. But almost anything will work. I usually use WD-40 because I have it on hand usually. One gunsmith I’ve spoken with even uses automatic transmission fluid for this purpose. Like so many things, there are lots of opinions on this. Again, it doesn’t really seem to matter as long as you put some kind of oil on it.
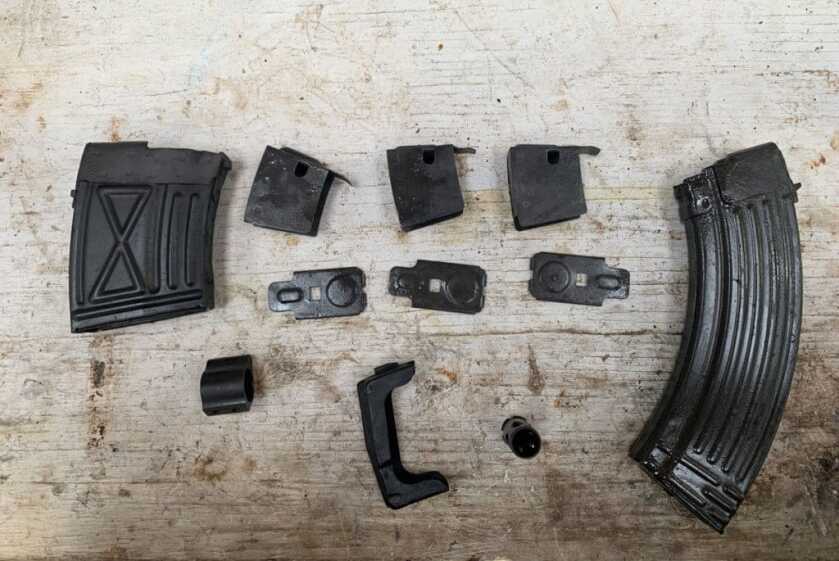
Parkerizing is not a difficult finish to apply. It’s very durable, and not hugely equipment intensive. You likely already possess a chunk of the things you need to do it. Once you get started, you’ll likely find yourself trying to parkerize all sorts of things. Being able to finish your own firearms adds a whole new dimension to homebuilding.

Good article Airborne. Very thorough.
When parkerizing receivers just don’t get carried away while sandblasting areas you want to remain smooth such as feed ramps and bolt rails. Also, be careful not to blast away you serial numbers!
I’ve had good luck pulling my parts out of the solution after only 4 or 5 minutes. I don’t know that it would hurt anything to leave the parts in solution for 15 minutes, it just hasn’t been necessary for me.
Thank you for posting this!
This process can also be applied to non-firearm related parts. Specifically, auto parts like bolts and brackets from the 1960’s. Not to mention vintage tools, which were not chromed. Even art objects can be done. I am planning on using this to coat the bolts and such on my 1965 Mustang when I get to it, so it is a 2-fold gain on this investment.
I’ve used coffee cups in a microwave to parkerize really small parts. I’ve also used a 6″carbon steel pipe that I split in two with plate welded on the end for a FAL build. Carbon steel can be used it just waste some of your solution because the carbon steel container will get parkerized as well as the parts.
I used a spare craftsman table saw stand and put three 18″ salmon cooker pans on top, then made three long burners one for each pan.
#1 is the degrease tank
#2 is the parkerizing tank
#3 is the rinse tank
The pan on the bench has the WD40 oil soak and is also cooling tank.
The AK63-D I did a few years ago still looks great.
Great article! I enjoyed reading, and the simplicity of Chris’s technique. I have had a kit for years and have not attempted the process. I hope it’s still good so I can give it a try.
Great article for those who want to try putting on a finish that will not chip off.