If you are like me, then you like working on firearms. There is also pretty good possibility that somewhere in your tinkering with, assembling, or building firearms that you have come across a task that you weren’t knowledgeable about but you’d rather not try and figure out via youtube(especially in light of recent events with that website). Let’s face it; there are some things that are considerably easier to learn with some professional instruction. As you might suppose, there are several schools with excellent full-time gunsmithing programs. But, most of us do not have the option to uproot our lives and attend a full-time school in another part of the country.
All is not lost, however. There is a program for people like us. The NRA Summer Gunsmithing Program consists of short-term (typically a week or 2 weeks long) courses designed to cover a particular gunsmithing subject. There are at present four schools that participate in the program, and they are in different parts of the country. I have heard good things about all of them, though all of my personal experience with the program is with Trinidad State Junior College in Trinidad, Colorado. I have been taking some summer courses there for the last few summers. There are many different types of classes to choose from, and many of them are intended for people with little to no gunsmithing experience. For those Veterans out there reading this, TSJC’s summer gunsmithing courses can be for college credit, making them GI Bill eligible.
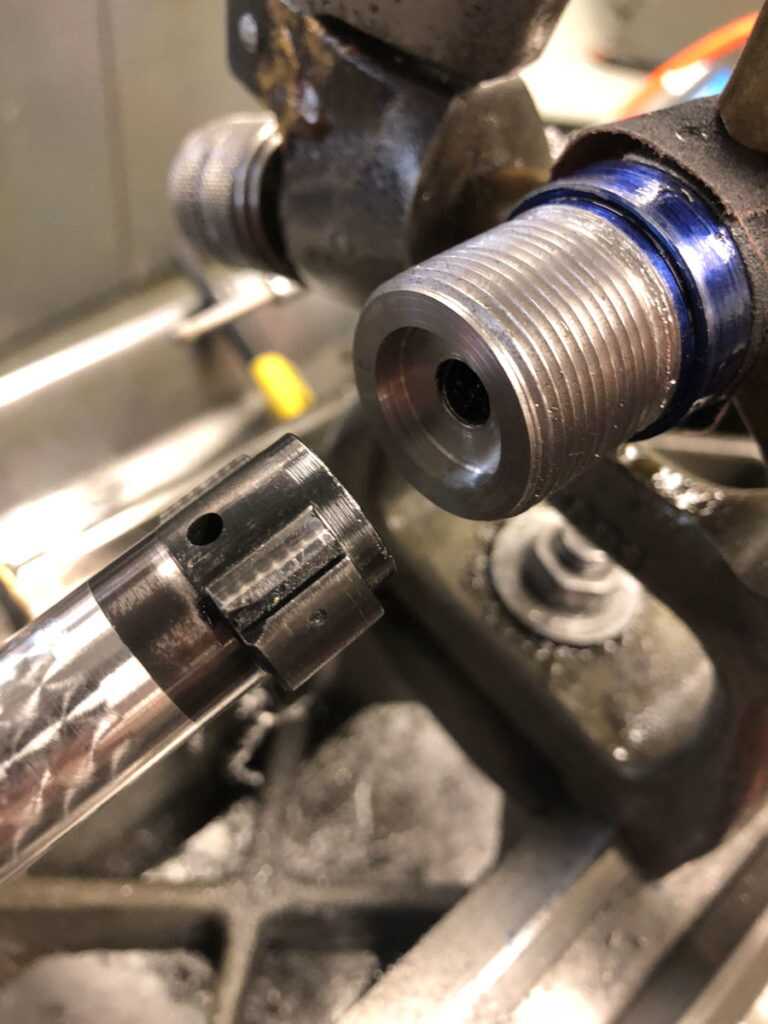
This particular class is the Advanced Machine Shop class. As the name implies, it has some pre-requisites. The class is basically geared towards chambering barrels, but other projects are also permitted. I wanted to build a precision bolt action rifle. So, I spent the week blueprinting the action and doing the related barrel work. Obviously, this is not going to be an absolute guide to chambering and fitting a barrel. But I wanted to give you an idea of what it does entail.
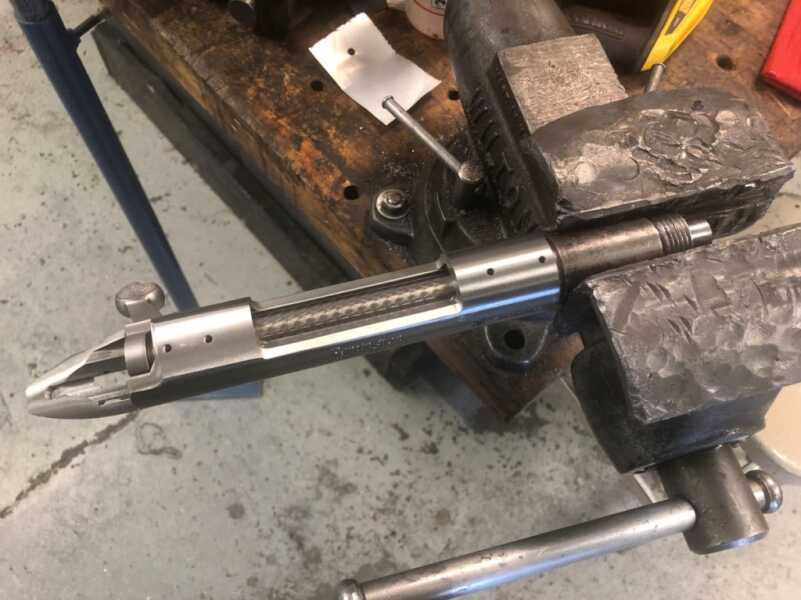
My project for this class is based on a Remington 700 action. I used a stainless, left-handed, long action. Why the long action? I wanted to build a left-handed rifle, and it was the only one I could get in time for the class. The class called for a profiled barrel blank. A barrel blank is essentially a section of steel that has been bored and rifled; no chambering, crowning, or other work has been done on a plain blank. Profiled blanks simply have the outside profile turned to the finished profile, thus not needing to be profiled on a lathe before the other work can begin. I used a Shilen stainless barrel blank, with the Sendero profile. It has a 1 in 10 rifling twist rate.
Before beginning the barrel work, I “blueprinted” the action. A certain amount of this is preferable for any barreling or rebarreling job. How far you take this is dependent upon what the intended purpose of the rifle that you are building. A typical hunting rifle does not need to have the level of precision in this work that a target or long range precision rifle does (though if you live in one of the wide-open states, your hunting rifle might need more accuracy than others). Since this build is intended to be a precision piece I took the trouble to use the rather time consuming, but accurate setups to do this. There are some tools available to blueprint your action without a lathe, should you not have one available, though theoretically, it might not be quite as accurate.
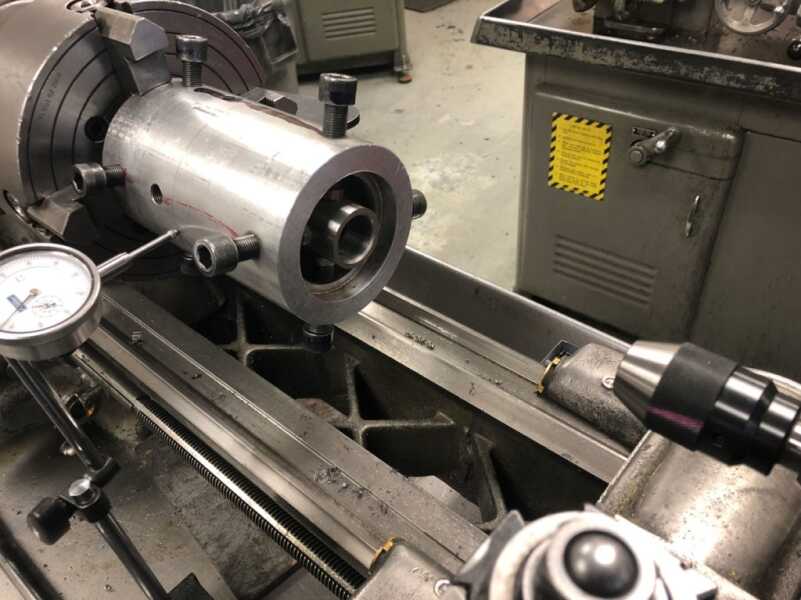
Blueprinting an action is essentially machining surfaces on it to make them concentric, as well as perpendicular where they are supposed to be. First, you put the stripped action into the blueprinting fixture. Then put the fixture into a 4 jaw chuck on the lathe, and dial it in.
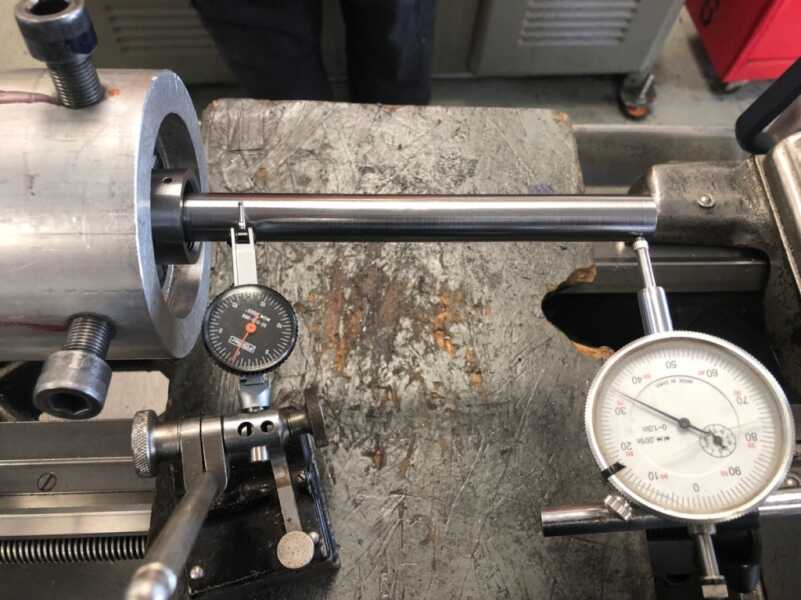
Then insert the rod into the action. Blueprinting fixtures come with a rod, but our instructor prefers to make them, so as to fit them closer to the receiver, so I made mine. Regardless, after you insert the rod into the receiver, you are going to dial it in as well, as close as you can get it (preferably within .0005 or closer). This is a rather time-consuming task.
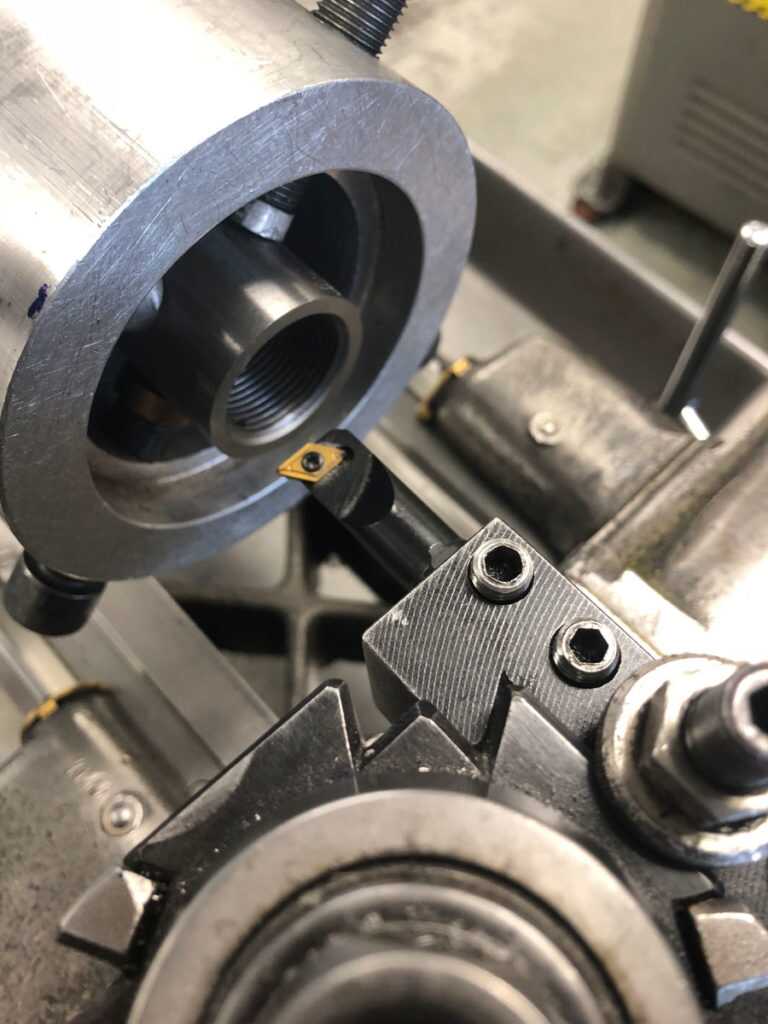
Then, use a boring bar to face off the locking lugs in the receiver. This is to ensure that the lugs on the bolt have proper contact with the lugs in the receiver.
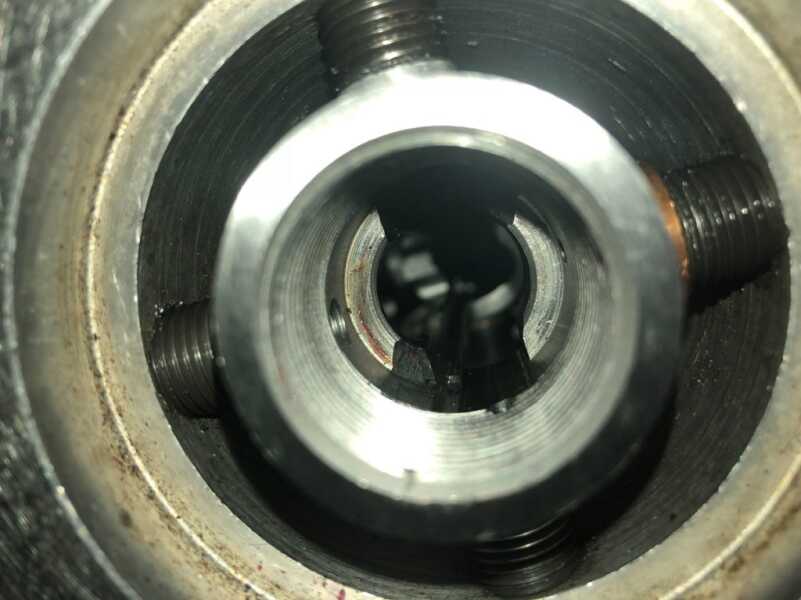
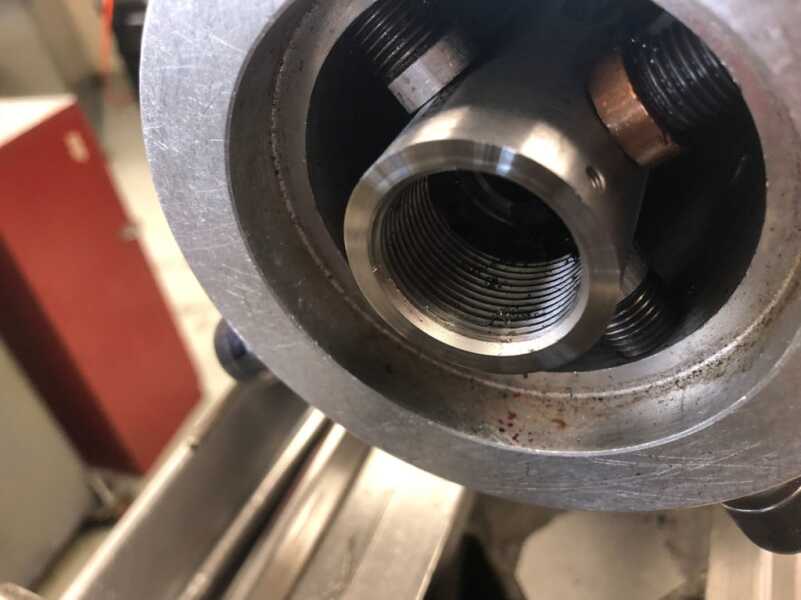
Then comes the tricky part: chasing the internal threads with a single point threader. You have to put the point of the tool into the “point of the thread” and basically, rethread the receiver. This is to make the threads actually concentric to the receiver. You want to keep moving out a few thousandths until your tool is cutting the entire circumference of the thread. Make a note of how far you came out, you’ll want this information later.
You also need to face off the front of the receiver, which is to ensure that the recoil lug and barrel shoulder have proper contact.
Once that is complete, it is time to lap the bolt. Using a fixture and some abrasive on the lugs, you open and close the bolt. The purpose of this is the final fitting of the bolt lugs to the mating surfaces in the receiver.
Move the bolt handle up and down 100 times or so, then either smoke the bolt or use a sharpie on the back of the bolt lugs. Remove the bolt and see how much contact you have. You are attempting to get 90% or more contact on each of the bolt lugs.
To be continued next week…
Read Part 2
***Shop GunsAmerica for your next rifle reciever***

Respected Sir
I want to know how to Chamber a barrel and How to put grooves in it? Please help me 🙏🏻
Respected Sir
I want to know how to Chamber a barrel and How to groove it? Please help me 🙏🏻
Thank you for this 2 part article. It was interesting and appreciated.
Is there a school in Texas?
The list of schools participating in the NRA Summer Gunsmithing Program is here…
https://gunsmithing.nra.org/find-a-school/
There is not a school in Texas in this program, but there is one in Oklahoma.