As time goes by, I am seeing an ever-growing amount of firearm builds or projects intended for beginners. You can almost find a build for anyone’s skill level and taste in firearms. While this particular project isn’t really a “build” per se, it’s still an interesting project and it’s definitely intended for folks without a lot of experience. It’s a little bit different than the previous builds I’ve done. Those of you who enjoy older and antique guns will like this one; it’s a black powder revolver.
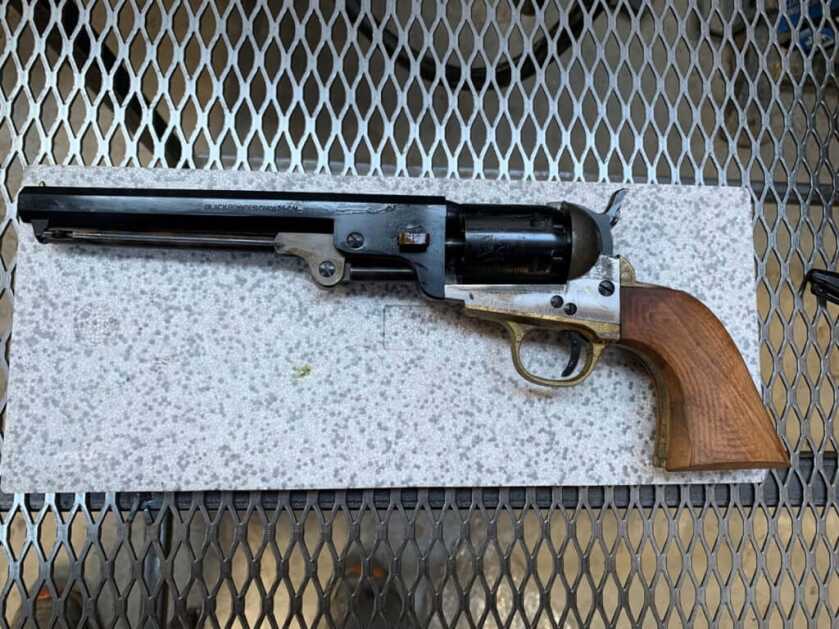
This project is the completion of an 1851 Navy Colt kit produced by Pietta. I purchased the kit from Dixie Gun Works. The “kit” consists of an assembled revolver, with most of the external parts in an unfinished, roughcast state. This model is available in both brass, and steel frame examples. It’s pretty inexpensive at $250 for the steel-framed model, a little less for the brass framed model. They have a variety of other models available of this type, should you desire something similar but different in the way of a black powder revolver. I went with the steel-framed type because sometime in the future I intend to do a cartridge conversion to it. The lock work is already finished, assembled, and properly timed, so you don’t need a whole bunch of gunsmithing experience for this project. What’s left to be done is to shape and finish the grip, backstrap, trigger guard and frame.
For those of you unfamiliar with it, a little information about this particular revolver is in order. It’s a .36 caliber, six shot, single-action revolver. These were in fairly common usage at the time of the American Civil War. They were called the “Navy” because they had an engraving of a Naval Battle from the 1840s on the cylinder, as opposed to it being intended for Navy use as its name might imply. These revolvers were so popular that the term “Navy” was commonly applied to any revolver of .36 caliber at the time. During the Civil War, some other entities more or less cloned it (some using brass frames instead of steel) for the Confederates though actual production numbers of these are thought to be fairly low.
You want to make sure you follow all local, state, and federal laws when building a firearm. One potential draw to this project is that black powder revolvers are not actually considered to be firearms in a lot of places. So they’re legal to own in most locales within the US, even a chunk of those blatantly hostile to the 2nd Amendment. In most states, you can actually have them mailed directly to you, as they’re not really considered firearms. In addition, it is my understanding that you can legally add a stock to these revolvers without it being considered an SBR. However I’m not a lawyer and I don’t play one on TV, so do your homework before starting a build like this one. But in comparison to all of the rules that typically apply when building a firearm, I think you’ll find it rather refreshing to look into these.
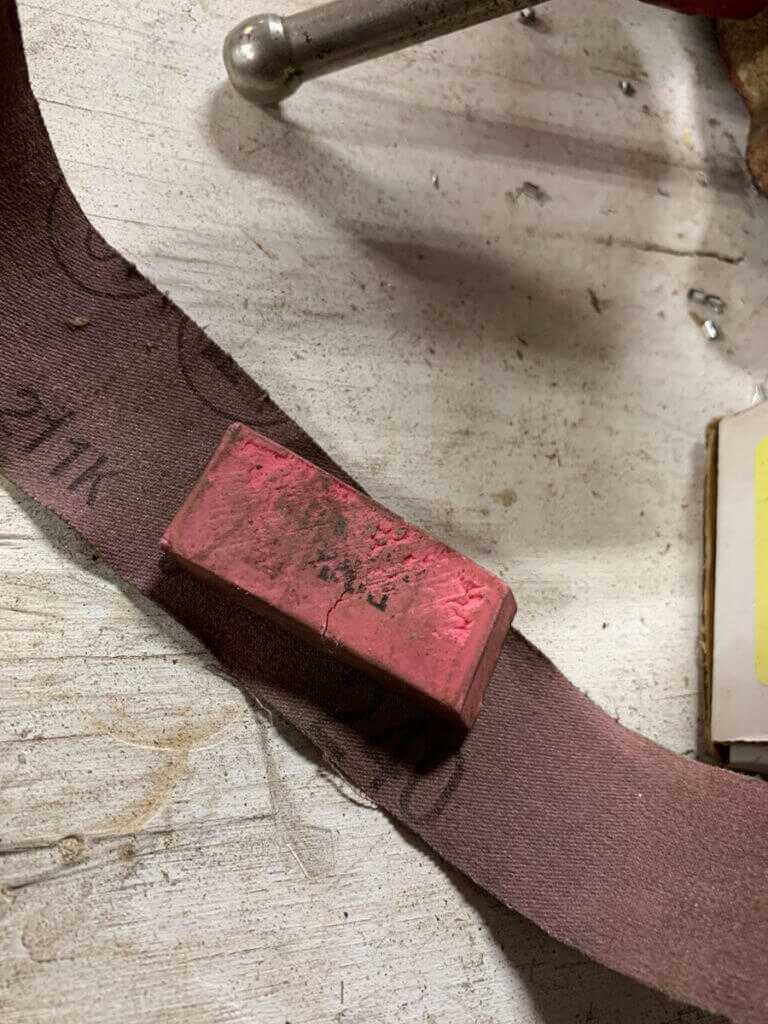
I used files, a Dremel, a small belt sander, and some various types of abrasive paper & cloth. You could omit the Dremel & belt sander and just do the work completely with some elbow grease if you want to. Either way, there aren’t a whole lot of tools required for this project. If you go with one of the brass framed models, it will require a little less effort than the steel-framed model I chose as the material is obviously softer. You’ll also need some proper gunsmithing screwdrivers to disassemble the revolver, as it comes already put together, and you’ll need to take it apart.
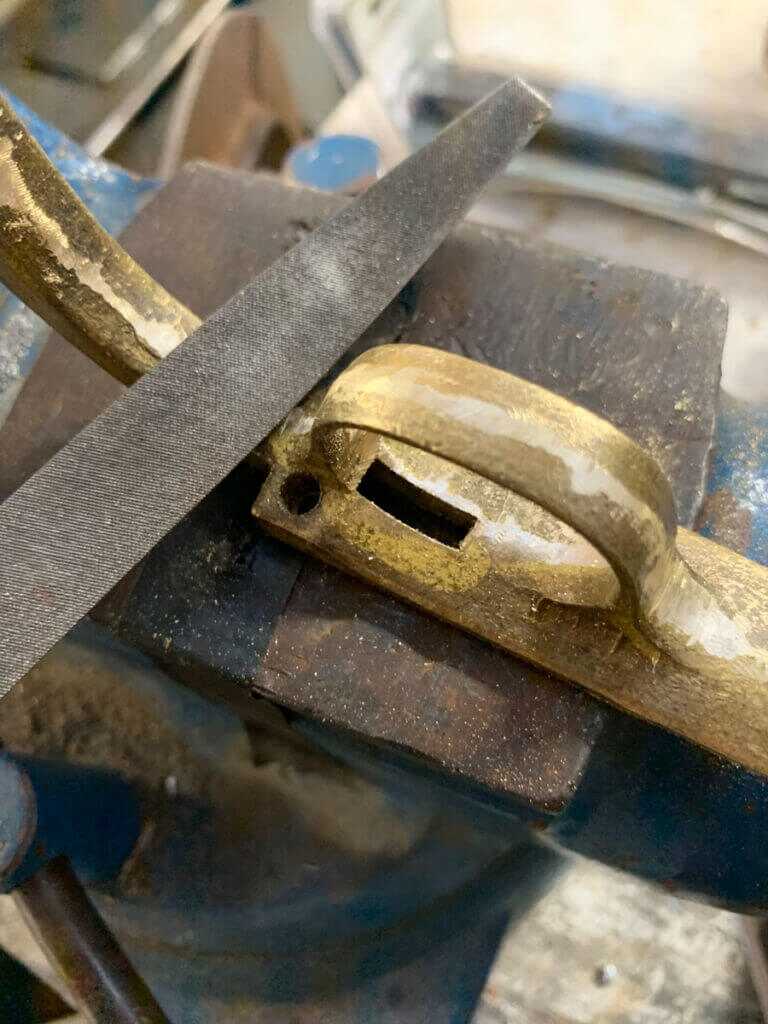
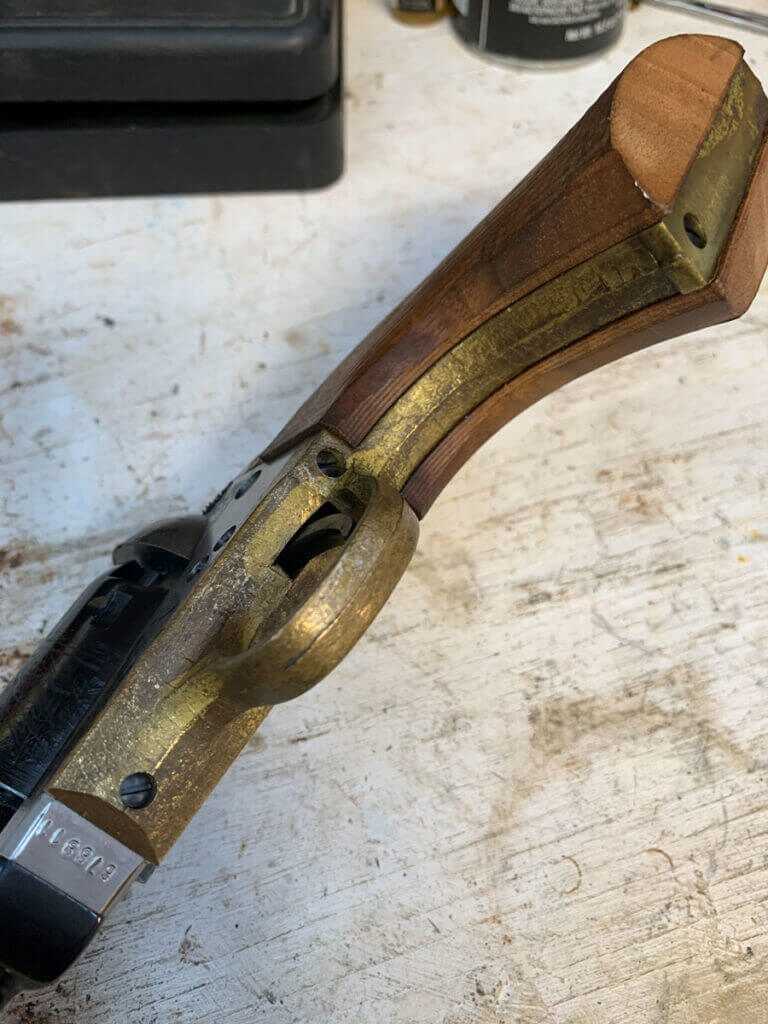
While the instructions that come with this kit are pretty good in terms of shooting and loading black powder, they don’t contain any info about completing the kit. Fortunately, the revolver is already mechanically complete so this doesn’t pose a huge problem. We’re just essentially doing cosmetic work. After some disassembly work, I started with the brass components. They had a sizable casting line right down the middle of them, but some file work made pretty short work of that. Particularly on the brass parts, you really want to be careful. It’s pretty easy to put a gouge into your part that won’t clean up. I cleaned up the rougher portions and left the rest alone until it was time to start fitting the grips. I wanted everything to blend nicely when it was all put together, so I needed to leave a little “meat” left to remove during the final fit-up later.
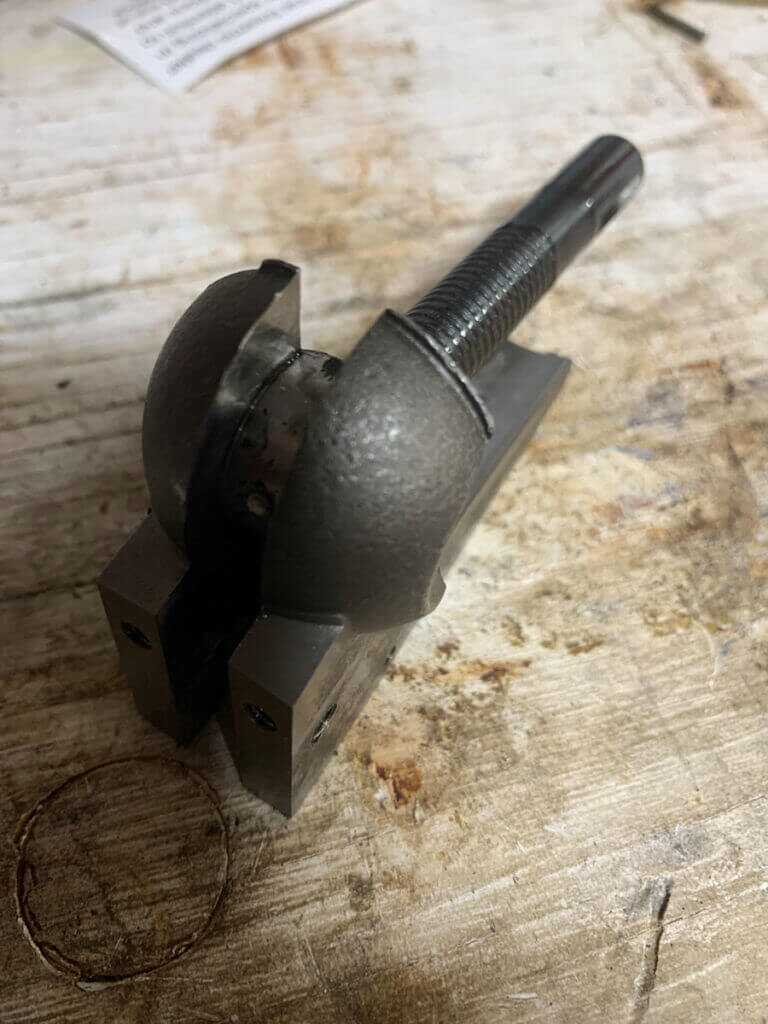
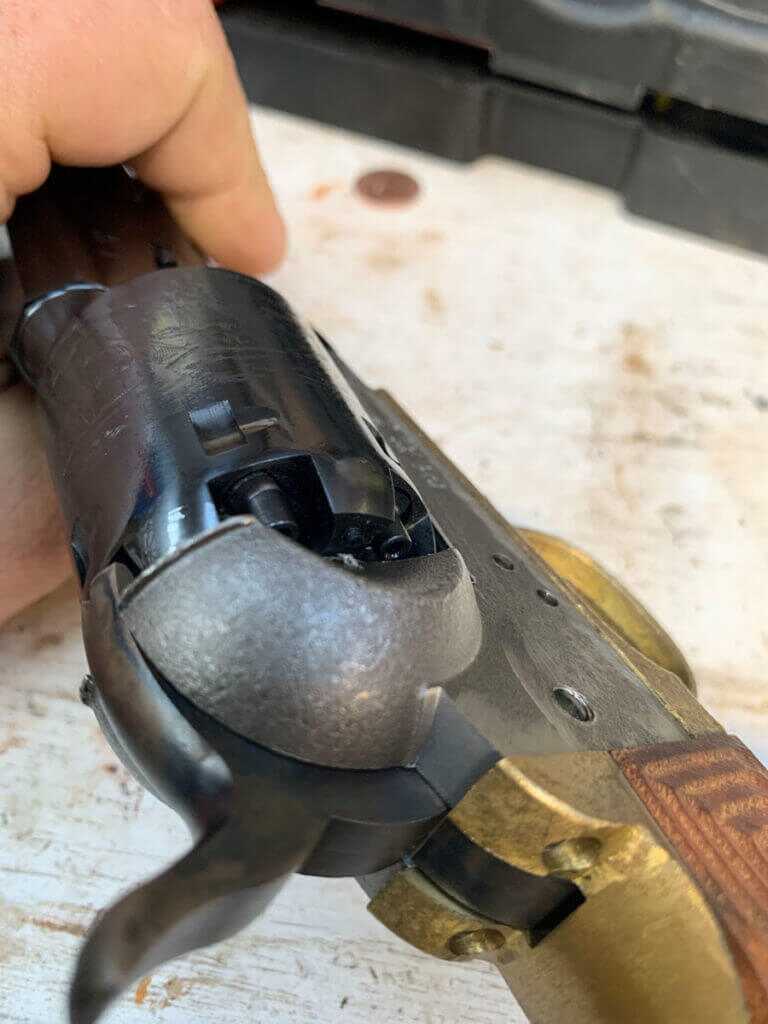
After getting the brass parts “roughed out”, I started on the steel frame. You’ll need to completely disassemble the frame prior to starting work on it. My frame had some flashing around the top of it, which I carefully removed with a file. The frame was also not de-burred, so I did that with files as well. I found I needed to take a look at pictures of some completed examples of 1851 revolvers a little so I could see what they were supposed to look like and in turn what material was just leftover from casting. Some of it was pretty obvious, and some not so much. Though since it’s all really just cosmetic work, you may not be that concerned with these little details on your kit. How far you take cleaning and polishing up the frame will be determined by what kind of finish you intend to apply to it.
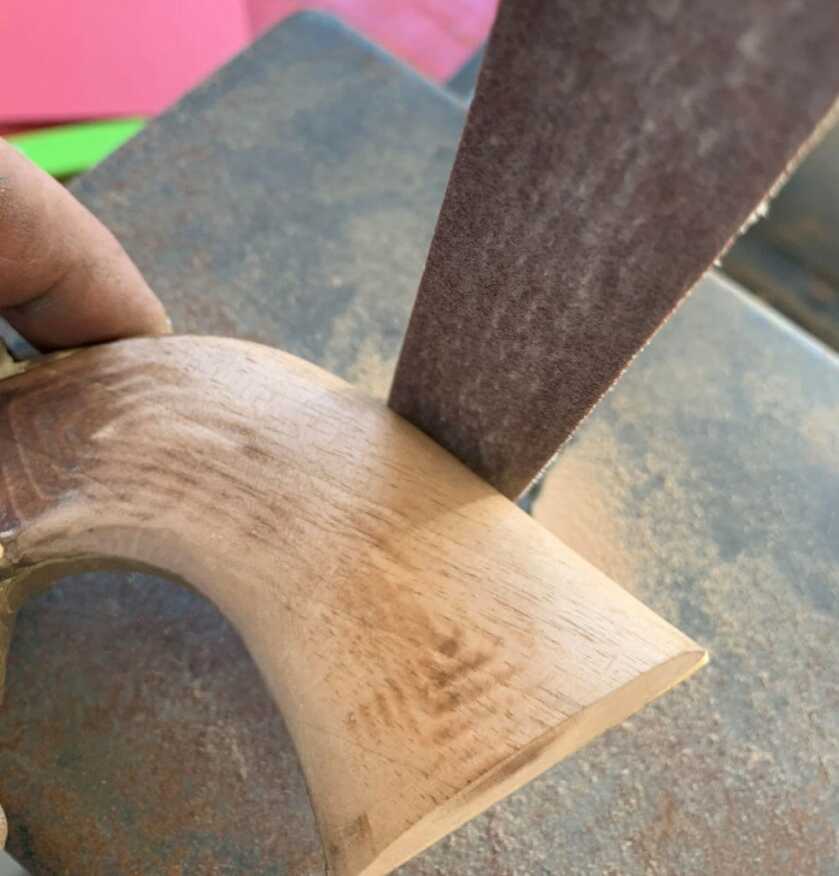
The grip comes rough finished and oversized. So you need to remove some material. I don’t have a lot of woodworking experience, and I made a few mistakes. You really want to take your time here. Wood comes off A LOT faster than steel! I used the belt sander to get the grip close to size. The next time I finish one of these, I’m probably just going to use a Dremel for this task unless I really have a lot to remove, as I went a little too far in a couple of places. After I did some shaping, I went over the grip with some sandpaper and applied some tung oil for a finish. Once the grip was done, I finished fitting the trigger guard and backstrap to it.
Once you have everything fitted how you like it, the steel-framed models really need some kind of finish on the steel for rust prevention purposes. Color case hardening is what was originally done, but this is obviously beyond the capabilities of most hobbyists. There are a bunch of other finishes that are easier to apply. There are some different cold blue finishes available that warrant a look if you want a blued finish that you can do at home. From a practical perspective, it really doesn’t matter just so long as you apply some kind of finish. Obviously, brass frames are perfectly OK as they are and don’t really need any finish applied if you don’t want to.
Test firing one of these once you have it completed is a lot different than most builds I’ve done. Since these are not self-loading, there isn’t a concern about having an accidental full auto accident. That said, make sure you know how to properly load one of these as there is some potential for things to go sideways there if you don’t. If you are new to black powder firearms, make sure you take a good look at the supplied instructions. They do a pretty good job of covering the intricacies of shooting black powder firearms. One thing to think about: after shooting a black powder firearm, you need to clean it ASAP. Keep this in mind when you’re planning your test fire.
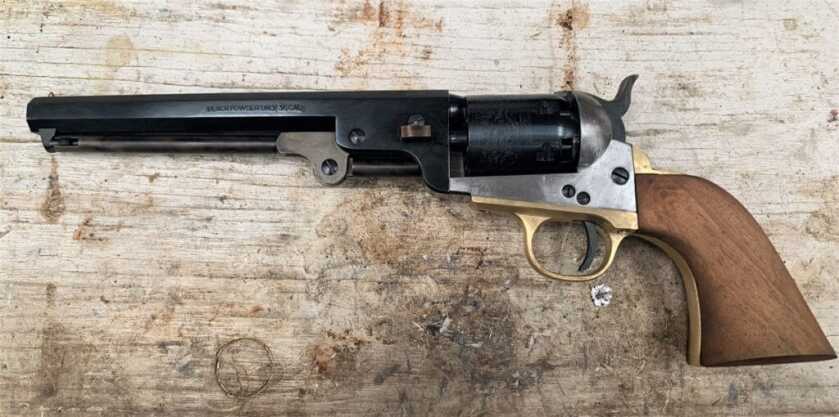
Overall, this is a pretty neat little project. It’s pretty inexpensive and isn’t terribly time-consuming to complete. Dixie Gun Works sells similar kit revolvers of numerous different models from that era, should you have a particular preference for one model or another. You can also convert some of the steel-framed models to shoot cartridges, a topic I intend to do some research on and cover in detail sometime in the future. I find spending some quality time with a file on something like this to be rather calming. If you’re new to building or gunsmithing, this project will get you some good experience fitting and polishing parts. So I’d say finishing the 1851 revolver kit isn’t a bad way to spend a weekend.

I built a similar ‘Dixie’ kit in ’75–my first attempt. It came completely disassembled in a cloth bag and no instructions. I had trouble finding someone to case harden the parts recommended for that treatment. I used a ‘plumb brown’ finish on the rest and it turned out looking good. Have only used it for display but it is fireable/ready. Very enjoyable and educational experience
I own a few cap and ball pistols as well as later variants, major fun getting them to shoot well. Historically they are interesting, the engraving on the cylinder of the authors gun depicts the battle of Campeche a story of Colts near bankruptcy saved by the purchase of revolvers by the Texas navy and their use in battle turning the tide.
Huh, I never knew they sold kits.
I have always tuned up my black powder pistols when I get them, starting with polishing the mating surfaces on the hammer and deburring the frame (as needed) to assure smooth and easy operation. The backside of the hand is usually pretty rough (it is a cast piece) and it helps to file/sand that down as well. All this does make a difference. The next think that one should do is to make sure that the locking cam (that pops up out of the frame to lock the cylinder) is actually the same width as the slots it fits into around the cylinder–it is usually just a tad wider, and this leads to peeing unless addressed.
I then attack the grips, polish sanding them down with 2000 grit paper at the end, and then sealing them with Tru-Oil gun stock finish (which is mostly linseed oil.) The final coat of oil dries to a nice shine. I don’t know how Colt finished its grips in the olden days; I assume it was some type of shellac, but with the Tru-Oil it is not a necessary step.
A couple of questions. I see that the cyslinder is factory blued, but you don’t make it clear if you had to blue the barrel, etc. And how do you plan to finish the frame? Also, what did you use to polish the round sections of the frame?
By the way, nice job.
Thank you for the compliment!
The first picture is exactly how I got this “kit”. The barrel and cylinder were already blued.
I used files for any of the “heavier” work on the round edges. Then I went to using emory cloth in various grits. I did use a dremel with a small flap wheel in some places.
I have not yet decided exactly how I want to finish the frame. I might color case harden it, but I don’t think most people have the means to do that. If I find some way to mimic the look but that’s more DIY friendly I may do that. I don’t know yet.
I may write an article describing how to tune the action at a later date. It’s not that complicated to do, but I definitely felt like it would be more than a beginner project. You have to understand how all the various pieces function to do action work safely. I really wanted to show a project that someone just getting started could do.
https://steelfxpatinas.com/color-case-hardening-effect-steel/
I hope that I did this right! I am so iPhon inept! But this is a link to a site that sells chemicals to create a “pho” color case harden effect on metals. Purchase one of their kits and you would probably be able to do several projects with what you get. To be honest I have not tried anything of their products so I can’t tell you how they come out but going by their pics it’s worth a try. Please post the pics of your pistol when it’s all finished off. Good job!
Pietta probably uses a similar process on the hammer and ram. I have had two where the finish just rubbed off while cleaning. Their color case hardening on the frames, however, is better than Uberti–much better color. but nowhere near the spectacular work that Turnbull turns out. I know that Turnbull will take in piece work, but I do not know the cost.