
Break-action shotguns are one of the most common types of firearms in existence. They can be single shot, or double barreled-side by side or over/under. There’s a pretty good possibility that someone you know owns one of these if you associate with other shooters or hunters. If you’re a hobby gunsmith, you’re fairly likely to be able to turn one up to work on. Given the state of all things firearm-related over the last 18 months, pressing “Grandpa’s old double-barrel” back into service may not be that farfetched of an idea.
But, “Grandpa’s old double-barrel” may have any number of problems. The older the specific shotgun in question, the more problems it is likely to have. Fortunately, these problems can be corrected. Most of this work is quite possible for a hobby gunsmith. You can even do a lot of these repairs without machine tools. While there are also rifles that use this type of action, for this article we’ll focus on shotguns. This article is to detail how to correct one of the more common problems found in break-action shotguns; excessive headspace.

Shotgun headspace is a bit different than headspace in centerfire rifles. It’s similar to rimmed cartridges in that the critical dimension is the “rim thickness”. It is different in how the problem of excess headspace tends to present itself. Two problems are the first signs of a headspace problem in a shotgun: misfires, and excessive recoil. Basically, the excess room for the cartridge allows it some play. This play both allows the shell to move forward as the firing pin strikes the primer (taking energy out of that strike, causing the misfire) and it allows the shell to move backward under pressure when it does fire (it basically gets a “running start” at your shoulder).
Fortunately, there is a method to correct this problem. Before you proceed, check to see that you actually have a headspace issue, using GO and NO-GO gauges. However, if the action is loose, then this must be corrected before dealing with the headspace. In a break-action shotgun, it should close completely on the GO gauge, and not on the NO-GO. Do not force it to close, or you risk damaging your gauges. Note the position of the lever, as it can be the most obvious indication that your shotgun has or hasn’t closed on a gauge. Obviously, if you have a double-barrel shotgun, you should check both barrels with both gauges.
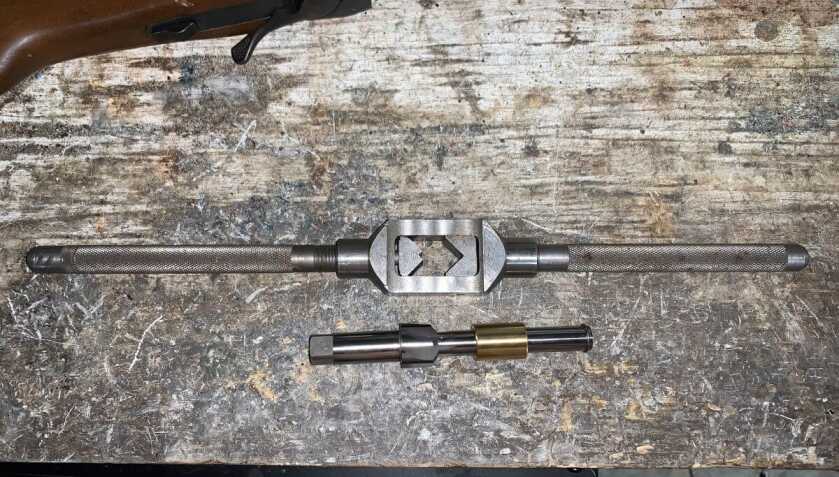
Once you have established that you do indeed have a headspace issue, let’s look at how to correct it. The process is essentially to cut a recess in the chamber for a ring, install the ring, and then ream the chamber back into tolerance. To do this, you need a Rim Cutter, 12 gauge for this particular shotgun. This tool also uses a bushing to keep it aligned, which is typically sold separately, so make sure that you order it with the cutter, along with whatever other pieces are needed for your particular tool (for example, mine used a snap ring to retain the bushing). There are different types of cutters that all do this same job, so ask the vendor you get it from what all you need to use it. You’ll obviously need a ring or rings, a solder, and a torch. Lastly, you’ll need a suitable chamber reamer which obviously will vary based on your particular shotgun. If you’re challenged in the machine tool department, you can do all of this with hand tools and I am going to illustrate how to do the job in this manner.
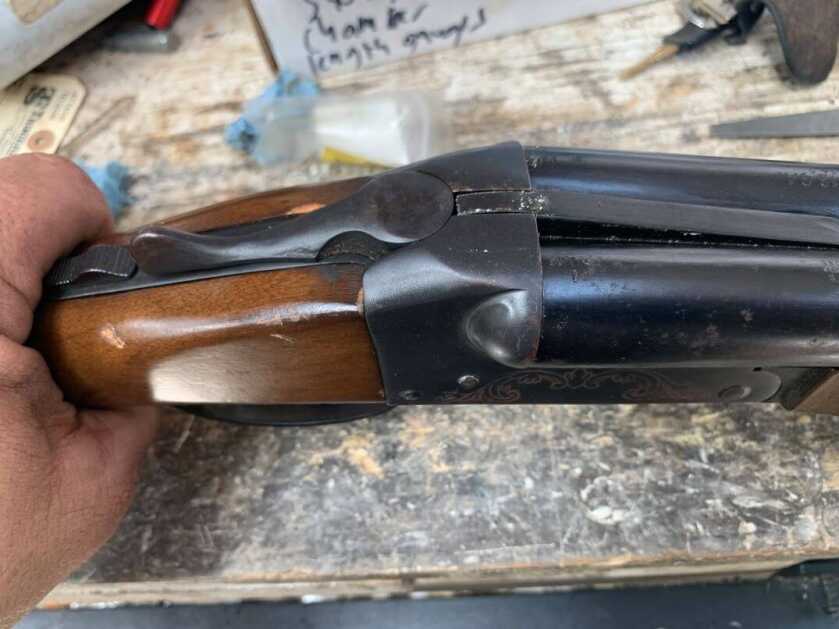
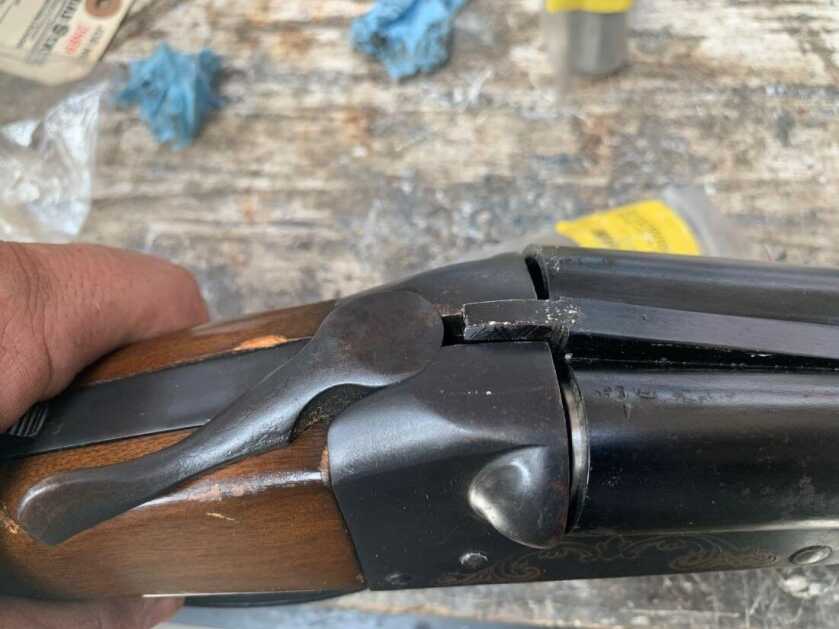
The first step is to disassemble the shotgun. The particular shotgun that is the subject of today’s article is a Stevens 311 double barrel, side by side in 12 gauge. The action is nice and tight, but it has misfires caused by excessive headspace. First, the barrel(s) need to be removed from the action. And then the extractor/ejector needs to be removed if your shotgun has one. On most (but not all) break-action shotguns, all of this can be done without disassembling the rest of the action. After disassembling the necessary parts, I set the barrel up in a vise-using soft jaw to avoid gouging the outside of the barrels.
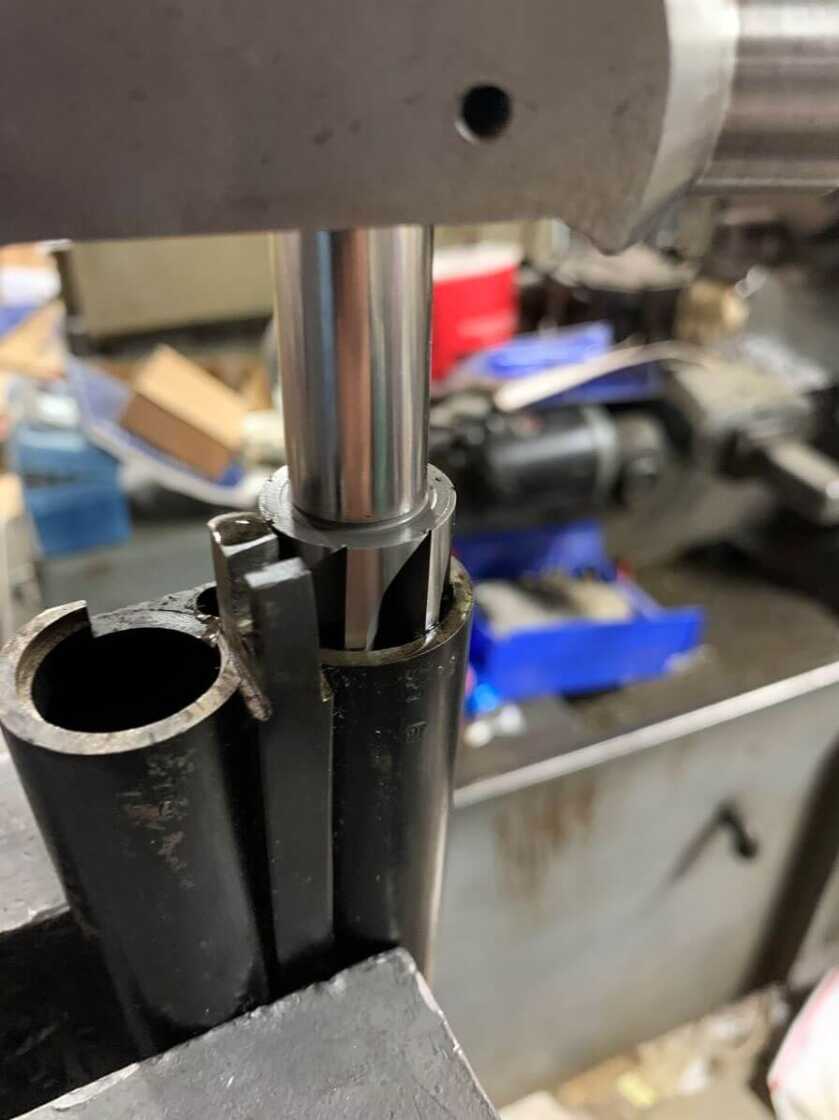
The rim cutter is used to cut the recess for the headspacing ring(s) to fit into. I put the tool into a tap wrench to turn it to actually do the cutting. The brass bushing on the cutter I used kept it properly aligned while I was using it. Use a liberal amount of cutting oil to lubricate the tool while it is cutting. The depth of the recess being cut is pretty important, so take your time during this whole process. Ideally, you want the ring to sit just below the surface of the rear of the chamber. But you don’t want it so deep that it doesn’t allow you to cut some with the reamer to set your headspace. Once you’re completed, make sure to clean all of the metal chips out of the barrel. Otherwise, you risk the reamer “grabbing” a chip and scratching your chamber wall.
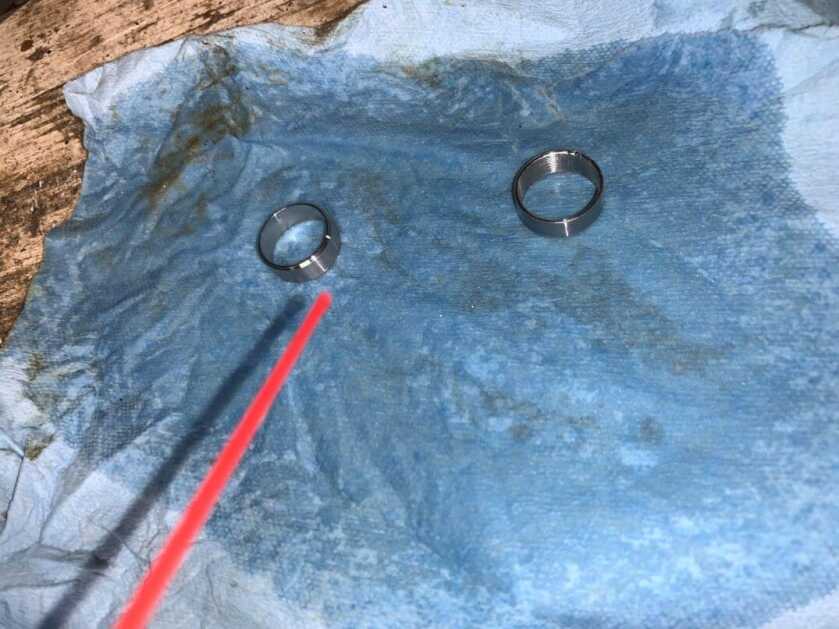
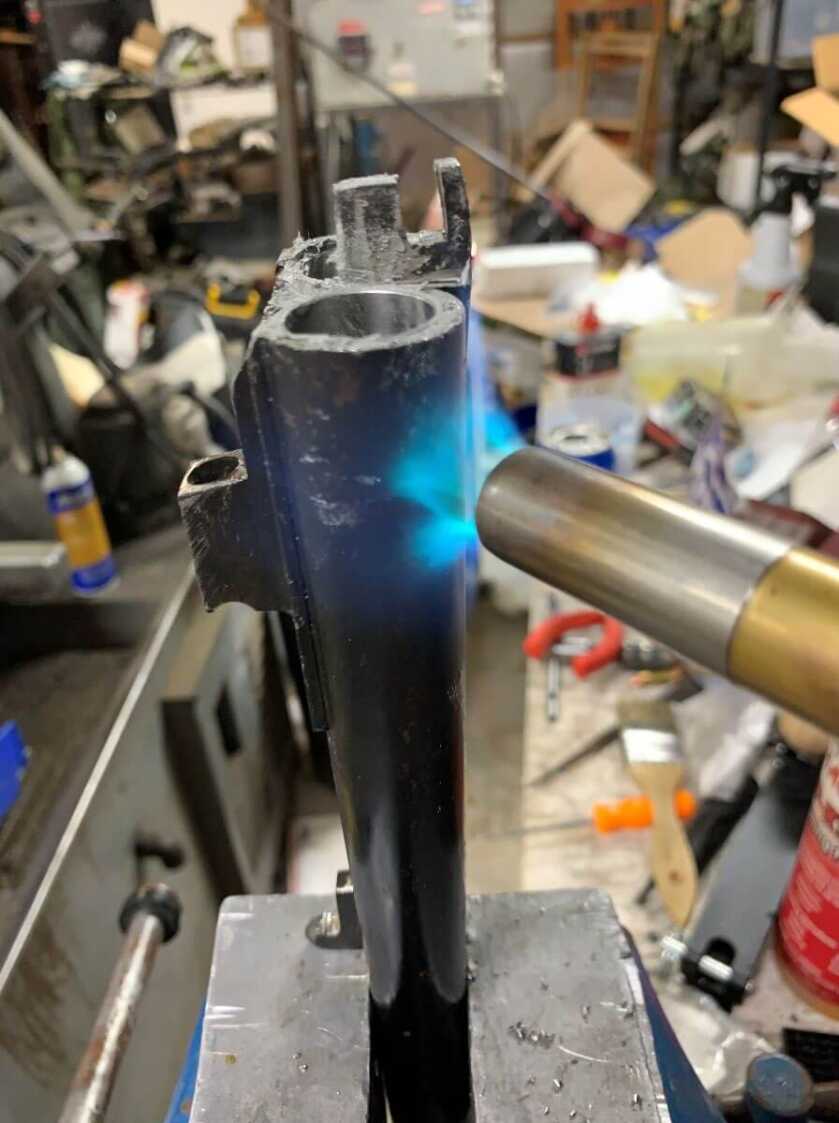
After finishing with the rim cutter, it’s time to install the rings. Both the rings and the recesses you just cut in the chamber need to be completely degreased to ensure the solder properly adheres to the surfaces. I hit the rings and the chamber with some brake cleaner, and then followed up with acetone just to be absolutely sure there wasn’t any leftover oil on either. That was probably overkill, but I really wanted to be sure some little bit of oil wouldn’t ruin my soldering. I used pre-fluxed solder paste to solder the rings. I chose this solder because it being pre-fluxed would make this process simpler and because its melting temp is low enough to avoid having problems with the other soldered on parts of the barrel. Because I needed to absolutely make sure that the rings would stay, and because the chamber reamer would clean up the excess, I put solder paste on both the ring and its recess. I lightly tapped the rings with a small brass hammer to make sure they were seated in the recesses. Again, ideally, they should sit just barely below the surface. Once they were in place, I used a propane torch to melt the solder. I heated around the outside of the barrel, rather than directly onto the rings, to properly melt the solder. Once I saw that the solder had melted all around the rings, I let everything cool off overnight.
After everything cooled off from the soldering operation, it was time to ream the chambers. This particular shotgun had 3” chambers, so that’s the size reamer I used. Much like cutting the recesses, care is required in this operation. Use lots of cutting oil, and remove the reamer & clean the chips off of it regularly. An errant chip can scratch your chamber wall. Go slow, and check using your headspace gauges often until you’re in spec. Once you’re completed, make sure to clean all of the metal chips out of the barrel.

With the chamber reamed out to proper depth, the next step is to remove the portion of the ring that’s in the way of the extractor. Obviously, if your particular shotgun has no extractor (as some older models and reproductions of them do not) then this step is not necessary. I just used a Dremel tool (VERY CAREFULLY!) and a file to do this. After this was done, I cleaned everything up. Then I reassembled the shotgun and checked the headspace with the GO and NO-GO gauges just to make sure it was good. After that, I test-fired it. This not being a repeating firearm, there weren’t really any special procedures necessary in test firing.
There are a whole lot of break-action shotguns out there. If you don’t have one, you probably know someone who does. A lot of these shotguns are old and in need of some kind of repair. And given the state of things at present, you may even be looking at using one as a home defense weapon. But with some work, you can put these shotguns into condition to fill even that critical role. Until next time, Happy ‘Smithing!

Thanks for the article, very informative.
Thanks for your service.
All the Way,
Scott
Can you tell me what solder you used?
Not bad if someone gives you the tool do do
Maybe I missed it but how much for all the proper tools and parts?
Quite an investment for one old clunker!!!
Very well done article. In my capability if I ever need to do it. Have just retired and love fixing old guns but have always worked on others except for .003 as shim on handi rifle. Does anyone have a published book for complete repairs of old doubles?
I have an old single shot 12 ga. the firing pin hits too high on the shell and some times it will not fire until I cock the hammer and try again.
Ant way to move that hit back to center?
That really depends on a number of factors. Without looking at it, it’s really hard to say. Different makes and models have different firing pin configurations as well-which all would require different measures to correct a problem.
Quite often, I find older shotguns like that have several problems all acting at once to show a certain symptom. I suspect this may well be the case with yours.
Play in 1800’s double barrel Parker shotgun with hammer’s!! Carry to a gunsmith to get rid of the loose play??
Okay I have a Parker bouble barrel S×S with hammers and it has a little play in the break so how do you get that tighter again??
scott,there are videos on youtube,type in midway usa repairing old English doubles with jack rowe,he’s an old English gunsmith,excellent videoes,he shows how they made these doubles.how to tighten the action,making springs,well worth the time.