For those of you who might be unaware, there is a program that sells surplus military rifles to civilians. This is the Civilian Marksmanship Program or CMP. They sell WWII era firearms primarily, most of which are M1 rifles at this point, though there are others as well. In addition to mail order, they have two stores where you can go and effectively hand pick a rifle from stock on hand. There are some qualifications in order to do so but (hey, you’re more or less buying a rifle from the government, there had to be at least one hurdle), they’re not terribly difficult to meet if you’re the type who would be interested in a class like this one. The proceeds from the sale of these rifles fund a number of programs to promote firearm safety and marksmanship training, particularly youth programs.
In addition to selling rifles, the CMP offers a class on the M1 called the Advanced Maintenance Class. This class is basically an in-depth look at the M1 rifle, how it operates, and how to properly assemble one from parts. In this class, you assemble a CMP Special Grade M1. The class is intended for people of any experience level with M1s, even if you have none at all. The instructors are from the CMP Custom Shop. They are very knowledgeable and will assist you with each step if you need it. If you do have some gunsmithing experience, there is still plenty of good information and experience in this class for you as well. In addition to building a rifle, you are taken on a tour of some of the CMP’s facilities, which is a pretty neat experience in and of itself.
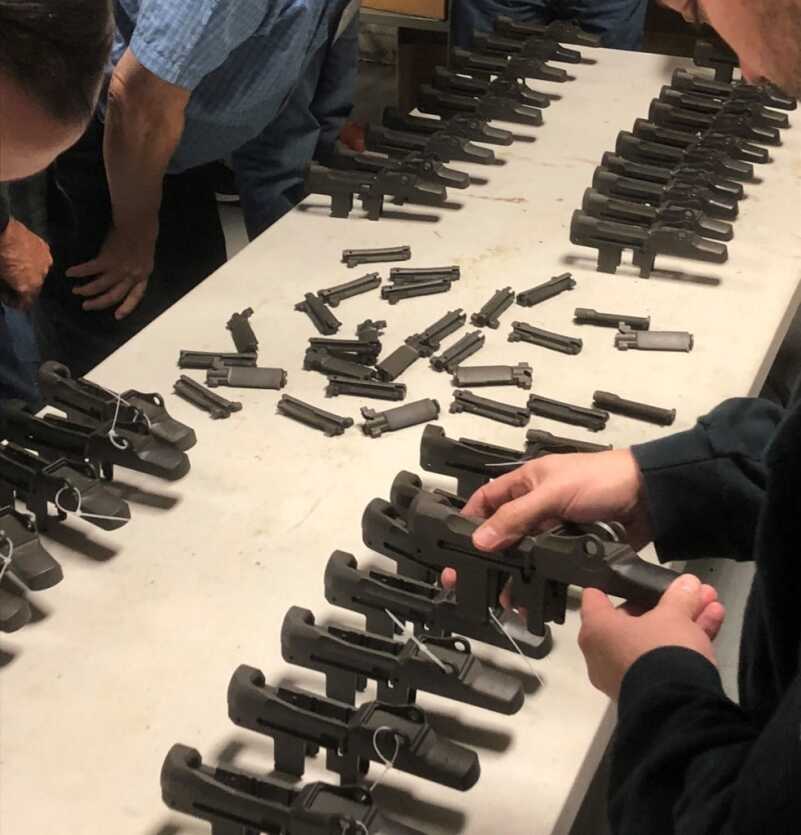
Before you try to build an M1, you should probably understand how they operate. So the class gets started with some instruction on operation of the rifle and some issues that you might see when looking at an M1. They give you some information about what some of the various marks mean on different components. Then the staff brings out some receivers and bolts for you to choose from. Being able to handpick your receiver from a table full of M1 receivers is pretty neat. They also bring out a bunch of bolts and you choose one of those as well.
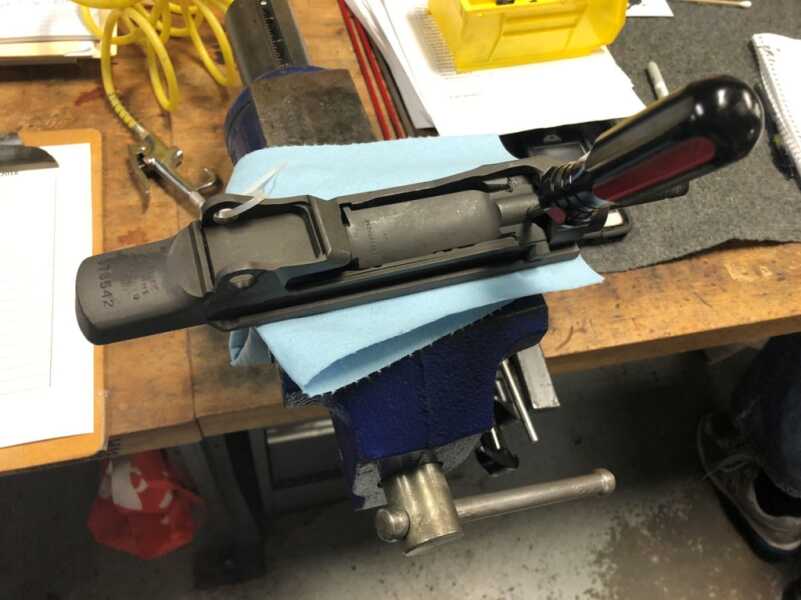
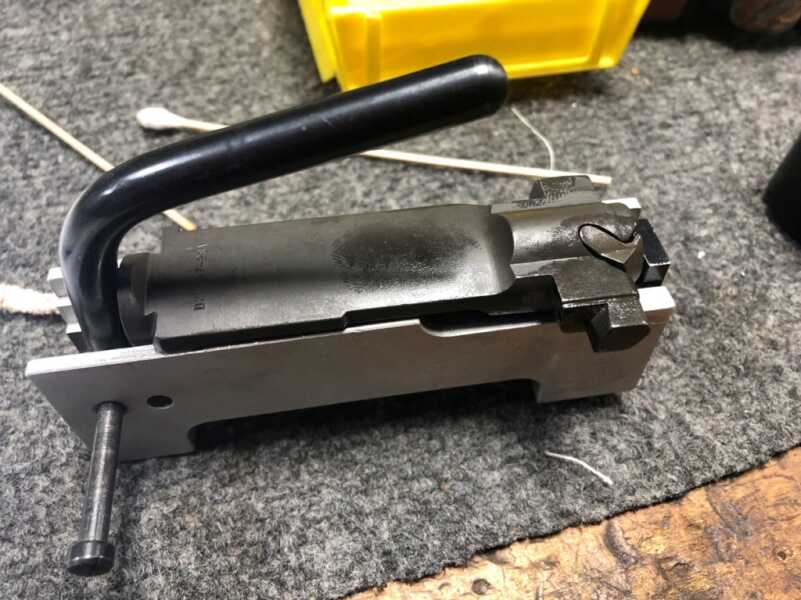
In building an accurate rifle, there are some extra steps that you take in building a rifle. Lapping the bolt is one of those extra steps. It is not uncommon to find issued M1s with only one bolt lug actually in contact with the receiver. Obviously, this is not conducive to accuracy. So you use a lapping fixture in class to lap the bolt lugs so that you have good contact on both lugs.
Barrel installation is pretty straightforward on the M1. You install the gas cylinder, which is where the front sight resides when the rifle is completely assembled. This enables you to see when the barrel is properly timed with the receiver. Then you screw the receiver onto the barrel, torquing it until it’s properly timed. Where things get tricky is the amount of torque required to perform this task. Make sure your receiver wrench is on the receiver properly, so it doesn’t slip off and mar your receiver.
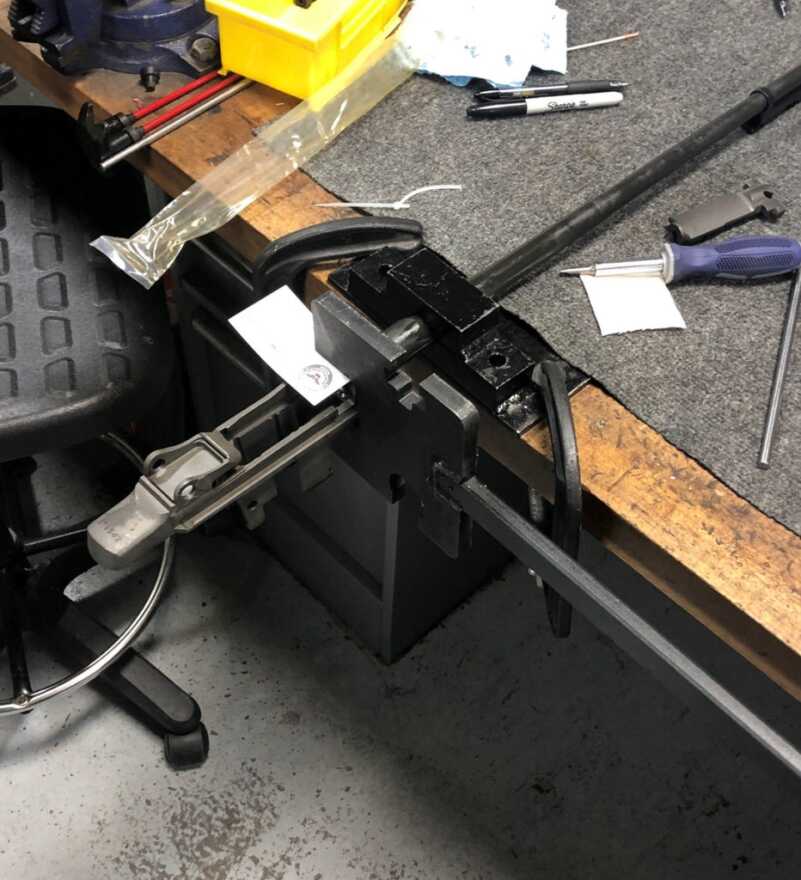
Make sure to put something between the receiver and the wrench so you don’t mar the receiver when installing the barrel.
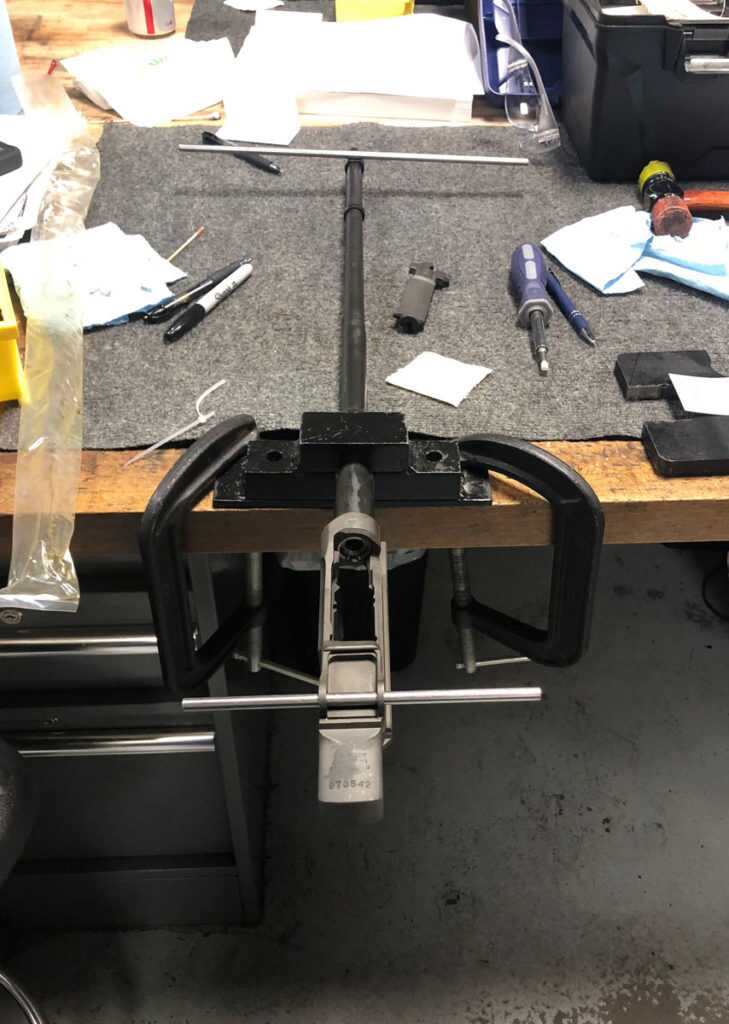
Whenever you replace barrels, bolts, or receivers on most rifles, headspace becomes a consideration. Headspace on an M1 rifle is the distance between the bolt face and the reference point on the shoulder of the chamber. You check this with headspace gauges. A GO gauge ensures that the chamber has the minimum required depth, and the bolt should close on it. A NO-GO gauge is slightly over the maximum limit, and the bolt should not close on it.
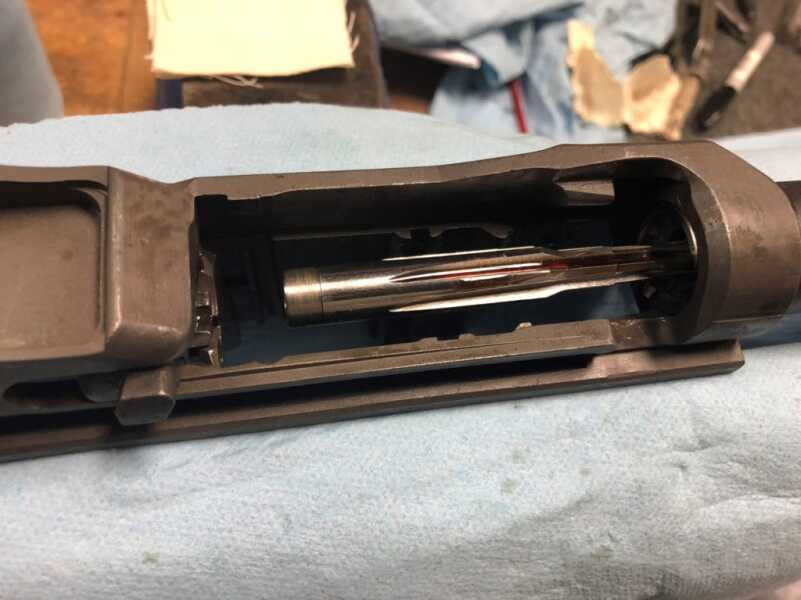
The barrels used in the class are short chambered barrels. This means that the chamber has been partially reamed, but has to have more material removed before it will properly headspace. This is common with new M1 barrels, and it allows you to fit your barrel to your bolt and receiver. A pull-through reamer is used to finish ream the chamber. This is a rather handy way to chamber a barrel as a hobbyist. Since it does not require any machinery it can be done on a workbench. This opens the door to some more advanced projects for hobby gunsmiths who don’t have access to machinery. Stop regularly and check with a GO gauge when reaming the chamber in this way. There isn’t a whole lot of meat to take off, to begin with, so make sure not to go too deep.
Assembling the bolt is much easier if you have the right tools. Bolt disassembly tools were provided for this purpose. You install the extractor spring, extractor, ejector assembly, and firing pin. All of these are basically held captive by the extractor. Care must be taken when assembling the bolt, as it is possible to improperly install some of these parts. This can have some rather surprising and catastrophic results, such as out of battery detonation. So make sure you do it right.
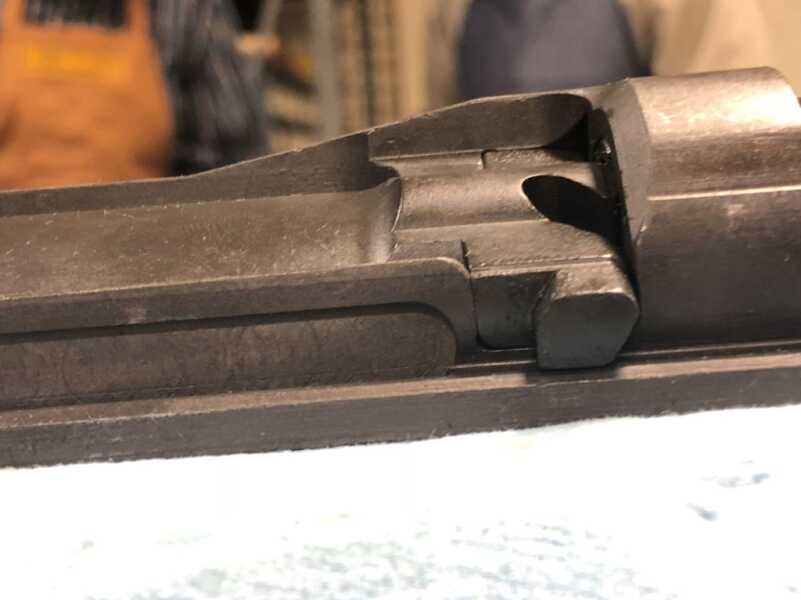
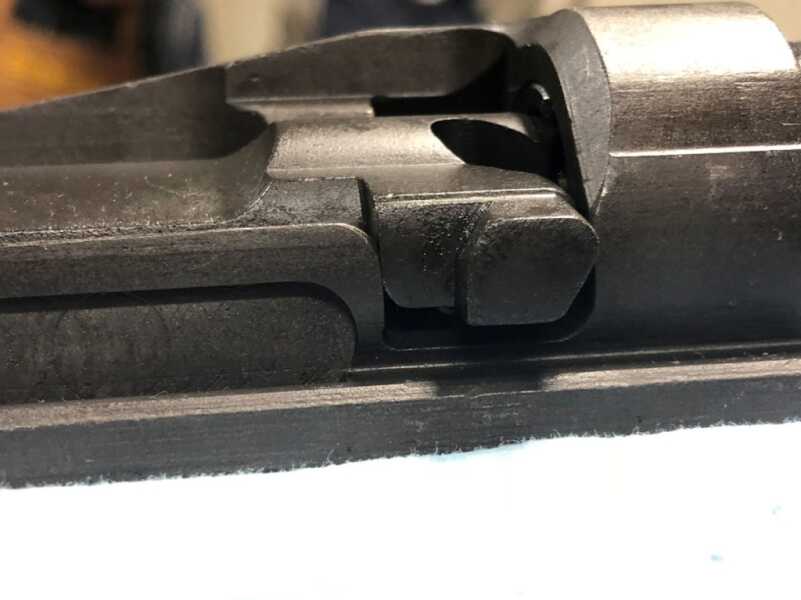
The next thing we did was to assemble the internal receiver components. Again, take care in doing this, as firing a rifle with these parts improperly assembled will break things or cause a number of different malfunctions. The bullet guide keeps the receiver legs spread properly, so it can be somewhat difficult to install. The oprod catch has a “leg” that interacts with the clip latch, so make sure it is in the right place. If it doesn’t want to move it’s in the wrong place. If it moves with the clip latch, then it’s properly installed. The follower assembly is not intended to be disassembled, but if yours ends up that way, it just basically clips back together.
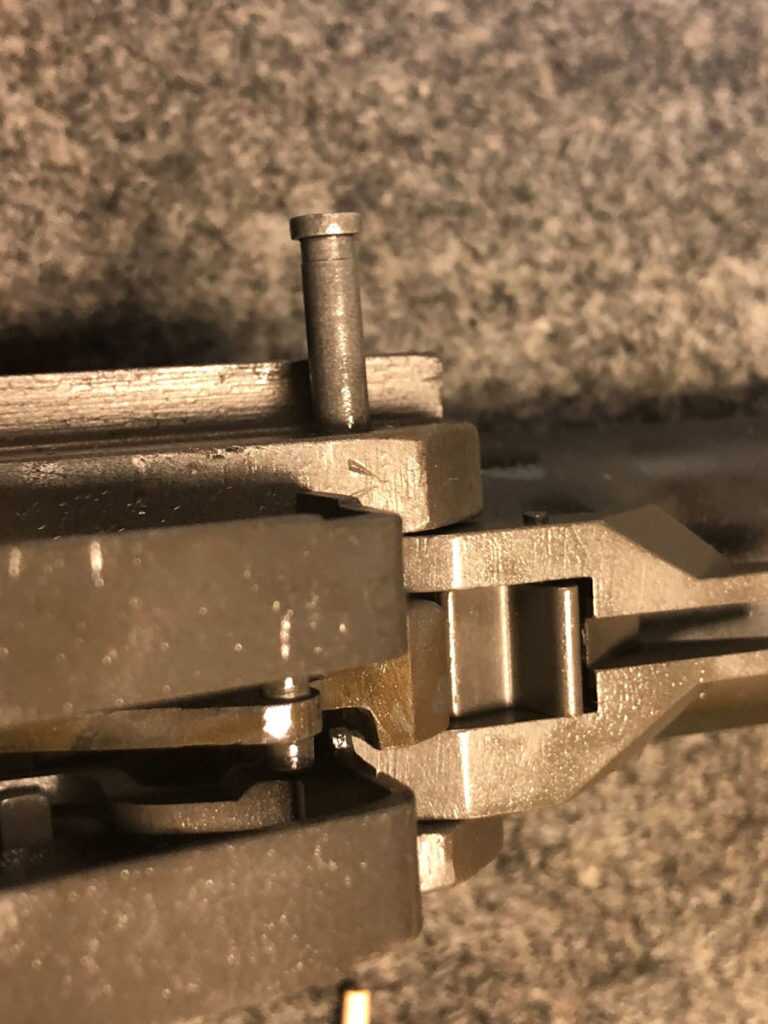
This pin holds all of the other receiver internals in place. These parts must be installed properly for the rifle to function.
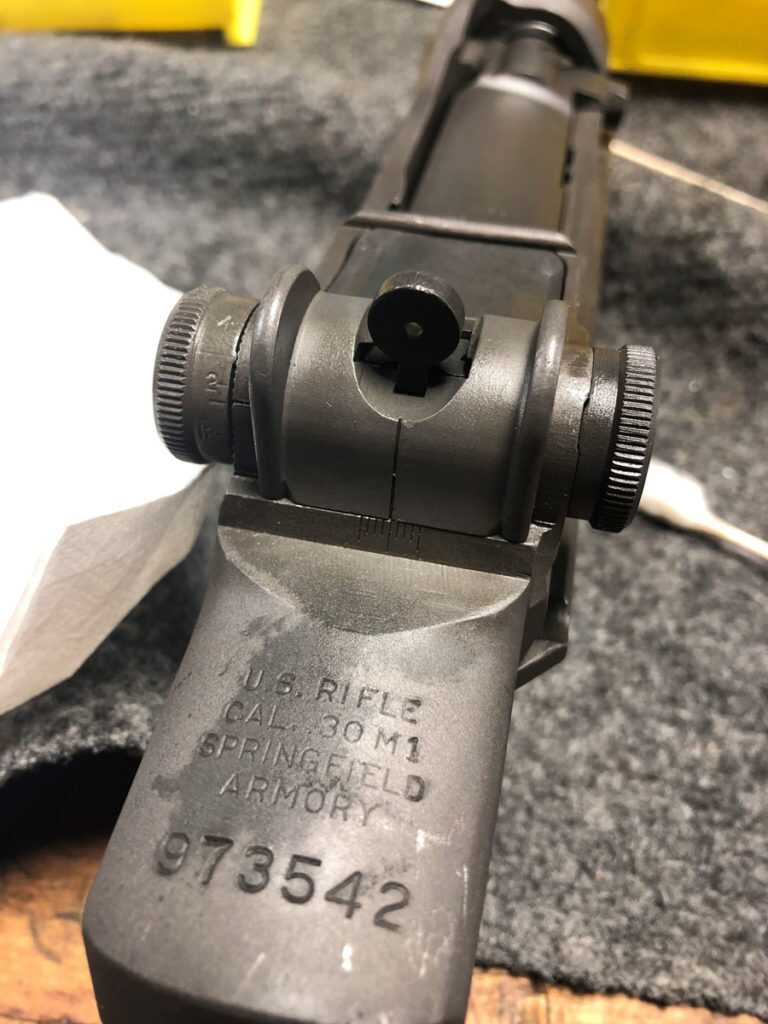
At a glance, the rear sight on the M1 looks pretty complicated. It’s actually not that difficult to install. It pretty well just goes together unless there’s an issue with your parts or receiver. There are a couple of inspection procedures that you use when checking your sight, aside from just checking your parts for obvious damage or wear. Run your aperture about half or two-thirds of the way up. Then try and push it back in with thumb pressure. If it moves, then you need to tighten up your locking screw.
The Gas cylinder on the M1 is a critical component. Though it might not appear so, it is a wearing part. There is a spot inside the gas cylinder that is rather tight tolerenced to allow it and the gas piston to fit close enough to prevent the gas from blowing by. Also, the gas cylinder does not need to be removed typically, as it is more or less self-cleaning. It slides over the splines on the barrel and is supposed to be a snug fit. But the more you take it off and put it back on again, the looser it will become, which is not what you want. So don’t make a habit of taking it off.
The Operating Rod both locks and unlocks the bolt, and carries the gas piston. It’s something of an odd shaped part, and has some bends in it, aside from the obvious dogleg. At the front end, the gas piston is mounted on it. This is a pretty high tolerance part, at least with regard to firearms. There is only a .001” tolerance for it to actually function as intended. There is a gauge to check the bends in the op rod, but it is probably better to just check it with your rifle as the gauge is very expensive. As long as it doesn’t bind in the gas cylinder, it’s good to go. Install it in the rifle with the bolt. They both should slide back and forth through their whole length of travel just by tipping the muzzle up and down.
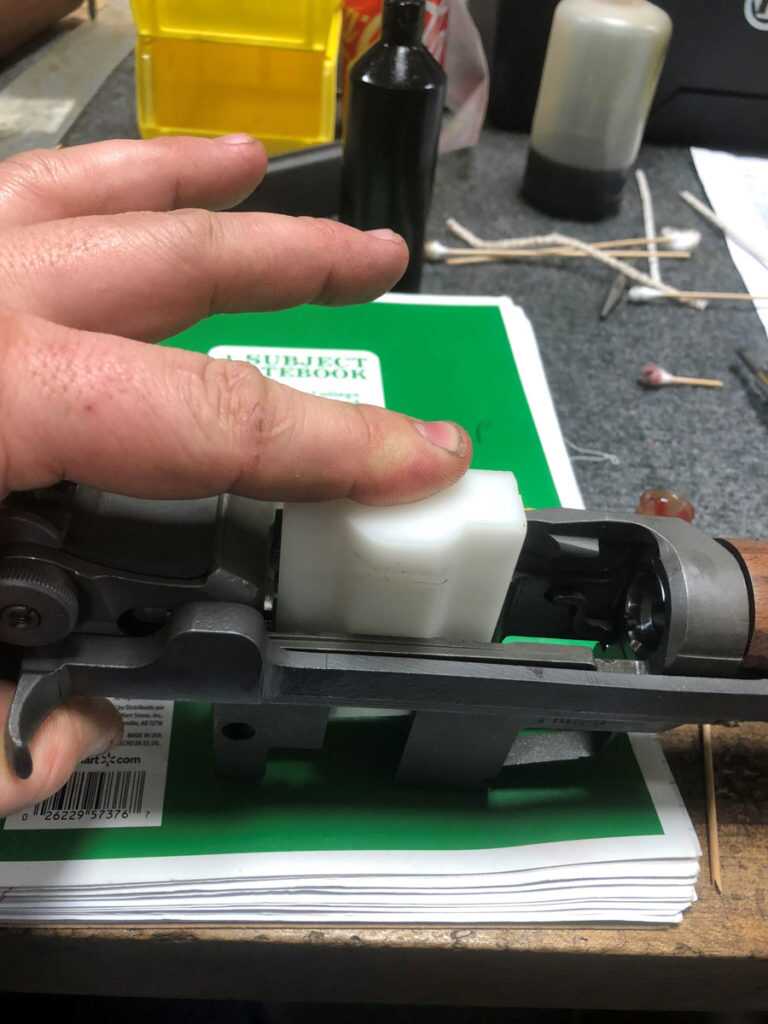
Using Rods to ensure the barrel is properly timed. You can put the rear rod in any one of several places on the receiver, just make sure you put the rod in the same place every time.
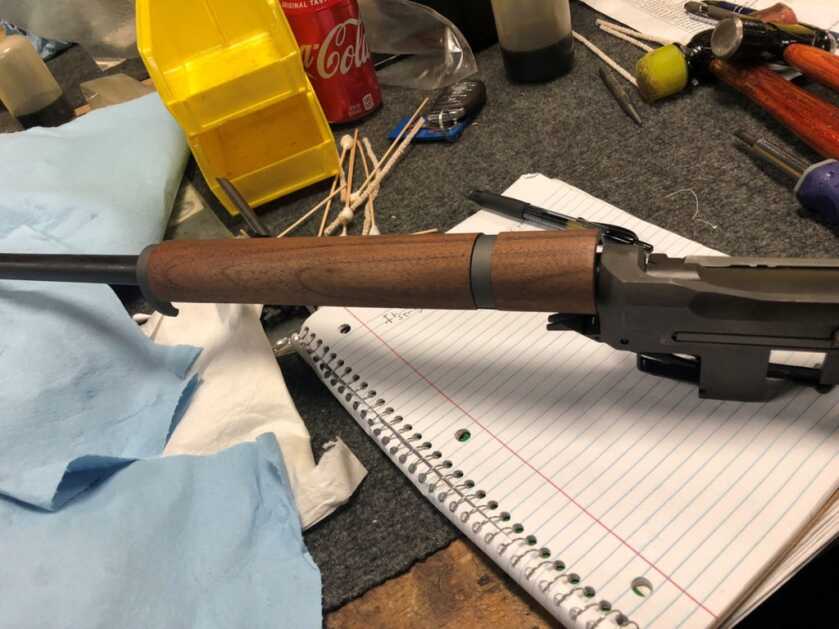
The last thing to do is install the stock. The stocks used in class are new commercial made. They are quite snug and you end up doing some minor fitting to them to get them on. This is not a bad thing, though. Having a snug fitting stock is conducive to accuracy. Like any other work of this time, you want to take a little at a time. You can’t put back on material that you remove, so you want to be very careful when doing this. Don’t try and force something in too hard or you risk damaging the stock. Once you get the receiver installed in the stock, you need to fit the trigger group. This part you want to be especially careful with, as there are several small surfaces that you’ll need to relieve, and it doesn’t take too much to damage them. Once you’ve done that, function test your rifle to ensure that everything is working as it should and that nothing is binding in your nice, snug stock.
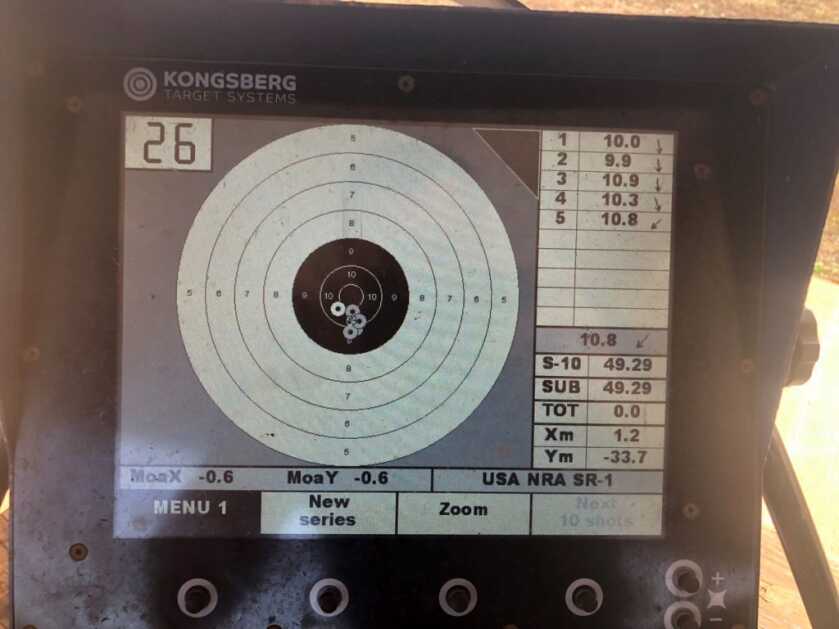
The last day of the class covered some additional accurizing procedures and some range time at the CMP’s Talladega Marksmanship Park with our new rifles. We were shown in detail what constitutes a National Match M1, and what work we could do to our rifles to take them to that level. The instructor also explained which of these were legal for the different classes for M1s in CMP competition-since that’s what the rifles built in class are intended for. Typically, 1 MOA is about the best you can expect from an M1 We did some trigger work on our rifles as part of this. The instructor informed us that some of the rifles built in class would probably shoot well enough to not benefit significantly from further accurizing. When we went to the range, I found that my rifle was one of those. I was grouping about 1 MOA from my M1.
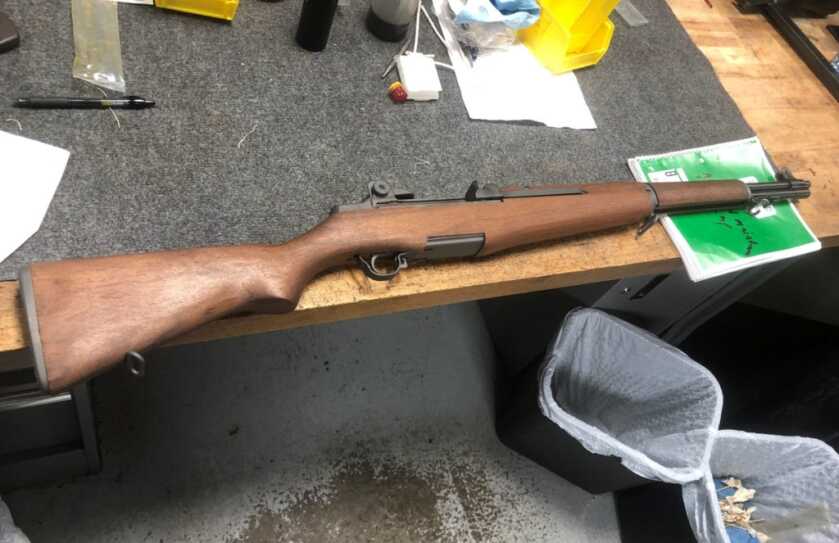
All in all, this is an excellent class, and I highly recommend it. And when you’ve completed the class, you have a very nice M1 to show for your efforts. If you have an interest in M1 rifles, how they operate, or how to assemble one you will enjoy the Advanced Maintenance Class.
For more information about the Civilian Marksmanship Program visit thecmp.org
For more information on the Advanced Maintenance Class visit thecmp.org/training-tech/advanced-maintenance-class/

Hello mr. Mace,
I have a need to make my own bolt lapping tool for my m1 projects I like to know how you made yours and I’m looking for a receiver/barrel alignment indexing machine from the 40s, I see them from time to time but always miss out do you have any leads or suggestions?
Thank you for your articles you speak my language.
Cheers
Took the class 4 years ago and it was more fun then most anything, also teaches a lot that carries over to other projects, like a ‘ghost’ AR10 and a 15. And to reiterate the people there were fantastic, also got the opportunity to bring home a Harvester with an LMR barrel from the store, And he should be living down the bad rep of no permission.
I think my experience would be similar to yours. I think it would be great fun for me. Too bad I can’t travel anymore or I’d sign up in a heart beat.
Best “mancation” I have ever had. You build it, you shoot it, you bring it home. I was going to do the “buddy class”, but my buddy couldn’t get permission to go…(after 2 years he still hasn’t lived that one down.)
-If you can , go to the course. No matter what your experience level you will enjoy it. Guys at Anniston are great and just a class act. Professional, patient, helpful.
I’m scheduled for a June 2019 class. Really looking forward to it.
Cmp # 96210. When can I take the next advanced m1 mechanics class?
Great Article.
I attended this course in January 2019.
The team at CMP were GREAT.
PIg, Chris, and Chris (CMP Instructors) went out of their way to make us all competent with the M1 Garand.
Thank you CMP.