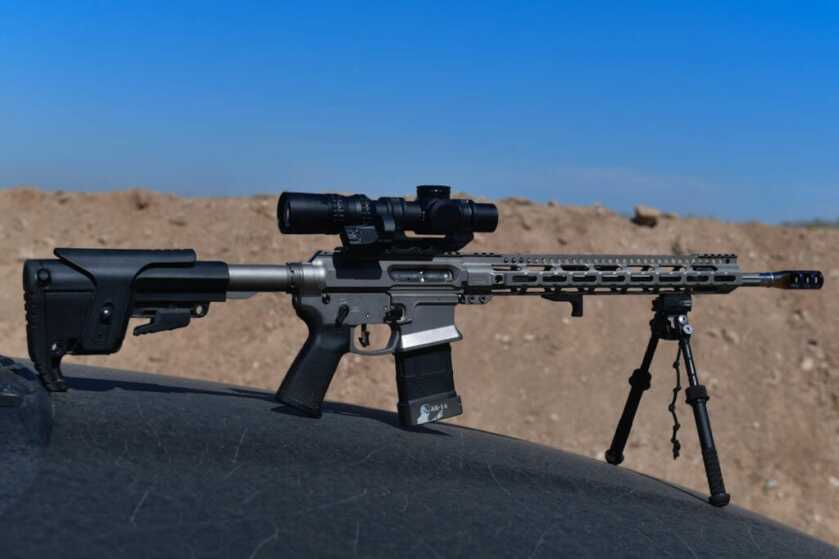
The Ultimate 3 Gun Rifle – Part 1
To make the lightweight BCG and ultra-light buffer actually work, you need an adjustable gas block. Over gassing causes a lot of cycling problems in ARs and also beats up your components. The downside to adjustable gas blocks is that adjustment screws can get carbon locked and the detents and springs are tiny and complicated. I would also be using a handguard with a small inside diameter so I needed a low profile gas block. SLR Rifleworks to the rescue!
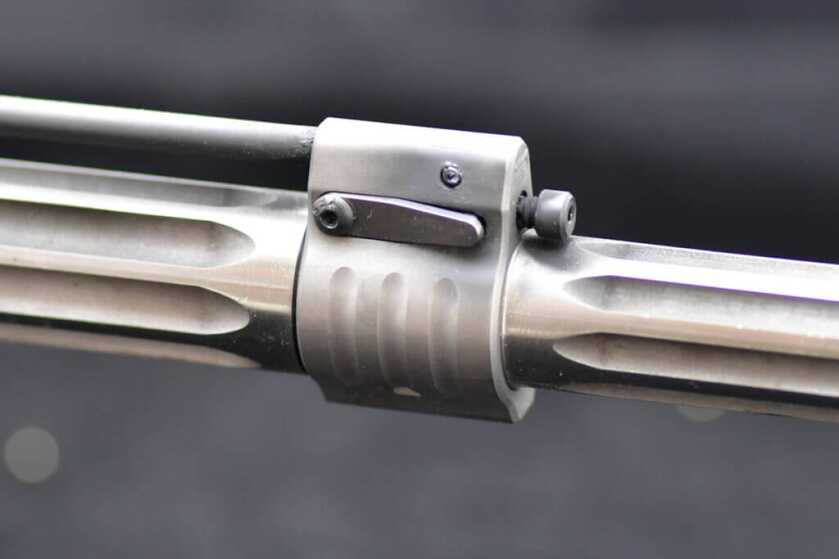
SLR Rifleworks Sentry series of gas blocks are tiny and can fit under almost any handguard. The adjustable versions are also super simple. A big leaf spring with a 1400 degree temper on the outside puts tension on a detent ball allowing 15 gas settings with a positive click between each one. They also come in Titanium! I went with the Sentry 7 (for .750 barrels) with set screws with .400 spacing. The blocks are also available in a clamp-on style and for various barrel diameters.
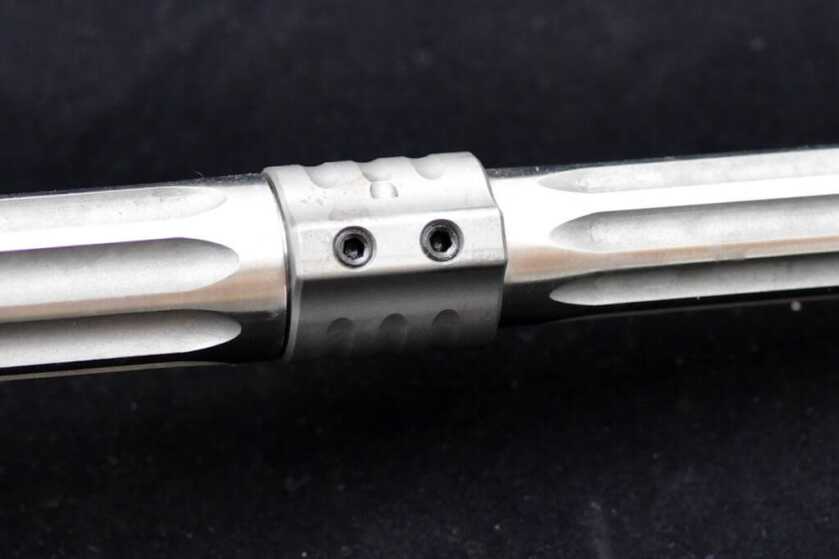
Craddock dimpled the barrel for a single set screw but the SLR has two set screws. SLR makes fantastic dimple jigs that work with multiple screw spacing. They come complete with a drill bit, centering screw, and drill bushing. The jig also has many pairs of flats so you can put it in a vice when drilling. With the jig, I was able to easily drill the second dimple in minutes. I paired the block with SLR’s Black Nitride coated gas tube and their long-shafted ball end drivers for adjusting the gas block under the handguard.
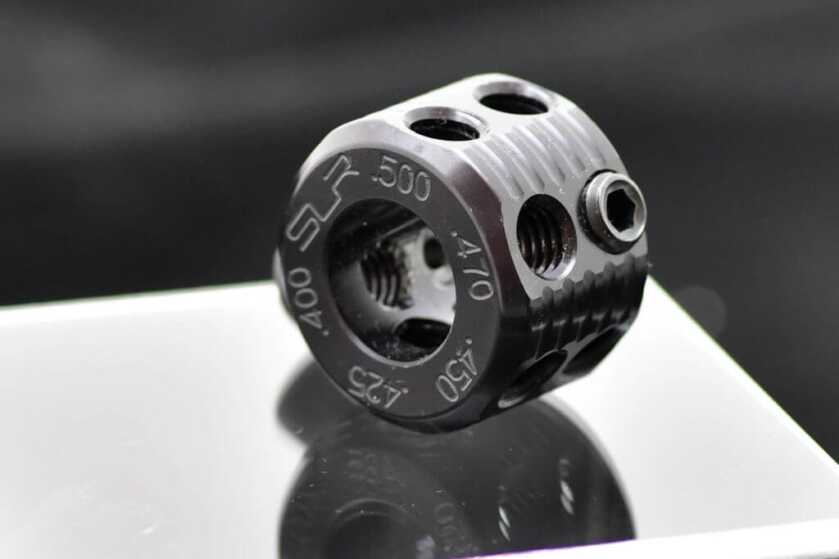
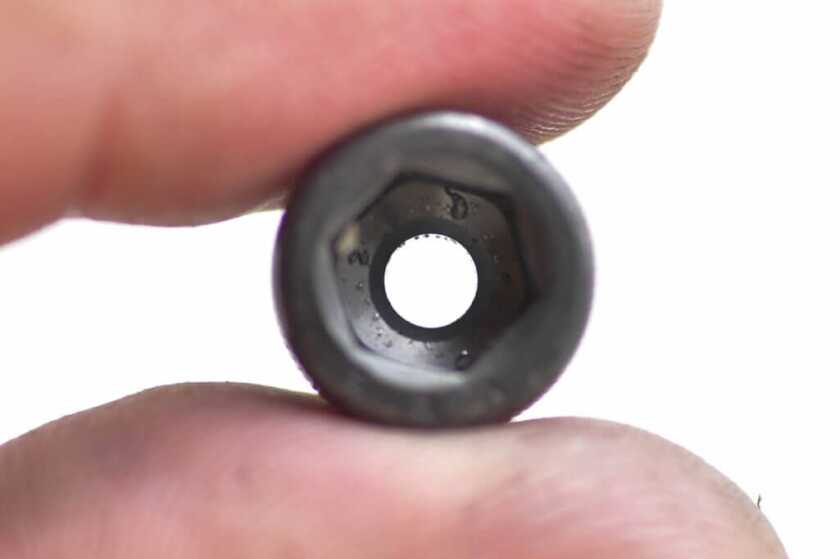
I received the parts from SLR long before the actual assembly started and when I sent SLR some early preview photos of the rifle they noticed the leaf spring was an old design. A few days later I had the new spring and a small pile of screws (extras) in my hands to upgrade the gas block. SLR makes great stuff and their service is also top-notch.
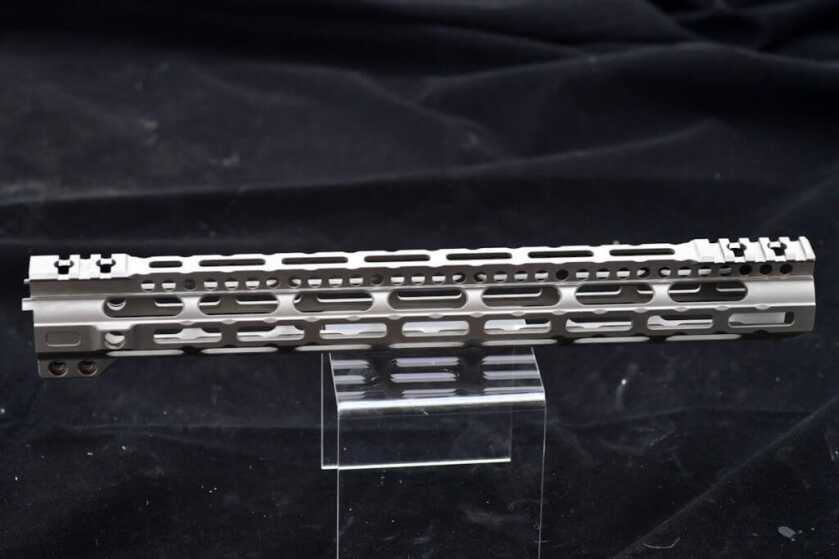
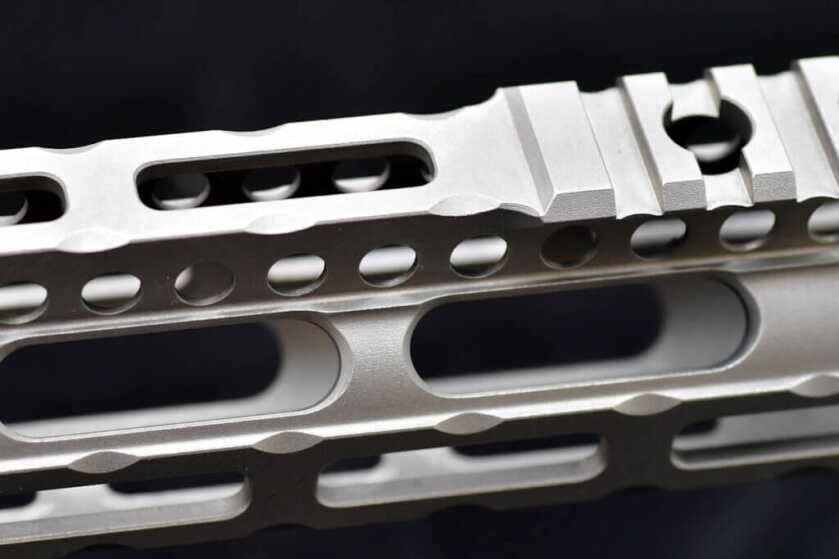
I knew I wanted a 15-inch handguard to get a long clamp grip. I wanted it small and light, with minimal pic rail, and lots of M-Lok slots. Midwest Industries Ultra Lightweight fit all my requirements. It is made of 6062 aluminum and has M-Lok slots at 3, 6, 9, and 12, two anti-rotation QD sockets, a small chunk of pic rail built-in at the front and rear, 1.5 inches outside diameter, and it’s super light. The 15-inch version weighs only 8.9 ounces including the Titanium barrel nut and mounting screws. You will see a lot of 15-inch handguards in the 9-10 ounce range but they don’t include the barrel nut. MWI’s published weight is installed. How do they get it so light? They carved out every bit of unused space possible, tiny scallops between slots, holes all along to top channel and even the pic rails have extra material taken out. Despite all that it’s still very rigid even when pushing on a barricade stop or bipod.
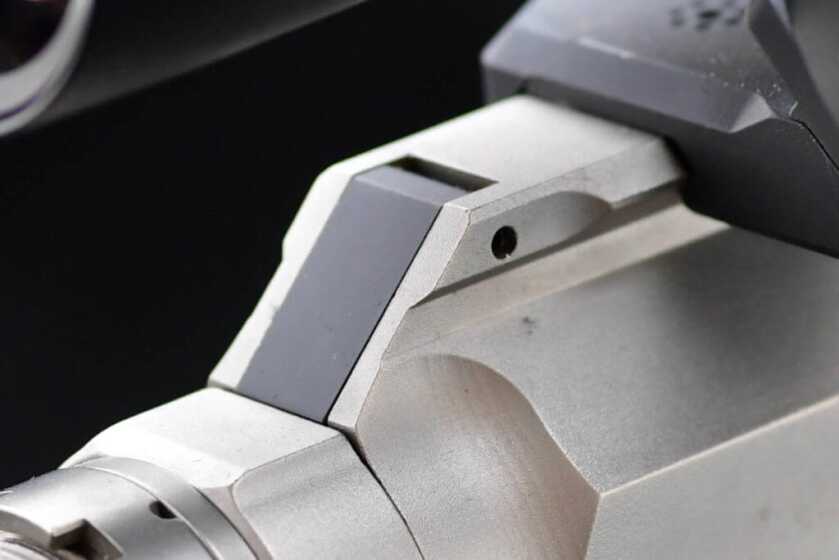
I have never had a side charging AR but I always wanted one. I did not know if I would love it or not but I wanted to try it. I went with the New Frontier version of the Gibbz sidecharger, with Gen 2 detent charging handle, the C-4. This billet upper weighs in at a beefy 13.3 ounces and features a non-reciprocating charging handle. It’s made from 6061 aluminum and works with any standard BCG by changing out the cam pin. There is no brass deflector but it does have a large ejection port that works up to .458 Socom. There is no forward assist; they are dumb so this is a plus. There is no cut for a standard charging handle; instead, there is a door that seals the rear from gas which is great if you use a suppressor. There is no ejection port dust cover but this is a competition gun so I am not worried. I did have to modify the MWI handguard’s anti-rotation tabs to make it fit this upper, but that only took a few minutes with a file.
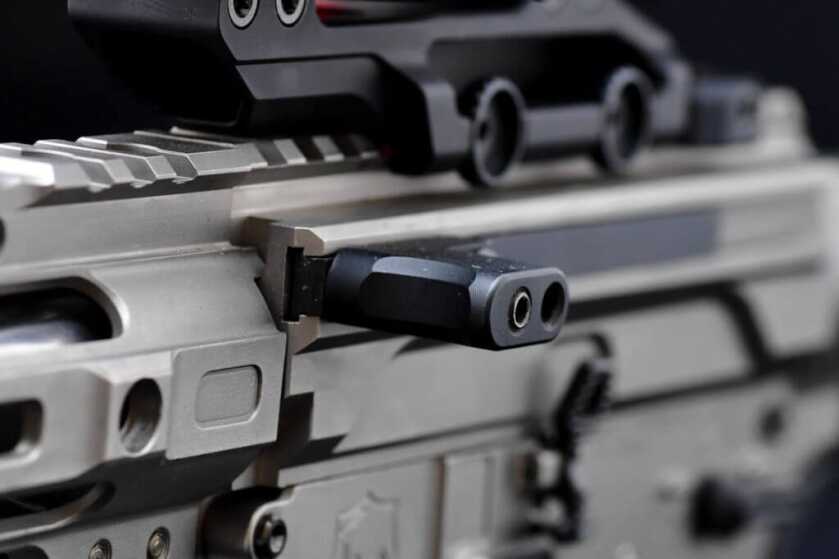
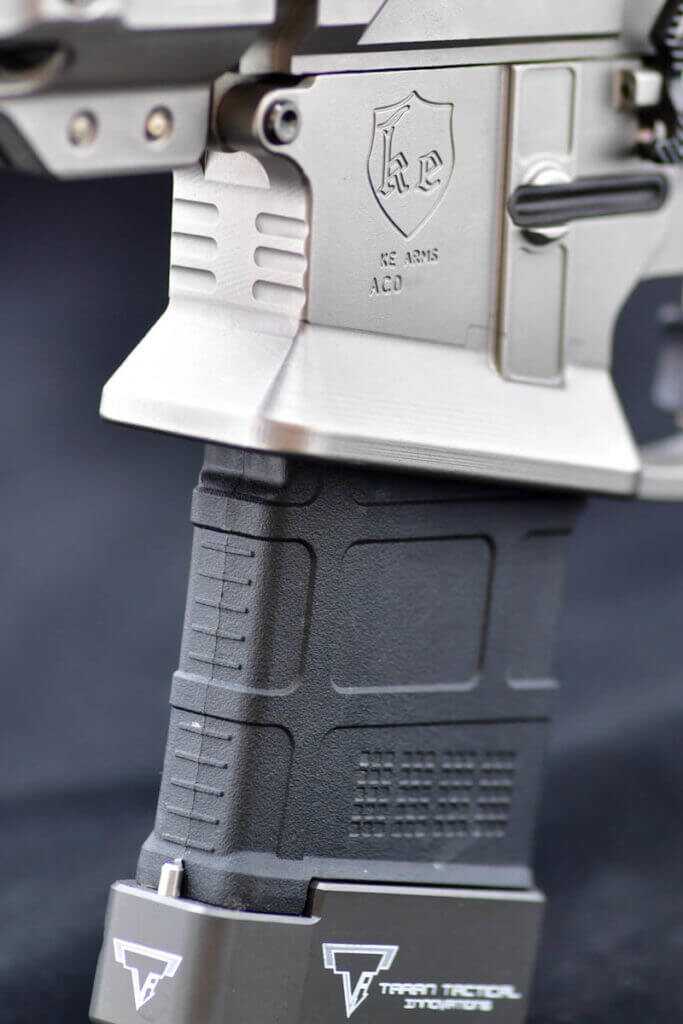
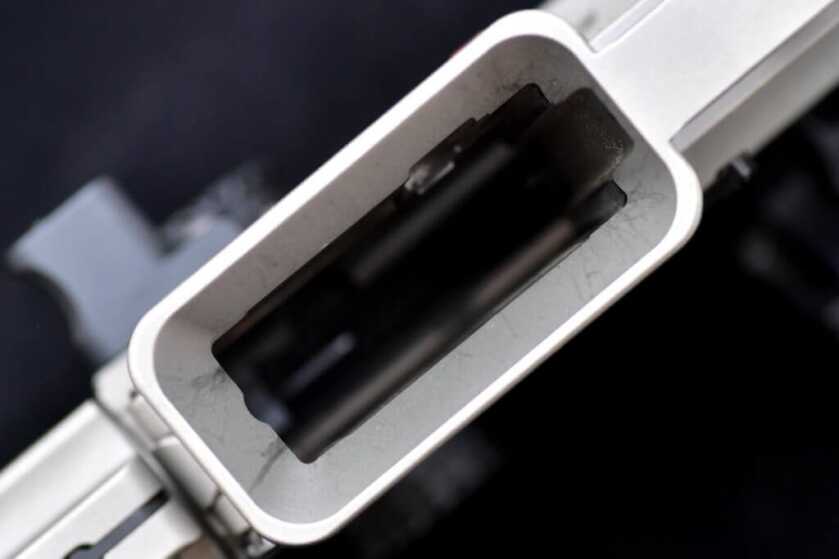
I went with the billet competition lower from KE Arms. It’s made from 7075 aluminum and it’s also beefy tipping the scales at 9.6 ounces. What makes this lower awesome is the giant magwell. Unlike some other magwell lowers on the market this one is compatible with both Surefire quad stack mags and the fantastic Magpul D60 drums. I shoot in Open Division so I don’t often reload but they are faster with this lower. On stages with lots of close paper and then long-range steel I use 55gr on the paper and switch mags to 75gr for the steel. There is no sense wasting 75gr ammo on 10-yard paper targets. For stages where you start slung and empty and have to load on the clock, this setup is awesome. That’s where these two receivers really shine. In my first two matches with this rifle, we had 3 stages where you had to load on the clock. The magwell makes it easy to get the mag in the gun and when slung you can easily charge it with sidecharger. With a conventional charging handle, you need either a really long sling or you need to take it off your body to charge it.
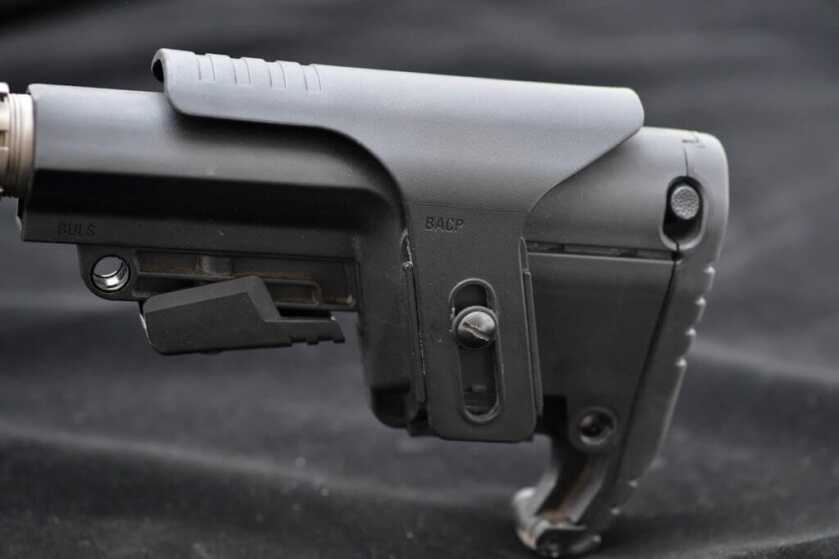
I still needed a way to shoulder this rifle and I needed a cheek rest with adjustable height, but most of those stocks are heavy. Not Mission First Tactical. They are well known for their ultra-light 5.8 ounce Minimalist stock but they have other great options too. I went with the Battlelink Utility Low Profile (BULS) stock at 8.75 ounces with the optional adjustable cheek rest at 2.72 ounces for a total weight of 11.47 ounces. For comparison, the Magpul Gen 3 PRS stock weighs in at 31.2 ounces. The BULS stock is adjustable for length and the cheek rest is wide and comfortable. The stock also features a storage area in the butt via a hinge, a sling slot, and two QD sockets. It is available in both Milspec and Commercial sizes.
With the building blocks of an accurate rifle in place, I needed a good trigger. I tried several cassette-style triggers in my old rifle for over a year or so. Over time I had issues with them lighting off primers with Hornady Steel Match 75 gr., my go-to for 200-500 yard shots. The problem continued even when using heavier hammer springs.
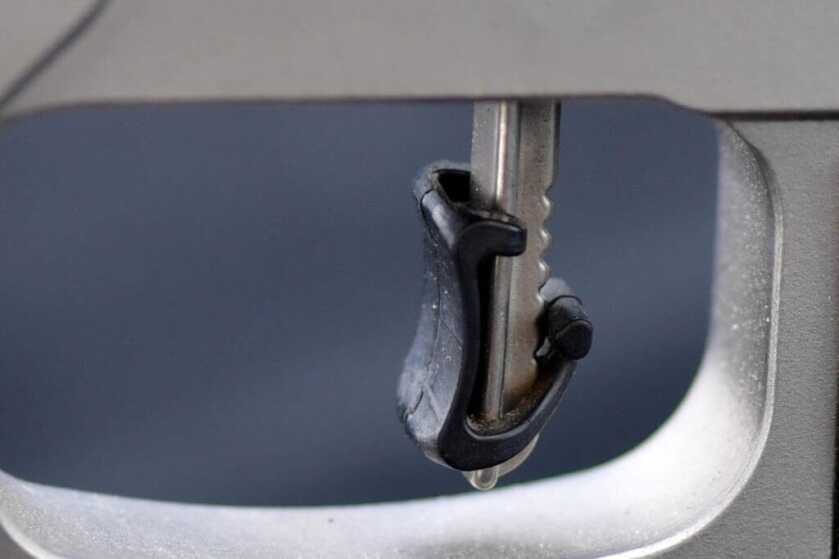
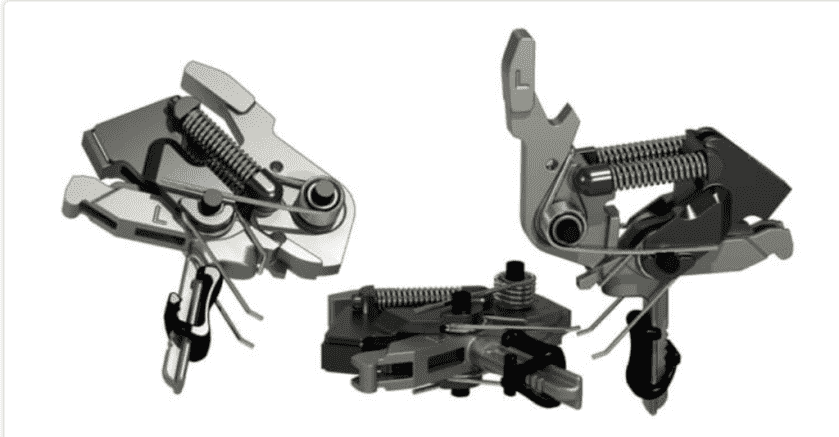
While looking for other options I found the Hiperfire Eclipse. I don’t know if the guy that designed it was drunk or a genius but it’s a true out of the box design. The beauty of the design is that the two coil springs make the hammer hit hard; it does not affect the pretravel weight. I also really like the finger pad. It’s adjustable for height and with that pad, your finger goes to the same position on the trigger every time – consistency counts. It breaks at a very clean 2.5 pounds with less than 0.5mm of pre-travel and minimal overtravel. This makes follow up shots and doubles lightning fast. While it’s light and short it’s also very predictable. Between testing in both the old rifle and new rifle, the Eclipse trigger has been flawless for over 5000 rounds. It’s a keeper!
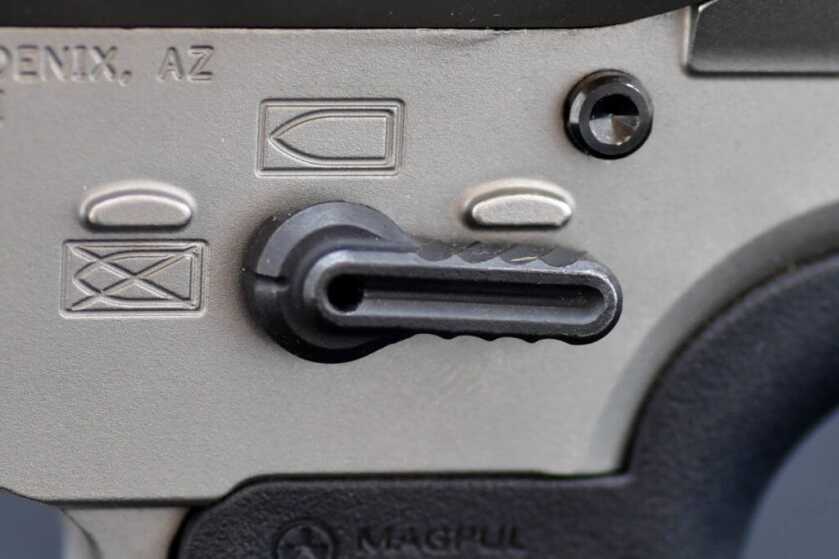
On to controls. Battle Arms Development (BAD) makes cool rifles and great controls. I used their Badass Pro Ambi safety set for a 60-degree throw. The levers attach via a dovetail and headless screw (be sure to use thread locker!) and are interchangeable. As a righty, I put the long lever on the left and short on the right. The safety has a positive and audible click when flicking on or off and the levers are textured on the top and bottom to prevent slippage. The center section is reversible for either a 60 or 90-degree throw and it includes detent and spring.
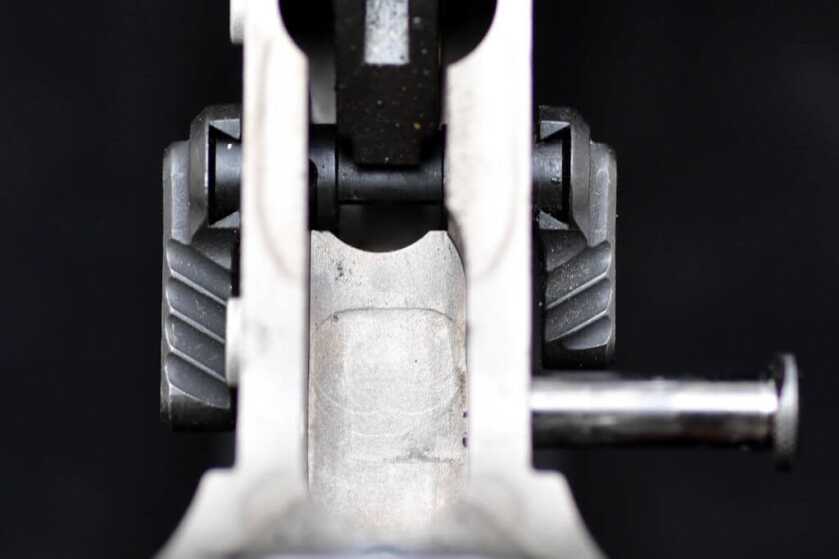
I also used BAD’s billet enhanced bolt catch in Titanium. The bolt catch has a nice machined texture and a larger release paddle and bolt hold open. It is compatible with the Norgon Ambi catch but I am not using it. BAD also supplied a set of their Titanium takedown pins as well. They are 50% lighter than Milspec pins and have a nice texture on the outside for a positive grip and they are slightly longer than milspec making takedown easier.
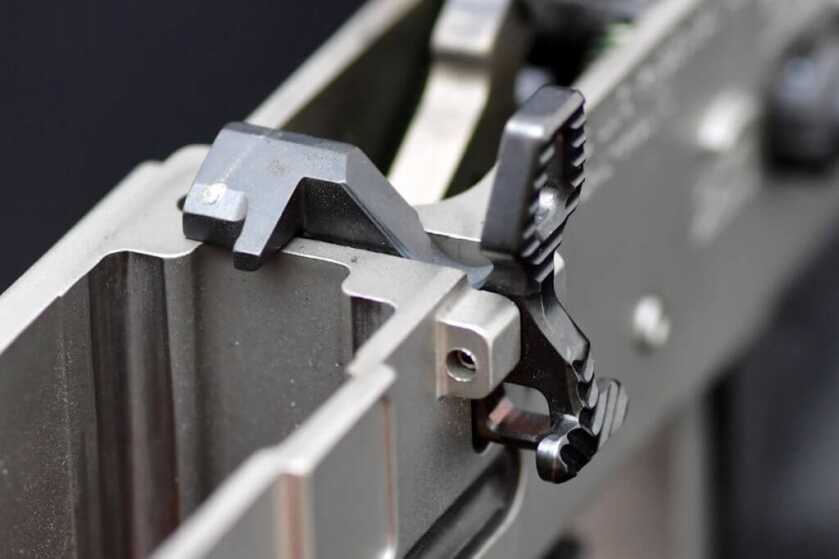
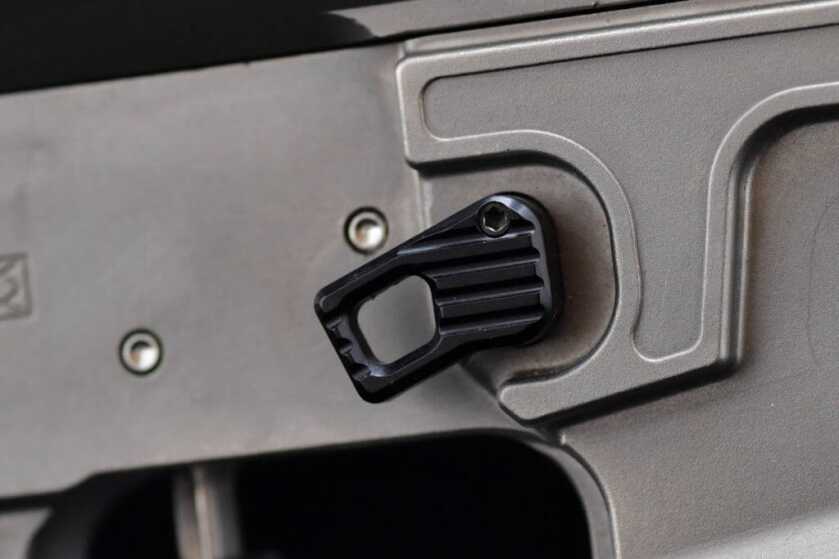
Lastly, I used BAD’s Enhanced Modular Magazine Release with the large finger pad and BAD’s mag catch. The finger pad uses a similar dovetail setup to the safeties. It can be easily swapped for the smaller pad or a milspec sized button in seconds. I have long fingers and no trouble reaching a standard button but the larger pad just gives me a bigger target to hit when reloading and has not resulted in dropping a mag accidentally so far.
Side note: installing a bolt catch can be a massive pain and it’s easy to ding up your new lower when installing it. Two things made it much easier. KAK’s bolt catch roll pin starting tool, a steal at ten bucks. The other was using a stainless coiled roll pin instead of the standard roll pin. The coiled pins are much easier to start and often can be reused if you remove them. You can find them and complete coiled roll pin sets on eBay for a couple of bucks.
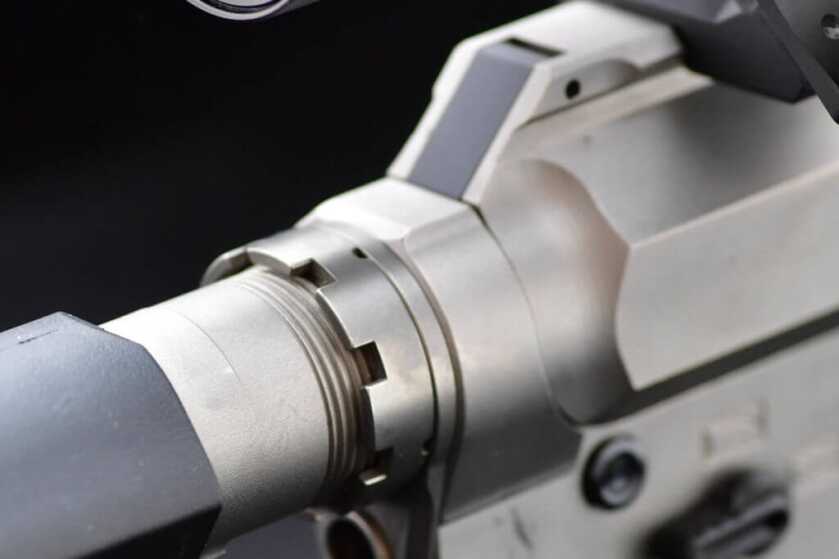
I used a Magpul MOE grip. They are simple, they work and they don’t cost much. They are also relatively light. To attach the grip I used a V Seven Titanium grip screw. I also rounded out the small parts with V Seven’s Titanium trigger pins, end plate, castle nut, and buffer catch.
Part 2 Build List
Gas Block SLR Rifleworks SA7-Ti-S MSRP $188.49
Gas Tube SLR Rifleworks GT-R MSRP $23.99
Dimple Tool SLR Rifleworks DJ7 MSRP $31.99
Gas Block Tools SLR Rifleworks BD8 MSRP $12.00
Barricade Stops SLR Rifleworks HS-ML2B MSRP 33.99
NP3 Coating Coating Technologies LLC MSRP $500.00
Handguard Midwest Industries ULW15 MSRP $259.95
Trigger Hiperfire Eclipse MSRP $275.00
Stock Mission First Tactical BULS MSRP $99.00
Cheekrest Mission First Tactical BACP MSRP $19.99
Grip Magpul MAG415 MSRP $19.95
Lower Receiver KE Arms Magwell Lower MSRP $279.95
Upper Receiver New Frontier C4 Side Charge MSRP $225.99
Safety Battle Arms BAD-ASS-PRO MSRP $45.00
Ti Receiver Pins Battle Arms BAD-EPS-Ti MSRP $38.95
Mag Catch Battle Arms BAD-EMMR MSRP $33.95
Ti Bolt Catch Battle Arms BAD-EBC-Ti-B MSRP $50.00
Ti Castle Nut and Endplate V Seven Systems MSRP $100

Well written article Matt!
Incredibly looking and preforming rifle build with full specifications and details for their manufacturers. I will be looking into some of these new companies and their products for my future builds.
Thanks from Phoenix AZ!
fantastic series!