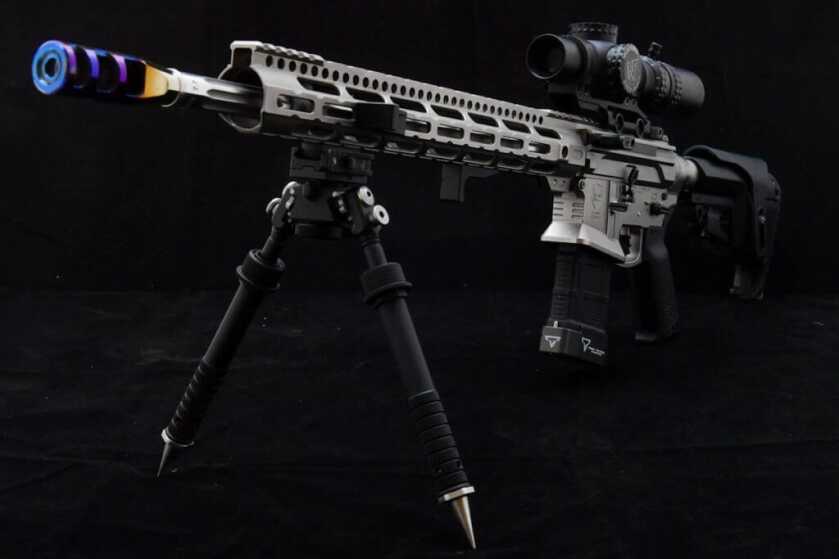
When I got back into 3 Gun heavily (or multigun as it’s called these days) 4 or so years ago I was still using my old American Spirit Arms team rifle from 2001ish. Those team rifles were fairly advanced when built. As I recall, the team shooters and ASA were one of the first to experiment with 18-inch barrels and rifle-length gas tubes, and the Miculek Comp was the new hotness at the time. But from about 2005 to 2015 the AR platform advanced by leaps and bounds and the old rifle just was not up to today’s standards. I went through a few modern upgrades, testing ideas I had and learning about some of the new parts.
In late 2019 I decided it was time for a new rifle. There are many very good factory competition multigun rifles on the market now from companies like FN, POF, JP, TTI, and more. I looked hard at many of them. While each was a fantastic rifle that would do well in multigun, everyone was either missing something I wanted or had something I didn’t want. For example a 5.56 chamber instead of 223 Wylde, a tuned gas port instead of an adjustable gas block, a great trigger but a so-so comp, or vice versa. So I decided to put together my own rifle, with each and every part exactly what I wanted.
I shoot in Arizona primarily and our style of stage may be different than where you shoot. Out here we shoot a bit farther than many other parts of the country. Our multigun matches regularly feature targets at 400 yards. The Rio Salado club hosts the Superstition Mountain Mystery 3 Gun (SMM3G) match, one of the oldest and biggest multigun matches in the country. Rio also has a monthly match called Black Rifle. It’s basically 5 multigun rifle stages and we shoot past 400 yards regularly there too. Cowtown hosts their monthly Accurized AR Match, which is a hybrid of PRS Gas Gun and multigun with at least one target past 600 yards every match. You can shoot some variant of a multigun match every weekend here in AZ.
I built my rifle for AZ shooting. If our multigun matches were mostly bay stages limited to 100 yards or so, it would be a different build. So keep that in mind when reading about the parts selection.
I wanted the best of the best – and the prices of the parts reflect that. You could copy my build and have an amazing rifle but that is not in everyone’s budget. I will be highlighting each part and explaining why I chose it. I am hoping that some readers find an idea or part that will help their shooting if they don’t want to copy the complete rifle.
On with the show! A quick note about the photos in this article. This rifle is not a safe queen, it is a hammer, a tool and like a hammer, it is used hard. Within days of completing testing, it was getting thrown into dump barrels, smacked into props, and rode hard. As a result, you will see dirt, dust, carbon, oil, and handling marks on the rifle in the photos.
In general terms, I wanted a light, fast handling rifle that would be super accurate. I knew my upper and lower were rather heavy so with most of the other parts I was looking to save weight, I wanted the rifle with glass to come in around 9 pounds.
One of the primary things I wanted to improve with this rifle was accuracy. Accuracy starts with the barrel. Picking the right barrel was of prime importance. I wanted something capable of shooting sub MOA groups at 100 yards. In multigun we typically shoot at targets the size of trash can lids, but service rifle shooters have much smaller targets and high precision requirements. So I looked at the service rifle world to see what barrels they use. Satern, Krieger, and Bartlein are some of the top choices. I went with Bartlein because of how they rifle the barrels. That requires an explanation of the different ways that rifling is made.
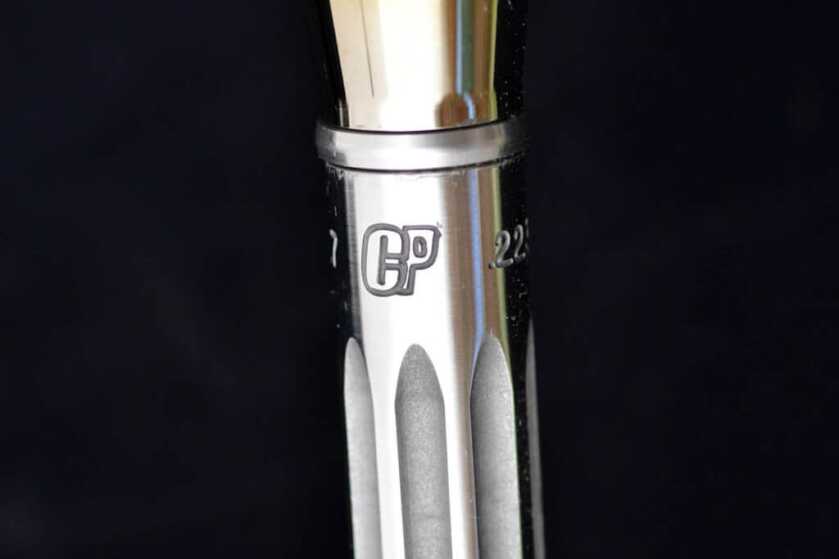
In very simple terms there are three ways to rifle a barrel. Cold Hammer Forging, Button rifling, and Cut rifling. For Cold Hammer Forging, a smoothbore barrel blank is hammered down around a mandrel with a negative image of the rifling. The metal is smashed into the mandrel which forms the rifling. Button rifling involves pushing or pulling a button through a barrel blank which forms the rifling. Cut rifling is just that, the lands and grooves are cut into the interior of the barrel. Cut rifling generally produces the most accurate barrels. For the fellow geeks that want more info, YouTube has videos of how each type of rifling is done.
I knew I wanted a barrel with cut rifling but Bartlein takes it a step further. They cut each groove individually; they call it Single Point Cut Rifling. This gives them precise control of each groove. It also allows them to do really trick stuff like variable twist rifling. A 223 barrel might start with 1 in 8 rifling at the chamber and speed up to 1 in 7 at the muzzle. Bartlein can also carry the twist rate to the fourth decimal, as in 1 in 7.7432 or 1 in 10.0003; that is serious precision folks. Bartlein is regarded by many as the best and most accurate barrels made.
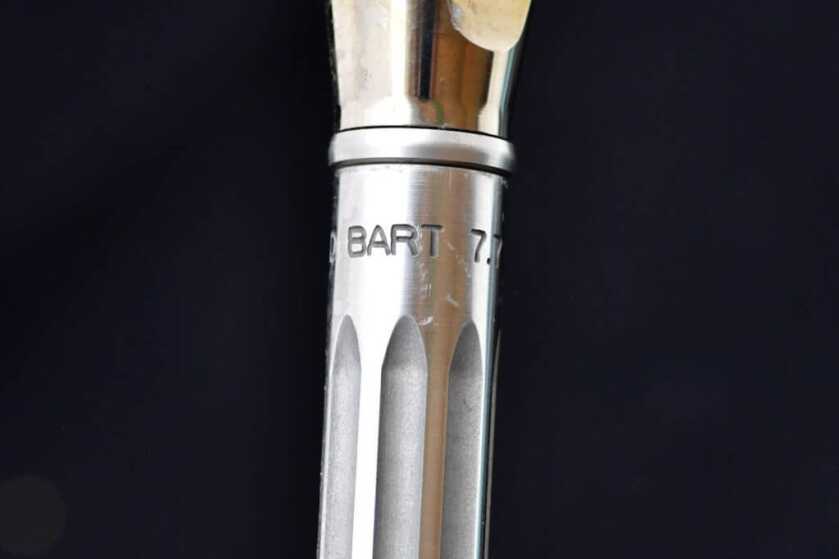
The problem is that Bartlein does not make AR barrels; you need to get a rifled blank and have someone turn the profile you want, cut the chamber, add the barrel extension and drill the gas port.
While searching for shops that did this, I found Paul Craddock of Craddock Precision. Craddock sells a 3 Gun barrel made from Bartlein blanks as well as many other amazing barrels. I will be using a Craddock/Bartlein in an upcoming CZ 457 NRL22 build story.
Paul Craddock’s background in the gun industry is best described by him; “I’ve pretty much been gunsmithing my whole life. My grandfather William Craddock was an amateur gunsmith and taught me much from an early age regarding barrel making and truing/fitting actions. That man could do virtually anything and his engineering abilities would probably surprise the Egyptians. Grandpa was in the Army during WWII and served in both the Pacific and European theaters; he saw some of the worst in humanity but lived a humble yet opinionated life after. Much of what he instilled is still in practice today in our shop; doing things right every time no matter the time it takes. While I’ve been able to utilize CNC machines in order to merge speed and consistency in some aspects, we still hand chamber and crown every single barrel – and always will. Many shops these days either fully automate or skip steps to save time and make more product, or worse yet they don’t know the proper steps in the first place. To be clear there is a place in the market for lower-end barrels; not everyone is a competitive shooter or counting on their rifles in life-or-death situations daily. But I will say we strive to be among the best and I’m confident that our customers agree.”
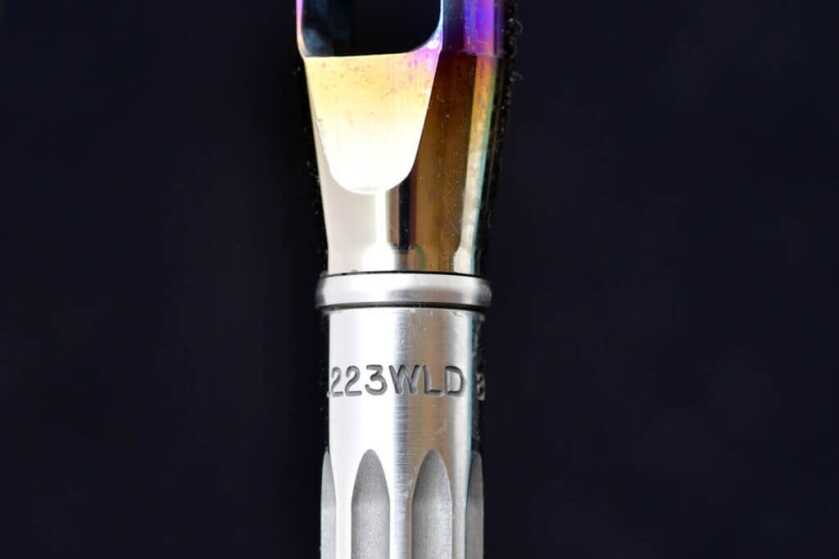
Paul was a great help and I spoke with him at length about what I wanted to achieve with the rifle. I knew I wanted an 18-inch rifle gas system and a 223 Wylde chamber for the most accuracy as well as having the ability to shoot both 223 Remington and 5.56 NATO. I told Paul that I would be shooting 55gr. ammo inside 200 yards and 73-77gr. ammo past 200 yards. He suggested a 1 in 7.7 twist which is a newish and popular twist rate among the service rifle guys.
Then Paul threw me for a loop. I was planning to use the standard for AR ½x28 threading but he suggested I go with 5/8×24 (common for 308). Again Paul describes why in his own words, “I have always encouraged larger muzzle threads than the norm for several reasons; for one it leaves more material on the barrel around the crown to ensure it keeps tight longer as the barrel heats up; the other is so the shooter will use larger ID muzzle brakes in the event the brake is not concentric. There remain a number of variables/tolerances anytime two parts from differing companies (sometimes from across the world) are screwed together so good luck maintaining concentricity between the barrel bore and muzzle brake ID. Surprisingly some of the higher-end muzzle devices have the worst run-out, but using one designed for a larger caliber diminished any negative effects it could have. It also makes cleaning the crown much easier.”
I learned a long time ago to listen to people that are smarter than me. Paul Craddock’s vast experience and knowledge of barrel making means I listened closely to his recommendations. I knew that the comp would be less effective in .30 cal but .223 has relatively low recoil anyway so it was not much of a concern.
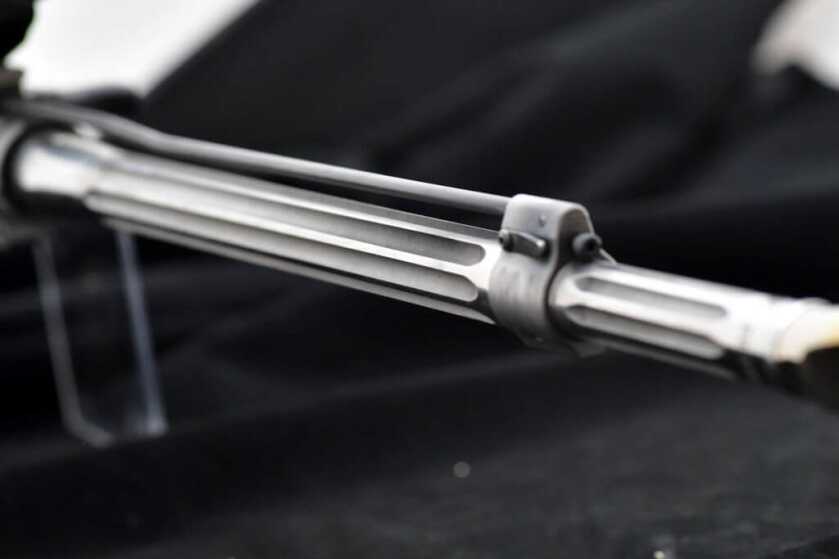
The first piece of the puzzle was complete. A Craddock/Bartlein 18 inch, 223 Wylde chamber, rifle length gas system, double fluted (weight savings) 0.750 gas block diameter, 5/8×24 threads, M4 feed ramps. I also sent my bolt to Craddock so that it could be properly headspaced with the new barrel. For one stop shopping Craddock will sell you a properly headspaced bolt with your barrel.
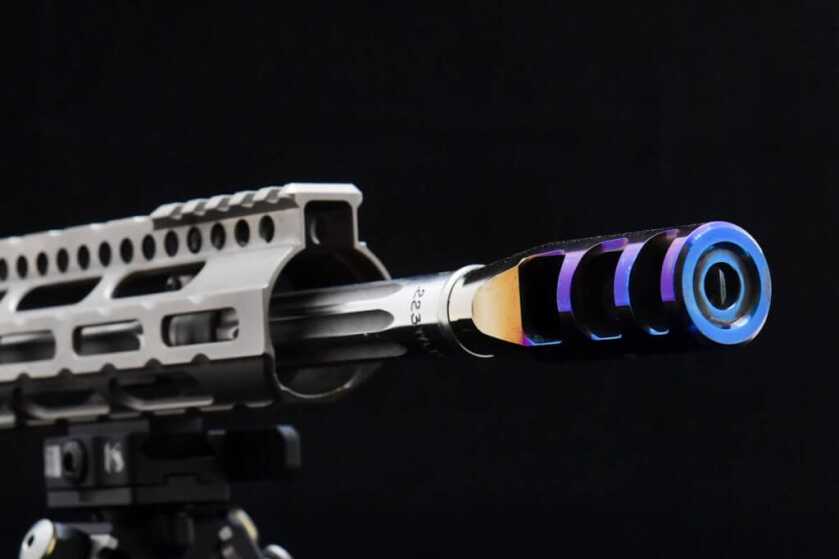
So, what comp (muzzle break) to use with the new barrel? JP Rifles has been around multigun since the beginning and they make great rifles. They also make their great parts available for builders like me and they have some wonderful compensators. I opted for the Competition Series 3 port comp in Titanium with their new flame anodizing. I also went with the 30 cal version threaded for 5/8×24 barrels. The comp has been around for a while and it is an effective, proven performer that looks good too. Titanium saved me 1.9 ounces over the carbon steel version. That may not sound like a lot but in the end, all the fractions of ounces added up to big weight reductions in the final rifle. JP has jokes too; in the box with my new comp was a set of foamy earplugs. Quiet is not a feature of rifle comps. Lastly, the JP comp comes with their fantastic two sided crush washer. It has a predictable crush, can be used twice (2 sided) and self centers. The devil is in the details and JP nailed this one.
My Bolt Carrier Group (BCG) also came from JP. Like JP’s comps, their BCGs have been around a long time and are known for their performance and reliability. If you cheap out when selecting a BCG you are almost guaranteed to have problems with your rifle. JP’s BCGs just work. They also have more bearing surface and come with their proprietary EnhancedBolt, the best available in my opinion. I will be using a lightweight buffer system and adjustable gas block so a lightweight BCG was needed to match up and make everything work together.
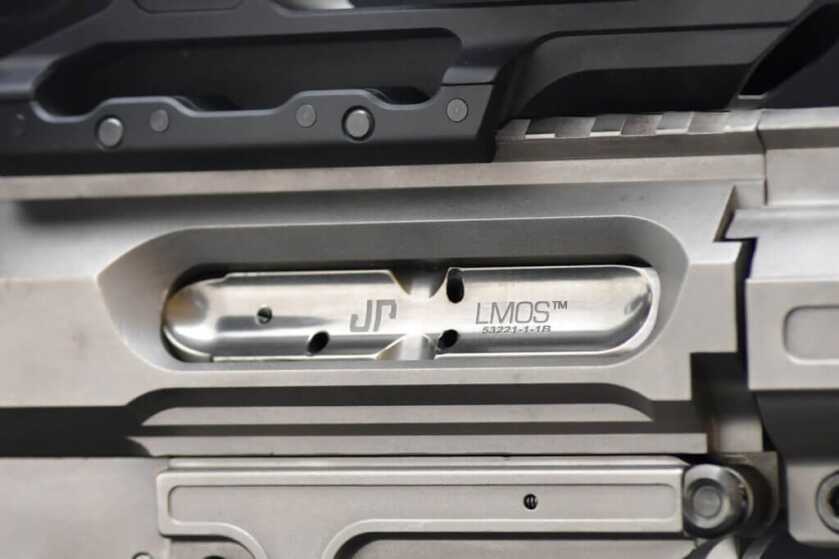
Rather than deal with an Aluminum BCG and its consumable nature, I went with the JP LMOS lightened steel carrier. It is about 2 ounces lighter than JP’s standard BCG while still providing the reliability of a steel BCG. For reference, JP’s aluminum Ultra LMOS BCG is almost 5 ounces lighter than standard.
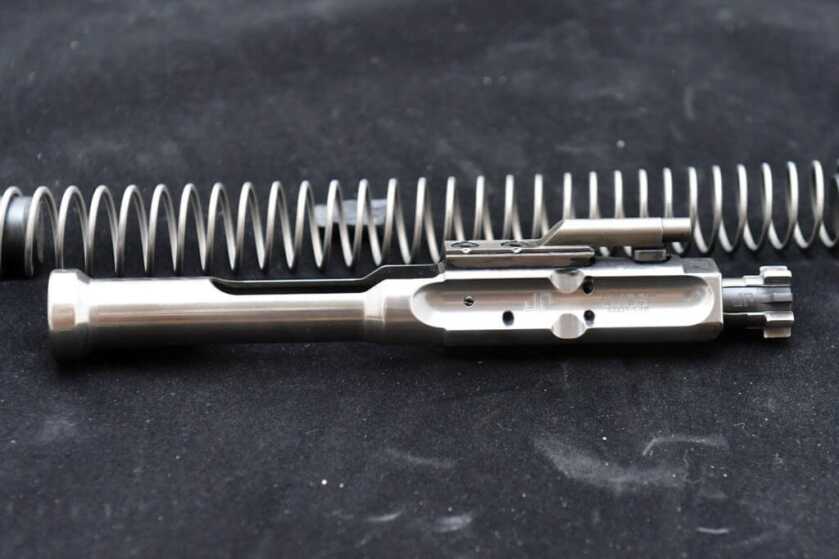
I like low reciprocating mass; the rifle cycles faster and recoils less. To make a terrible handling rifle make the rifle super light and the reciprocating mass high. It will bounce and move all over the damn place under recoil, aka the HK G36. Because of this, I went unconventional with the buffer.
I had been testing and using the Taccom 3G buffer system in my old rifle for about a year. It worked great and I used it again in the new rifle. Specifically, it’s the ALW 223 recoil system for rifle-length buffer tubes. The buffer itself is just two pieces of Delrin and three aluminum spacers. One piece of Delrin goes at each end of the buffer spring which results in just 1 ounce of reciprocating mass. Remember, less weight moving around inside the rifle makes it move less and shoot flatter. It also saves several ounces over a conventional buffer to help reduce overall rifle weight. The aluminum spacers from TACCOM provide a unique feature. They go over the rear Derlin plug and allow you to adjust the preload of the buffer spring, which affects the BCG return speed. When it’s too high it leads to the muzzle dipping when going back into the battery. You can use 0-3 spacers for four different settings. It’s super simple but works great. The Delrin is also quiet, none of that typical AR spring sound from the buffer tube when shooting. Now the best part – it’s cheap, the whole system is only $37. If you don’t want the spacers it’s under 25 bucks.
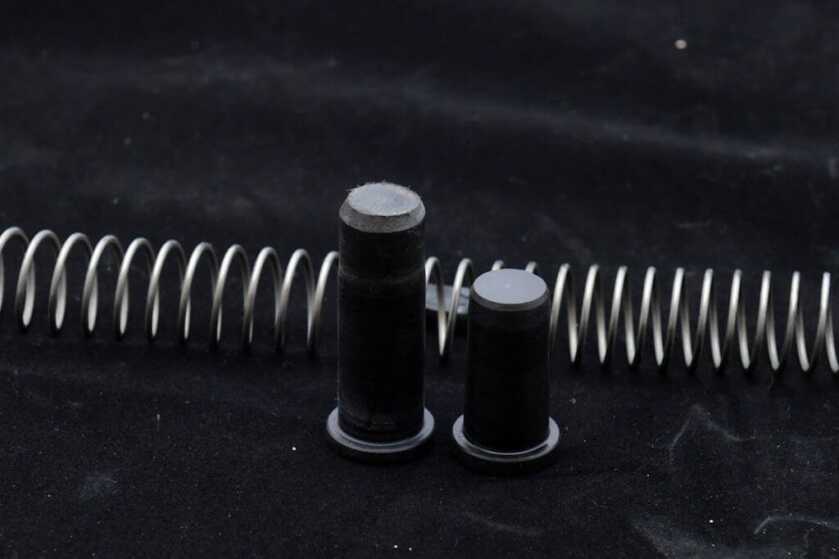
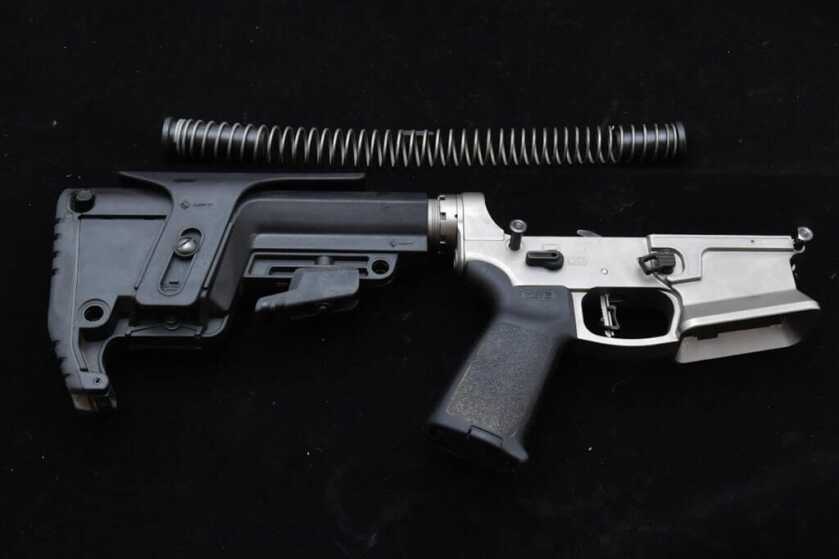
Taccom makes the system for both Rifle and Carbine length tubes. But I would be using Magpul’s SR25 buffer tube. This is an AR-10/308 length tube. It’s also the perfect length for an A5 setup. Developed by VLTOR, the A5 system gave you the long stroke for reliability and reduced recoil of a rifle buffer in a carbine style tube that allows you to use adjustable carbine stocks. VLTOR’s A5 buffers are traditional with moving balls of various weights inside. A5 buffers are also ¾ of an inch shorter than a rifle buffer and longer than a carbine buffer. Fortunately, the Taccom Derlin buffer is easy to shorten with a saw and disc sander down to the correct A5 length.
The A5 setup still uses a rifle length spring and I chose Taccom’s Enhanced Rifle Spring. It has 10% less power than a standard spring and it is made of stainless steel.
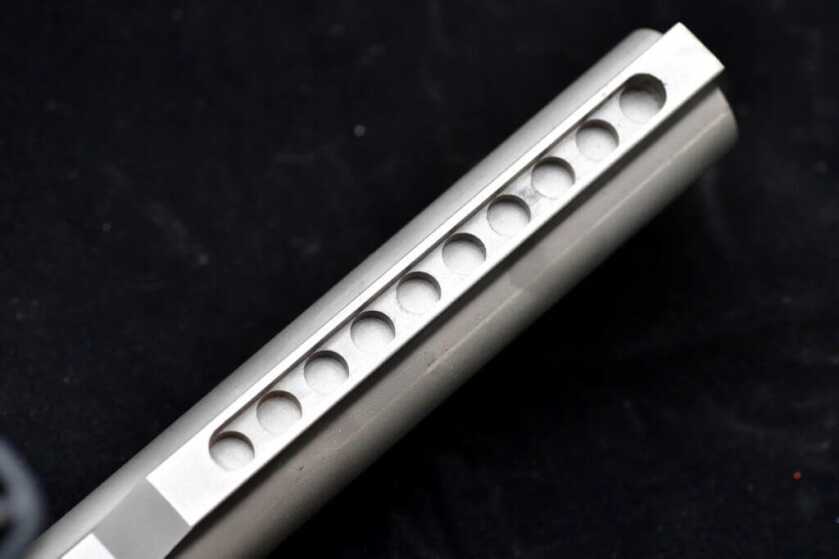
I chose the Magpul SR25 buffer tube mainly because it has 10 positions, allowing more fine-tuning of your length of pull. It is milspec sized and made of 7075-T6 aluminum. I have very long gorilla arms so another advantage of an A5 buffer setup is the ability to run the stock at a longer LOP than with a carbine buffer tube.
Part 1 Build List
Finished Barrel Craddock Precision MSRP $695.00
Barrel blank Bartlein Barrels
Bolt Carrier Group JP Rifles JPBC-3SP BCG MSRP $352.95
Compensator JP Rifles JPTRE3-324TI MSRP $149.95
Buffer Tube Magpul MAG678 MSRP$ 59.95
Buffer and Spring Taccom3G ALW223 MSRP $51.90

I don’t think that I have ever read such a complete, and indepth review of a 3 Gun, or any other AR-15 rifle construction project.
Your attention to detail, reasons for specific component selection, website links and pricing was way beyond what I have ever read on this subject to date.
Thak you so much for a fantastic presentation.
Wow. Great right up my man. Appreciate you going in depth on the build. I hate when people give vauge build lists. Gun looks great and I’m sure I’m sure it shoots great. Love the detailed parts list, this will help on my next build.
Does the barricade stop midway on the bottom rail and at the 9 o’clock position cover most applications?
Thanks for the kind words. Barricade stops at 6 and 9 cover 98% of the cases. Also they are M-Lok with a single screw to its fast and easy to move them around if you need one is a different spot for a stage. Sometimes I flip the 6 o’clock stop backwards and move it to the rear to help hold a bag in place that is attached to the rifle.
DO you know, where somebody in FL, can buy an AR-15 springfield, saint, EDGE ?
thank you
nino nistri
That is going to be one nice setup. But it’s also going to be rather expensive. I estimate it’s going to be around $3500 by the time it’s finished. I wish I had the resources available to spend on such a thing.
Part 4 which just dropped and has all the prices including the total. $3100 and change without the NP3 coating and optics.