THERE ARE MANY CONSIDERATIONS WHEN SELECTING AND USING A TACTICAL LIGHT
Flashlights that are powered by a battery go back to the early 1900s and the first weapon-mounted light did not appear until 1912 when George A. Seely of San Francisco invented his Night Sight For Firearms. We have come a long way since then.
These days, tactical flashlights, as they have become known, are made by many companies. Some are not very good or are hobby pieces while others are well made and fit for hard use in tough environments. But those that are made for serious use are also expensive. Then again, if it may save your life, is cost really that important?
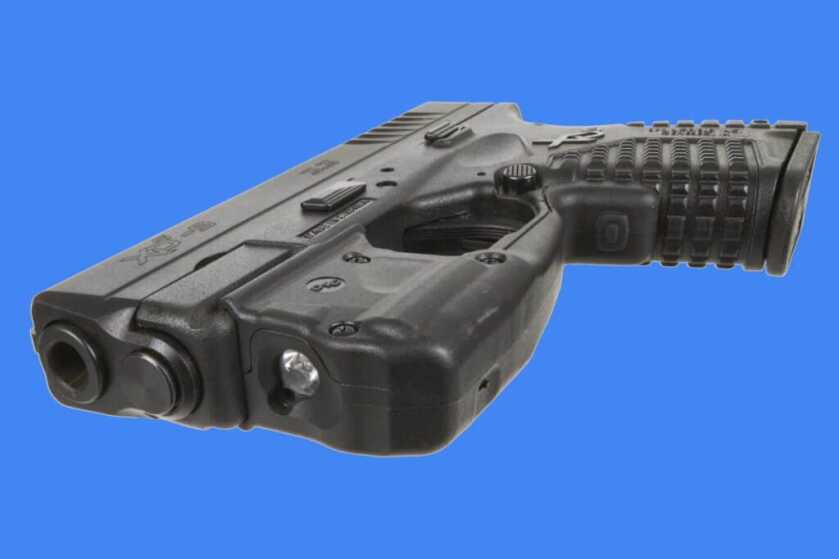
It’s a fact that most deadly force encounters occur in dim light or at night. And even during the day, some places we go are not very well lighted. So if you carry a gun for self-defense, or even if you don’t, a good reliable flashlight is a very useful piece of equipment. For one thing, it is vital if, in dim light, you find yourself in a situation where deadly force with a gun might be needed. You must be certain of your target, and that means you must be able to identify who or what that target is. You don’t want to shoot a family member who has stumbled into the house late at night.
One debate that has gone on for years and continues is the one over how bright a tactical light must be. Some people insist that brighter is always better. Others caution that some lights are too bright. And people on both sides of the argument have deadly force experience.
One group argues that too much light can blind the user, especially when inside a confined space where light can bounce off of surfaces and may even be reflected back into the user’s eyes when it strikes a mirror or a glass window or picture frame. The other side disagrees saying that it has never happened and won’t. So who should you believe? You can always take another approach and let the use or mission dictate what kind of equipment you need and just how bright the light must be.
SureFire, which is a leader in tactical lights and was one of the first to make a highly reliable, tough flashlight for combat use, says that 50 lumens is the minimum brightness needed to degrade the vision or “blind” someone who has eyes that are adapted to low light. We all have experienced a bright light appearing out of nowhere when we are in the near dark. It immediately disorients and “blinds” you so you can’t see anything. And that can be a powerful tool in a deadly force situation or when someone is threatening you.
But there are other things to consider besides brightness when selecting a tactical light, whether it is mounted on a long gun, a handgun, or carried in the hand. One of the most important considerations is the distance to the threat. The distance at which potential targets are expected to be encountered dictates how far the light beam needs to reach.
If the user expects to be using the light inside a structure – for example searching for suspects or a burglar – the reach of the beam is less important than if the light is expected to be used in open spaces to search for potential threats that may be far away. If the light is to be used mainly outside, then a beam that projects farther might be the best option.
If used inside a structure where walls and ceilings are fairly close, the light will bounce off those surfaces and illuminate a larger area. And the distance to a target might be less than if in the open. In that case, lower brightness might be acceptable.
Consider the width of the beam and if it has a hard edge or spreads out and lights a larger area. A narrower beam may reach farther but might have a hard edge which tends to encourage the user to focus on a narrower area. A threat just outside the edge of the light beam may not be seen until too late. On the other hand, a light that covers a wide area and has a beam that spreads out probably does not reach as far but allows the user to see threats that may not be directly to the front. It allows the use of peripheral vision.
Another consideration is dark spots within the beam. The best lights, whether projecting a narrow beam or a broad beam, light an area evenly with no dark spots. When searching for threats, dark spots may allow threats to be unseen.
There are many points to consider when selecting a light for tactical use. The light is a life-saving device, so take the selection process seriously. And, as stated above, the best place to start the process of selection is probably to consider the mission or what you need to do with the light. Then select a light that best satisfies the mission requirements. There may not be a perfect solution, but one light may be a better choice than another. You need to decide for yourself and not just buy the light the person behind the sales counter says you need.
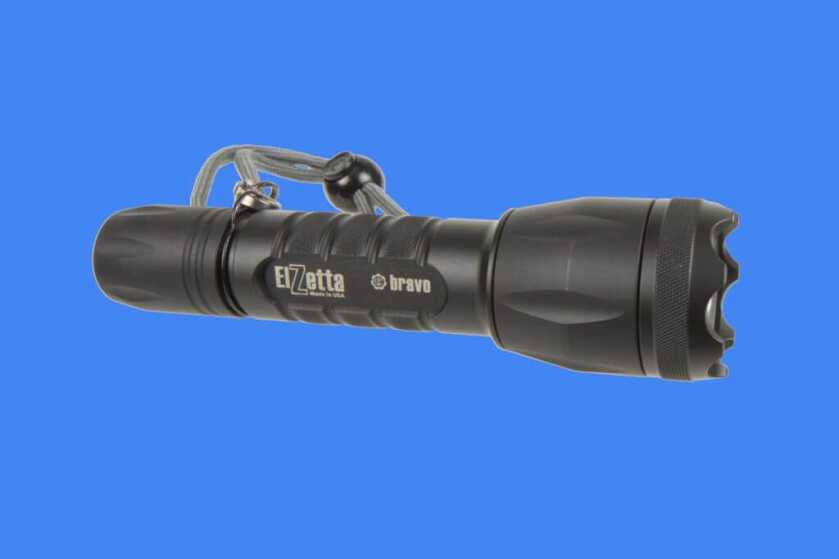
Elzetta claims to make the toughest tactical light in the world. Both Elzetta and SureFire lights can be expensive, but they are both tough and reliable. Elzetta says that after considering the likely distance to a potential threat, select a light with a reach twice that distance. The reason is that light intensity falls off quickly with distance, and light from a flashlight is usually bright enough for target identification at about half the rated distance.
SureFire advises that a light beam can illuminate a wide area or be more narrowly focused so it will reach a longer distance. SureFire’s solution is a focused beam that also provides some spill light around the edges to help with peripheral vision. So check the maker’s specifications and select a light accordingly.
If you find a friendly seller, you may be able to test several lights before selecting one to buy. That’s actually a better way to select than relying solely on the maker’s description and specifications.
Other things to consider are weight, the material used for the body of the light, run time, the power source, and if it is to be mounted on a gun, the attachment method. Generally, longer run times require larger, heavier batteries or more of them.
And generally, batteries made in the USA are higher quality than those made in foreign countries. Also, lithium batteries are lighter and usually of higher quality than alkaline batteries. Elzetta recommends that only lithium batteries made in the USA be used. I recently had a bad experience with a Duracell AA alkaline battery. It leaked and damaged a very expensive piece of equipment. I will never buy another Duracell battery.
A light that is mounted on a gun is easier to use than a handheld light which often requires the gun to be fired one-handed. And that is more difficult. But whether or not the light is mounted on a gun or held in the hand, the switching method, i.e., how the light is turned on and off, is important.
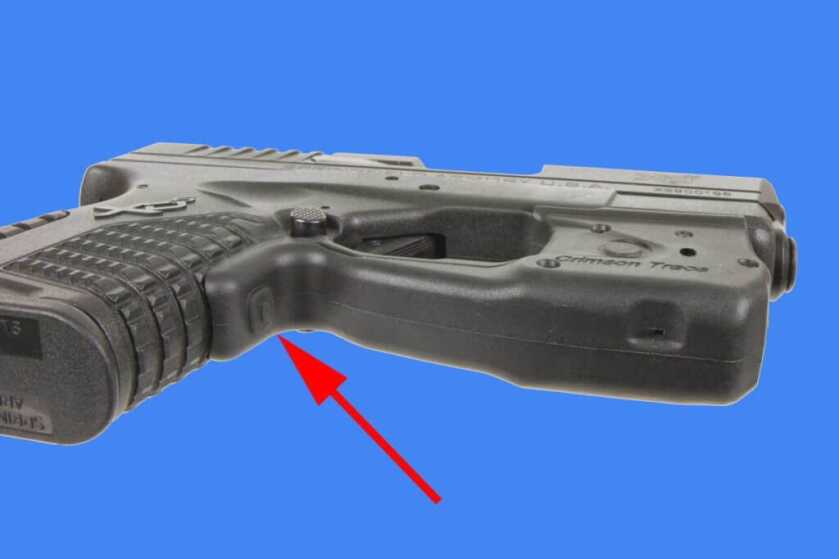
If the light is mounted on the gun, a switch that is easily manipulated and does not require the hand or a finger be shifted is better than a switch that requires a shift in order to access the switch.
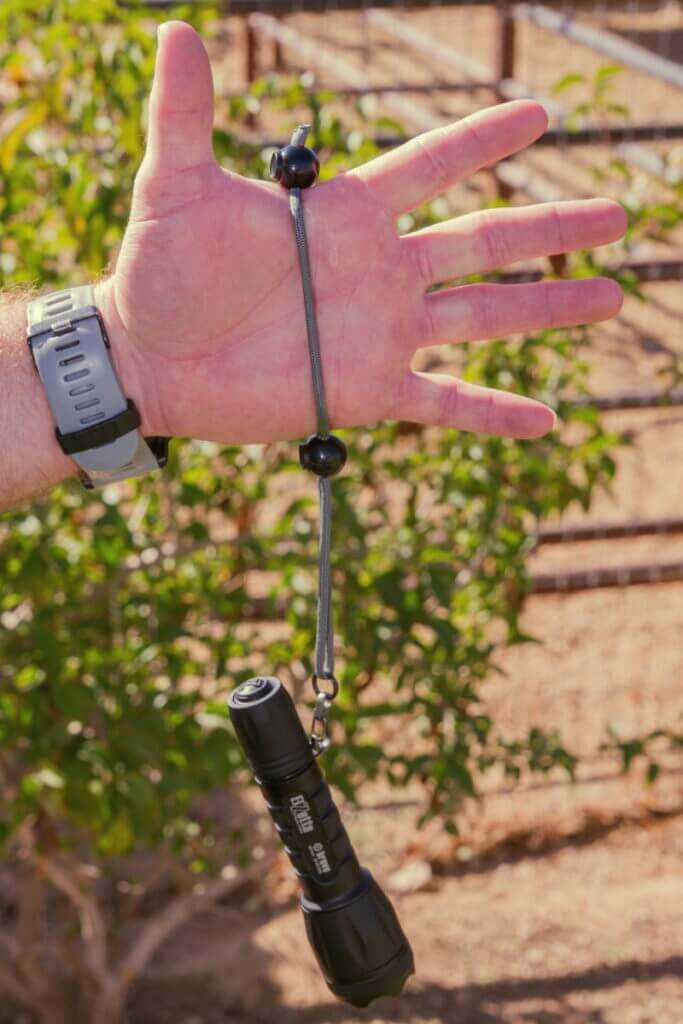
If the light is held in one hand while shooting the gun with the other, there are different methods to hold the light. We will focus on handguns here and focus on long guns in another The What & The Why article.
The first handheld technique we will discuss is the Harries technique. It is named after Michael Harries who was an early modern practical combat shooter. It uses isometric tension to assist in controlling the gun and the light. The backs of the hands are pressed together for isometric tension to increase strength and control while one hand holds the light and the other holds the gun.
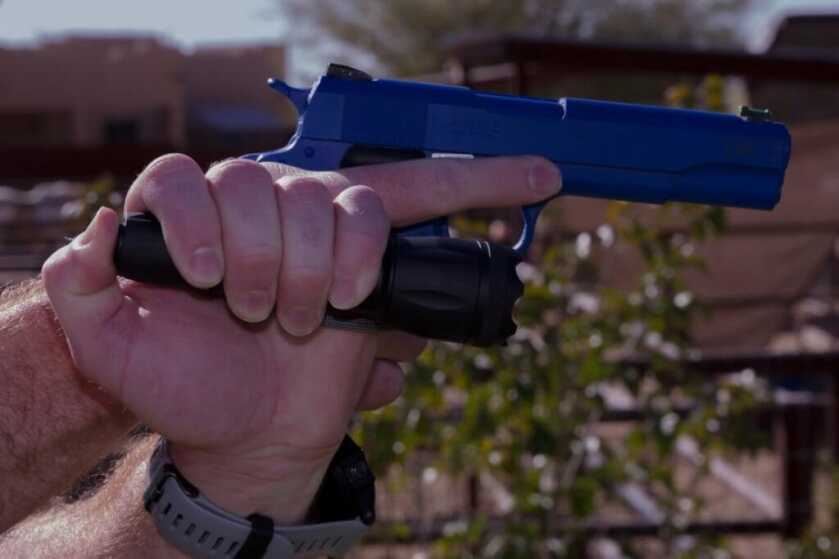
Another technique is the Rogers/SureFire technique which is named after former FBI agent Bill Rogers. The light is held in a way similar to a syringe when administering a hypodermic injection. Like all the other techniques mentioned here, it requires that the light have an on/off switch located at the back. By pressing the back of the light into the palm of the hand or the area at the base of the thumb, the light is activated.
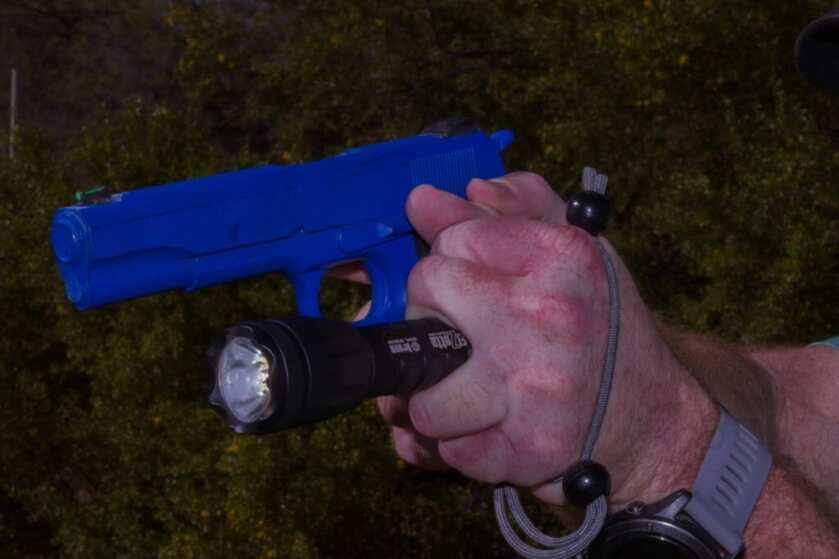
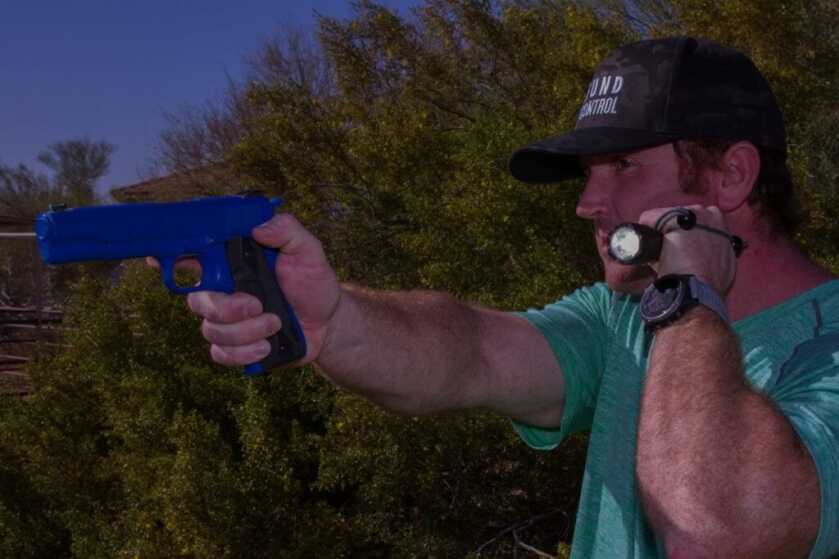
The Neck Index technique is another method and is preferred by some because it is very natural to assume. While holding the light in a way similar to the way an icepick is held, the light is indexed or held next to the neck and the thumb is used to press the light switch. It requires that the gun be fired one-handed, but can illuminate the target and the gun’s sights at the same time.
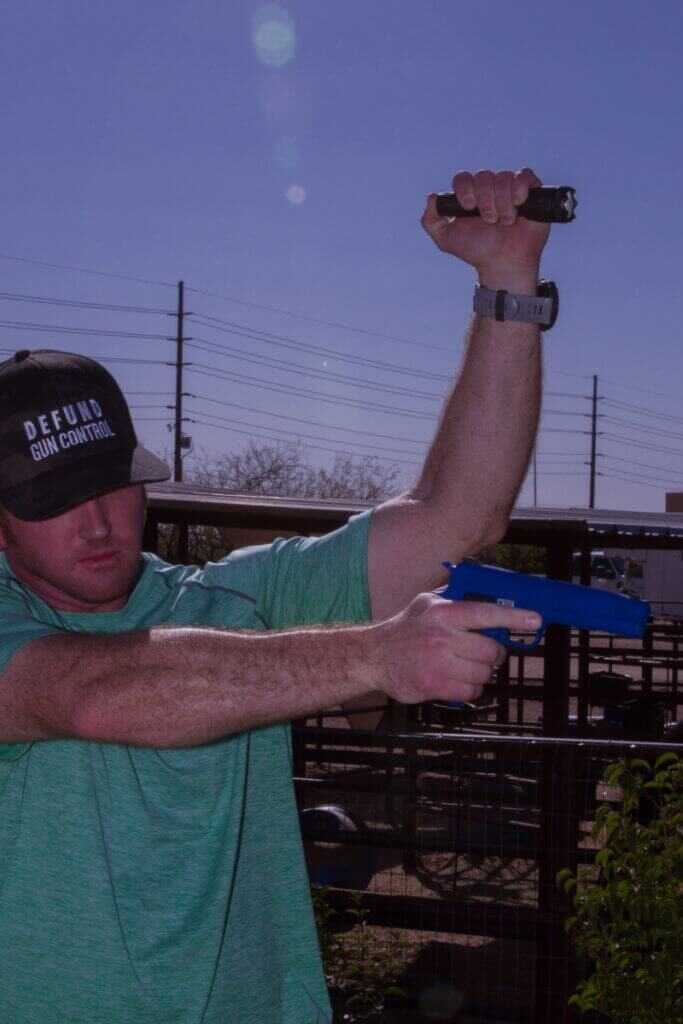
The last is the FBI technique. Keep in mind there are other techniques not discussed here. But with the FBI technique, the light is grasped like an icepick and held high and off to the side of the shooter. While it does require the gun be fired one-handed, it also moves the light away from the body so if the opponent shoots at the light, a bullet will be less likely to hit the body of the user.
Manipulating a light, whether mounted on the gun or handheld separately, is not easy and requires training and practice to do effectively and safely. If you have never fired a gun in dim light, doing so the first time will be surprising. So don’t think that this article, or any other article or video, will prepare you to properly and safely operate a light and a gun. Get good training from a place like Gunsite Academy. A high-quality gunfighting class will last more than a few hours and will likely cover using a light and firing the gun at the same time. Although other schools besides Gunsite offer quality training, do the research to find one, then invest the time and money to get quality training. It very well could save your life.
And here’s a caution: Be careful when using a light, especially a gun mounted light. Everything you point the light at will also have a gun pointed at it. And you may not want to shoot it, whatever it is. That is just one reason to have both a weapon mounted light and a handheld light. That way, you have one for searching that is not attached to the gun and also to use as a backup in case one fails.
There a quite a few more things to be learned about using a light effectively and safely, but you must have a good instructor.
And that’s the what and the why of it.


You’re not the only one to have a nice light ruined by Duracell leakage.
Just a rehash of old common info. Also, the guy clearly does not know batteries.
If you can’t see the gun sights you really are only guessing where the gun is actually pointing and all I see is anything but lighting up your sights as while searching for a target.