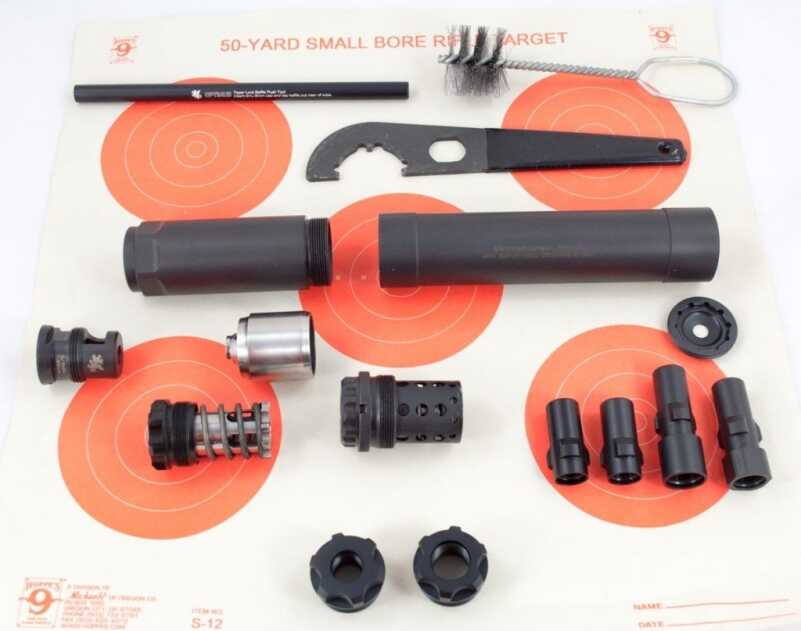
The Griffin Armament Optimus is really more of a kit than a single suppressor. Here are some of the included and optional “parts.”
You know what’s insulting? Paying $200 to the federal government every time you want to buy a muffler.
Recently, I found one way to minimize that miserable excuse for a “gun safety” law while still enjoying the benefits of shooting more quietly. It’s called the Optimus by Griffin Armament and it’s a suppressor for certified Lego Master Builders.
Our friends at Silencer Shop sent me one to test out recently and “Legos” was my very first impression of the kit. That’s because it’s not a single suppressor or even a suppressor with multiple mounts. Rather, it’s a set of interoperable pieces and parts that assemble in different ways to meet a stunningly wide variety of usage scenarios. For example, it’s designed to work on something as small as a .22LR (or smaller) rimfire pistol, yet be equally functional all the way up to 300 Winchester Magnum and the comparatively astronomical pressures of that long range cartridge.
The bottom line? Only one of the parts is the serialized goodness, so you only have to send Uncle Sam $200 of your heard-earned money once – even though you can use this kit on many different handguns and rifles.
One quick note before we get into details. The folks at Silencer Shop are still working out exact promo kit packaging, so all of the components shown here may or may not be in the final product. Be sure to check that all the parts you need are present in the default package so you can order any optional pieces right off the bat.
With that said, let’s take a photo-driven tour of the Griffin Armament Optimus.
First, the basic premise behind the kit is that a “short” suppressor body is the default serialized piece. It has removable baffles inside that handle blast and pressure up to a certain point. When you need more oomph, as with a larger caliber rifle, you add another section to provide additional baffles, mounts, and internal volume. Make sense? If not, it will in a minute.
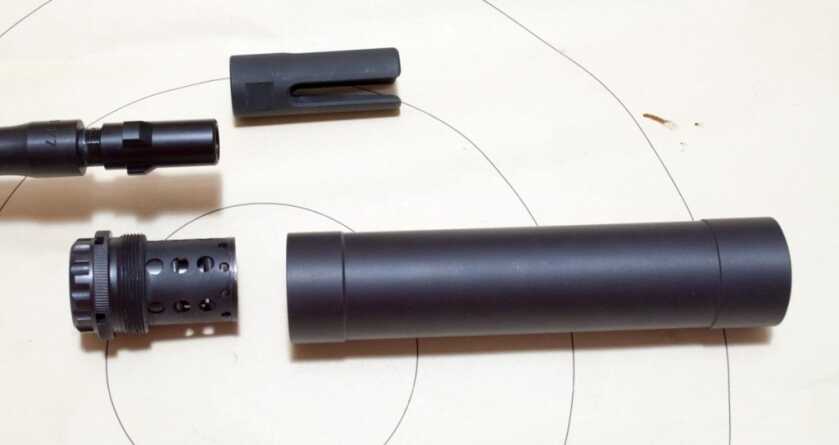
This “short” can configuration uses the three lug muzzle adapter (partially installed here), the three lug mount adapter inside of the internal booster piston housing, the suppressor body, and the large muzzle cap. I’ve assembled this set of components to fit on the end of a Sig Sauer 556xi 5.56mm rifle shown here.
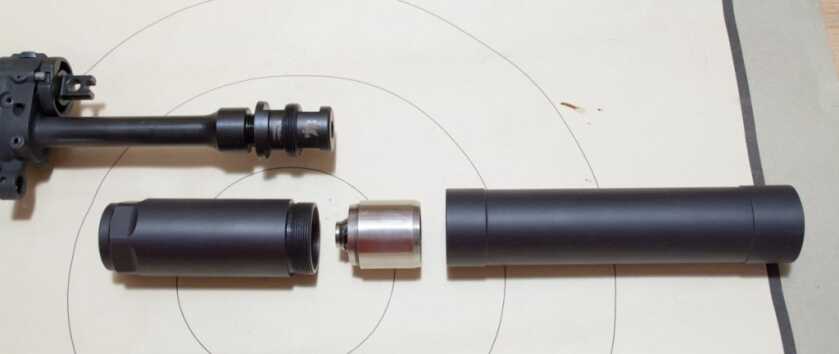
Here I’ve got the .308 muzzle brake device partially installed on a Sig Sauer 556R 7.62x39mm rifle. The Taper-Lok extension, Taper-Lok baffle, and suppressor body mate to create the “large” version which can handle pressure up to 300 Win Mag. The tube on the left is the Taper-Lok extension which is used for larger, and higher pressure, rifle calibers.
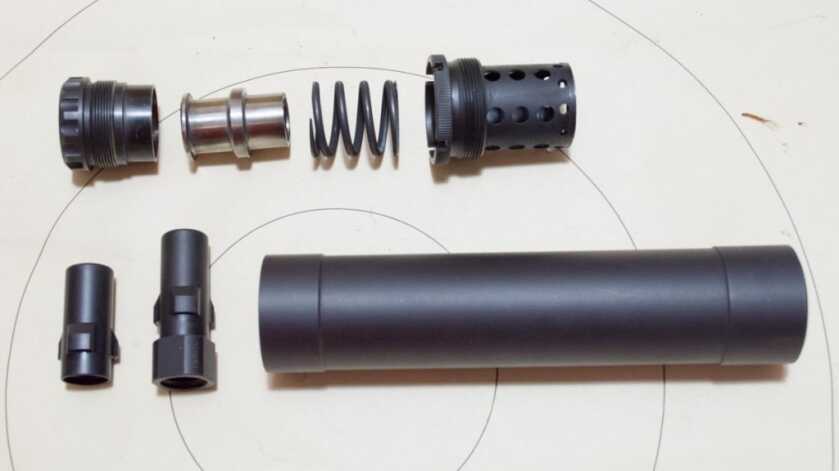
An exploded view of the SMG / 3 Lug components. The spring and bushing (top) provide the snap lock functionality for the muzzle adapters on the bottom left. With the SMG / 3 Lug system, push the can body onto the muzzle adapter under pressure, twist, then release. Spring pressure and the mating lugs and recesses hold the suppressor in place.
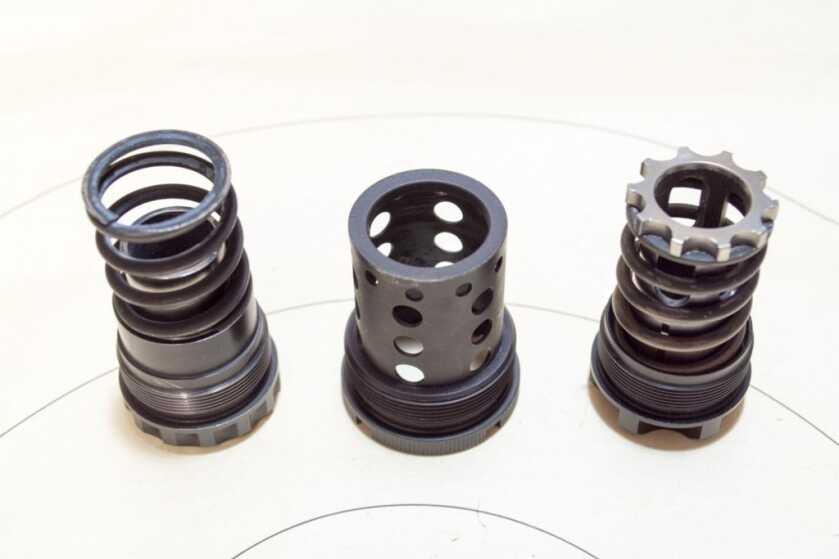
Both the SMG / 3 Lug mount (left) and pistol booster assembly (right) use the same internal booster spring piston housing (center). This is part of the magic in that the internal spring piston housing is the part that provides the interface to the suppressor body. You just change inserts in that for a different mounting system.
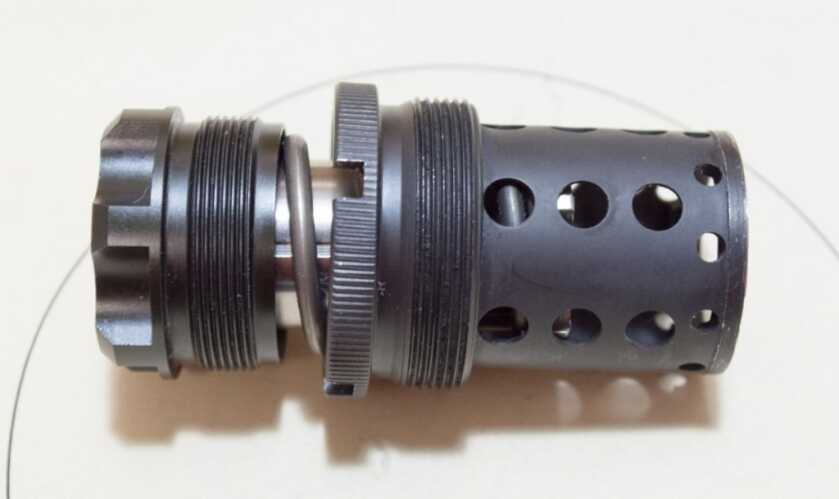
Here, I have the booster used for semi-automatic pistols inserted into the internal spring piston housing. It’s only partially inserted so you can see how it works.
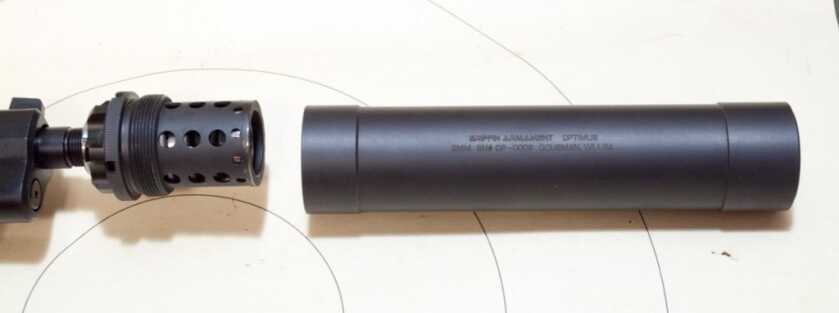
The booster is installed in the housing which is attached to this Beretta 92FS 9mm using a direct thread mount. The “short” suppressor body simply screws onto the housing.
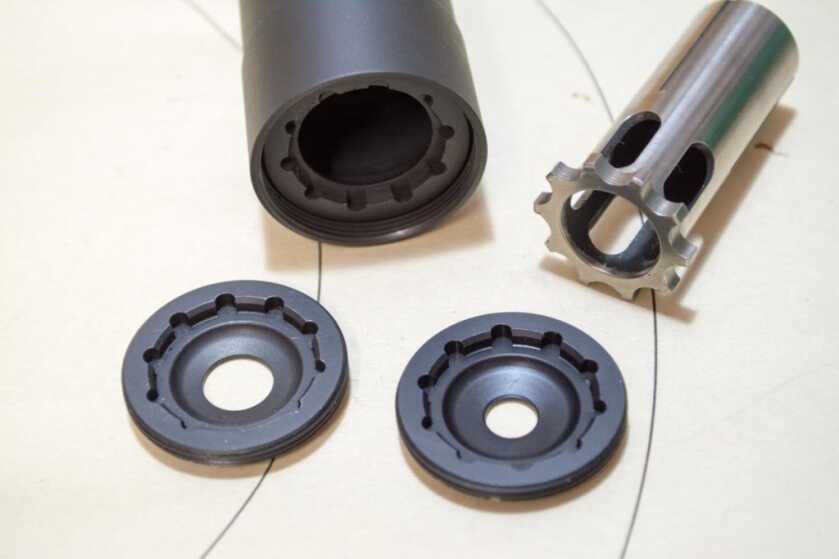
At the fiery end, there are replaceable front caps. The standard 9mm one is on the left, and at over .355 inches diameter, it’s large enough to handle the .308 rifle calibers. The .22LR cap (right) seals things up to help prevent unnecessary gas (and noise) from escaping too quickly. The booster piston is actually the tool used to remove and install the caps.
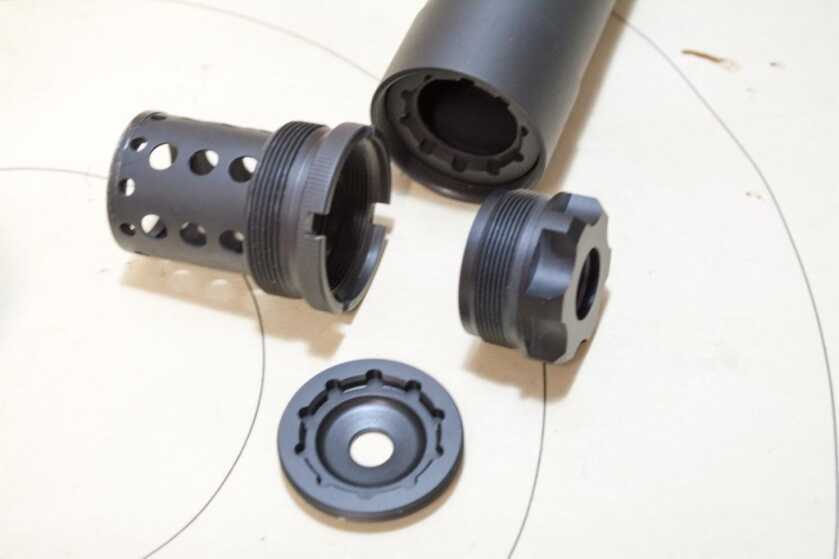
Here’s the setup for .22LR (or smaller) rimfire. No boosters are required, just attach the .22LR thread mount to the housing, insert the housing in the suppressor body, and make sure the right end cap is in place on the fiery end.
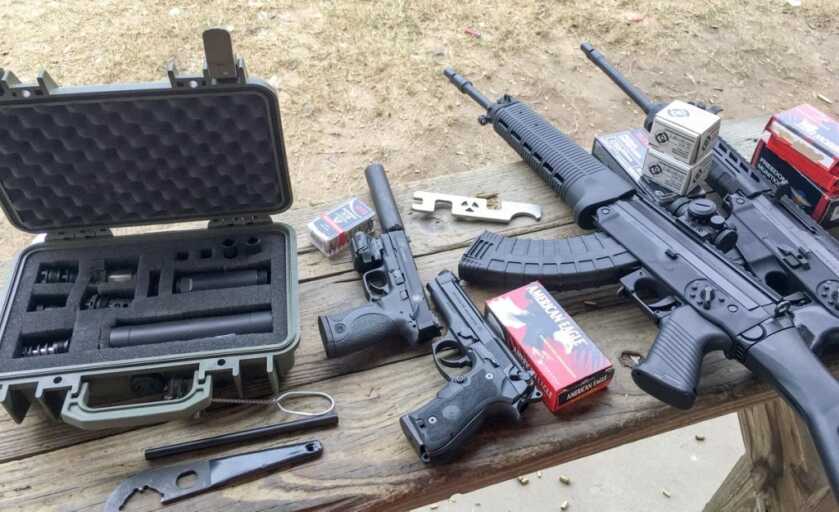
That’s the short tour of how the parts work together to make one can work with a variety of pistols and rifles like the ones shown here. I used it on all of these during one range outing. Left to right: Smith & Wesson M&P22 Compact .22LR, Beretta 92FS 9mm, Sig Sauer 556R 7.62x39mm, and Sig Sauer 556xi 5.56mm.
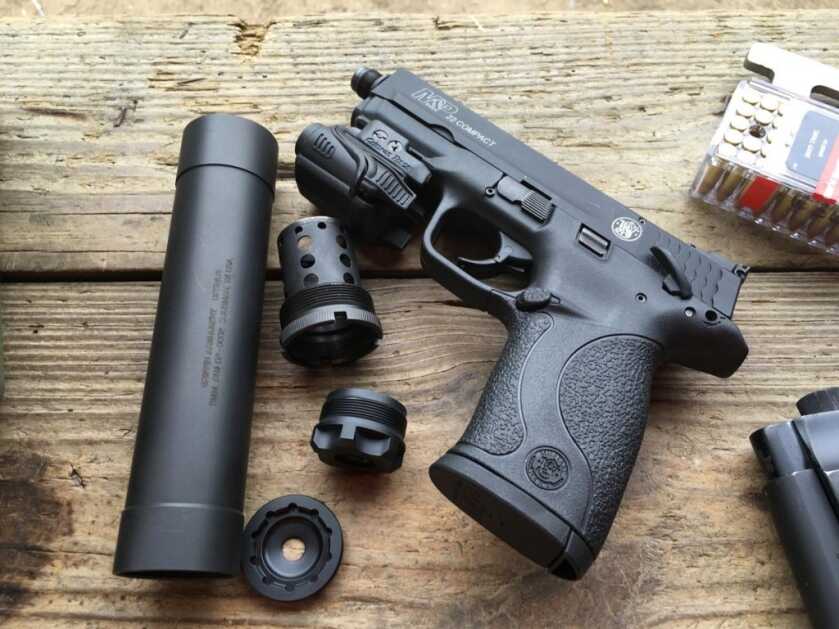
While you can use the Optimus on a rimfire pistol, it’s less than ideal. The can is oversized for the job and will almost certainly cover the sights so you have to “shoot through” the suppressor body. That’s the price you pay for compromise. On the plus side, it sure was quiet when shooting .22!
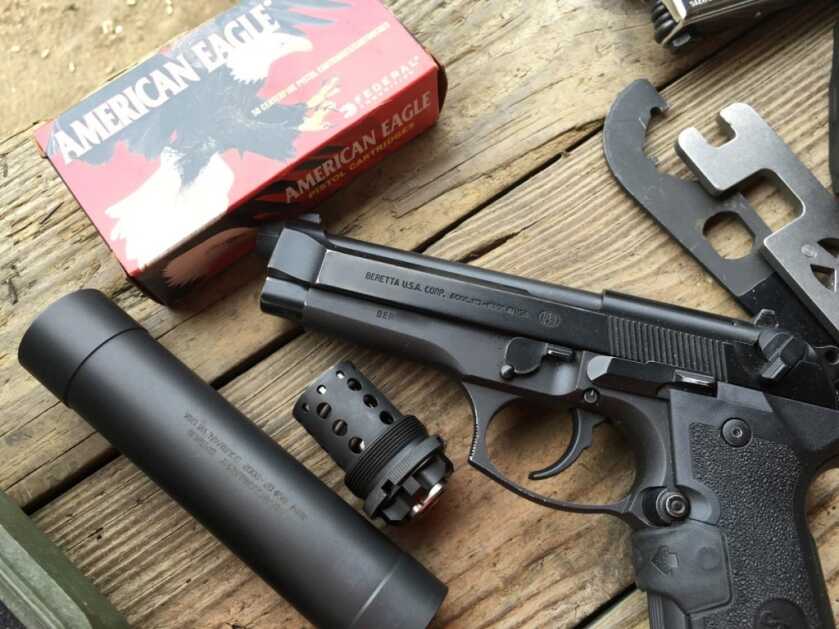
The pistol configuration worked well for me. As dedicated 9mm silencers will cover the sights on this Beretta 92FS anyway, the diameter of the suppressor body didn’t really matter too much. The function was perfect using the included booster assembly and I had no troubles with ejection or feeding.
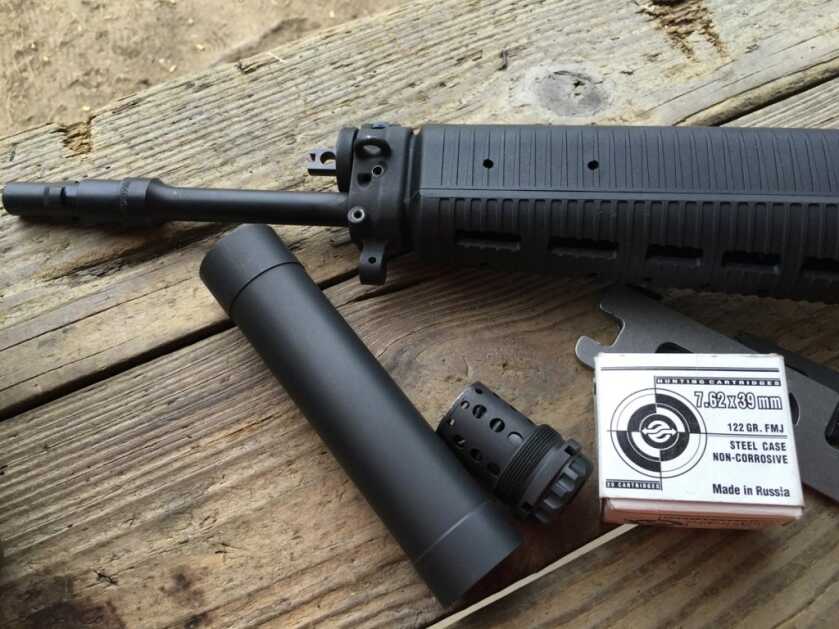
I thought (my personal opinion only) that the Optimus was best suited for rifle applications as with this Sig Sauer 556R. It was just a bit oversized for my taste when used on handguns.
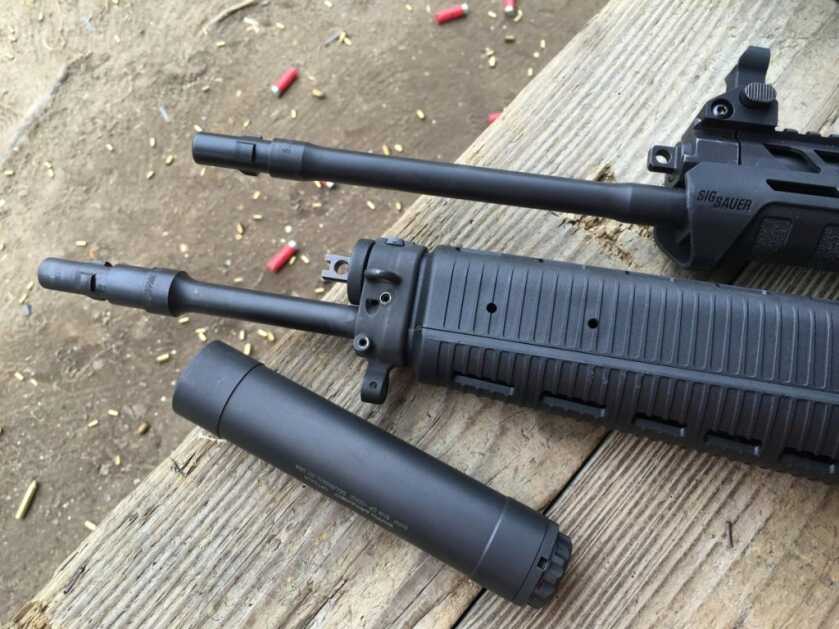
The set of parts I tested in included four different SMG / 3 Lug muzzle adapters, so I was able to equip both 5.56mm and 7.62x39mm rifles with the mounts. Moving the suppressor back and forth between these two rifles took seconds. Remember, it’s gonna be hot, so don’t forget to use the Silencer Shop provided suppressor “oven” mitt.
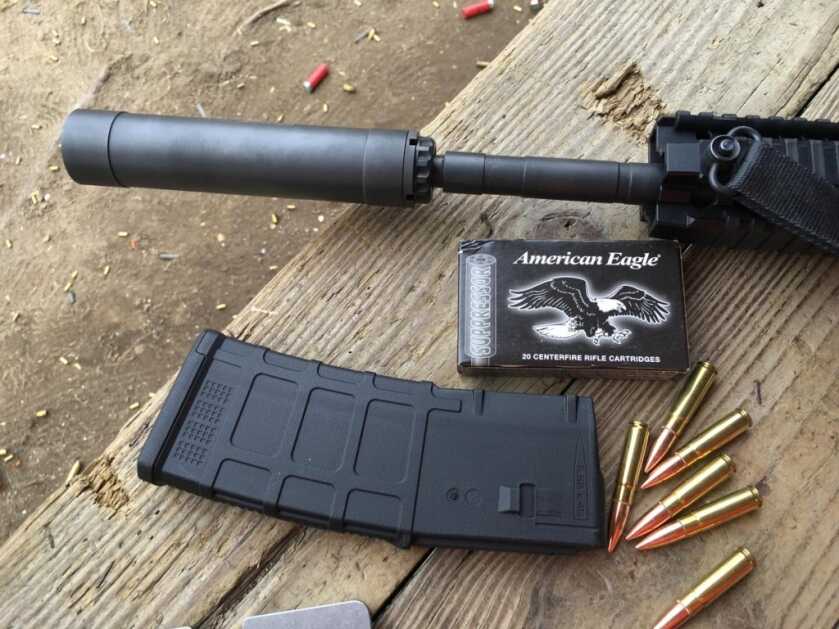
Just for kicks, I popped an SMG / 3 Lug mount onto this Daniel Defense DDM4v5 300 Blackout rifle. In this “short” configuration compatible with the 3 Lug mounting system, I used American Eagle subsonic 300 Blackout ammo. Griffin includes plenty of detail on which configuration can handle which caliber, but a lot of that depends on the barrel length of your rifle. Check the ratings before assembling a solution.
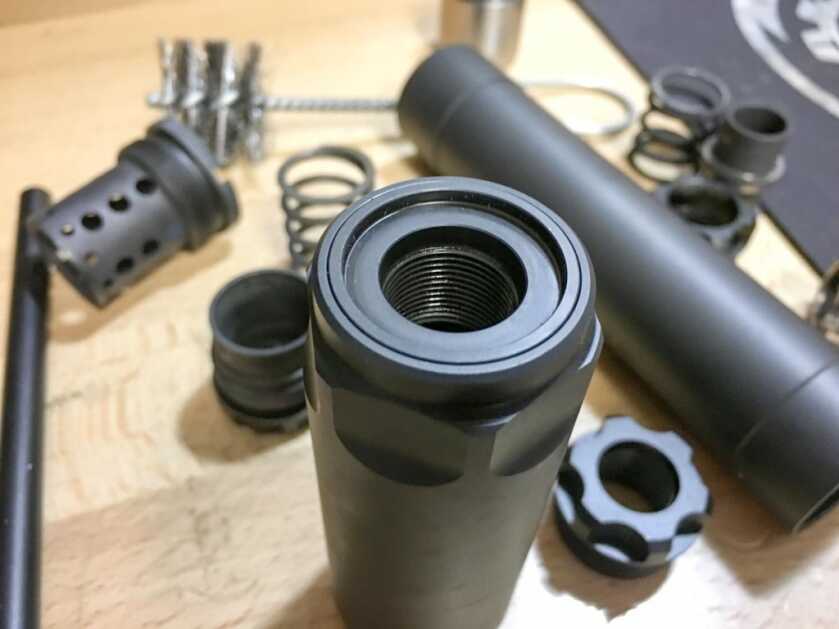
I ran into one serious gripe with the design. What you see here is the Taper extension with the .308 muzzle brake adapter screwed into the body. Since I was moving things around for testing purposes, I did not (and could not) semi-permanently attach the muzzle brake to the barrel threads using something like Rocksett. As the suppressor heated up and got dirty, things stuck together, and the muzzle brake came off with the suppressor itself. As you can see, it’s a flush fit and there is no bearing surface of any kind to help you separate these parts. Word from the company is that they designed this for “aesthetic” reasons and expect people to bond the muzzle brake to the barrel to prevent his scenario. Makes sense, and I get that, but I’ll bet you a thousand million billion dollars that they get a lot of “help me separate these parts” requests coming back to the shop. I really don’t care for this design. Suppressors get dirty and sticky – quickly – especially systems like this with many interconnected parts. You’ve got to have at least flat wrench surfaces to help break stubborn parts loose, pretty appearance or not.
With all that said, after spending some time with this kit, there are some definite advantages and disadvantages.
You have to like the fact that you can buy one suppressor with one federal tax stamp. For a more casual or budget conscious suppressor user, that could be a perfectly fine scenario. The price for this savings is that you’ll have to invest planning and reconfiguration time in advance of your shooting outings to set up the kit for the gun you’ll be using that day.
On paper, you can take the whole kit to the range and swap away to your hearts content provided you’ve done some advance planning. When I say advance planning, one example is the .308 muzzle brake issue previously discussed. If you’re using more than one .308 rifle, buy a muzzle brake for each and bond them in place to avoid the problem I had.
You will have to think about what you’re doing as carelessness can get you into trouble. This caution is certainly true to anything related to shooting, but even more so here. When changing configurations, take your time and think through your actions. Make sure you don’t do things like leave the .22LR muzzle cap in place when switching to a larger caliber. Be sure that you don’t attach the “short” configuration to a firearm that’s too powerful for that setup. Make sure you use the right internal parts for the right gun setup. In short, take your time and be careful when reconfiguring.
Plan ahead with respect to the tools you might need while at the range. Any suppressor will get dirty quickly and parts will start to bond from gunk. Don’t assume you can disassemble and reassemble everything by hand when at the range. Besides, it will be hot! Small strap wrenches would likely be a welcome addition to your range kit.
Due to the pending decisions on standard versus optional parts in the forthcoming Silencer Shop special edition of the Optimus, I’m reluctant to list the details here as they will almost certainly change. Just check with the folks at the Silencer Shop and they can steer you straight.
Basic Specs:
Diameter: 1.375”
Overall Length: 9.4” Full size , 6.6″ configured with booster piston assembly.
Weight: 18.5 Ounces Full size, 13.5 ounces Pistol configuration
Materials: High strength, high temperature, corrosion resistant 17-4ph Stainless Steel
MSRP: $1,095

If this works, it is a game changer unless the Feds catch on and consider it a new manufactured Suppressor for each caliber components associated with the serialized piece.
At any rate, here in the socialist republic of Connecticut, even though suppressors are legal, it is is unlawful to own a semi-auto handgun that is equipped with a threaded barrel. This is not the case for long guns that are not classified as “assault rifles”. My only chance of owning one of these or any other suppressor is when I move to a gun friendly state. That day is coming fast.
did u do any sound measuring? just curious about the blackout with the subs.
Looks like a pretty cool setup that could use a few bugs worked out of it from what I read. I myself refuse to pay as much as a good handgun just so I can quiet my shots down, earmuffs save me a grand plus. Personally I think the costs are beyond ridiculous, too much greed from these manufacturers because you need the stupid tax stamp, didn’t need that then I’d bet the costs would come down significantly.
Thanks for one of the best articles I’ve read on this site in some time. It was thoughtfully executed, articulately conveyed, & the images were fantastic. Having been in the market for a well designed multi-caliber suppressor for quite some time, this gave me yet another option to consider.