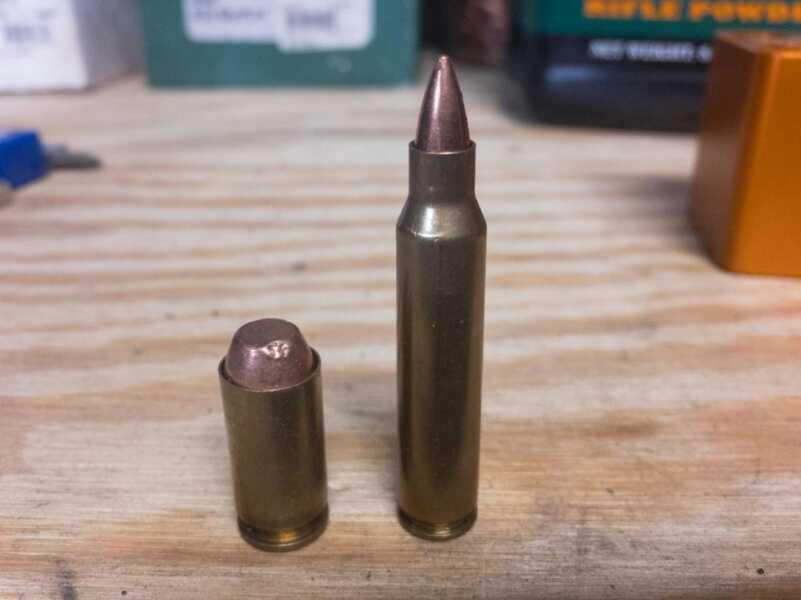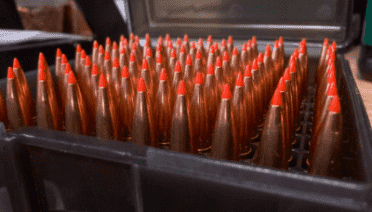
If you package your reloads in a good plastic box, you can use that SERIESto make a last minute scan to check for consistent overall length and other things.
SERIES:
- Part 1: Reloading: Want To Reload Your Own Ammo? Basic Questions to Consider
- Part 2: Reloading: The Basic Process
- Part 3: Reloading: The Gear You’ll Need and What It’ll Cost You
- Part 4: Reloading: Brass Cleaning and Preparation to Load
- Part 5: Reloading: Brass Resizing
- Part 6: Reloading: Trimming Cartridge Cases
- Part 7: Reloading: All About Primers
- Part 8: Reloading: Priming for Success
- Part 9: Reloading: Powder, Propellants, and Pressure
- Part 10: Projectiles: Materials, Weights, and Styles
- Part 11: Seating and Crimping Bullets
- Part 12: To Crimp or not to Crimp
- Part 13: Final Inspection and Packaging Tips
The very last step in the reloading process is inspection and packaging. After all is done, I like to combine the inspection and packaging steps. As I put each completed cartridge into a box, I look it over to make sure everything is in order.
Here are some of the things I like to review and double-check before ammunition goes on the shelf and subsequently, to the range. Some of these checks I do as I pick up each cartridge to place it in the storage box and others I do as a scan of the whole box.
Bullet condition
Check to see if the bullet appears to be seated straight. Make sure there are no scores in the bullet or kinks in the cartridge case mouth where the edge of a bullet caught as it was being seated. Are there any dents or cuts from the seating and crimping steps?
Bullet seating
I almost always use plastic ammo storage boxes. As you fill a box, it’s a great time to scan across all the cartridges to make sure they appear to have the same overall length, which, if your brass is reasonably consistent, means that the seating depth is the same. You can also pull a few random cartridges to measure overall length as a “spot check.” Yes, this was done earlier in the process, but one more look is never a bad idea.
Cartridge case condition
As I place each cartridge into the container, I take a look at the brass to make sure there is no damage. I’ll look at the case rim to make sure there are no gouges and that there is room for the extractor to function. I’ll look at the neck of rifle cartridges to make sure there are no cracks or splits. I’ll check the cartridge base area to make sure there are no bulges or cracks.
Extra material around the case mouth
If I’m loading lead or softer plated bullets, I like to check for any lead or bullet lubricant that might have shaved off onto the outside of the cartridge case. If so, scrape it off as it will interfere with smooth chambering. If you see this, check the case mouth too as you’ll often find a crimp under that lead or wax residue.
Chambering
While slightly redundant with some of the other steps outlined here, this is also a good time to do some spot checks to make sure your batch of cartridges will chamber properly. I love to use chamber gauges, but if you don’t have those, you can use your gun. If you use a “real” gun chamber, do it safely. For semi-automatic pistols, field strip the gun and remove the barrel. Now you can use just the barrel as a chamber checker. Your reloaded cartridges should drop freely into the chamber and not require any force to move them all the way into position. If you’re reloading for revolvers, you can do a similar process using the cylinder. If you are reloading for bolt-action or semi-automatic rifles where you can’t really remove the barrel, invest in chamber gauges. You can cycle ammo through the action, but be aware you’re now operating a loaded gun in your house. My advice? Be extra safe and buy the gauge.
Primer condition and seating
As I put each bullet in the box, I also look at the new primer. Sometimes, a new primer won’t be seated at all, and you’ll see an empty primer pocket. Especially if you use a progressive press, you’ll run into this situation once in a while. Either something went wrong in the process, or perhaps that specific case had a loose primer pocket, and the new primer fell out. If there is a primer in place, is the primer inserted with the proper side facing out? Once in a while, one can get turned around and seated in the primer pocket backward. Last, scan the batch to make sure the primers are all seated to the correct depth. Depending on the specific load, they should be at least level with the case of the cartridge and sometimes ever-so-slightly recessed.
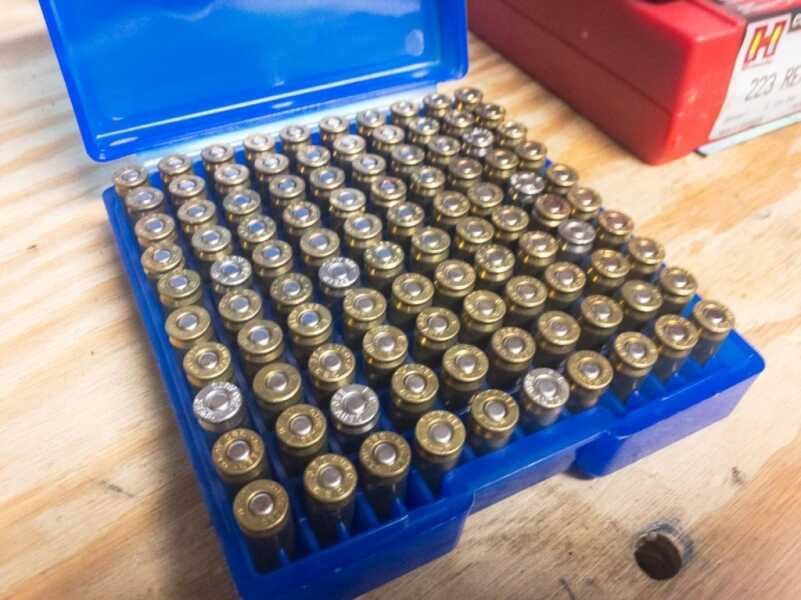
If you load handgun cartridges nose down, you can scan the whole box at once for any missing or upside-down primers.
Powder
You can never be too careful to make sure you loaded the right powder in a batch of ammo. Loading the “right” charge weight of the “wrong” powder can lead to really bad things, all the way up to the baddest of all bad things, serious injury or death. Although you should have checked and rechecked earlier in the reloading process, it can’t hurt to make one last comparison to make sure the powder on your bench is exactly what the load recipe calls for. It’s a great habit only to allow the powder you’re currently loading to be on your bench. Store the rest elsewhere. If there are two containers of powder next to your press, you just might lose track of which one you used.
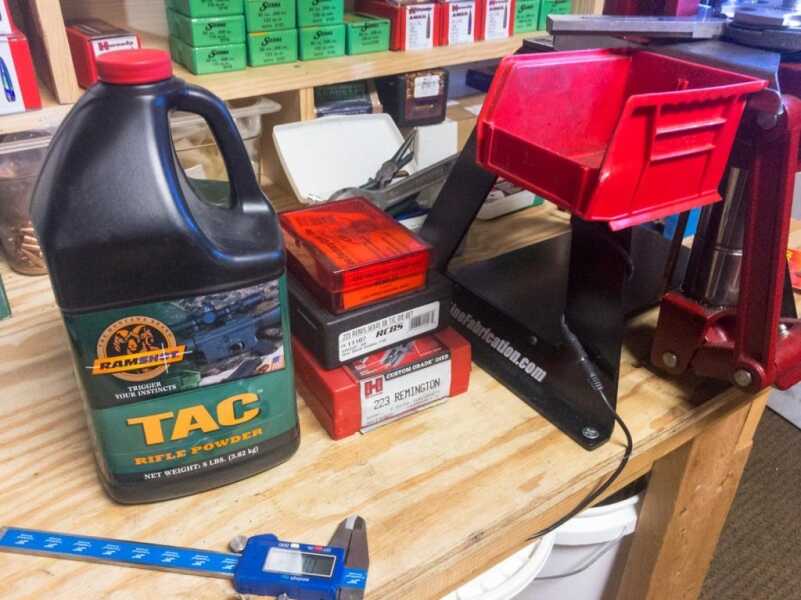
I always keep only one powder container on my loading bench and that’s the one currently being loaded. I don’t want to risk using the wrong powder.
This is also another opportunity to make one last comparison between the charge weight setting on your scale and the charge weight in the recipe. Once ammo goes on the shelf, it’s no longer fresh in your mind, so take advantage of this last opportunity to make sure you loaded the right charge weight.
Labeling
Once your new ammo goes on the shelf, you’ll quickly forget exactly what that load is. I always, always, always include a label in each box with the detailed load information including bullet type and weight, primer type and brand, overall cartridge length, and powder type and charge weight. In my case, I like to load both “practice” and “full performance” ammo for different purposes. My practice loads may be light-recoiling, low-velocity variants while the standard ones might be loaded towards the top of the power scale. From the outside, those cartridges will appear identical, hence the importance of good labeling. Down the road when you head to the range, you’ll want to know exactly what you’re feeding your gun. Besides, if you encounter any problems or strange performance, you can take corrective action for future loads if you know exactly what was used.
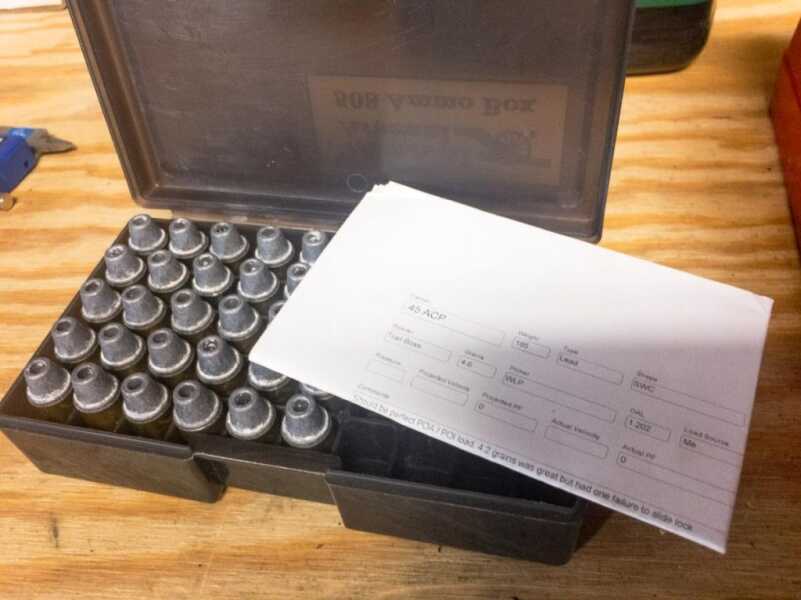
Every box of ammo I load as a load sheet inside with all the details like bullet type, primer, powder type, and charge weight.
The final packaging and inspection steps are your last chance before your reloads head to the range to identify any problems, so make careful final inspection an important part of your routine. If you see any issues or even have doubts about a specific cartridge, remove it. You can use a bullet puller to take it apart and start over. While that’s admittedly a pain, it’s a much better alternative than encountering a squib load or over charge.
For storage, I like to use plastic ammo boxes with a separate space for each completed cartridge. They look great, keep your ammo from getting knocked around and last forever.
Oh, and the most important step of all?
Go shoot it!

