In my never-ending search for the perfect optic to pair with a lightweight, long-range hunting rifle, Vortex Optics’ Razor HD LHT piqued my interest with its impressive feature set to weight ratio. Or, at least, it’s very attractive when looking at a specifications chart online. How well does it perform in the field though? I’ve put the new 4.5-22×50 MOA model through extensive testing and am here to answer that exact question.
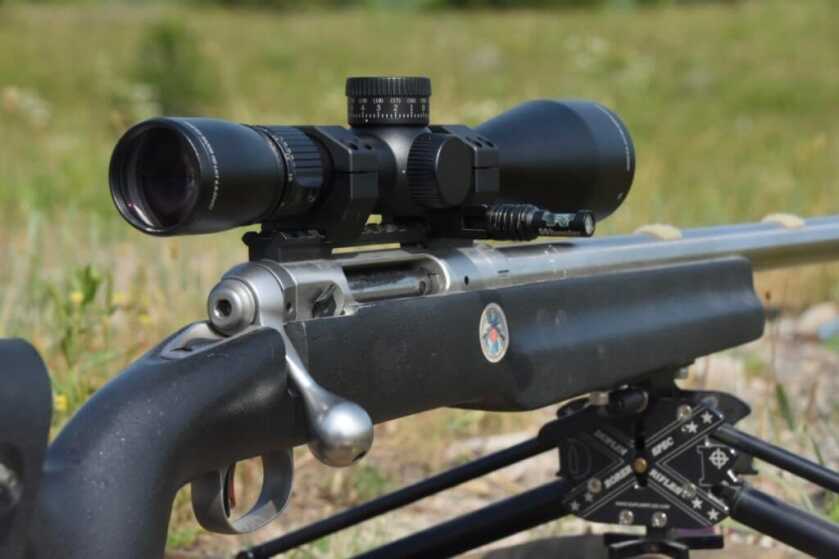
Noteworthy Features:
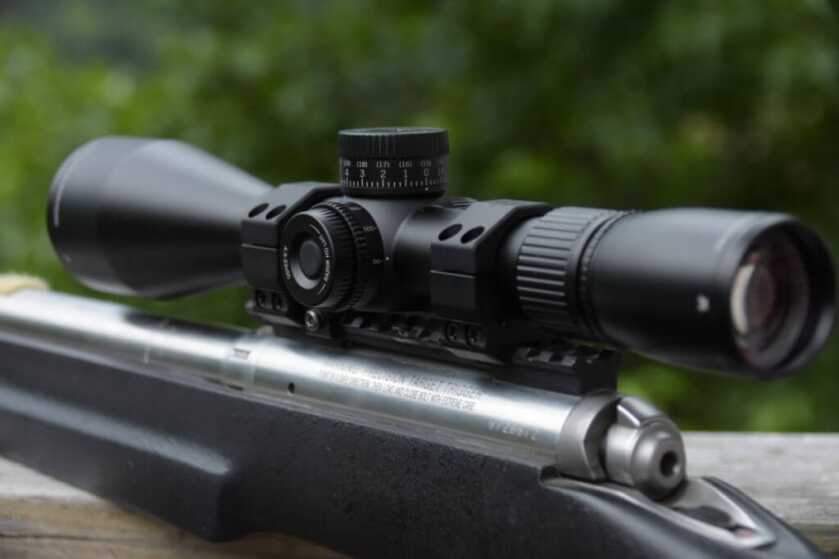
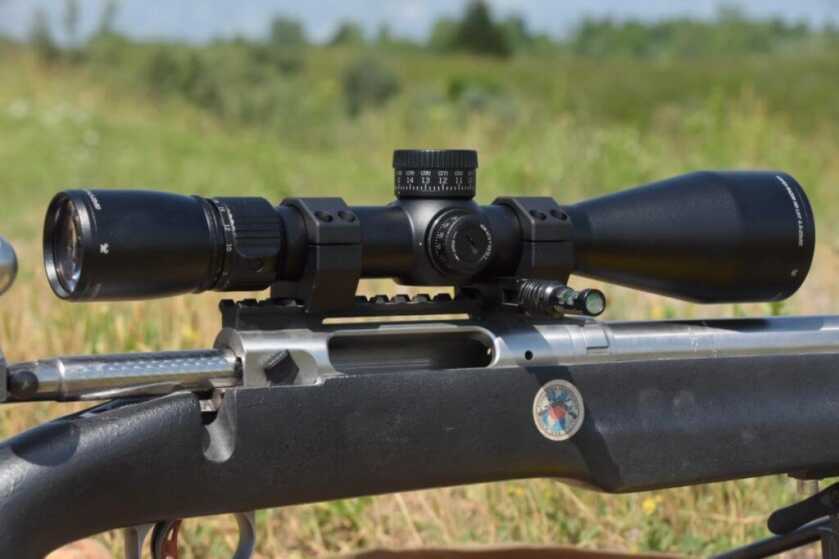
The answer to the previous question isn’t a short one, so bear with me. First, I’ll run over some strong points of the Vortex Razor HD LHT 4.5-22×50 and then discuss the weak points, if it has any. Starting at the eyepiece and working our way forward, the Razor HD LHT has a simple and foolproof ocular focus. This can be adjusted to bring the reticle to maximum sharpness for whoever is using it. Once this position is found, tighten the locking ring to keep things sharp. Right next to this locking ring, you’ll find the magnification ring. This ring has a mildly aggressive texture, accompanied by a low-profile throw lever that is constructed into its design. I found this small throw lever to be handy for magnification adjustments since my optic was fairly stiff to operate.
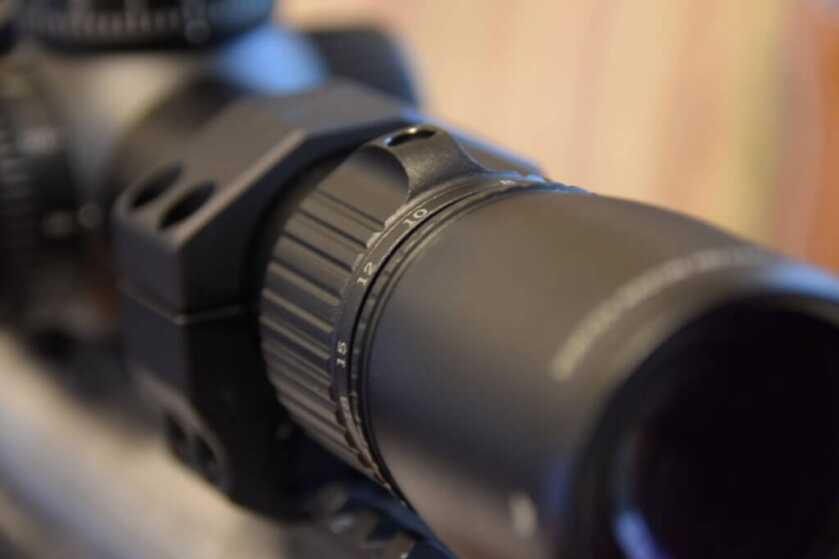
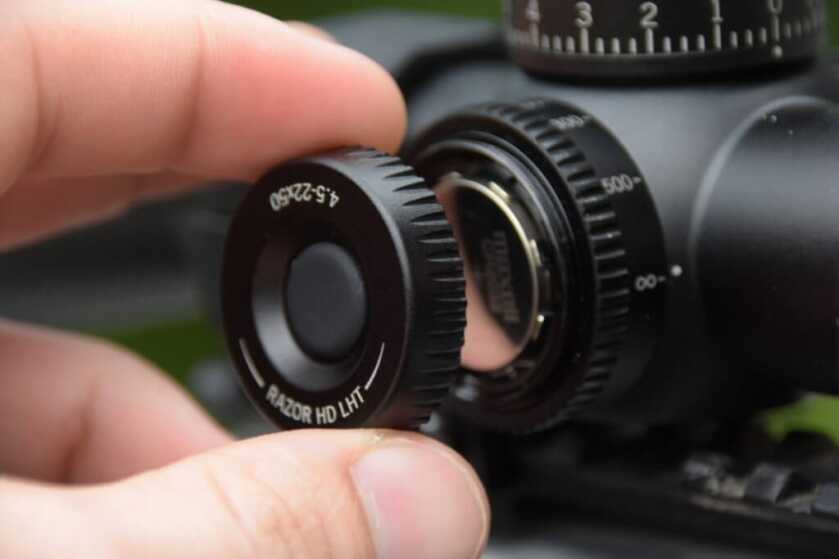
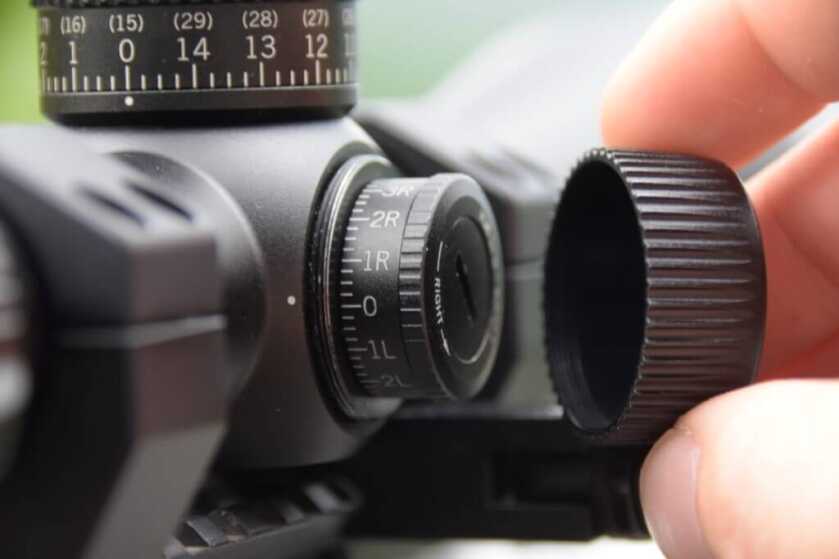
A parallax adjustment knob that ranges from 25 yards to infinity is located on the turret housing. I found this to be smooth and easy to adjust. On this same knob, you’ll find the illumination control button and associated battery. This CR2032 battery is nestled under the illumination control button and can be changed by unscrewing the cap for access. The Illumination settings are very easy to understand/operate. There are 10 brightness levels that can be cycled through quickly by simply pressing the illumination control button. This will run through the brightness levels until you reach max/minimum where it’ll flash on and off a few times for visual indication. If you continue to press the button, it will begin to change the brightness in the opposite direction. (IE: you are pressing the button and the intensity is increasing. it flashes a few times and you continue to press the button. Now, it begins to decrease the intensity one step at a time until it reaches the lowest level and the process reverses.) I found the brightness levels to be satisfactory in direct sunlight while the reticle remains crisp and defined.
Zero Stop and Reticle
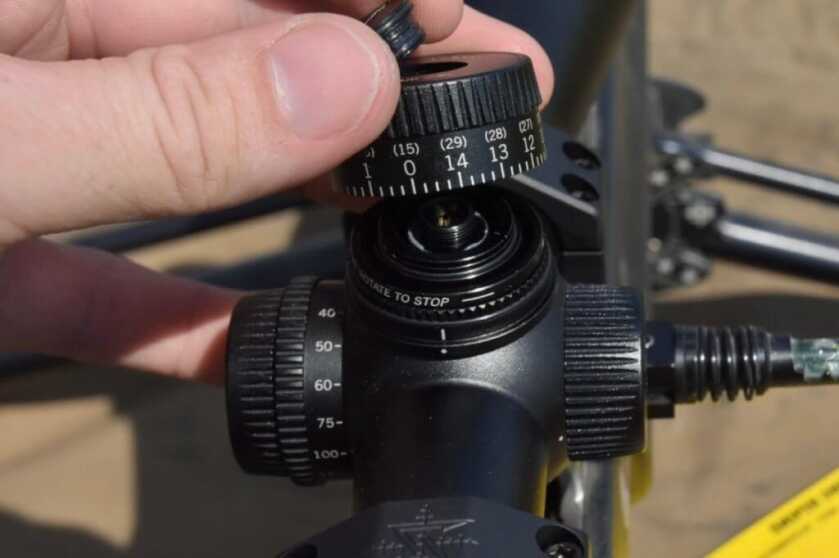
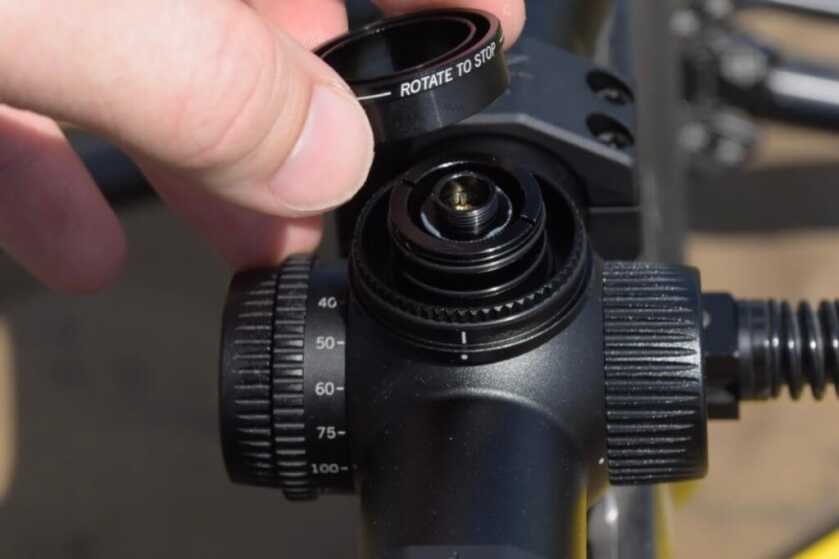
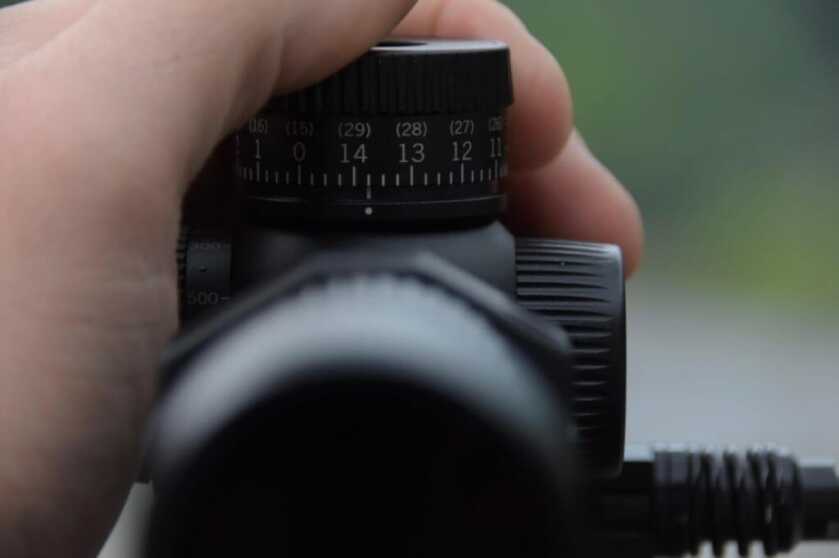
Vortex used their RevStop zero stop system in the Razor HD LHT, which I quite like. Using this system is as simple as sighting in your scope, removing the elevation turret, placing the RevStop Zero Ring, and reinstalling the turret. Doing so will prevent you from dialing an excess of 1.25 MOA (or 0.5 MRAD in other models) below your established zero. However, you will also be limited to just under 2 full revolutions, yielding 27 MOA or 11 MRAD of useable adjustment. When coupled with a user-friendly reticle, which the Razor HD LHT has, I found this to be a non-issue at extreme ranges. If this ever became an issue, simply remove the elevation turret with a tool, coin, or rim of a cartridge and remove the RevStop ring. This modification could easily be done in the field if necessary.
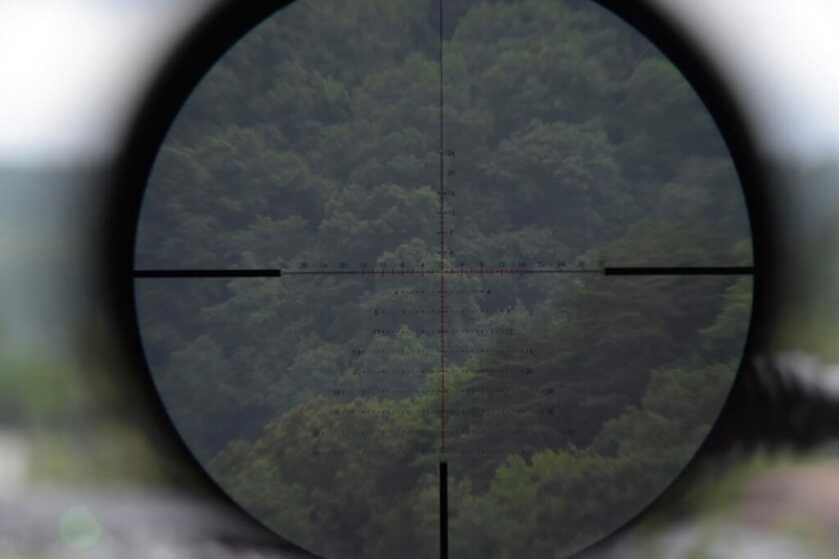
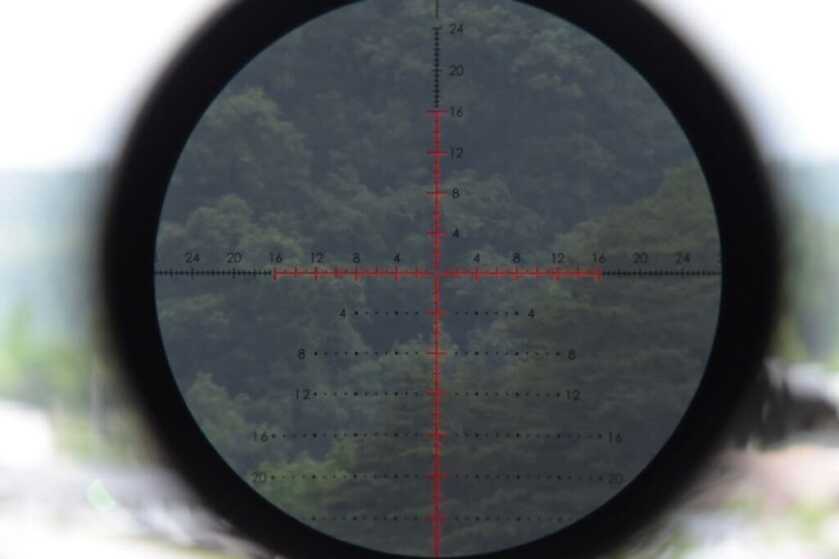
The Vortex Razor HD LHT 4.5-22×50 only comes with two different reticle options (currently), which are determined by whether you want your scope to be in MOA or MILs. These reticles are the XLR-2 (MOA) and XLR-2 (MRAD). I found this reticle to be fantastic for shooting small groups at 100 yards as well as for using holdovers on distant targets. The crosshair itself is of the floating center-dot design, which provides great visibility on small targets. Also, the Christmas tree design was not too obstructive for spotting shots, as I’ve found some to be.
Observations in the Field
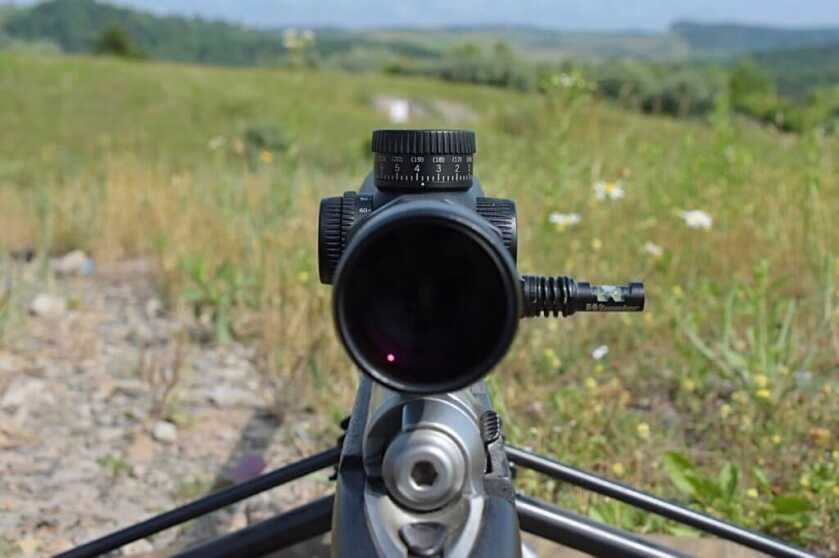
I’ve already made a few comments about the function of the Razor HD LHT 4.5-22×50, but I’ll re-hash them and move on to others: I found the magnification ring to be pretty stiff to operate, but the raised throw lever certainly helped address this. Second, the clarity of this optic was fantastic, but I failed to capture a photo that I felt did the scope justice. Consequently, any photos through the scope are only meant to display the reticle. Also, the parallax settings seemed to correlate accurately with the ranges I was shooting.
In my operation of the turrets, I found the lift locking mechanism of the elevation turret to be positive and smooth to use. The clicks of the elevation turret were defined and crisp, but lacking somewhat in that nice clicking audio queue I’ve become accustomed to in the most expensive optics. Perhaps this was by design, since it is targeting hunting applications where stealth is important. The capped windage turret, however, should remain capped and unadjusted for long-range shots. I found the indexing mark on the scope body to be somewhat lacking in precision. I could interpret it as being back at zero, or not, depending on the angle at which I was looking at the turret. Ultimately, I was confident in it to +/- 0.25 minutes by my eye. For the tracking test that I performed which I’m about to describe, I had to count out each click to the 15 minutes and back in order to ensure I dialed exactly what was intended… what a pain.
The good and the bad laid out there, I still enjoyed the Razor HD LHT 4.5-22×50; so much so that I plan on purchasing this optic for my personal use.
Tracking Test
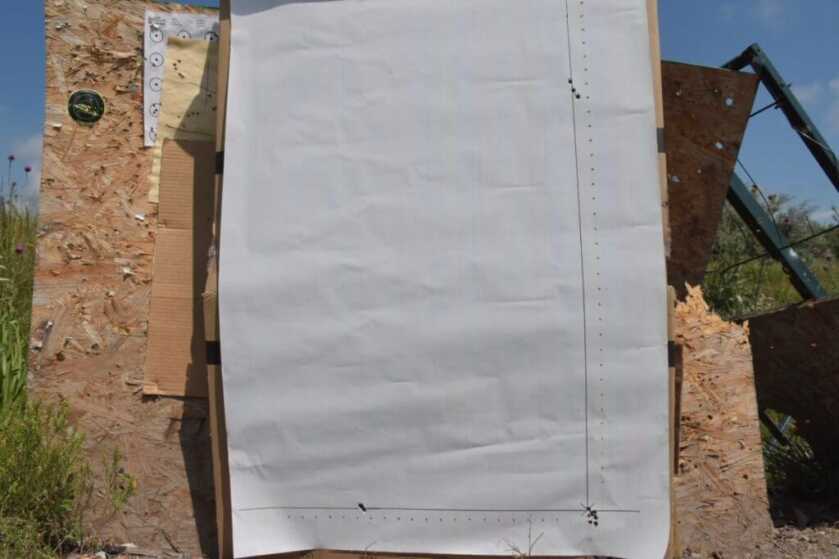
Possibly the most important thing about an optic, especially those which are long-range shooting oriented, is that it tracks with utmost precision. This means that when 10 MOA is dialed on the turret, the reticle is moved by the internal mechanics of the scope exactly 10 MOA, and so on. With today’s advancements in technology and the heavy use of computerized machinery, this is becoming less and less of a problem but must be tested nonetheless. The test that I chose to use in this experiment is called the “tall target test.” In this test, a target that has been leveled with gravity, or by a bubble level, is placed 100 yards downrange. On this target, there is a point of aim at the bottom, and a vertical line that extends approximately 35 or so inches upward. First, a group is fired at the point of aim. Then the optic is adjusted 30 MOA up and another group is fired at the same point of aim. Results should yield a group at the point of aim as well as another approximately 31.5” up on the vertical line. This shows that the vertical adjustment on the scope adjusts purely for elevation. Then math can be used to determine with what accuracy it does so. A similar step can then be performed to check the windage as well. For this test, I modified these numbers slightly due to the fact that I could not dial more than 27 MOA with the RevStop in and wished to utilize it for an easy return to zero.
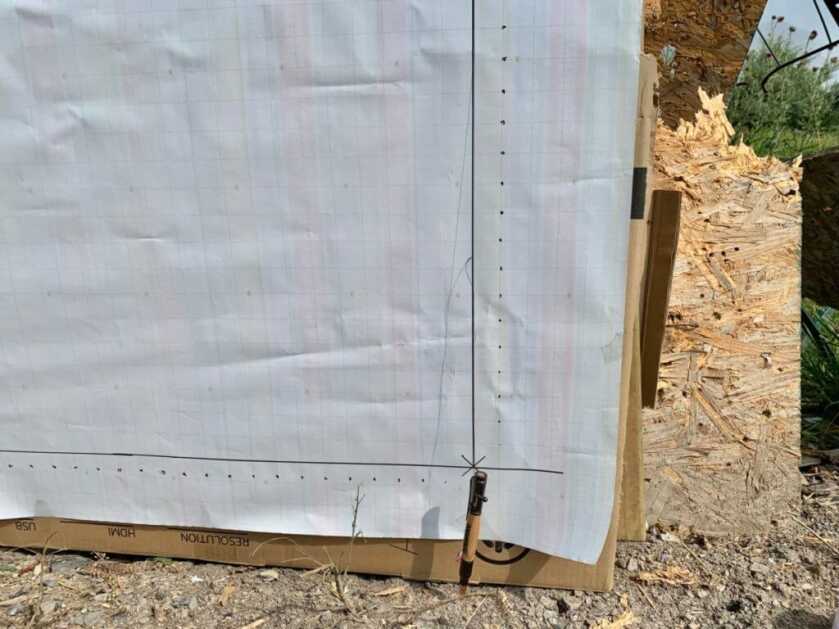
Disclaimer: on this day, I drove over an hour to get to the shooting range, where I realized I forgot my rear bag. I opted to use a rolled-up jacket instead, knowing that this would likely cause some vertical stringing: which it did. However, the law of averages worked in my favor and the results showed what I expected to see. If they did not, I would have repeated this test on another day.
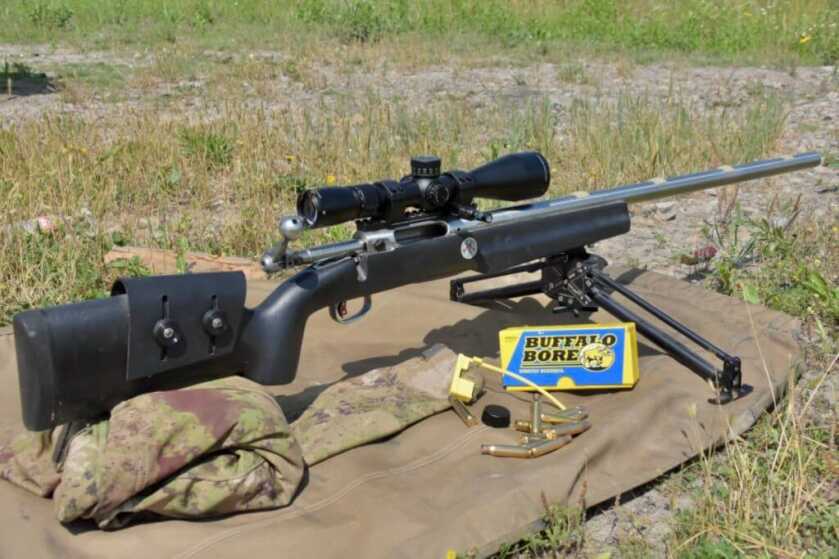
Because the precision of the rifle is of the highest importance for this test, I chose to use my most accurate rifle, a custom build with a savage target action and Criterion barrel chambered in 308 Winchester, and a Duplin bipod to name a few of the most important parts. For the test, I used ammunition from my personal stash of factory ammo; Buffalo Bore Sniper 175 grain 308 Winchester cartridges. I chose these because they have proven themselves to shoot a consistent <1/4 MOA out of my gun if I play my part well. The distance was confirmed to be exactly 100 yards with a Leupold RX 2800 as well as a Safran Vectronix Terrapin X rangefinder. The first 3 shots fired at my point of aim grouped pretty well, just to the lower right of my point of aim. Then I dialed up 27 MOA and shot another group while maintaining my original point of aim. This yielded 3 shots with some vertical stringing on the Y-axis reference line. After measuring the distance between the groups, I took the 28 9/16” which the tape showed and used it in conjunction with the following formula to find the expected distance between groups and extrapolate the accuracy which this scope tracked:
***Distance from target x MOA value dialed x MOA to inches conversion = expected point of impact in inches***
**100 yards x 27 MOA x 0.01047 inches/MOA = 28.27 inches**
Using the expected value of 28.27” and the actual value of 28.5625”, it was determined that the Razor HD LHT tracked with 99% accuracy. This means that if a person were to dial a hypothetical 100 MOA into this optic, it would only be 1 MOA off! Impressive to say the least for this Vortex optic, especially considering my shooting likely didn’t do it proper justice on this day.
Next, the windage was tested in much the same way. After being returned to zero, the Razor HD LHT was dialed to the right 15 MOA and a 3-shot group was fired at the same point of aim as in the elevation test. Again, using our formula, we can determine the expected distance between the zeroed group and the one just fired. Doing this, we see an expected distance of 15.705” which can be compared to the measured value which I found to be 15.6875”. Again, using these values, the windage turret tracking was found to be 99.9% accurate! Considering that my group here was much more precise than the one used in the calculation for the elevation turret tracking and the much better result of 99.9% accuracy in tracking, it’s safe to say the elevation turret likely performed just as well if my shooting could have done it justice.
***Distance from target x MOA value dialed x MOA to inches conversion = expected point of impact in inches***
**100 yards x 15 MOA x 0.01047 inches/MOA = 15.705 inches**
After the windage test group was fired, the optic was returned to zero and another 3 shots were fired in order to confirm an accurate return to zero, which it did. Upon final inspection of the target, I determined that the optic’s elevation and windage turrets did a great job adjusting purely for the Y and X-axis respectively.
Specifications:
- magnification: 4.5-22x
- objective lens diameter: 50 mm
- eye relief: 4.0 inches
- field of view: 23.5-4.7 ft/100 yds
- tube size: 30mm
- elevation turret style: locking-exposed
- windage turret style: capped
- elevation and windage adjustment graduation: 1/4 MOA
- elevation and windage travel per rotation: 15 MOA
- max elevation adjustment: 75 MOA
- max windage adjustment: 45 MOA
- parallax settings: 25 yds to infinity
- length: 13.3 inches
- weight: 21.7 oz
- MSRP: $1,999.99
Final Thoughts
I am still in the search for *MY* perfect hunting optic even after using the Vortex HD LHT 4.5-22×50. I really liked this optic and would only make small adjustments if I were involved in its design. It is very light considering the power range. Consequentially, it has found a place at the top of my current list of desirable optics; along with the Leupold Mk 5 HD, for example. Some of the ways I wish this optic were different include an option for a non-illuminated reticle which would make this scope lighter and cheaper. Also, for the near $2K MSRP, I wish Vortex would have found a way to include a revolution indicator of some sort on the elevation turret. That said, I would definitely recommend this optic to fellow long-range hunters for their applications. This is one of the most feature-packed, high-powered optics for the price/weight class currently that it is in.
Learn more about the Vortex Razor HD LHT 4.5-22×50 HERE
***Buy and Sell on GunsAmerica! All Local Sales are FREE!***
More Images:


Two thumbs up!
Perhaps I missed it in the article, but is it first, or second focal plane?
In the title, FFP stands for, “first focal plane”.