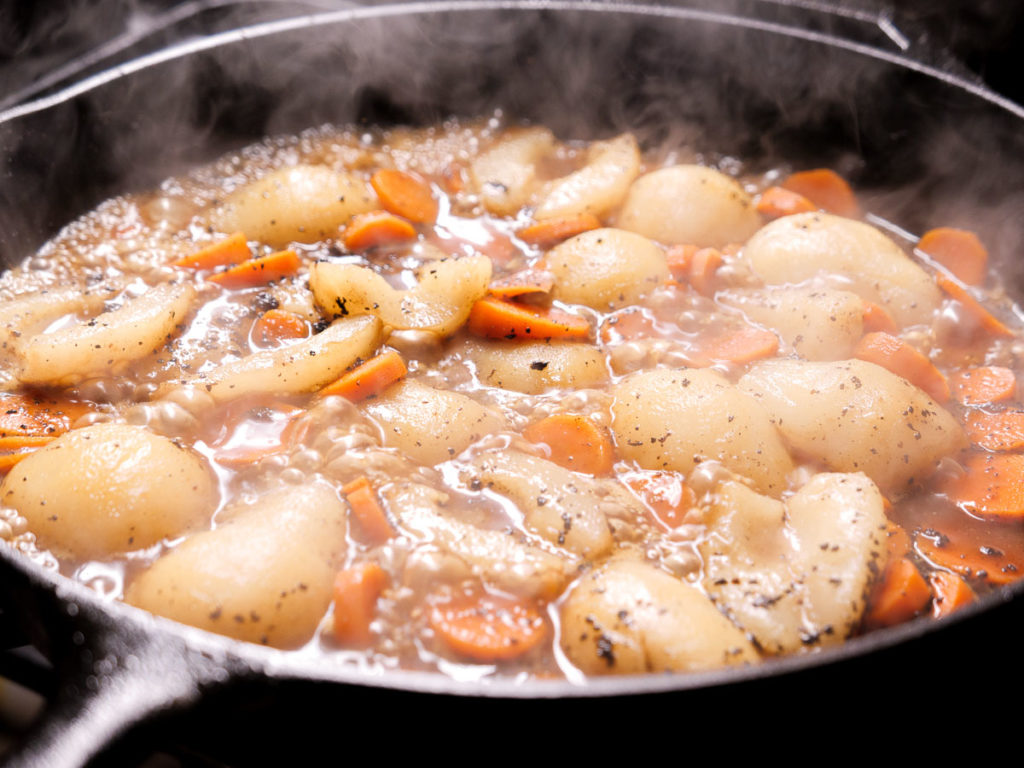
You know what I hate? Recipes that call for special ingredients that I’m not likely to have on-hand. I don’t always have the opportunity to plan a meal and buy all the stuff ahead of time. Sometimes I just need to defrost a piece of meat and get it done for dinner right now.
This recipe is perfect because it’s made of things you probably have in the cupboard, and it’s delicious and approachable even for people who don’t like “game meat.” It’s not fancy, but it’s sweet and flavorful and the way you cook it will reduce the impact of the venison you choose to use while maintaining it’s distinctly not-beef flavor. The sauce takes the edge off the gaminess, and it’s a great way to introduce real meat to people who’ve never eaten game. If you make this around camp they’ll be calling you a gourmet chef.
It’s also great because it doesn’t take long to prepare and cook. Now that I’ve done it several times, I can have dinner ready within 30 minutes after the meat is defrosted–and that’s real person time, not experienced-chef-cooking-quickly-time as I see in most recipes.
What meat to use?
Naturally, this works well with backstraps and tenderloins, but it also works nicely with some of the slightly less tender cuts. I’ve had great success with whole muscles from the hindquarters. Use deer, elk, or antelope. Choose whole muscles so that you don’t have tough silverskin through the middle of the meat. Remove the silverskin and any fat (search YouTube for “How to remove silverskin”). If you leave the silverskin on, it’ll contract as it cooks and curl the meat with it. Thinly slicing the meat for serving will help it feel more tender.
Use a piece that is not cut into steaks, like a chunk of backstrap at least four inches long. That’ll serve two people. You can easily double or triple that and use a second can of pears–just make sure the pan is big enough. I like to use this with antelope.
What ingredients and tools do I need?
Ingredients:
- Meat–enough for at least two people, silverskin removed
- 2-4 carrots, peeled and sliced
- 1 or 2-15oz. cans of pears (one can leaves two people wanting more, two can is more than enough for three people)
- 1/8 cup Apple Cider Vinegar
- Salt
- Olive oil or other cooking oil
- Couple pinches of chopped parsley for garnish
**Canned pears are a sure-fire winner, but I’d experiment with other canned fruits like pineapple, apricots, or even fruit cocktail.
Tools
- Pan, at least 8”
- Wooden spoon
- Knife
- Can opener
You can get canned pears everywhere, even gas stations. I use the 15oz size, but using a bigger can just means more deliciousness.
For your pan, something at least 8″ in diameter is good, and with deep walls, so you can make a sauce in it. It’s best to use a thick pan, like cast iron, so that the pan retains heat as you add cool ingredients. You could even use a dutch oven on the stove. Cast iron or steel is a little better than a non-stick pan because it’ll collect a lot of tasty crumbs as the meat cooks and those will make the sauce better. You’ll need a wooden spoon or spatula to scrape the pan, and a can opener for the pears.
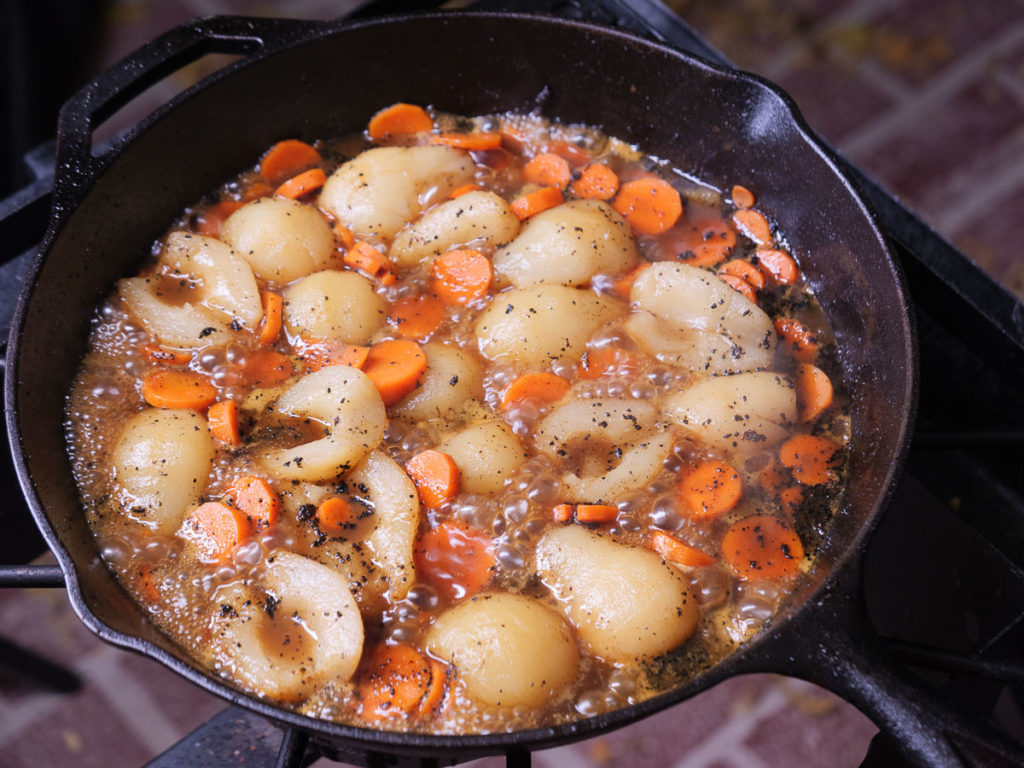
In these pictures, I used a 12″ cast iron pan and two 15oz cans of pears. The sauce thickens faster in a bigger pan because it evaporates faster on the larger heating surface.
Cook it
Start by defrosting your meat or use fresh cuts. Generally, meat cooks better when it’s at room temperature, to begin with. If you have time, marinate your meat in oil, salt, and a bit of apple cider vinegar. This is more important if you use a tougher cut of meat, like a rear roast. Marinate for at least 30 minutes, and overnight is even better. Cover the meat lightly in salt and rub it in before adding the oil and vinegar to cover the meat. But you can do this without marinating.
Heat the pan over medium heat so that the top edge is hot to the touch, not just the bottom so that the pan has enough heat to stay hot when you add the cool meat.
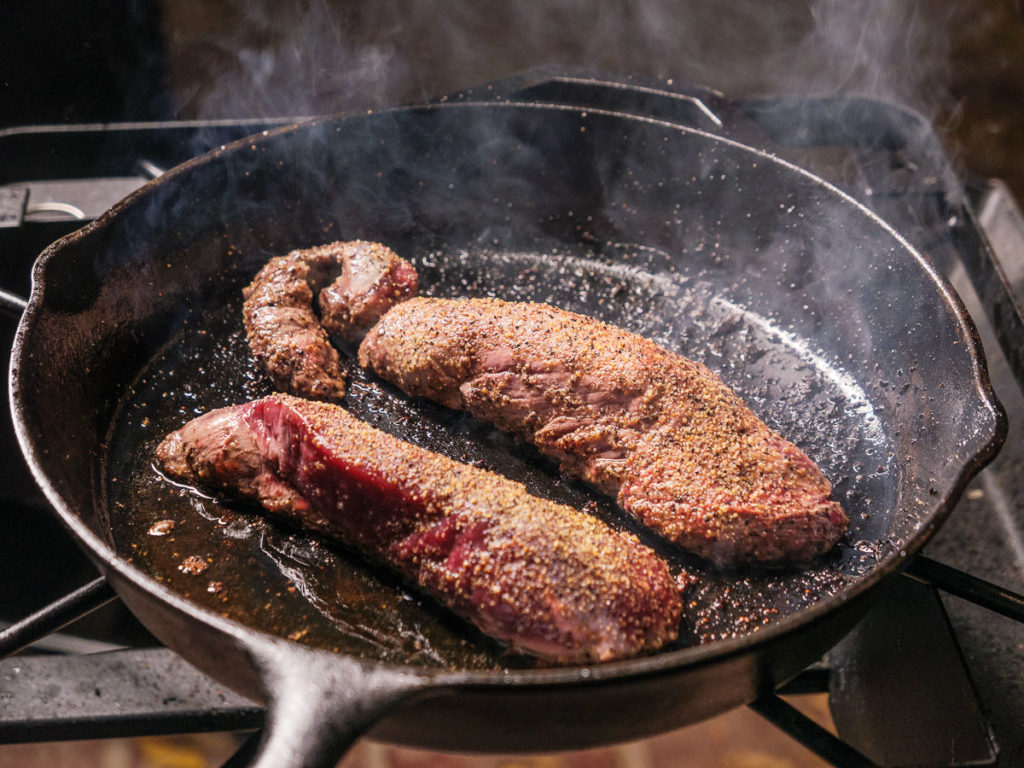
Cook the meat to medium rare and seared on all sides. If you use black pepper, don’t use too much because it burns.
Add enough oil to the pan to cover the cooking surface and let it get hot. If the oil starts smoking, then your pan is too hot. Add the meat to the pan and let it cook on each side to a nice medium rare in the middle. For backstraps, this will probably take at least five minutes on a side. The outside will be dark and seared.
As the meat is finishing up, put a little water on a microwave-safe plate and nuke it for a couple of minutes so the plate is nice and hot, then dump off the water. Put the meat on the plate and cover it–aluminum foil works well. The meat needs to rest for about ten minutes before cutting so the juices can settle back in, and the hot plate helps keep the meat hot. I hate eating cold meat.
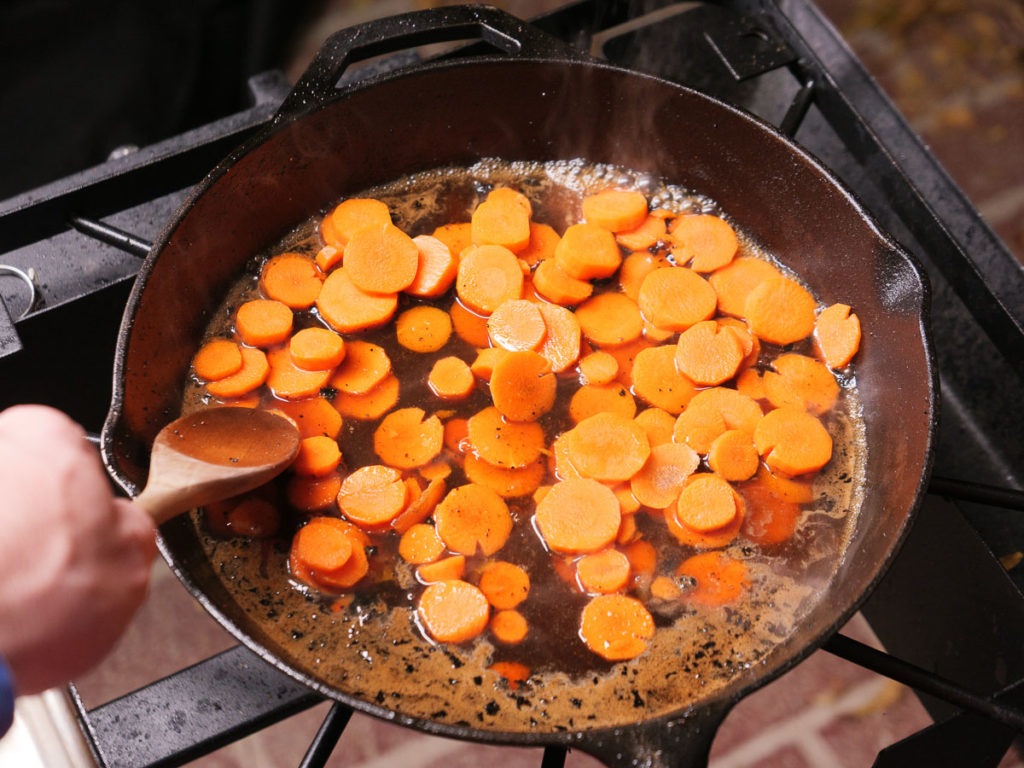
Remove the meat and add the pear juice and vinegar and carrots. Deglaze the pan, gently scraping with a wooden spoon.
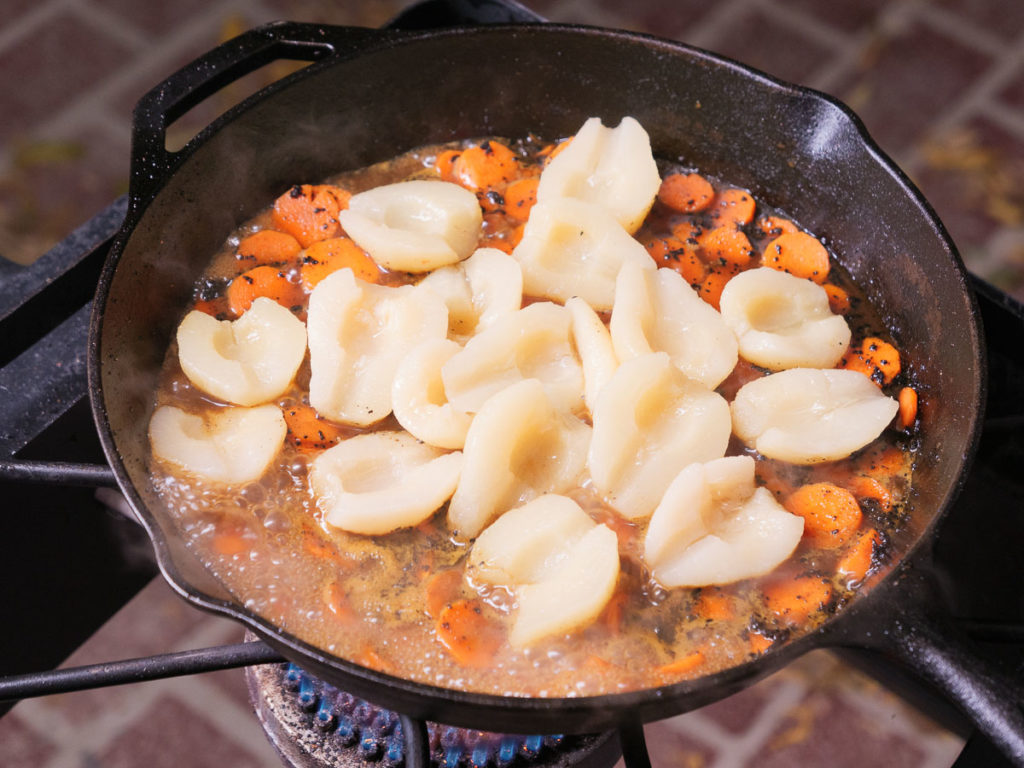
While the meat is resting, add the juice from the pear can, the vinegar, and the carrots to the pan. Use your spoon to deglaze the pan, scraping the crumbs off the bottom and sides. This flavor will go into the sauce and make it a nice brown color. Let the juice simmer for several minutes and reduce to a thicker sauce. Stir it occasionally and turn the carrots. After about eight minutes, add the pears to the sauce. When it’s ready, the carrots will remain firm, but the pears should be hot and the sauce should be a little bit thicker.
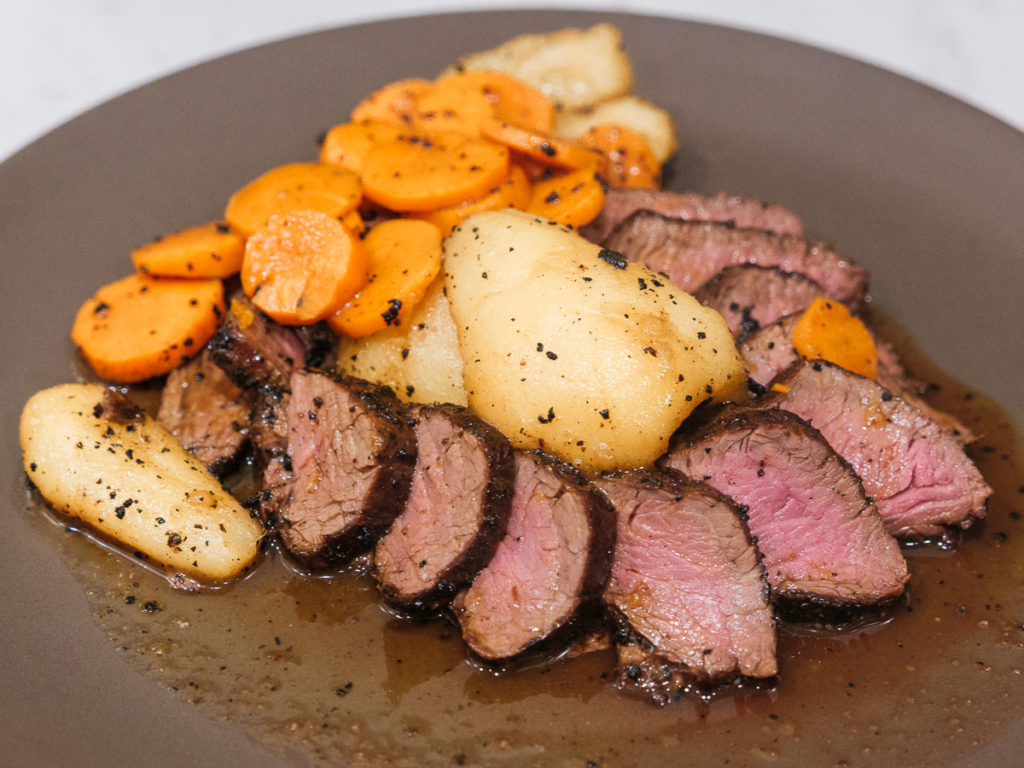
Now it’s time to prep for serving. Again, this should be served hot so have the table ready to eat. Uncover the meat and slice it thin across the grain with a sharp knife, about 1/8″ thick. The insides should be a lovely red/pink. Nestle the slices in a circle on a single-serving plate slightly overlapping and add pears and carrots to the middle and drizzle the sauce over each slice. Serving over rice would make a more filling meal for more people. Garnish with a sprinkle of parsley for color and serve.
The hot sauce will warm the slices back up and slightly cook the juices on the top which takes the edge off the wild flavor. If your guest is not used to meat juices, consider using a dark-colored plate (and dim lights) so they aren’t startled by the medium rare juices.


I’ll take two please.