An avid rifle hunter switches teams, flinging arrows in the late season. Read about his steep learning curve and follow him on this adventure!
Introduction
My name is Riley Baxter, and I’m an avid rifle hunter. I’ve taken a variety of game with gunpowder and lead, from badgers and coyotes to mule deer and elk. I’ve honed my skills to the point that hunting became more of a target shoot; the excitement stemming from the ballistics and characteristics of the shot. My most notable shots include a deer at 935 yards with a 6.5 SAUM, a coyote at 1005 yards with a 240 Weatherby Mag. and an elk at 1007 yards with a 338 EDGE. This year, I was forced to change my MO due to the interference from my scholastic schedule on my favorite hunting seasons. With a December general season archery deer tag in my pocket, I learned to love the sport of hunting again, filling my freezer with a more traditional weapon.

Getting Started
This project kicked off clear back in July of 2020, ending in December of the same year. Through those months, I gathered equipment, assembled my gear, and learned how to use it effectively. At the beginning of July, I began my research on which compound bow to purchase: and let me tell you, this is an incredibly difficult task! I had budget options, ready-to-shoot bow packages, and many high-end bows to decide between. After deciding that a hunter cannot be better than his equipment, I went the premium route with plans to outfit the bow with top-notch accessories.
Ok, now I’ve expanded my budget! But I still found myself to be on square one. Searching for the bow for me, I kept bouncing between tabs on my PC of the Hoyt RX4, Mathews VXR, Bowtech Revolt X, etc… my solution was to go to bed for the night and head to an archery shop the next morning to get some hands-on experience.
The next day, I found myself in Emmett, Idaho at a small-town archery shop that goes by the name of Low Mountain Archery. Even as early as July, new people were constantly coming in to get their bows worked on in prep for the upcoming season. The shop owner was very knowledgeable and friendly. After asking him tons of questions, he got me behind bows on the firing line. I tried several, and then he put a bow in my hand who’s brand I was unfamiliar with – Xpedition Archery. With doubts in my mind due to not being familiar with the manufacturer, I drew the bow back; it pulled smoothly and settled at full draw with a satisfying and solid stop. I lined the sights up and released the arrow. THWACK! No sooner had the bowstring been released, the arrow made contact with the target. No vibrations could be felt in the bow during the shot and I just knew that this was the bow that I wanted.
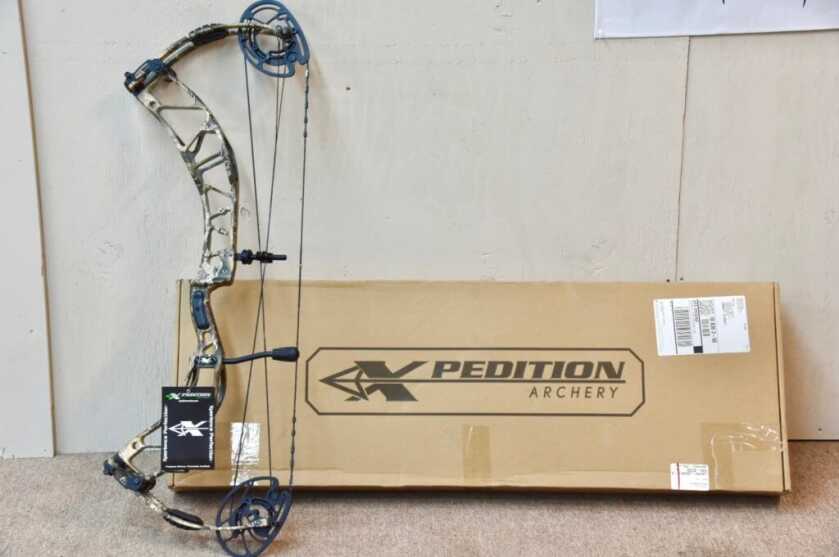
The bow that made such an impression was an Xpedition Archery MX16. This is a 32.75″ axle-to-axle bow with a 6″ brace height, 80% let off, and comes in at a competitive 4.2 lbs. IBO speeds are listed to be 348 – 352 FPS, and I believe it! The best part about my decision was quickly discovered to be the $1,099.00 MSRP vs the ~$1,800.00 I was prepared to spend.
Equipping the Bow
As mentioned, I chose to go the premium route, and that means accessories as well as bow. As customers were wandering in and out of Low Mountain Archery, I was picking their brains on what they thought was premium in respect to sights, arrow rest, quiver, stabilizers, arrows, and broadheads. Answers varied, but Hamskea and Spot Hogg kept popping up for the arrow rest and sight respectively. A quick internet search on reviews verified that these were indeed good products and this was reassured through the archery shop’s owner, Nick.
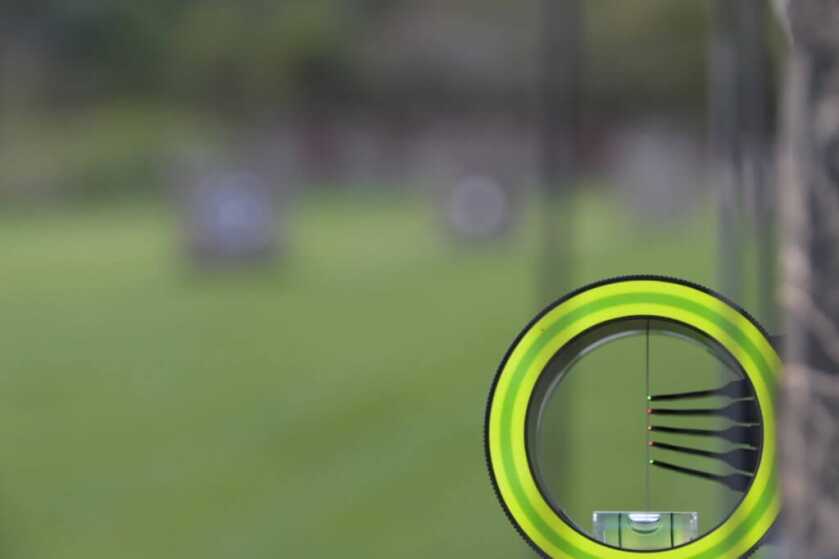
As mentioned, I have a love for reaching the outer limits of a projectile’s capability, so I elected to go with a sliding 5 pin sight to give me the speed of situational preparedness from 20 – 60 yards as well as the ability to shoot precisely out to distances of 100 yards. This settled me on Spot Hogg’s Fast Eddie 5 Pin Slider with 0.010″ fibers and an MSRP of $339.99.
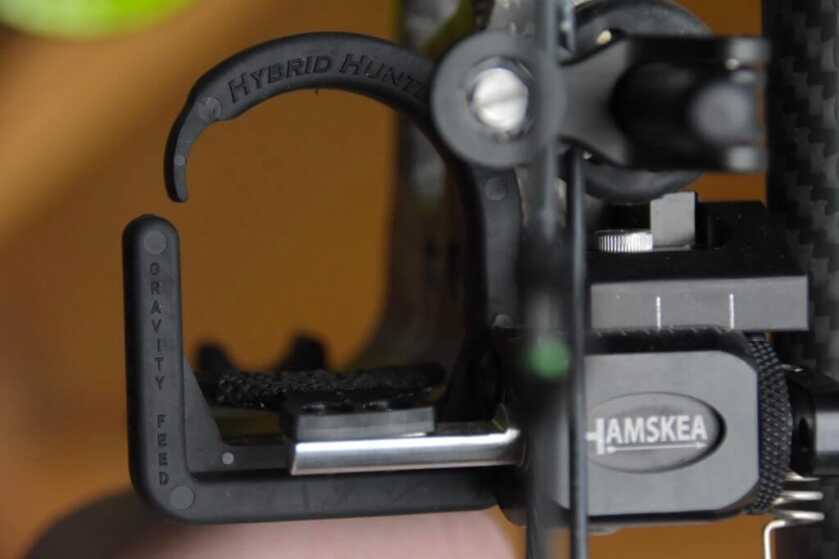
Going for extreme accuracy out of my compound bow setup, I knew that a drop-away rest was basically the only way to go. Using the same methodology to choose my rest as I did the sight, I chose to use a Hamskea Hybrid Hunter Pro Arrow Rest. I opted for the standard version with an MSRP of $149.99 when in retrospect, the extra $20 for the microtune model may have been worth it. That said, once the bow was tuned this became an afterthought and a non-issue.
The final thing that the bow needed before I could shoot it was a peep sight. I opted to use Hamskea’s raptor 3/16″ peep system due to its anti-glare baffled design. Maybe this is marketing speech, but I have no complaints to date and would choose this peep again after my experience.
Before setting the bow up, my final purchases would be a quiver, arrows, broadheads, and a release. To kill two birds with one stone, I equipped Option Archery’s Quivalizer. This system is a quick detachable 5 arrow quiver that can be mounted on the side of the bow in a conventional manner as well as out front as a stabilizer. It is lightweight and easily configurable to either position. MSRP for the Quivalizer is $185.00. I then filled this quiver with Victory Archery’s VAP TKO Micro Diameter Arrows ($114.99 for 6) and KuduPoint 125 Grain Broadheads ($42.00 MSRP). And finally, I purchased a Spot Hogg Tuff Guy BOA release.
Bow Assembly and Tuning
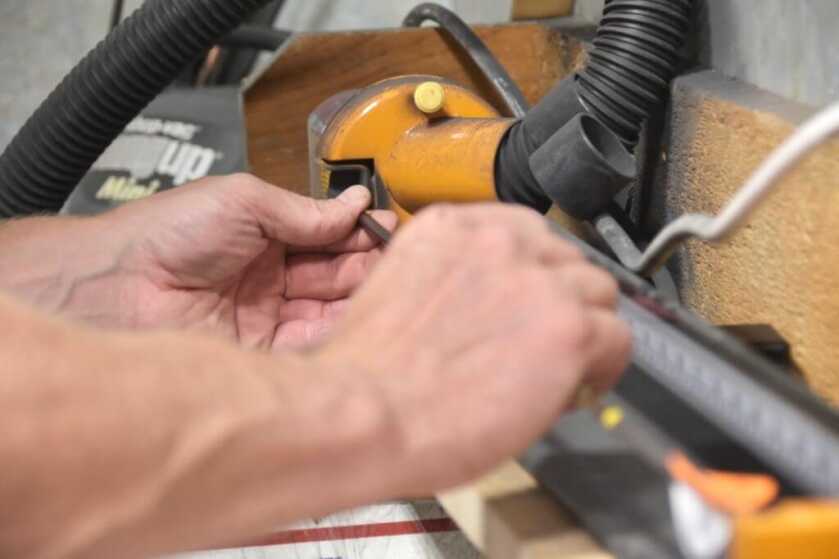
After a few swipes of the ol’ debit card, we were finally ready to install everything on the new bow and get it tuned. Nick started with the peep sight by having me draw the bow, visually assessing where the peep needed to be placed so that it fit me, and marking it with a sharpie on the string. Then it was to the bow press. He parted the string and placed the peep inside the twist and tied it into place once it was straight and positioned where he wanted.
Next up was the arrow rest. For this, he bolted the Hybrid Hunter Pro onto the riser and leveled the bow on 3 axis. Using the clip that marked center on the string from the factory, he placed the arrow under it and adjusted the height of the rest so that the arrow sat level and perfectly perpendicular to the string. Following this, we tied a D-loop for the release. Last on the bow to be mounted was the sight and quiver attachment points.
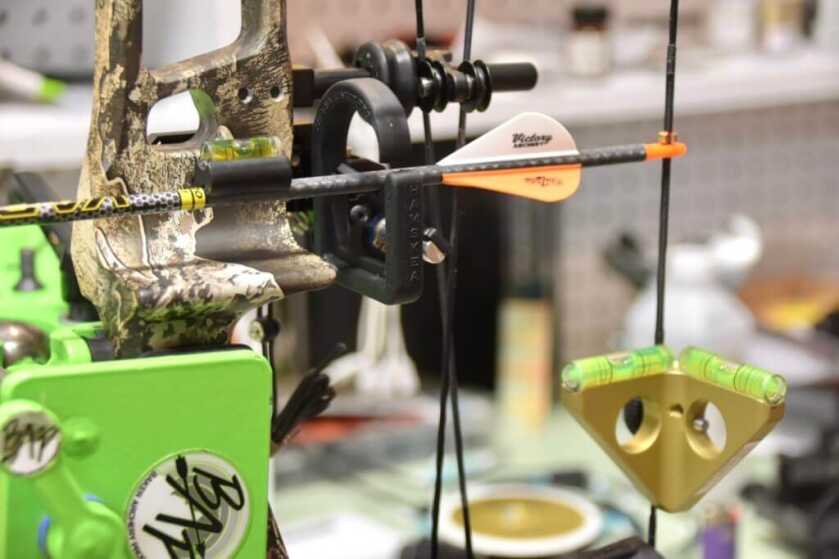
After quickly cutting the arrows down to about an inch over my draw length and installing the halfserts, we got tips on the arrows and took it to paper. Here, we shot through this tightly stretched paper into a target behind, making small adjustments to the rest’s position until the hole that was left was by the arrow showed no signs of tears by an arrow that wasn’t flying straight upon its release.
Sighting In and Shooting My New Bow
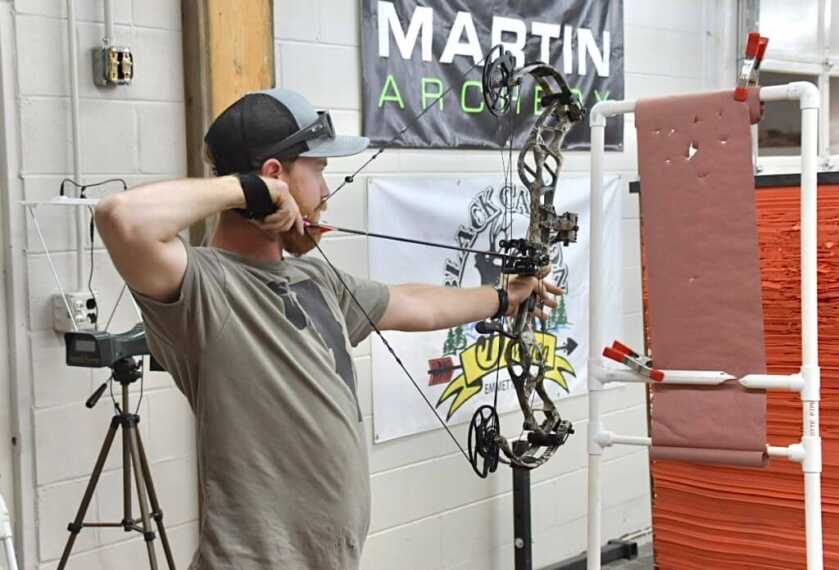
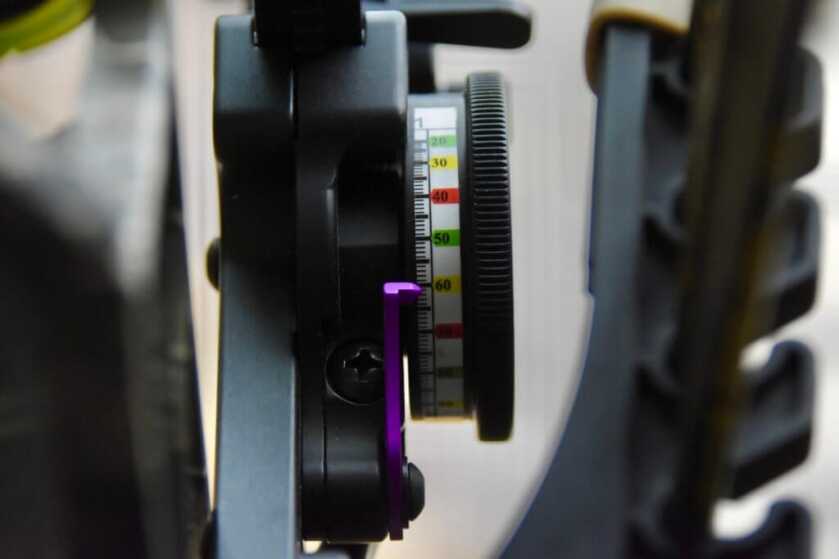
Once I was able to take my new Xpedition MX16 out to a proper range, I was left with sighting this bow in on my own. I quickly found out that this is done in a different manner than with a rifle! Because you are moving the front sight, you move it in the direction that your arrow is hitting. IE: if your arrow is hitting low, you lower the pin. If the arrow is hitting to the right, you move the pin to the right. It took me two different trips to get there, but I eventually got the bow’s bottom pin sighted in to 60 yards and found the appropriate tape to place on my slider. At this point, I was ready to shoot anything between 20-100 yards. All that was left was to practice. From July to December, I spent several days a week for hours at a time, getting good at using my equipment. I soon found myself confidently making shots to 90 yards.
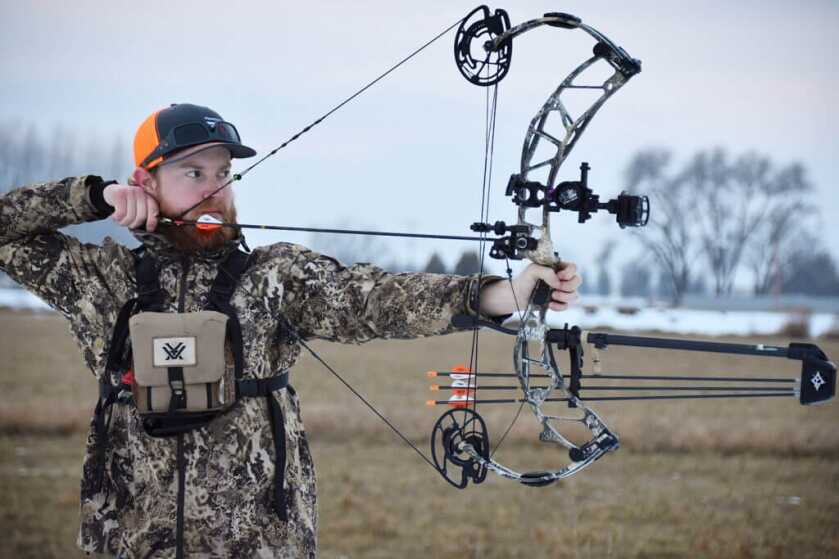
I’m not a total stranger to archery hunting, as I’ve taken an archery elk as a kid. Thanks to my dad, I have some skills in shooting a bow. At this point, you need to get used to your own equipment, as everything you feel and shoot from here on out will feel different from “yours.” In order to make precise and long shots, you need to find 3 points of contact on your face, center the pin in the peep, level the bow with the bubble-level, release the arrow without movement, and do it all simultaneously and quickly.
With this setup, I found that I like to place my index finger’s knuckle under my ear-lobe, thumb tip to the bottom of my jaw, and touch the string to the side of my nose. This configuration locked me into the correct position for the pins to be located in the center of my peep. My final bit of shooting advice is to keep all your muscles that aren’t supporting weight loose. Relax your grip on the bow, relax the hand in the release, and smoothly pull the trigger to fire the arrow.
At this point, I considered myself lethal and all that was left was to pack my equipment and find a deer.
Next time, Part 2: Important Equipment to Pack: December Archery Deer Hunt in Idaho


How well does this quiver work? Do you need any rear or sidecounter weight to keep the bow straight and level?
Nice set up… I happen to be in the market for a new bow…
Can’t go wrong with Xpedition and don’t ignore Obsession.