Part 2 of 2
This article is the second of two on thermal optics. In part one I discussed night vision, how I decided to invest in thermal optics, and profiled the iRay MH25 thermal scanner. In this article, I cover the Bering Optics Super Hogster thermal riflescope.
As mentioned in the previous article, thermal night vision is a game-changer for hunting coyotes at night. Thermal scanners let you see what’s important in a landscape – the coyotes – in a way that lights or PVS-14 night vision simply can’t replicate. But scanning, detecting, and identifying is only half of the game. Making the shot at night is the rest of the story.
While it is possible to use a white “kill” light on a rifle or a PVS-14 aided riflescope, a thermal scope is better/faster/stronger. Once a coyote is spotted in the scanner the hunter transitions to the thermal scope and picks up where he left off with the scanner. Furthermore, most PVS-14 units can only withstand 5.56 recoils, whereas thermal scopes typically accommodate .308 rifles.
When shopping for a thermal riflescope I faced the same dilemma as with the thermal scanner: how to get enough performance without having to sell my truck? In my search, it was clear that the high-end $7500+ scopes with 640×480 resolution were outside my budget. Even the mid-range scopes were around $4000. Then I found the Bering Optics Superhogster. I had reached out to Tom Austin at Night Goggles for some advice on thermal riflescopes. This is the same Tom Austin you see kicking around with Al Morris on Foxpro Hunting TV. Tom’s been a professional predator hunting guide for years and has killed more coyotes than I ever will. He described the features and performance to what was then the brand new Superhogster and that’s what I ended up buying.
Bering has been producing Hogster versions for a while now, and the Superhogster is the latest and greatest in the line. While not a 640×480 unit, the 384×288 resolution provides good quality images. Detection and identification are assisted by the native 2.9x optical zoom. The LCOS 768×576 display also helps yield a clear image, particularly for ranges one typically engages coyotes (200 yards and under). The magnification/field-of-view combination is appropriate for my surroundings (western grasslands for the most part). It’s easy to pick up the coyote in the scope when transitioning from the scanner.
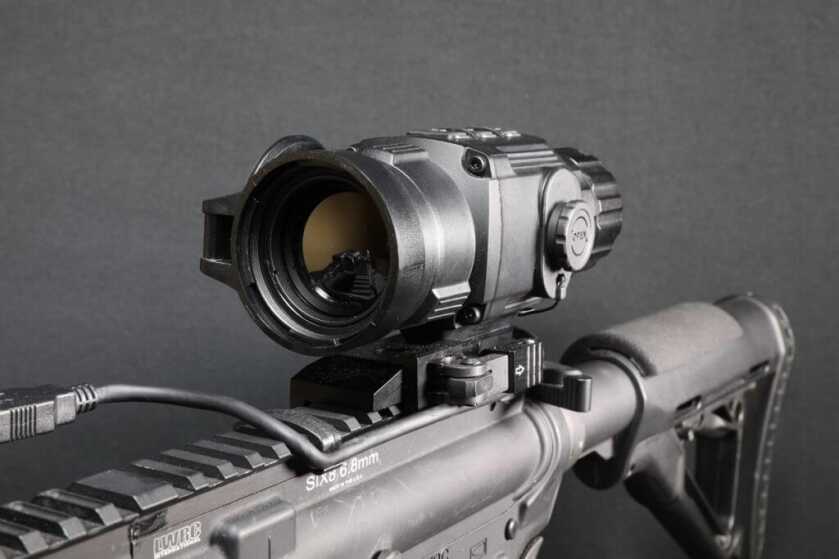
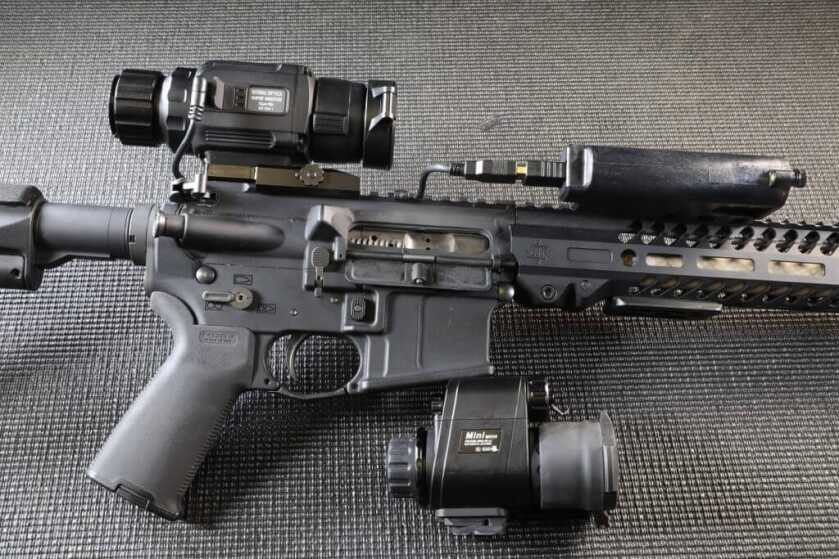
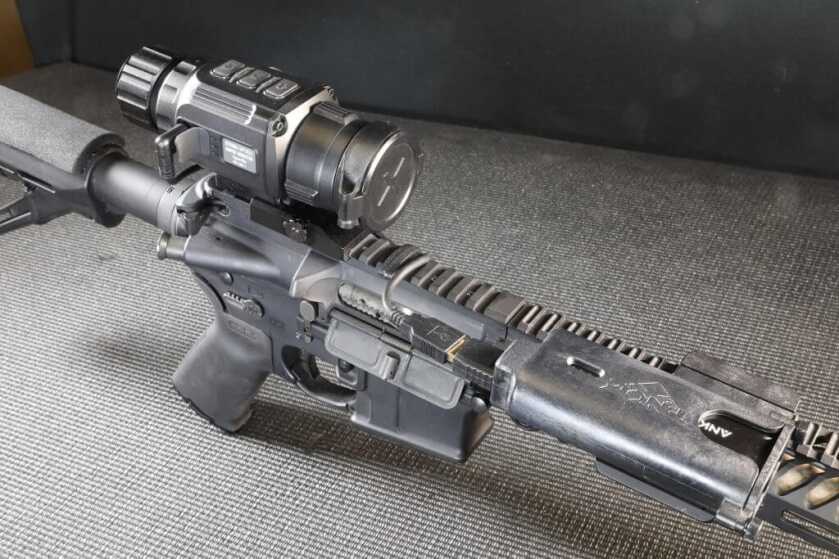
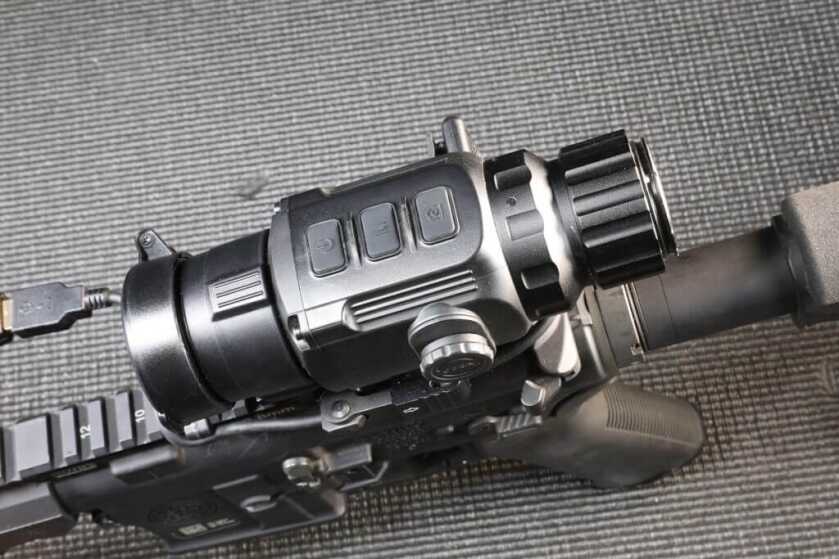
The eyepiece is adjustable, and the objective focus ring is easy to locate and manipulate when in the field. The included flip up objective cover broke after about a year of use, so I replaced it with a Vortex Defender flip cap. While I have used CR123 batteries in the Superhogster it is not my preferred power source. I use an external C-type USB source that mounts to the rifle’s rail. This configuration provides enough power to be able to just leave the unit on the whole time you are hunting. The Superhogster comes with a quick-detach Picatinny mount that is easily adjustable without tools to accommodate variances in rails.
The user interface consists of three buttons on the top of the unit: Power, Menu, and Calibration/Photo/Video (CPV). Short button presses give different commands than long button presses. To turn the unit on the power button is pressed for three seconds. Doing this again powers the unit down, or you may simply disconnect the USB cable if that is the power source.

Once the unit is on, a short press on the menu button takes you to the image adjustment menu. There you may select a reticle, change the magnification from 1x to 4x, control brightness, and change image sharpness. The outside buttons (Power and CPV) toggle values within a menu once you are in it, and the Menu button advances to the next set of options. In the image adjustment menu, you may also choose between white hot, black hot, red hot, and colored hot polarity modes. A long press on the menu button takes you to the advanced menu settings. This is where you turn on/off automatic NUC, turn on/off picture-in-picture mode, and zero your rifle scope. NUC, as explained in the previous article, stand for Non Uniformity Correction. When you NUC a thermal scope you clean up the image noise that naturally accumulates in every thermal scope due to the scope’s own heat interfering with its readings. To manually NUC the Superhogster simply press Menu and CPV at the same time for a quick press.
The Superhogster stores four zeros (G1-G4), which can be used for various ammunition, suppressed vs non-suppressed, or different rifles. Zeroing a thermal riflescope is more difficult in my opinion than zeroing a daytime scope. A heated target must be used. These are available for purchase, but I just cut a hand warmer in half, tape the ends shut, and use the two halves as targets. This method seems to work well enough, except in very hot weather. In hot weather, I use black electrical tape to make a large cross on plain paper. The sun heats the tape well enough for the zeroing process. The Superhogster has eight reticle options and it will apply the zero values to all reticle choices automatically. For example, once you zero the green crosshair in the G1 storage location, all eight reticles in the G1 location share the same zero. The units of adjustment are a bit on the coarse side, with each click moving the zero 0.673 inches at 110 yards (1.71cm/100m).

The Superhogster has onboard digital recording with 16G of internal storage. Note that the video compression is optimized for a longer duration rather than image quality. What you record will be much more grainy and pixelized than what you see through the scope. The advantage is you can easily record the entire time you are on a stand without running out of storage space. The disadvantage is you cannot show anyone exactly what you saw during your hunt – you only get a lower quality video clip instead. If there was one thing I would change about the Superhogster it would be this. I would rather have fewer high-quality videos than many low-quality videos. It would also be great to have removable SD cards. Taking pictures is easy – simply press the CPV button once and a still photo is captured. Video is initiated by giving the CPV button a long press and terminated with another long press on CPV.

What I’ve Learned
Having used the Superhogster in the field I have learned several things. The first thing I learned is that thermal does indeed change the night hunting game. I also learned that the Superhogster is a lightweight, compact riflescope with a lot of versatility. The 2.9x optical zoom paired with up to 4x digital zoom covers most of the hunting situations I will ever face. The picture in picture feature is also very helpful and gives the best of both worlds: field of view in the main screen and zoomed in view in the PIP.
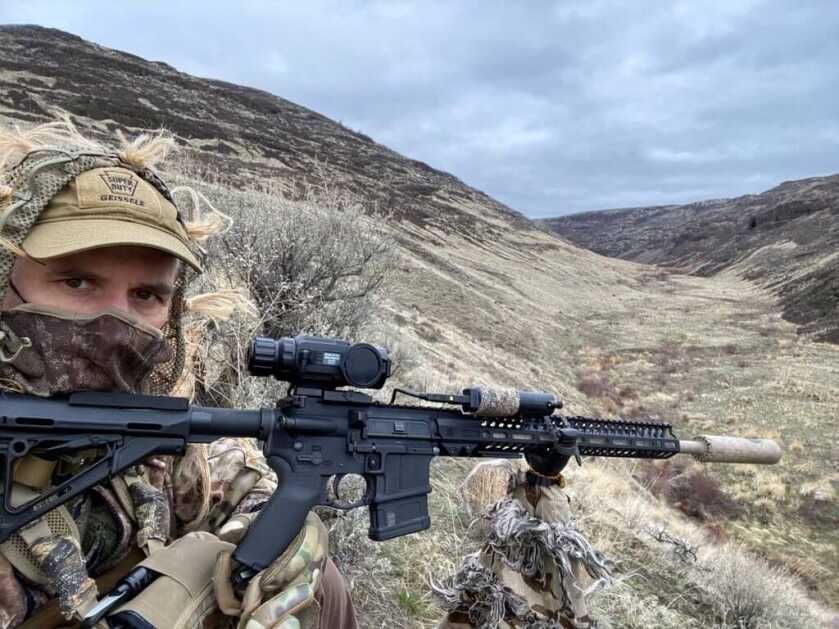
Next, I learned that what you see in most videos is not what you see through the thermal unit. The videos are lower resolution than what the eye sees through the scope. So fair warning, in my video here I was unable to show exactly what I am seeing through the unit, but you will get an idea of the capabilities of thermal scopes. I spent many dollars and hours trying to get the right camera/thermal set up to capture for you readers what I see through this unit and the MH25 scanner I reviewed previously. There are people who have mastered doing this, and I’m not one of them. If you want to see the best thermal videos out there go look up O’Neill Ops on YouTube.
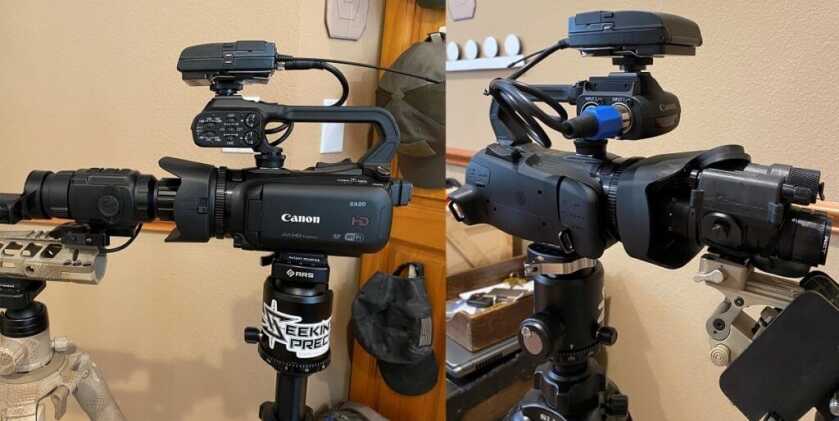
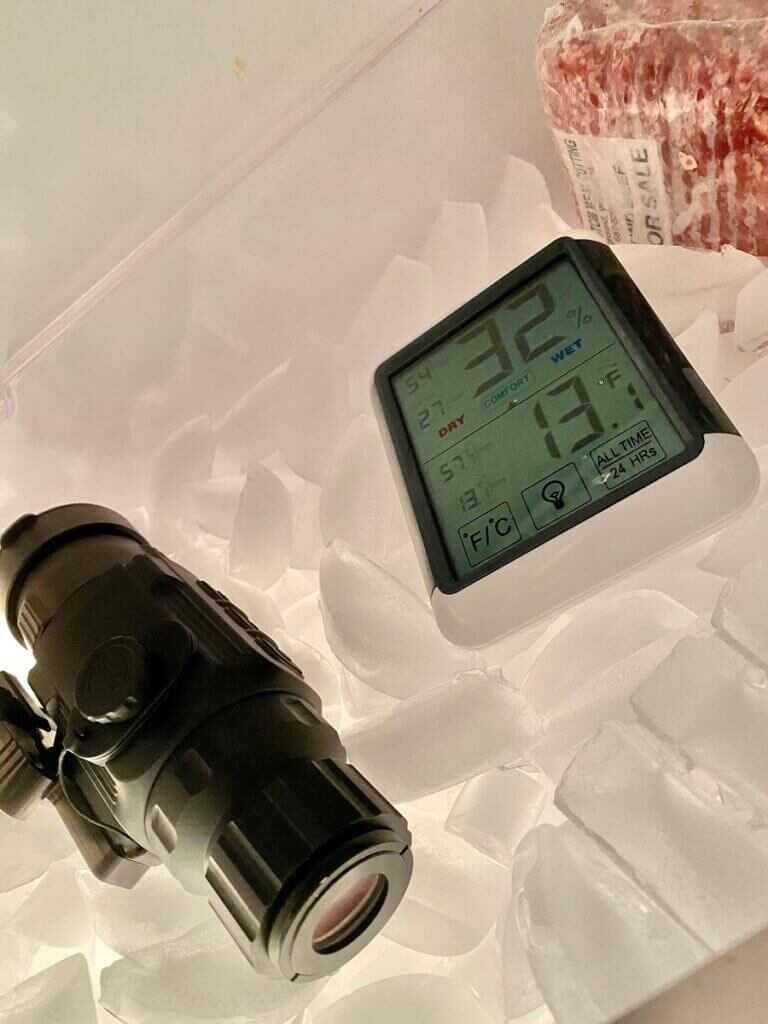
I learned that Bering Optics has good customer service. I had one of the very first units available. There are pros and cons to this. The pro was I got to test the unit and tell our readers about it. The con was in the very first units there was a supply chain problem with the monitors. This caused the unit to not function in cold weather, and as a result, I missed all the opportunities to record coyotes on a cold 10 day hunt out west (during which I killed a few coyotes with a daytime rig). Once I returned from the trip, I called Bering Optics and they knew what the problem was as soon as I described it. They quickly shipped me a replacement which I promptly threw in the freezer. This thing was going to perform or it was going back. Well, after an hour in the freezer it did work perfectly, and it has ever since – cold weather or warm.
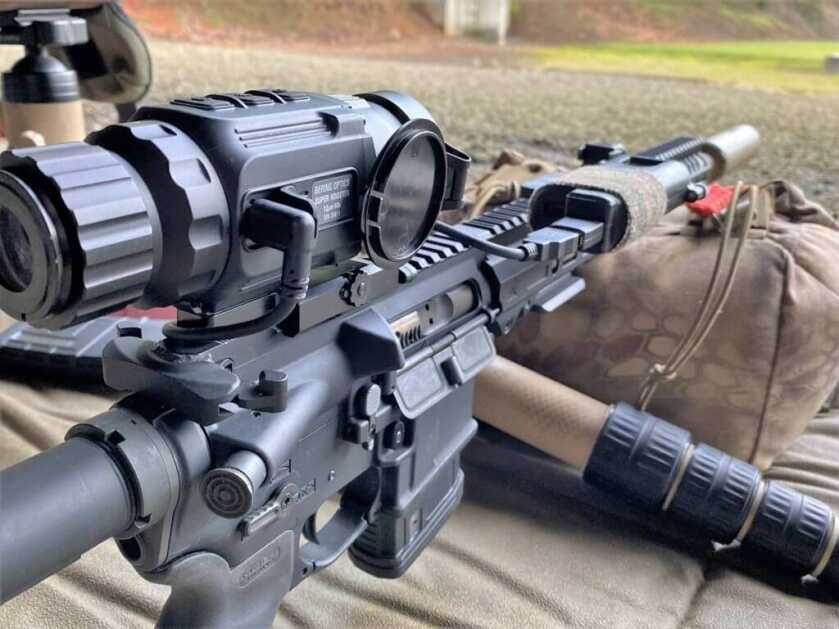
The next thing I learned the hard way – don’t be stingy with batteries. When I first got the Superhogster I would power it down between stands because I was walking a half-mile or more from spot to spot. I didn’t want to run out of power. Of course, when I rounded a bend in a wash I found Mr. Coyote staring at me just 80 yards away. With the wind in my favor, I could have sat down, steadied my rifle, and schwacked him. As it was, I had to wait for the unit to power up (typically eight seconds), flip up the lens cover, and get ready. Mr. Coyote didn’t put up with that and I missed the opportunity by about 5 seconds. Lesson learned: use the USB power supply and LEAVE THE UNIT ON ALL THE TIME. The Superhogster also has a standby mode, which also would have worked well. In that mode, the unit turns on immediately with one button push.
And finally, I learned I needed to practice. When my sons use to wrestle there was a saying: “more mat time.” What this meant was the reason you just got your butt kicked was because you need to put in more time on the mat. Using thermal goes the same way: “more thermal time.” Whether it’s learning to keep the unit on all the time or just being able to manipulate the controls without thinking, you have to put in your time. If you get a thermal riflescope, read the manual. Then read it again. There is a ton of very useful information in the manual. Next, go practice. Then right before a hunt — practice some more. Be able to NUC on command. Be able to change magnifications without thinking. Be able to change color palettes quickly. That way you will be hunting rather than learning about new technology while you are on a stand.
Thermal is a lot of fun and it’s becoming more accessible for more people. It is nothing short of amazing the first time you use it. Because of the expense, it’s not for everyone, but as I tell my friends, I don’t have a boat. I don’t gamble. I don’t golf. This is my thing. Admittedly, I sold a very nice long-range rifle to afford this purchase. But that rifle had been sitting in the back of my safe ever since I took a long-range shooting course with it. It wasn’t being used, and this thermal scope is being used. For me, the tradeoff was well worth it.
Hits
Great performance at a reasonable (for thermal) price. Easy to use button system and user interface. Ability to easily use external power supply. Feature-rich, e.g., storing several zeros. On board recording and wifi for off-system recording. QD mount is included.
Misses
Video compression sacrifices image quality in exchange for the number of files. The external C style power port could be made differently to hold the power cord more securely. The unit can be glitchy when downloading videos to a pc. The plastic objective cap could be of higher quality. Finer windage and elevation adjustments would be appreciated.
Specs
Resolution 384×288
Pixel Size 12 micron
Refresh Rate 50 Hz
Objective lens 35mm
Field of View 7.5×5.7 degrees
Optical Zoom 2.9x
Digital Zoom 2x or 4x
PIP Yes
Display Resolution 768×576
Weight 486g
Operating Temperature -14F to 122F
Power Supply 3V CR123 (two) or 3.7V rechargeable (two) or 5VDC (USB C-type)
Recoil Rating .308 caliber
Warranty 4 years
Price $3,195


The REASON they all COST SO MUCH is BECAUSE, the NAZI WANNABE POWER HAPPY CONTROL FREAK HUMAN GIVEN government JOB TITLED PIECES of SHIT TYRANTS do NOT want THE PEOPLE TO HAVE them OR GOOD NIGHT VISION. It’s all about CONTROL, Nothing MORE. The same with suppressors.
What external power source are you using? Looks nice, compact and mountable
The mount is the one from TNVC. The power supply is made by ANKER and they sent it with the unit. I’ve used it for several hours in temps below freezing with power to spare.