Estimated reading time: 8 minutes
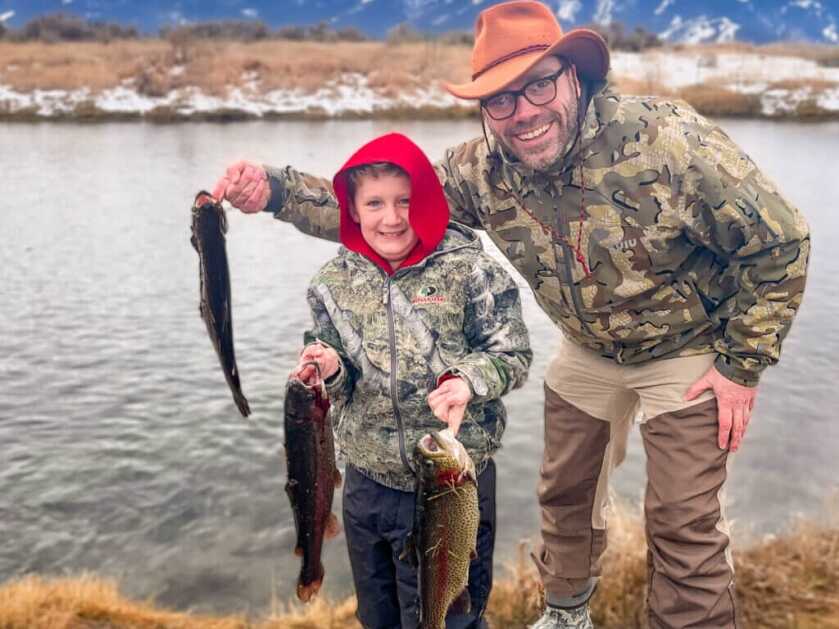
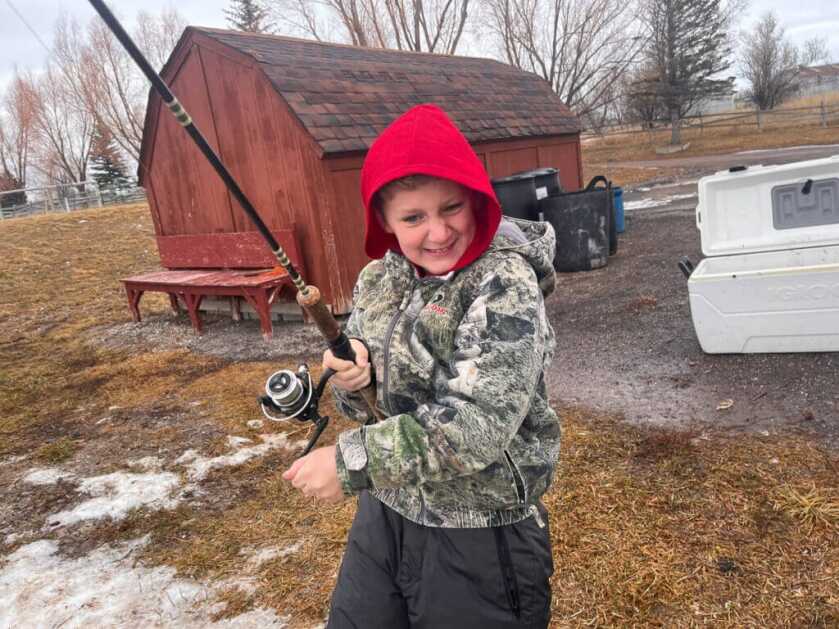
Thanks to people who like to help kids have a great time fishing, my son landed 30-something rainbow trout in one morning last winter. Combined with our friends, we brought home more than 70 fish. That was a lot to gut on a cold day. We knew from experience that smoking the trout was a great way to go. We gave out fish to all our friends for Christmas, and still had a bunch left over. That’s how I learned to can smoked trout.
Table of contents
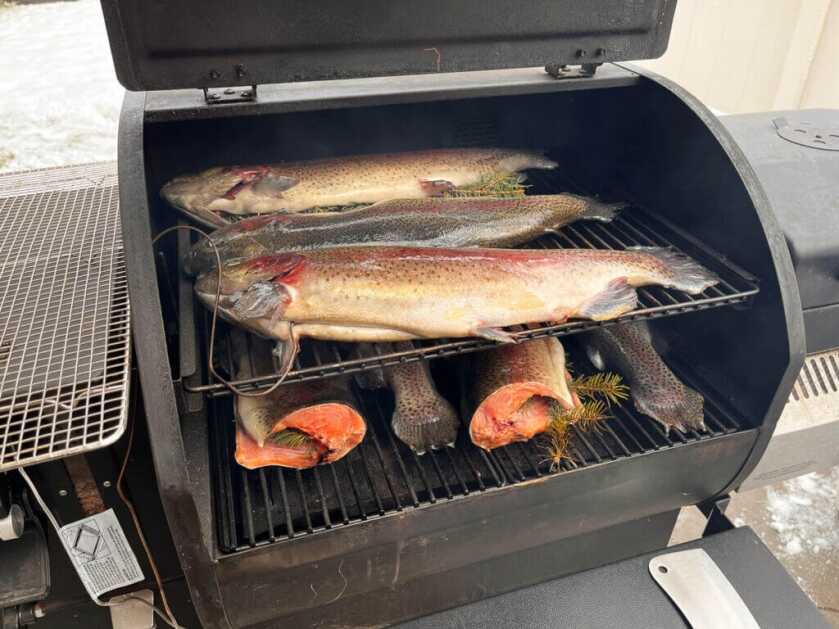
Canning Smoked Trout Frees the Freezer
Those whole smoked fish freeze pretty well, but they take up space in the freezer, which is at a premium in the last days of the Fall big game season. So, we canned the meat and it’s been great to keep it on the shelf and use it the way you use canned tuna.
The best thing about canning trout is that the bones become softer than the meat and you don’t have to remove them.
Available on GunsAmerica Now
Are You a Canning Noob?
I’m a newbie at canning. My wife and I received a giant stove-top pressure cooker for our wedding, which we hauled around the country for too many years before realizing we never used it. However, Nesco recently sent me this 9.5 QT Smart Canner, which changed my outlook on canning. It’s a much more voluminous InstaPot; you’ll find it for less than $120 online. It’s the largest one I could find, but it only takes up as much space as my air fryer. And you can still use it for the things you’d do with an InstaPot.
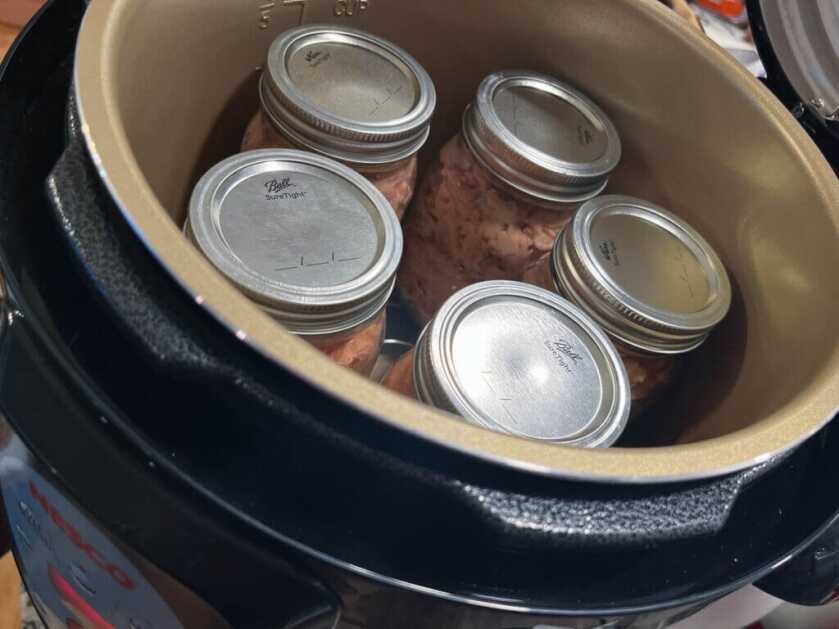
My biggest hangup with canning in the past was that it was a month-long affair for my grandparents that made the whole house sweltering hot. Of course, they had an enormous garden and loads of produce to put away. This canner from Nesco is great because it doesn’t require huge batches and it contains the heat so well that I don’t notice it.
And compared to Grandma’s time, there are so many resources and recipes on the internet. I like credible sources, so I recommend this Complete Guide to Home Canning from the US Department of Agriculture.
Most local state universities have an Extension program and likely offer a canning class. So don’t be shy to learn how to put up meats someplace other than the freezer.
What You Need For Canning Smoked Trout
To can smoked trout, you’ll need a canner and pint jars (I still can’t figure out why it’s not called “jarring”). The guide says not to use jars larger than a pint. You will also need fresh lids — you can’t use lids more than once. You’ll need rings for the lids, but you don’t need one for every bottle, just those in the canner right now. The lids stay on in the pantry without rings just fine. You’ll need new lids each time, but the rings and bottles are reusable. Also, they are standard in America. You can buy Mason jars, Ball lids, and Kerr rings. They all work great together.

There are other tools like lifting tongs that you’ll find useful but not essential. I use a silicon hot pad and it’s great, but my canner isn’t enormous. You’ll also need a few paper towels and a dash of vinegar if you don’t want that white crust on the jars.
And you’ll need trout!

What You Do
The USDA canning guide has directions for fresh fish and for canning smoked fish. I read it and was surprised by how easy it is to follow. Since it’s online, type Ctrl/Command F and you can search it for keywords, like “smoked fish”. I’m not a canning expert, but I am excited to share it!
Prepare the meat by removing it from the skin and spine of the fish. Just put it in a tub and don’t worry about the bones that come off with the meat; they will become soft and edible.
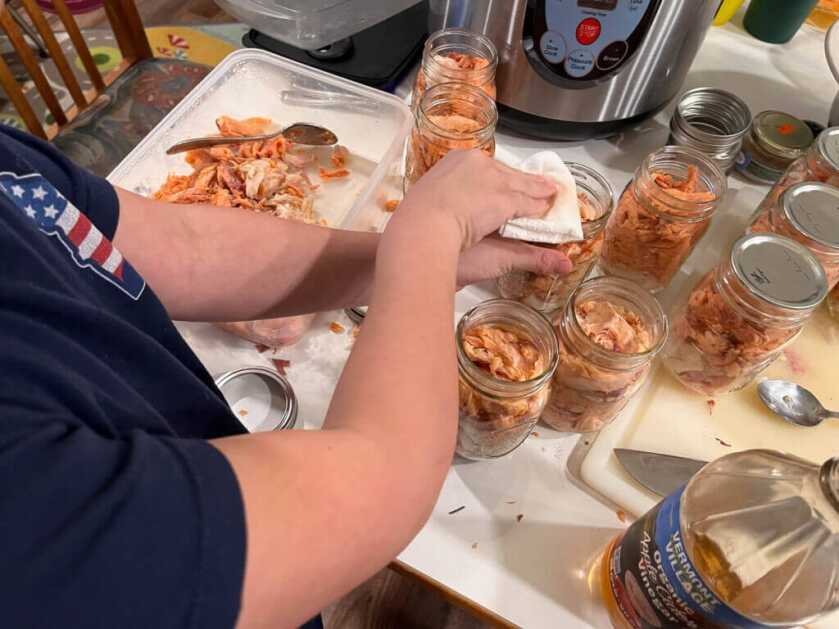
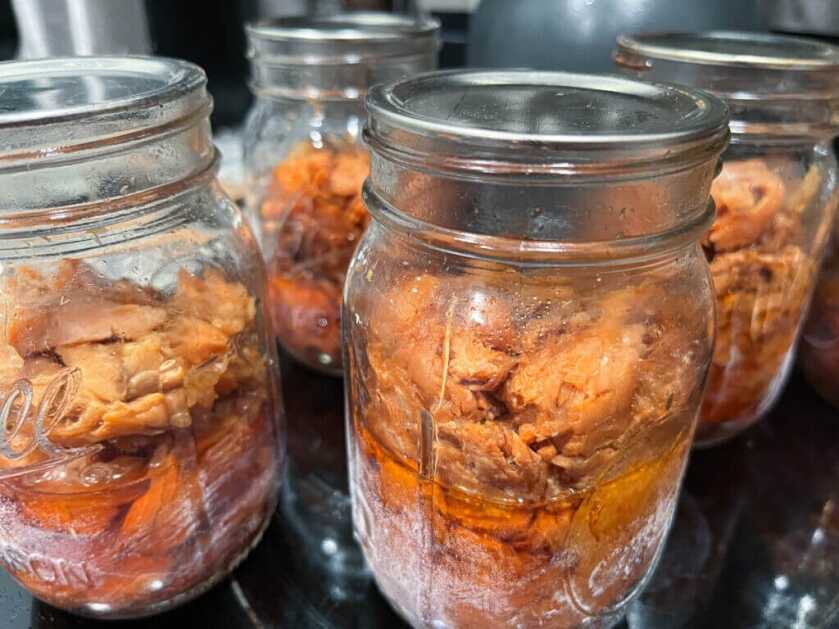
Prepare the jars by cleaning them well — a quick run through the dishwasher works well. I added garlic and onion to the jars, but I don’t think I can taste it after all. Pack the meat into the jars, and leave about 1 inch empty at the top. This allows room for meat juice to boil without erupting from the jar. Don’t add any liquid for smoked trout.
Before you put the lids on, use a damp paper towel to wipe the rim and make sure there isn’t any oil that will keep the lid from sealing. Add a ring to each jar, but don’t put them on tight. The air inside the jar needs to be able to escape.
Here’s Where You’ll Need To Do Your Research
Follow the directions for your canner and the guide regarding how much water you need outside the jars in the canner. The guide states not to reduce the amount of water and to start with cool water. Adding a few tablespoons of vinegar to the water bath will inhibit white water minerals from precipitating on the jars. It’s not bad, it just looks bad — Grandma would disapprove.
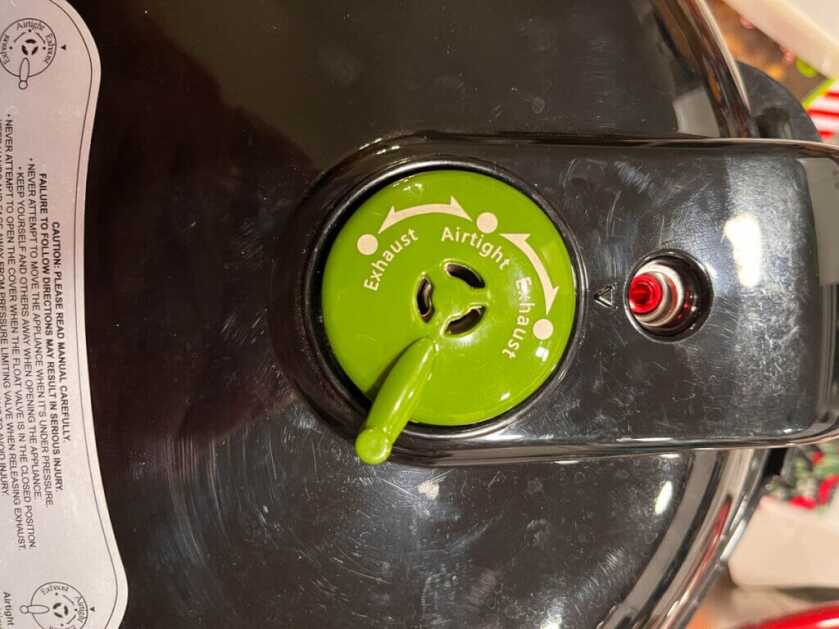
My Nesco counts as a weighted-gauge pressure canner and I live above 5,000′ so I switched to the heavier green gauge on the lid. Then we followed the instructions in the canner manual. After the canner was regulated, it came up to high pressure and counted down from 110 minutes automatically. Compared to Grandma’s setup, it was great to set it and forget it. I ran errands while it was going and didn’t have to tend it. Let the canner depressurize naturally without opening the vent.
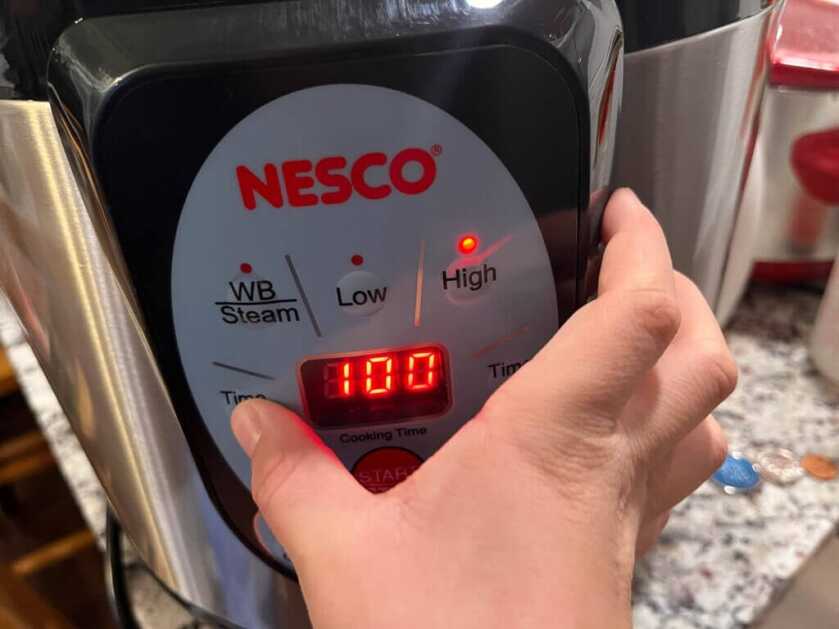
After coming to pressure, cooking for 110 minutes, and depressurizing the whole process takes about three hours per batch. Refrigerate the extra fish between batches.
Eat Smoked Trout
My Nesco holds five 1-pint jars per batch. It’s nothing like the level of production Grandma did, but for the price, I could run two or three of these canners at once and not ruin my AC bill. It’s more efficient than using the stovetop and even better than Grandpa’s custom-built propane burner. Most importantly, the digital canner makes canning accessible to me, and I’m enjoying it.
Now grab a jar off the pantry shelf, mix it with mayo, shredded cheese, and chopped bread-and-butter pickles (from Grandma’s pantry of course), and have yourself the most delicious fish salad sandwich ever. You can use part of the jar and keep the rest in the fridge. Use it for any dish you’d use with tuna, and know that it’s even better because it’s your hard work in a jar.
So go catch more fish!
*** Buy and Sell on GunsAmerica! ***


