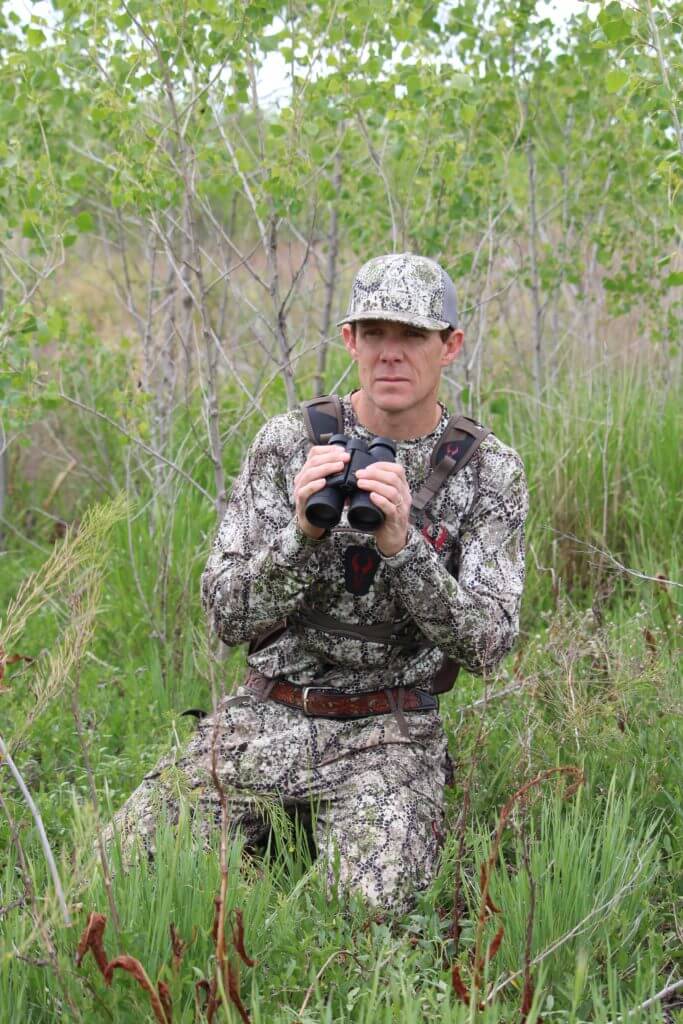
The topography in my little nook of Colorado is diverse and changes rapidly within a 60-square-mile radius. Flat, arid plains give way to rolling sage flats lined with no-name creeks. Beyond the sage-dappled flats are cedar-sprinkled canyons and endless plateaus. It’s a game-rich area, and minutes from my doorstep I can be hunting pronghorn, mule deer, and elk.
It didn’t take long to realize that optics would play a crucial role in my success out West, and over the years, I’ve tested piles of them. Most recently, while hunting with a good buddy for Merriam turkeys in some nearby canyonlands, my eyes were opened to the beauty of rangefinding binoculars. I don’t plan to look back. For the past two months, Nikon’s LaserForce Rangefinder Binoculars have been in my bino harness, and that’s where they will remain come fall.
Bino Breakdown
You’ll be pleasantly surprised by how compact these binos are. They are not large, bulky or cumbersome. The 10×42’s tip the scale at just a tick over 1.9 pounds and are coated with a Rubber Armored metal die-cast body designed to take a beating and provide a firm, comfortable grip. During my two-plus months of testing, I can confirm that the binos are ultra-durable and the grip, even when wet, promises a solid hold.
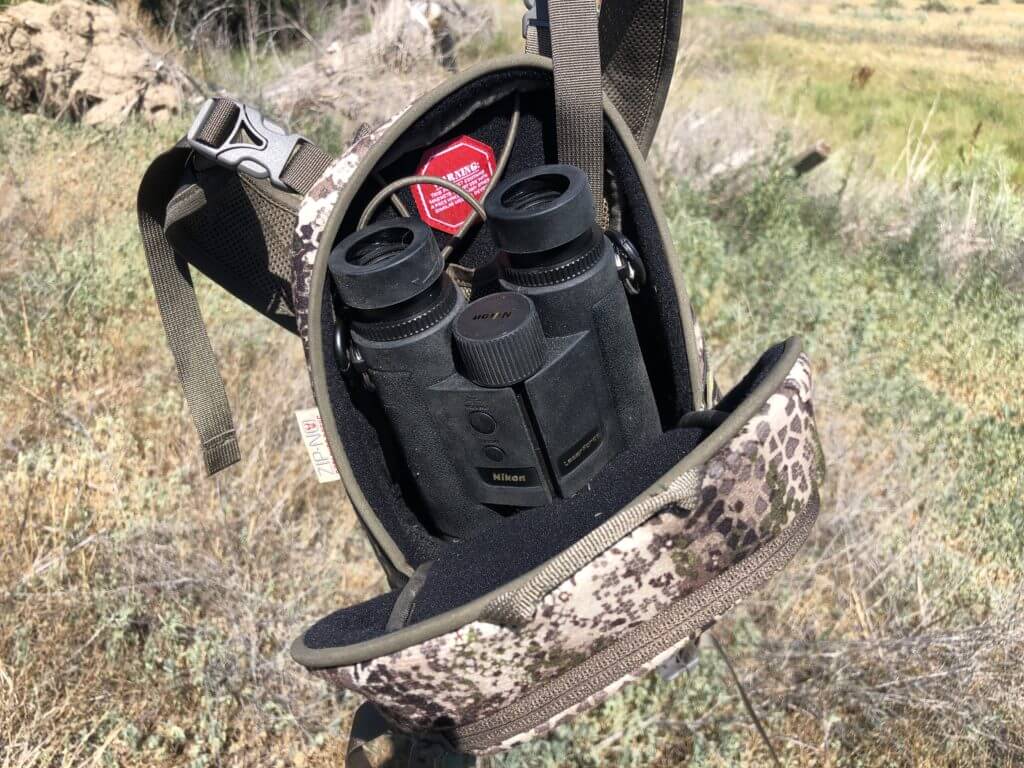
Nikon has applied a reflective mirror coating on the mirror surface of the roof prism unit. The purpose… to provide bright images. Mission accomplished. I’ve tested the 10×42 binos at all hours of the day and have been impressed with how well they make an image pop. Do they sport the type of low-light clarity one would expect to find in a pair of Swarovski or Leica binos? No, but they get the job done, and it’s obvious when looking through the binos in various lighting conditions that Nikon has put attention to detail into color and clarity. ED (Extra-low dispersion) Glass fights chromatic aberration color fringing and promises a high-resolution image.
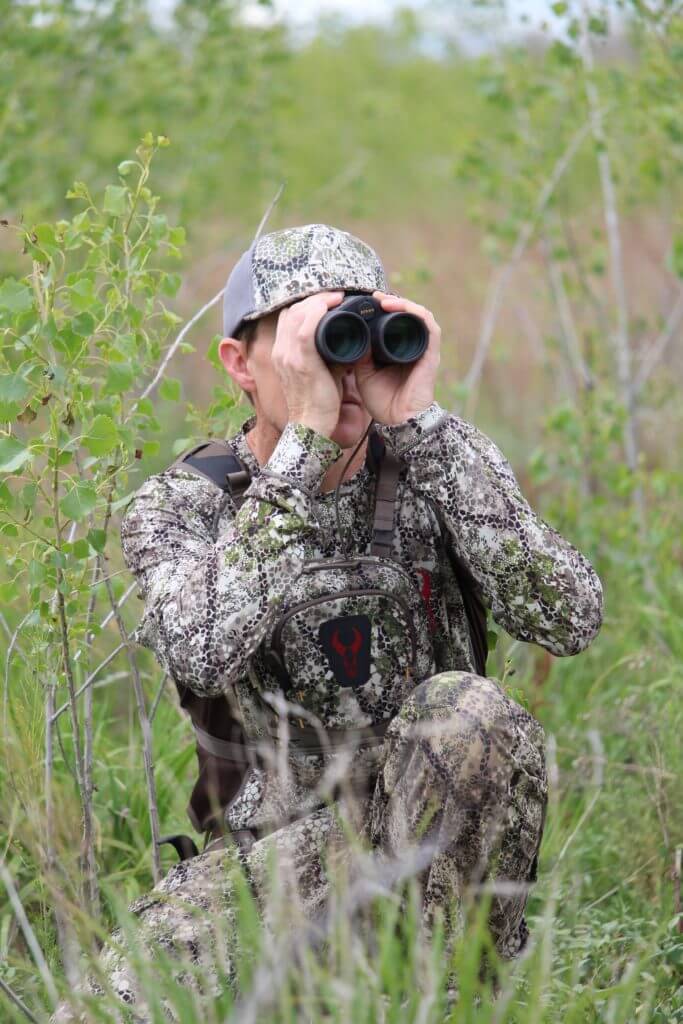
The LaserForce 10×42’s are tripod compatible, another staple of any worthy western binocular, and I found the Long Eye Relief design to perform as advertised. With fall hunts on the horizon, I’ve spent lots of hours behind the glass and not once did I leave my glassing perch with a headache. Tripod attachment does require a Nikon TRA-3/Hard Type H Adapter.
As for the functionality of the LaserForce 10×42’s, the focus wheel is large, rubber-coated and smooth. Eyecups twist into place easily and feature a multi-click, three-position opening to ensure optimal eye positioning. Each eyepiece also features an easy-to-access and manipulate focusing wheel. The binos are ergonomic and very balanced. The weight-to-length ratio is right, making both one and two-handed operation possible. During a recent Texas hunt, I found myself slithering on the ground like a snake trying to crawl in close on axis deer. These binos pulled easily from my bino harness, never hung up, and I had zero trouble keeping one hand on my weapon and operating the binos with my free hand.
Rangefinder Breakdown
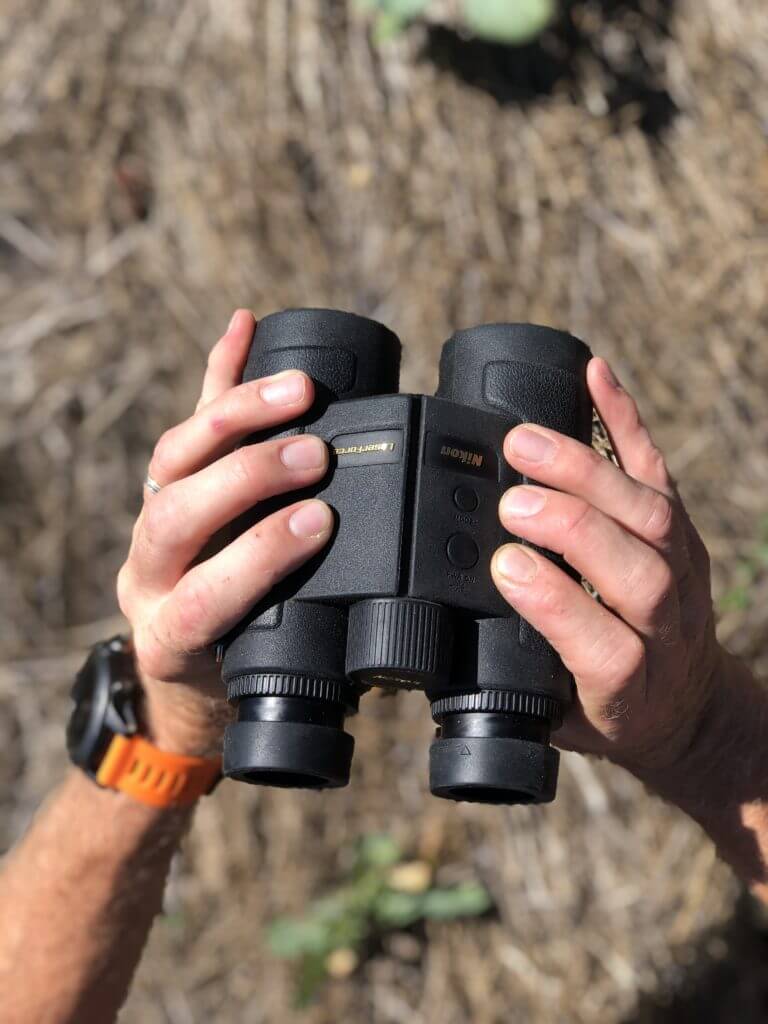
Ideal for bow and gun hunters alike, the integrated rangefinder works on objects from 10 to 1,900 yards. The furthest critter I’ve ranged has been a 782-yard pronghorn during a scouting mission, and the detection was instant. I have ranged large, reflective objects out to 1,798 yards. What I appreciate most about the rangefinder is that the feedback is immediate and being that the rangefinder is incorporated into a balanced platform, settling on objects is much easier than it is with a small handheld unit.
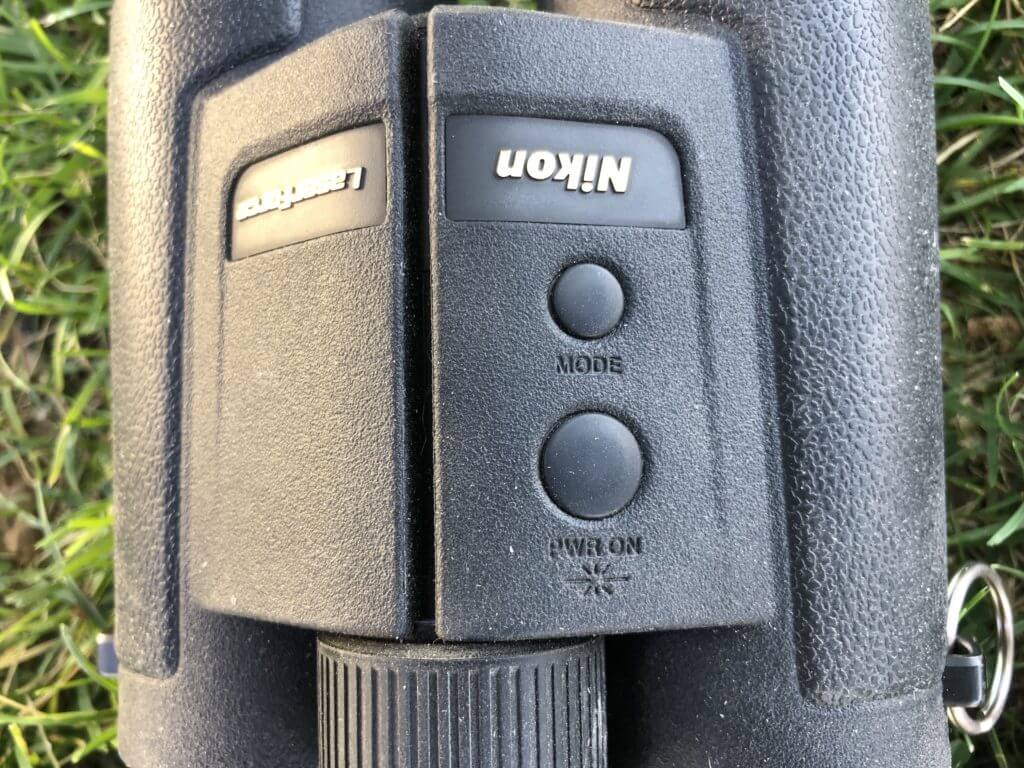
Manipulation of the rangefinder’s many settings is a breeze. With only Power and Mode buttons to manipulate, the process is greatly simplified. Four brightness settings are available (IL1-IL4), and the unit comes set in the IL4 setting. This is the brightest of the four settings, but this can easily be changed by pressing and holding the Mode button until the brightness setting is displayed. The Power button is then used to toggle between brightness settings. This is super handy, and I found I could change brightness settings to match outside lighting conditions in seconds. The distance can be displayed in yards or meters, and again, use of the Mode and Power buttons are required to switch settings. Measurement Display Mode can be set to Horizontal Distance or Actual Distance. If the < is showing, you are set to Horizontal Distance. If the < is hidden in the display screen, you are set to actual distance. I highly recommend using the Horizontal Distance setting, and your unit will come with this setting as the factory default. The Horizontal Distance setting allows Nikon’s ID (Incline/Decline) Technology to provide the true horizontal distance to the target, even when ranging targets and steep inclines and declines.
To date, I’ve been very impressed with Nikon’s LaserForce 10×42 Rangefinder Binoculars. I’m loving the fact that I’m toting a single optic that serves my glassing and rangefinding needs, and I can’t wait to use them more in the coming months.


