Estimated reading time: 9 minutes
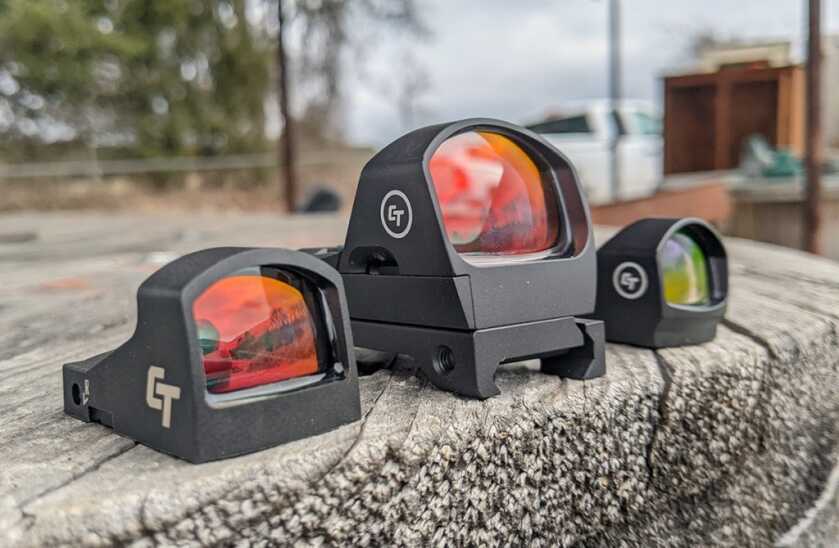
Red dots have been around since the 1970s, but not since recently have they been widely adopted by the military, law enforcement, and self-defense practitioners. There’s a reason for that. These days, even inexpensive red dots are tough, reliable, and effective, and micro pistol red dots have revolutionized the handgun shooting world.
But you won’t be able to take advantage of these little technological marvels if you don’t know how to get them sighted in. Zeroing a red dot is a lot like zeroing a scope, but the lack of magnification can make it a little more challenging.
Table of contents
Step 1: Choose a Good Red Dot and Secure it Properly
This is where most red dot users go wrong. Crappy red dots won’t hold zero and are easily damaged by drops and heavy recoil, and even the Gucciest red dots won’t be much use if they’re wiggling around on your picatinny rail.
Don’t get me wrong. “Crappy” is not synonymous with “inexpensive.” These Crimson Trace red dots can all be found for less than $350, but they’re tough and simple to install. Plus, they all come with free batteries for life and a three-year warranty.
- For rifles and shotguns: Crimson Trace CTS-1400
- For subcompact handguns: Crimson Trace CTS-1550
- For full-sized handguns: Crimson Trace CTS-1250
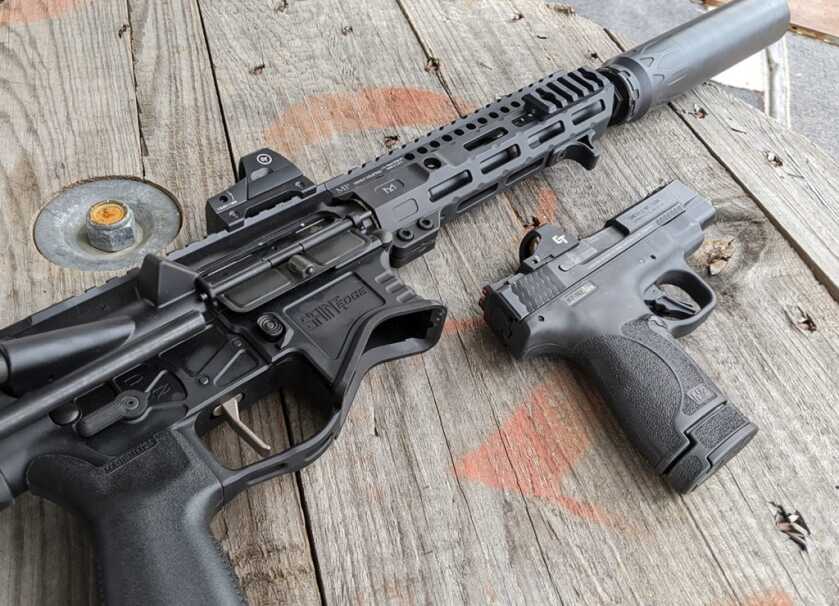
An inch-pound torque wrench is an indispensable tool for any kind of sight installation. Torque the screws too much and you risk breaking the optic; too little and the optic won’t hold zero. Your optic’s manual will often list the torque weight specifications, and if it doesn’t, contact the company.
The screws need to be tight, but they may not need as much torque as you think. The Crimson Trace CTS-1550 I’m using here, for example, only calls for between 8-10 inch-pounds of torque.
Step 2: Use a Rest
When you’re sighting in a firearm optic, “repeatability” is the name of the game. You want to make sure you’re firing at the exact same spot. Otherwise, you won’t know whether a miss is due to the optic or your spastic trigger finger.
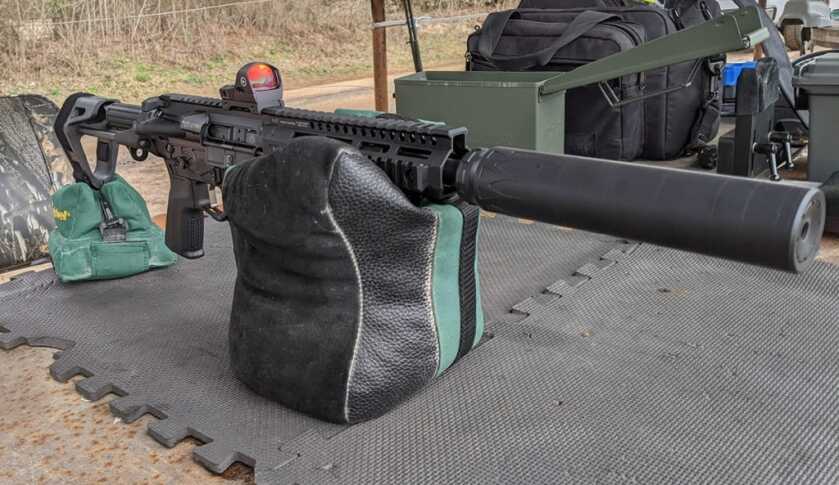
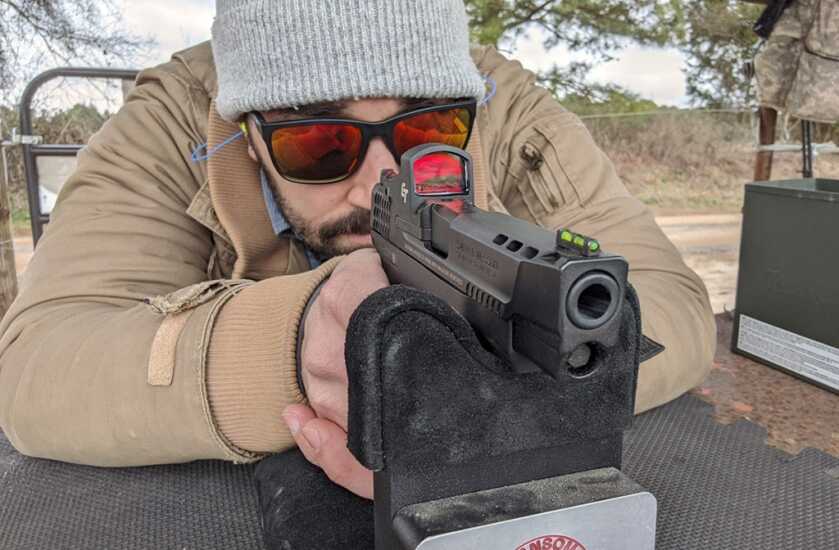
To take yourself out of the equation, use a gun rest. For handguns, I like this Multi-Cal Steady Rest from Ransom. It’s a simple affair, but it gets the job done. For rifles, be sure you use a rest that stabilizes the front and rear of the gun. Sandbags on the front and back are a great option, but you can also use a bipod on the front and a bag in the back or a shooting sled.
Step 3: Get on Paper
Once you’ve properly installed your quality red dot and secured your rest, the next task is to get “on paper.” Basically, you want to be able to fire a round at the center of the target and have the bullet land somewhere on the paper. That way, you know how to adjust your dot.
You can spend a lot of time taking pot shots at 50 or 100 yards without getting anywhere (trust me). To avoid burning through more ammo than you have to, you can do one of three things.
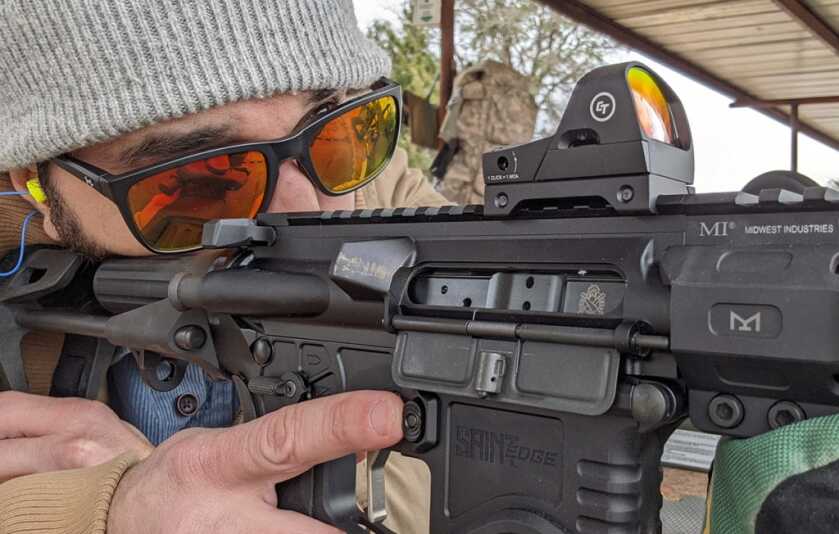
Smart guys will bite the bullet and purchase a laser boresighter. These handy little tools allow users to align their point of impact with their optic without firing a shot. The boresighter will get you on paper at 50 or 100 yards, and you can skip to Step 4.
Second, you can bore sight the old-fashioned way by setting your firearm on a stable rest, aligning the bore with the target, peering through the barrel, and moving the red dot onto the target. This works well with bolt-action rifles, but for AR-type rifles or handguns, it’s much more difficult.
Finally, you can use the walk-out method. Secure the optic to the firearm, place a paper target a few yards away, and take a shot. Keep moving the target and adjusting your optic until the target is at the required distance.
Since I don’t have a laser boresighter and I was sighting in a handgun and an AR pistol, I opted for this third method.
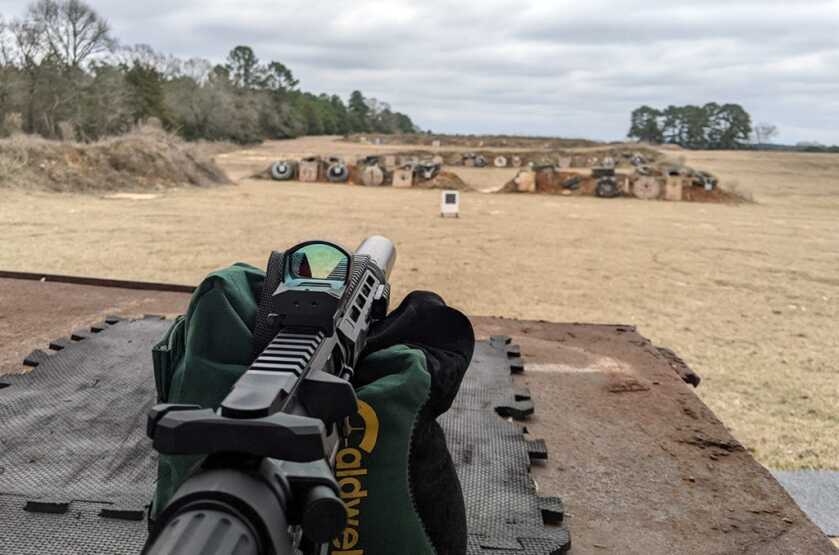
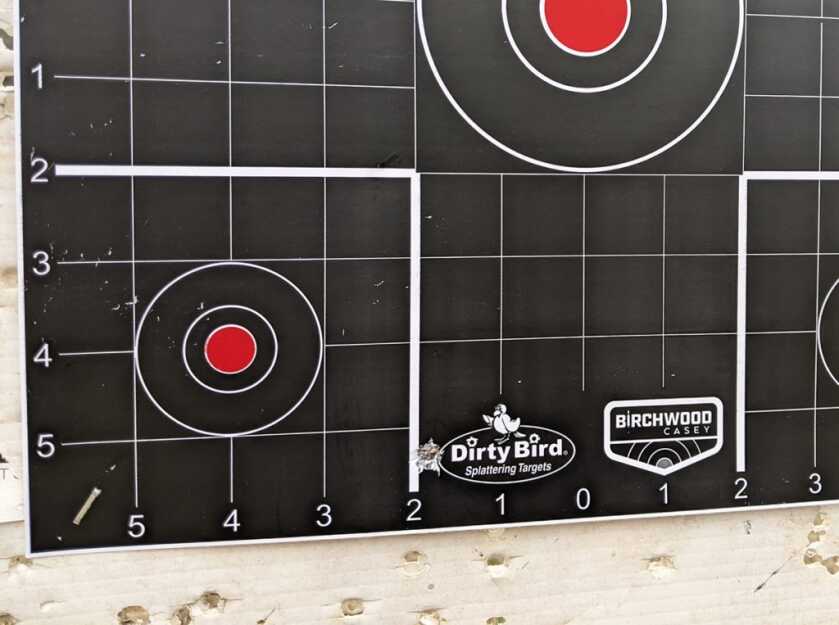
With the rifle, I set the target at 25 yards and took a shot from sandbags. I hit the paper five inches low and two inches to the left. If you don’t hit paper, move the target closer and closer until you do. (It may go without saying, but don’t use expensive ammunition for any sight-in process.)
With the Smith & Wesson Shield Plus, I adopted a similar strategy, but I had an advantage. The Crimson Trace CTS-1550 has a notch cut into the optic to allow the iron sights to co-witness with the red dot. To get on paper at seven yards, I simply adjusted the red dot to align with the iron sights. My shot landed 2.5 inches low and two inches right.
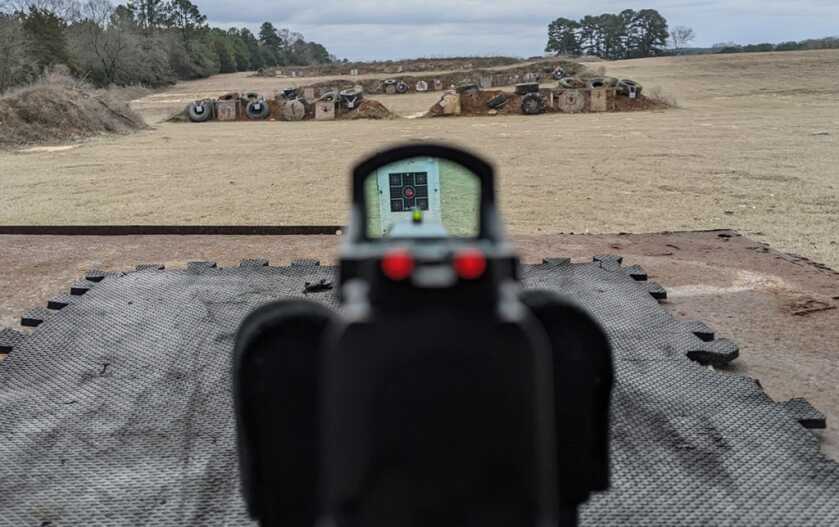
If your red dot doesn’t co-witness with your irons, you’ll have to adopt option #1 or option #3 discussed above.
The range I go to has mobile targets that can be moved back and forth, but what if your range doesn’t have that kind of flexibility? In that case, a laser boresighter is even more crucial. It’s also a good idea to use very large targets. Butcher paper works well for this task. You can also staple multiple targets end to end or just purchase large targets online. Once you take a shot, and it lands somewhere on paper, you’re good to go.
Step 4: Get Dialed In
Once you’re on paper, you’ll know how much you need to dial your optic to get closer to where you need to be.
I adjusted the Crimson Trace CTS-1400 on my rifle eight clicks right and 20 clicks up (1 MOA per click). I knew this would get me on paper at 50 yards, which is the distance I wanted to sight in my red dot. If you adjust your optic, move the target, and don’t hit paper, you’ll have to move the target closer until you get back on paper. Alternatively, you can also aim low, high, left, and right to figure out where your shots are going.
Once you get on paper at your desired distance, shoot a three, four, or five shot group. Shooting a group and adjusting your optic based on the midpoint of that group will produce much better results than chasing single shots around your target.
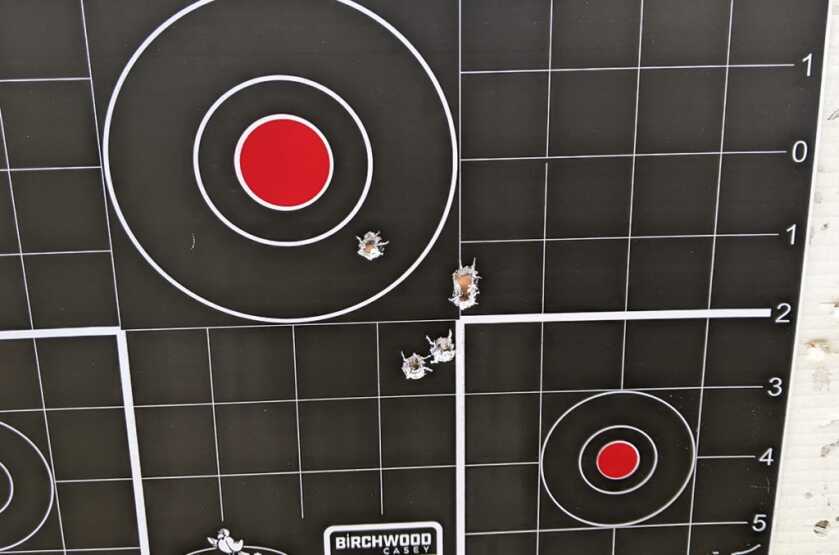
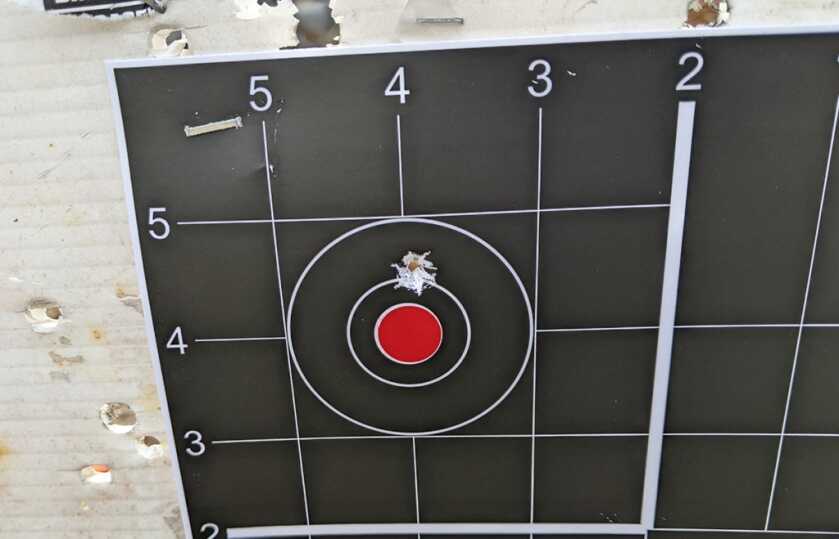
On this day at the range, I shot a five-shot group, adjusted my optic, and waited for the barrel to cool. Since I hope to use this pistol to hunt hogs here in East Texas, I wanted to make sure my cold barrel shot was on target. Once the barrel had cooled, I took a single shot at one of the smaller circles and confirmed the shot landed on target.
The same steps can be used to sight in a handgun red dot. Get on paper at your desired distance, shoot a group from a rest, and adjust your optic from there. Once you’ve made your adjustments, shoot a cold-barrel shot to verify your first shot will be on target.
One last pro tip that I didn’t follow on this day at the range: purchase targets not in the same color as your red dot. I made it work, but I wish I had white, green, or orange targets instead of these red ones.
Step 5: Last Shot
Sighting in a red dot is a simple task, but it’s easy to get frustrated. If you’re unsure of where your shots are landing, start by solidifying your rest. Then, move your target closer to get shots on paper and work your way out from there. Ammo is meant for fun and training—it’s a shame to waste it getting your optic on target.
*** Buy and Sell on GunsAmerica! ***

Great informative Red Dot article! Keep’em coming!!!
Admittedly, I am a red dot novice. Still, I wonder how much of a disadvantage is no witness?
How much time does absolute co-witness save in target accusation?
It seems to me that burying the red dot in the sight can cost time far more time than the less common use of a co-witnessed sight.