Presented by Crimson Trace

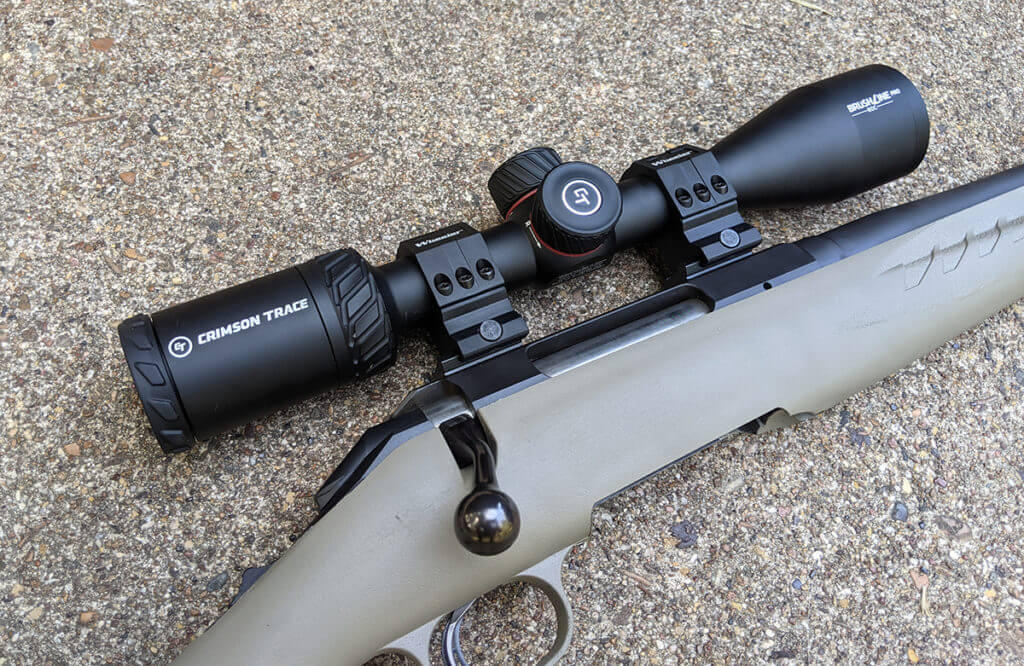
I’ve had occasion to mount quite a few scopes in my time. I don’t want to brag, but I’d wager I’ve installed just as many scopes as that kid at your local Cabela’s.
Unlike that kid at Cabela’s, however, I always try to install scopes the right way. It probably goes without saying, but it’s tough to hit much if your scope is loose, crooked, or otherwise impaired. Proper scope installation isn’t difficult, but it helps to have a few special tools, and it often takes a little patience.
Here’s the method I’ve developed.
Step 1: The Tools You Need (Sort Of)
I hate how-to articles that begin by recommending tools I don’t have. So, I’ll just say that having an inch-pound torque wrench and a scope-leveling device is extremely convenient, but not essential. You can estimate both torque weight and reticle level, but tools like the Wheeler F.A.T. Wrench and Professional Reticle Leveling System provide a little peace of mind.
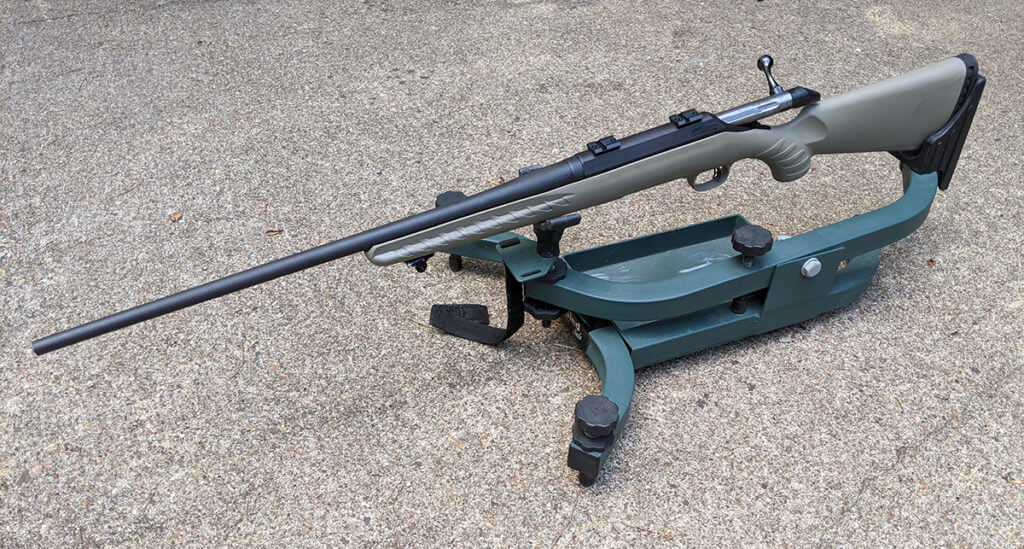
You’ll also want some kind of sled or gun vice. I use a Caldwell Lead Sled, but there are a wide variety of products that will do the job.
Step 2: The Gear
Scope and ring selection isn’t really part of the scope mounting process, but there are a few things beginners might want to know.
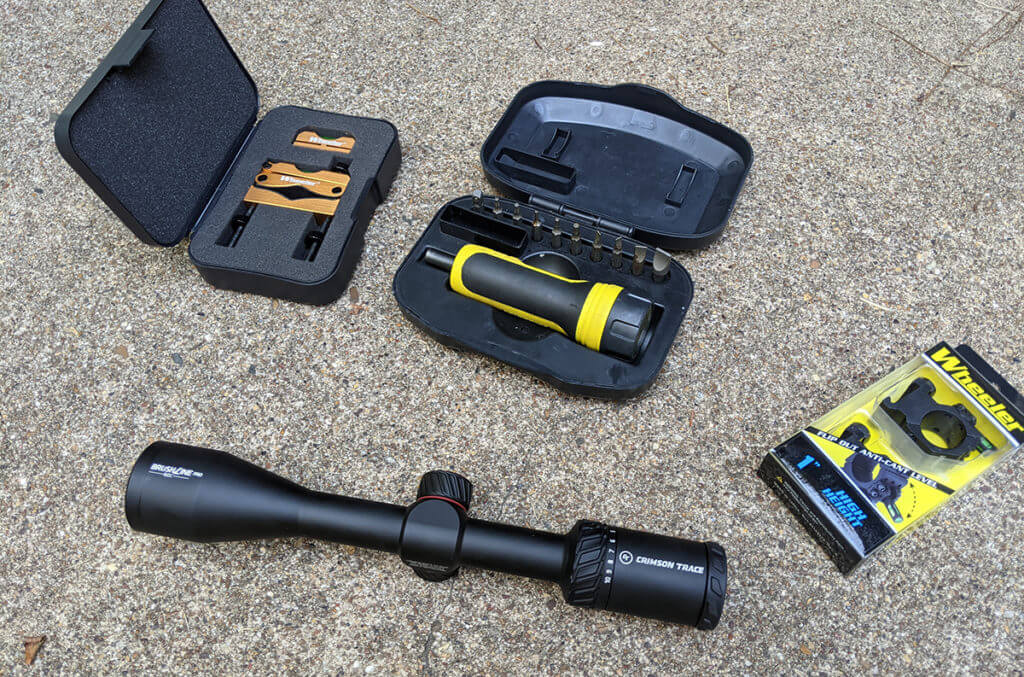
First, be sure to select scope rings that match the diameter of your scope. The majority of scopes use either a 1-inch or a 30-millimeter tube, and you can usually find that info on the box. If you don’t have the box anymore, a set of calipers will give you the correct measurements (FYI: one inch is smaller than 30mm).
The 2.5-10×42 Crimson Trace Brushline Pro I mounted to my Ruger American has a 1-inch tube, so I chose these 1-inch Wheeler rings with an integrated bubble level.
Also, don’t forget to consider ring height. Accepted wisdom calls for rings that keep the scope as close to the bore of the gun as possible (so, as low as possible). This is a good rule of thumb, but also consider the positions from which you’ll likely be shooting. In the prone position, a scope mounted using tall rings can be uncomfortable to use, but the opposite can be true in the standing position.
I don’t often take shots from the prone position in the piney woods of East Texas, so I opted for the higher set of Wheeler rings.
Step 3: Secure the Gun
With those preliminaries out of the way, it’s time to get down to business. Start by unloading the rifle and securing it in a vice or sled. Don’t skip this step. You won’t be able to mount the scope properly if you have to use one hand to keep the gun upright (or, heaven forbid, mount the scope while the rifle is on its side).
Step 4: Secure the Ring Bases
When you select your rings, be sure that they will attach to whatever kind of scope rails are affixed to your rifle. Picatinny rails are the most common (what you find on most AR-15’s), but there are also dovetail and Weaver rails. If you aren’t sure which yours are, you can try to look it up or purchase rings for both and return the set that doesn’t work.
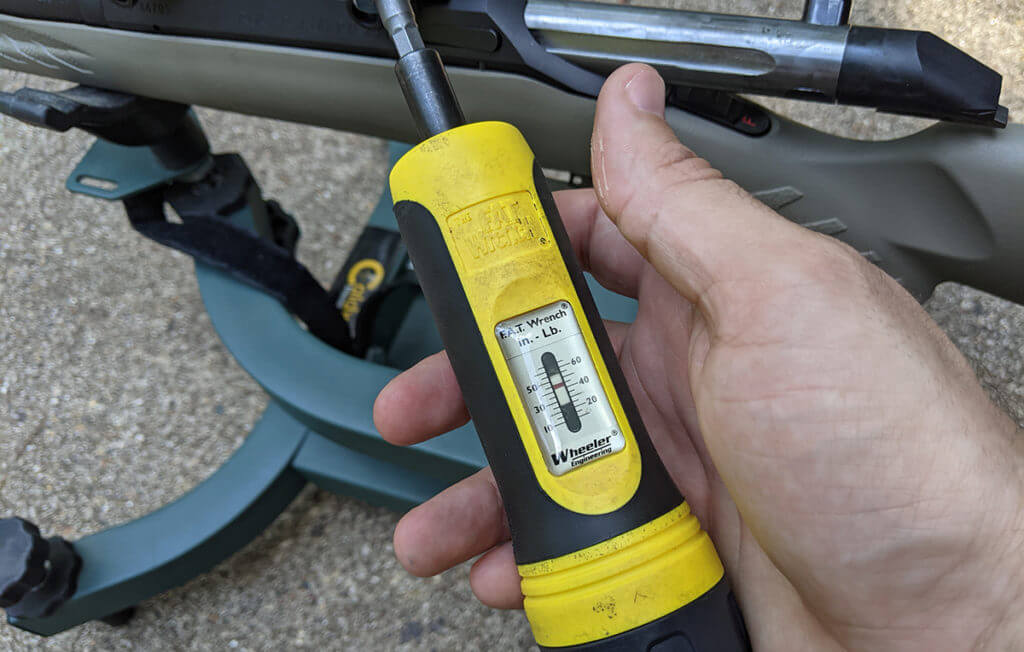
Your scope rings should come with torque specifications for both the base (the part that mounts to the rail) and the rings (the parts that go around the scope body). Wheeler recommends 40-50 inch-pounds for their scope ring bases, which translates to one firm pull (the technical term) with a ratchet.
Step 5: Determine Eye Relief
“Eye relief” is the distance your eye must be from the ocular lens of the scope to achieve a full field of view. If your scope is mounted too far forward or backward, you’ll see a partial black ring at the edges of the scope when you look through it.
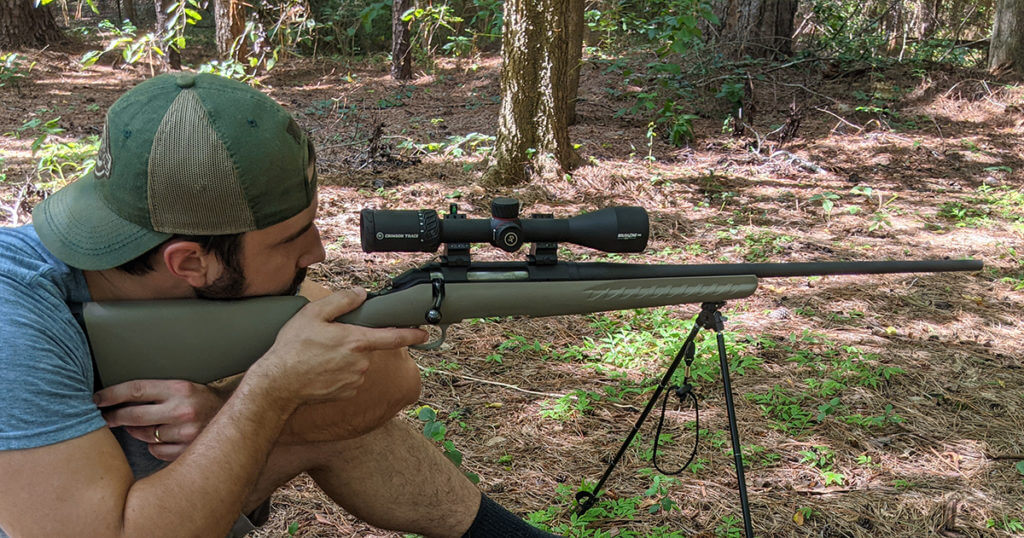
To determine proper eye relief, set the scope in the bottom half of the rings and hold the rifle in the position you’re most likely to use in the field (to make sure the scope doesn’t fall out, you can also loosely attach the top half of the rings). You should put the scope on its highest power. Shoulder the rifle as you would while taking a shot and look through the scope. Move the scope forward and backward in the rings until you see a complete field of view without any black around the edges.
The Crimson Trace Brushline Pro has a surprisingly forgiving eye relief range, so I didn’t have much trouble finding a good place to mount the scope. Once you have the scope where you want it, either mark the tube with a pencil or keep it in the same position while you secure it to the vice or sled.
Step 6: Level the Reticle
This is the most tedious step, but there’s no way around it. Ensuring the reticle is level with the bore of the gun will keep shots on target if you shoot beyond the zero range. The Crimson Trace Brushline Pro comes with handy bullet drop compensation markings for shooting at longer ranges, but those marks won’t do you much good if your reticle is crooked.
There are a wide variety of products and techniques that can help you ensure a level reticle. I covered three inexpensive options here, but my go-to system has always been the Wheeler Professional Leveling System.
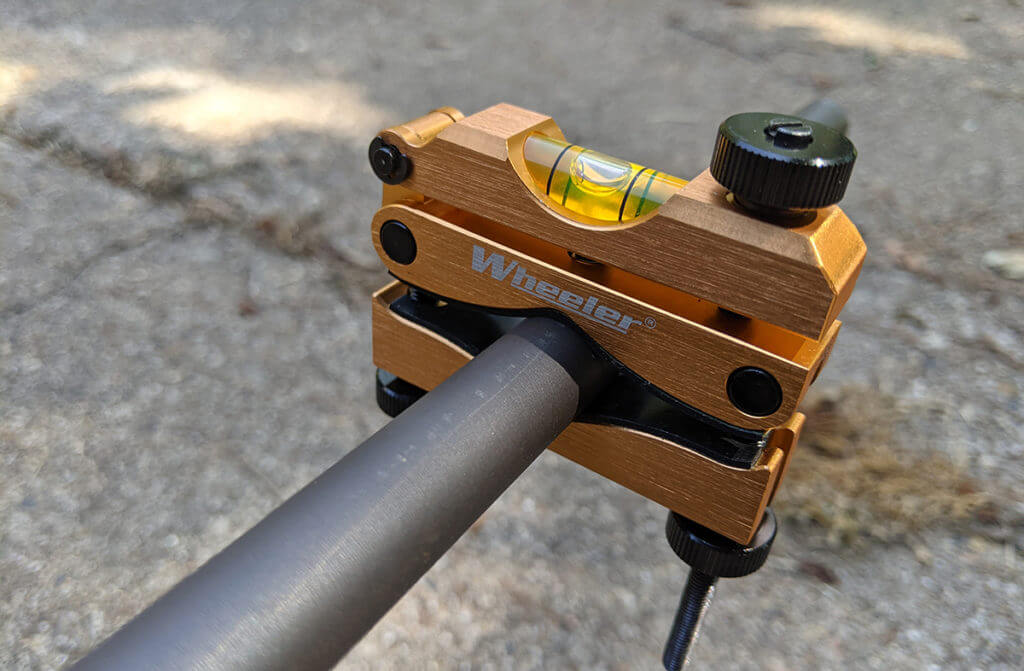
Users start by leveling the rifle, and they can maintain that position using a level that attaches to the barrel. Then, a separate, magnetized level can be attached to the top turret of the scope to ensure that scope and rifle are both on the same plane.
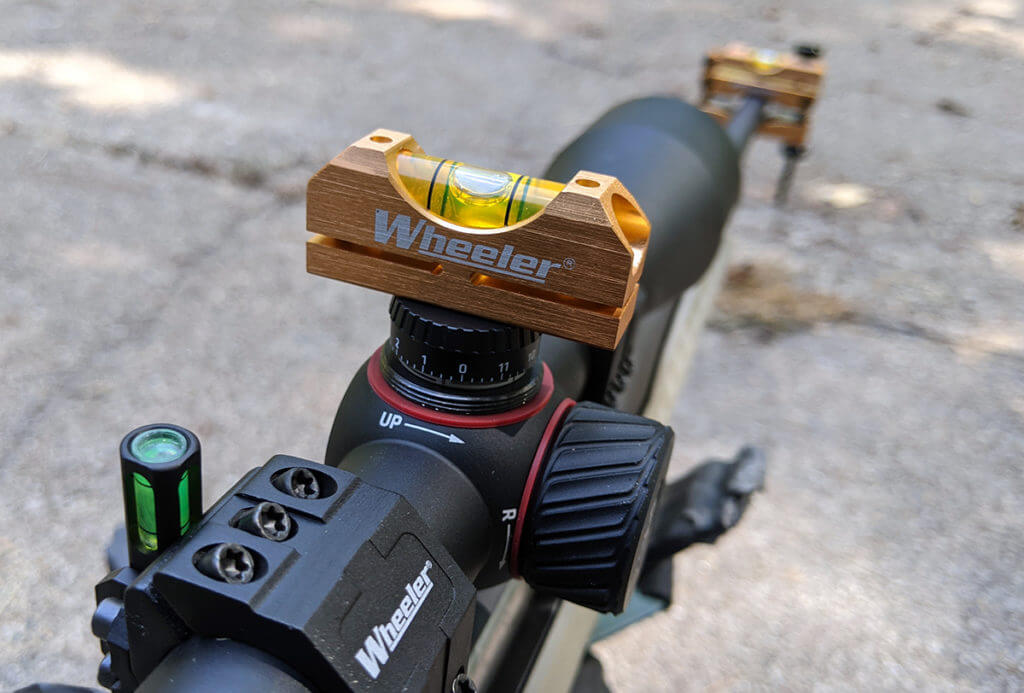
You should keep two additional things in mind. First, sometimes a scope’s top turret isn’t quite aligned with the reticle. In that case, you’ll have to use a plumb line to level the reticle rather than a bubble level on the top turret.
Second, be sure that the scope doesn’t turn as you tighten the scope ring screws. There are a few ways to mitigate this. Some people recommend using shims or feeler gauges between the scope and the rail, though I’ve never tried this. I just tighten the screws very slowly in a star pattern while keeping an eye on the level. If it starts to cant to one side, I loosen the screws and start over. It’s a tedious process, but totally necessary for accurate long-range shooting.
Step 7: Tighten the Ring Screws
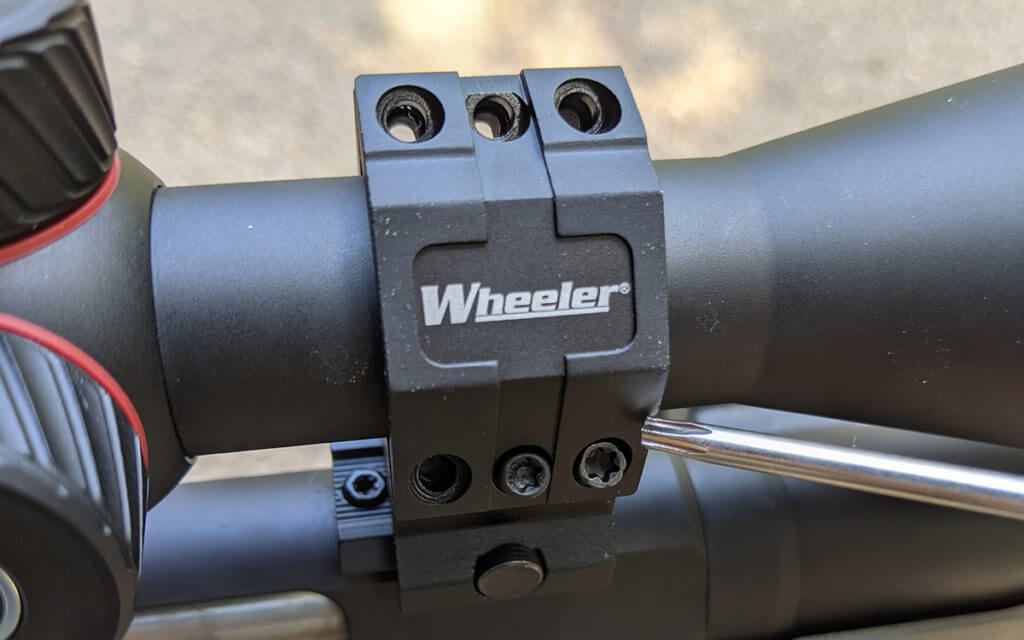
Crimson Trace (along with most scope companies) recommends using between 15-18 inch-pounds of torque on the scope rings. This isn’t very much. If you don’t have a torque wrench, 15-18 inch-pounds is about as much torque as you can apply while gripping the short end of an Allen wrench.
There’s some debate about using non-permanent thread locker (blue Loctite) to secure scope rings. Vortex recommends against thread locker because it can throw off a torque wrench. Wheeler told me it’s not harmful but also not necessary, so I decided against it. I’ve used it in the past (and even recommended it), but I’ll go with the experts in this case.
Once you’ve tightened each screw, tighten each screw again. Oftentimes, I find that I’ve either missed a screw or one has become looser when I tightened the others.
Done!
Once you’ve torqued down your scope rings, you’re good to go. It’s not a bad idea to periodically check the base and ring screws for tightness, but if you’ve mounted the scope properly and haven’t dropped the rifle, you shouldn’t have anything to worry about.
Click here to check out the 2.5-10×42 Crimson Trace Brushline Pro!

If you do not make the reticle absolutely level, you will not have accurate elevation and windage click adjustments in the field or on the range.
Your advice to go ahead and leave a scope canted is bad advice for sure.
And mounting the scope as low as possible IS the smart way to do it.
F-
Anyone use a lapping kit? I never used one but always wondered if they were of any real value.
@ Justin Tracy. Depending on how severe your cant is, you my not notice an issue with short distance targets, but the only way your method would work properly is if your scope was installed inside the bore. Remember, the center of your scope cross hairs are usually anywhere from 2 to 3 inches above the bore. Tilt that bore in any direction and it will throw your point of impact off. That’s why you should mount a scope as close to the bore axis as possible. That’s also why precision shooters use a level on their scopes in order to keep everything vertically aligned. The only reason to make the gun fit you where a scope is concerned is eye relief and cheek weld. Please try not to give any more bad advice for those who are new to this stuff.
DJH: You sight in your gun for whatever cant your body naturally wants to put on the gun, so having the sight in the bore is not a requirement. In fact, it is easier to maintain a natural cant than to force the gun to be upright, so you are more likely to have a consistent angle by letting the cant just happen. The height of the sights, iron or scope, has virtually no effect as to the sensitivity of the sights being canted, e.g. your impact change for a given cant error will be the same if the sight line is 2 or 4 inches above the bore. It is a common misconception that lower sights equals less cant sensitivity.
As for using a level on the scope, that is fine if one chooses to take that route. You can do it with a cant as well! Just set the scope level to show level at your desired cant, easy. I do this with my iron sights on my target guns. When the gun is level the bubble level is way off! But when I’m behind it that level shows dead level and I am not fighting it to keep it there. Though, to be honest, the level could disappear and it would not matter as the cant is natural, it’s just a confidence booster. I don’t use a level on my scopes as I can’t see the level while sighting, but the natural cant is repeatable. It works. I have won many matches and set national records with a cant. Most, if not all, Olympic shooters have a cant… and their sights are WAY above the bore shooting at a tiny bull!
People way over think scope leveling. It’s not that hard. Just make it right for how you hold the gun. That’s easier for a new person to understand than making them all paranoid about leveling the scope to the gun when that is not what is important. There is more benefit to fitting the gun to you than eye relief and cheek weld, such as not using less muscle power to hold the gun and better natural point of aim. All of those equal better accuracy.
Your comments and suggestions are just as bad if not worst then the Author “by Jordan Michaels”.
Failed for sure.
Cant on a scope makes a massive difference.
Height of a scope makes a massive difference.
Professional research on how to place/measure/mount a scope goes a long way… and makes a massive difference.
That was a good article, next you should paint that rifle stock.
In leveling the fire arm you use a barrel mount system by Wheeler. Because the barrel is round how do you know that you are perpendicular to the axis of the barrel with out knowing that the firearm isn’t all ready perpendicular in the gun vice. The device that I use is also made by Wheeler but it sets on the ways that the bolt slide on and I am relatively sure that this is going to by square with the axis of the barrel. Then I mount my bases and continue on as you do.
The best way to level the scope is to level the reticle to how you shoot it. Who cares if it’s leveled to the gun? I shoot most of my guns with a cant so most of my scopes are “crooked”. Make the gun fit you, don’t fit yourself to the gun!
Sound like a good way going
One think I found make sure table or area you have the rifle on. Level if not keep in mind that may be off that way I also found by using Wide wood ruler place scope on top move it in out find eye relief last get a target with cross. Marking place on wall make sure Straight up and down put your rifle and scope in front of it and shine a flashlight Through the front lens which will reflect on the target this will be a sure way to make sure it’s level
Step 1: Focus the reticle.
To set eye relief, I look for a bit of a black rim around the field of view at full magnification. The black rim is the guide for centering your eye.
The best way to level the rifle is by placing the bubble level on the mounted base or rail. You may have left some scratching their head when you said “level the rifle” without explanation.
One of the first steps manufacturers recommend is degrease everything. Otherwise you’ll be tightening down on a bubble of oil and when you shoot the oil will come out and the mounts will get loose.
I also use a screwdriver with the proper tip instead of the little wrench and tap on it with a little brass hammer or lead block while final tightening on the base screws in case the base doesn’t perfectly match the receiver contour.