Check out the work of Bob Marvel: https://bobmarvelcustomguns.com/
Buy one on GunsAmerica: https://www.gunsamerica.com/Search.aspx?T=bob%20marvel
Say the name “Marvel” to most people and their first thought is likely to be comic books – or the movies and TV shows derived from them. They will be thinking about superheroes – amazing men and women in brightly colored spandex who possess extraordinary powers, and use those powers to benefit and advance mankind. Say the name “Bob Marvel,” and you are describing a real-life superhero who possesses extraordinary powers and uses them to benefit and advance mankind. Bob Marvel builds exceptional custom 1911’s. For decades he has built pistols for world champion competitors. His guns are accurate and they don’t malfunction. His methods are used by some of the finest custom houses, such as Nighthawk Custom, who sent their own craftsmen to Marvel to learn his techniques directly. In fact, if you pony up the cash and put your name on a list, you can buy a model called the “Bob Marvel” from Nighthawk Custom. Bob holds several patents for his designs, and has taken the art of 1911 craftsmanship to a new level of perfection. And now – you can learn the art of pistol building directly from one of the few living masters. Bob Marvel, in association with Deep River Customs, is conducting limited hands-on classes in 1911 custom building. When asked if I was interested in attending the class for the purposes of this story, I had to think about it for several milliseconds before signing on.
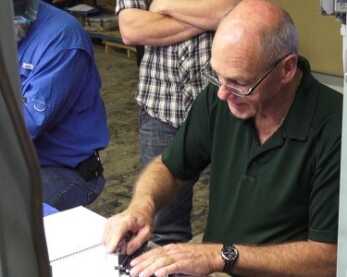
Working hands-on with the master for 7 days is the opportunity of a lifetime. Here Bob Marvel demonstrates technique to students.
What about Bob?
Why is Bob Marvel taking valuable time from pistol building to teach these classes? It’s not about income – Bob could make more money in less time building a few guns himself. It’s not about notoriety, that goal was achieved years ago. The reasons for the class, according to Bob are primarily two. First, Bob would like to retire someday and hang up his calipers, but he would like to pass on his vast knowledge to others – pistol builders who will strive for the perfection that Bob has strived for his entire career. Secondly, Marvel would like to see a paradigm shift take place in the gun industry – or at least within the 1911 community. “So many guns are being manufactured that just don’t work”, says Bob, “and I’d like to see the industry stop accepting that.” He hopes that graduates of his class who continue on to become pistolsmiths will continue to follow his methods and act as a network of smiths who can back each other up, each knowing how the other’s built a gun – in theory one could start a build and another finish it – though Bob does strongly encourage the “one gun, one gunsmith” philosophy. If this network grew, it could indeed influence the perception of a well-built 1911 and move the industry standard.
Bob Marvel is also devoted to the martial arts, which seems to be his other passion. After a few days with the man, I came to understand the symmetry between the two aspects and how he brings a philosophy of the constant pursuit of perfection to pistol making.
About the Class
The Bob Marvel class is 7 days long, currently running from Sunday through Saturday (a smart idea that gives students the day before and day after for travel) and is held in Asheboro, North Carolina hosted by Deep River Customs. You need to bring a few things with you: 1) the pistol frame that was sent to you prior to the class; 2) a good set of dial calipers; 3) Opti-visor, preferably with an additional loupe; and lastly a thirsty brain, because there will be a lot to absorb! Mine got full. The class is well equipped and very conducive to the work and education. Class size is limited to a maximum of seven students, and it is only held occasionally – so this is one to get serious about taking! Which leads me to the “who should attend” topic. The obvious candidate is the gunsmith. Experienced smiths will expand their knowledge and skills without a doubt. New gunsmiths will have a unique opportunity to avoid mistakes and misconceptions that would otherwise take them years to learn (if ever). But I find that there is also a place for the student that might be more like me – not a professional gunsmith but hungry for the learning and the experience. Think of it as “Pistolsmith Fantasy Camp” in that regard.
[one_half]
[/one_half][one_half_last]
[/one_half_last]
I had the privilege of attending this class with some very skilled guys, with whom I hope to stay in contact. Only one of us in the class is already a true gunsmith, and he is also a police officer and USMC combat vet and wounded warrior. He walks so good on his new leg I didn’t even notice right away. His name is Joey and it was an additional honor to be in his company and count him as a new friend. Make no mistake – he was the real hero in the group. The class will set you back $4,000 plus travel and accommodation expenses – so it’s a serious choice for most folks. But at the end of 7 days you come away with exposure to Bob’s lifetime of experience – and your own custom built 1911. If you paid attention and followed instructions (and have some skills), the gun you build will be worth nearly the cost of the class. We’re talking about “match grade on steroids” quality here. Which leads me to…
Building the Gun
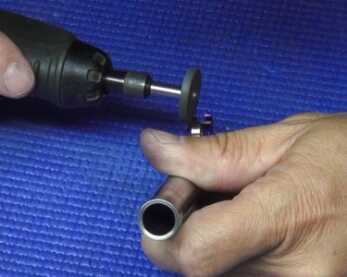
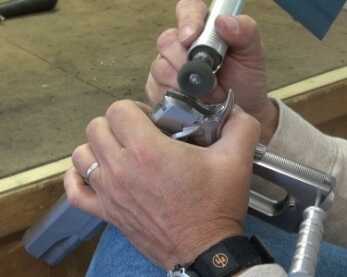
On the first day of class, you stare at your rough pistol frame, the freshly machined slide you’ve been given to mate to it, and the box full of parts – then you look around your work bench (each student has his/her own dedicated and fully equipped work bench), and start to feel a bit overwhelmed. I’d be lying if I didn’t admit that “what have I gotten myself into?” didn’t cross my mind a couple times. There are no fancy machines involved in this process. In fact the most sophisticated machinery in the classroom was a mounted dual grinder with a polishing wheel and a buffer. Each work station has a Foredom tool, and there are Dremmel’s available for some of the work. But most of what you’ll do will be by hand. With small files, fine sand paper, stones, and diamond tools. I’m the guy who’s likely to hit his thumb with a hammer – so the “overwhelmed” feeling started to set in. And then Bob calls the class to order and begins talking – and within minutes you feel like, “hey, I can do this!”. And you know what… you can! Listen hard, watch harder, and do exactly as taught.
For our class the frames, slides, and most of the internals were made by Nighthawk Custom. No huge surprise there – since they do make a model called the “Bob Marvel”. Bob has a lot of input into the exact dimensions and tolerances of these parts, and some are his design entirely. Like anything, starting with the best quality parts is crucial to a successful outcome. Just as critical (as any craftsman will tell you) is having the proper tools and knowing when to use each one.
Slide to Frame
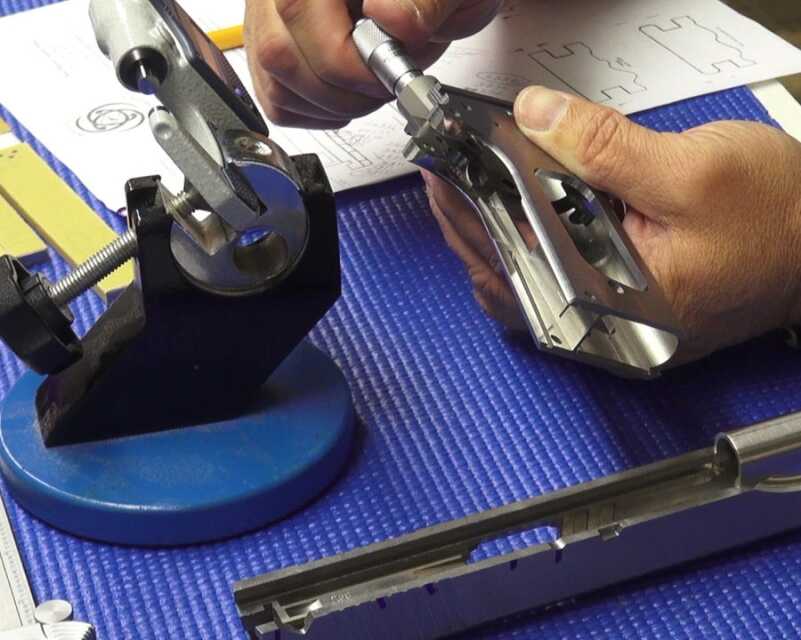
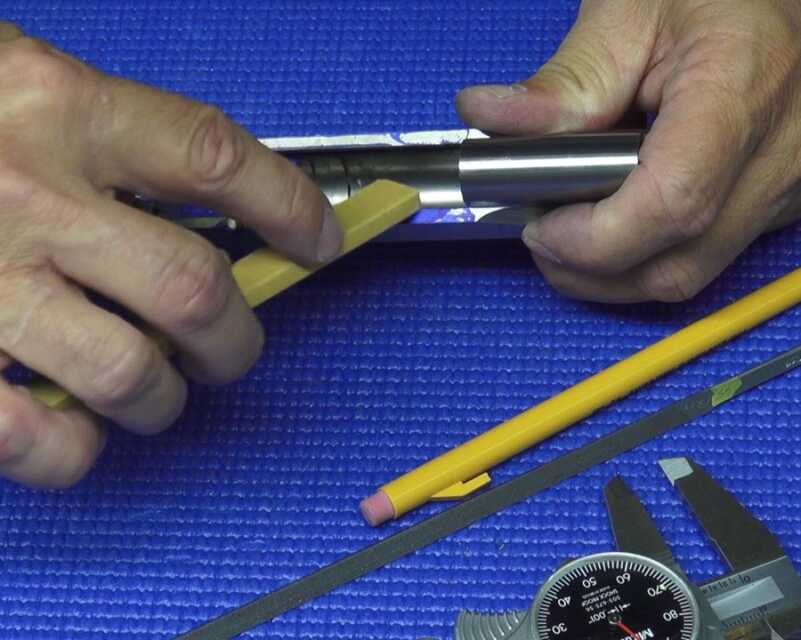
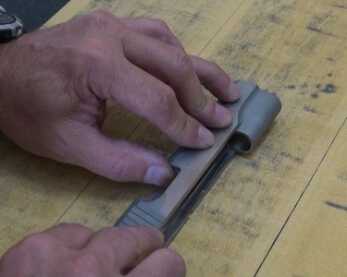
The first step is to fit the slide to the frame. You hear that phrase tossed about in the pistol world – especially about 1911s – but I had no idea what that really meant or how much work it was! From the simple first tasks of removing burrs and rough edges, you quickly realize that this is going to be delicate and painstaking work. Oh, and by the way – the slide/frame fit is initially an interference fit – meaning that you need to remove material. It has to be this way in order to end up with a perfect fit. But take off just a little too much… and you’ve screwed the pooch. No pressure.
[full_width]
[/full_width]
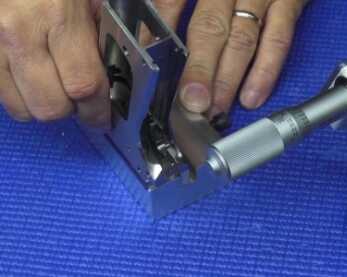
That’s why you measure. And measure. And measure some more. I still see micrometers in my sleep! During many of the operations, like slide to frame fitting, you will literally touch the rail with sanding stick – then measure. Then touch it again – then measure. Then again – and measure. You are looking for a dimension within a ‘tenths-of-a-thousandth’ tolerance. Your measuring tools are critical. You must know how to use and read them properly – and you will calibrate them several times per day, or pay the price. One of my mics (the one for measuring slide rail thickness) got out of calibration and it almost cost me dearly. The pooch was looking worried! But Bob came to the rescue (after all, he is a super hero) and the pooch’s honor was saved, as was my fit. There are a couple of parts of the build that are the critical foundations to the gun.
[full_width]
[/full_width]
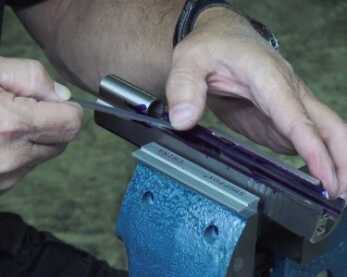
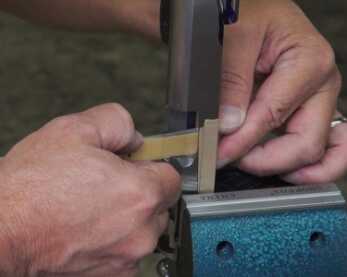
Slide to frame fit is the first, and I think the most critical. Mess this up, and you’ll have to replace the slide and start over – or build an inferior gun. None of those options are acceptable to me. It took until the end of Day 2 before I had a slide sitting on my frame – and it took some pounding with a mallet to get it there. This was not going to be a loose gun if I could help it! Some lapping compound and lots of repetitions hones it down to a perfect fit. The slide to frame is super tight, yet glides like it’s on ball bearings. Amazing!
[one_half]
[/one_half][one_half_last]
[/one_half_last]
[one_half]
[/one_half][one_half_last]
[/one_half_last]
Breach face and extractor
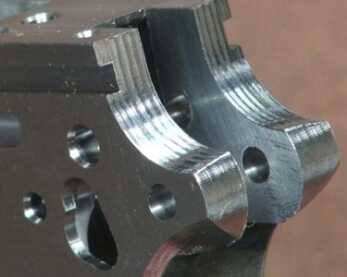
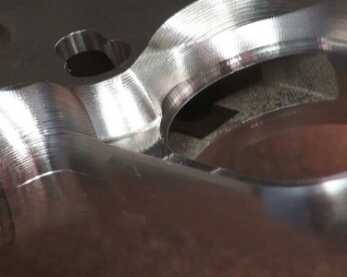
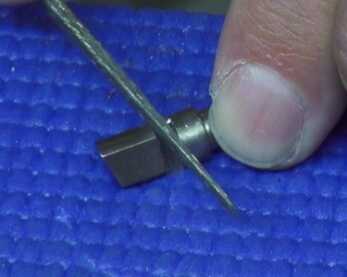
The next day included dressing the breach face, which as no surprise, must be done to Bob’s exacting standards. One degree of angle. Smooth as a baby’s butt… check. But the majority of the day was spent fitting the extractor. Yes – almost an entire day fitting the extractor! I had no idea how critical the extractor was to accuracy and reliability until Bob explained it, and told us how to ensure it. And that is really the key to the class. Bob Marvel sits down with the group, or stands at the chalk board (real chalk board with real chalk – we’re old school) and not only explains in detail what must be done and how – but why. Bob is an opinionated man, as are most experts and craftsmen. But his opinions are the result of meticulous testing and observation over decades and hundreds of thousands of rounds fired. This is the part you came for. Learning in minutes what took this man years to prove. Get the extractor dimensions or shape just a little bit wrong and it will affect accuracy and reliability. And it may break. But get it right and it will still be functioning perfectly when your pistol is handed down to your heir. The sound of the chalk gliding over the chalkboard was echoed by the scratching of pens over notebooks – we’re learning!
[one_half]
[/one_half][one_half_last]
[/one_half_last]
Fitting the barrel and bushing
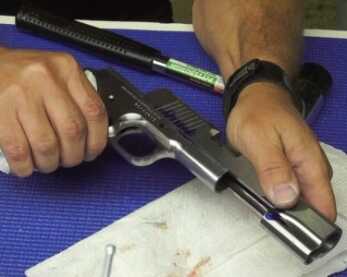
By the fourth day, we were ready to turn our attention to the barrel fit. This is the other foundation fit that means wasted parts and starting over if you get it wrong. The first step to making a perfect barrel fit (yes, it is unique to every individual gun) is to first understand exactly how John Browning’s design works – and what it’s capable of achieving. I think I could feel the presence of John Moses Browning in the room when Bob Marvel was explaining the fine movements of the locking breach design, the interaction between barrel and bushing, and the tolerance between lug and barrel during the unlock cycle. I think Browning was smiling and nodding in approval. I’m not sure – I was writing as fast as I could!
[one_half]
[/one_half][one_half_last]
[/one_half_last]
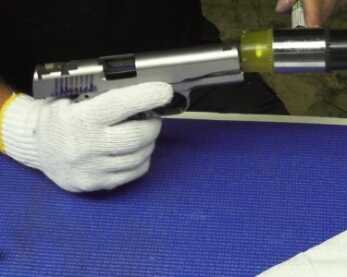
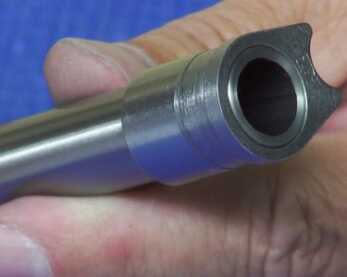
From the precise fit of the tip of the barrel to the bushing, to the lug clearance and the absolute critical fit of barrel legs to slide lock, I soon realized that this was no assembly kit. You are learning a craft. The next couple of days would be spent doing nothing but making a perfect barrel fit, using small hand tools and gentle deliberate techniques. This is the work of artists.
All the while, you are learning the finest aspects of reliability and accuracy. Why the smallest details matter, and how to ensure that the gun you build will not suffer in either category. It was about this point when I started to realize how many days had passed and how many remained. Then I looked at my skeleton of a pistol and box full of parts and wondered how (or if) we’d get this done on time. It also occurred to me that my fingers are more accustomed to a keyboard than a pillar file, and hoped I wasn’t slowing the class down.
But we powered through the last couple of days, and before I left North Carolina I had test fired my gun! I have the brass case from that first round, and it’s something I will keep. What I also hope to keep is as much of the knowledge from the class as I possibly can. I fairly doubt that I’ll be the next famous pistol maker, but I can tell you without hesitation that I feel confident enough to build another one. With access to the right tools, of course.
[full_width]
[/full_width]
The class does not plan for too much in terms of cosmetic finishing. There are a couple of reasons for this – time and preferences. The former being best spent perfecting the build and ensuring that the students understand the details. The latter because there are just about as many ways to finish a 1911 as you can imagine. Deep River Customs will bead blast the pistol for you if you like (some of the guys had that done on the final day), or they will help you get the gun sent out to a finisher of choice and even provide suggestions. Or you can opt, as I and another student did, to bring it home “as is” and decide later how to finish it. For the purposes of this story, and my own impatience, I didn’t waste much time. I decided that I’d like a combination finish – partly blasted to a flat finish and partly gleaming with that “brushed stainless steel” look.
[one_half]
[/one_half][one_half_last]
[/one_half_last]
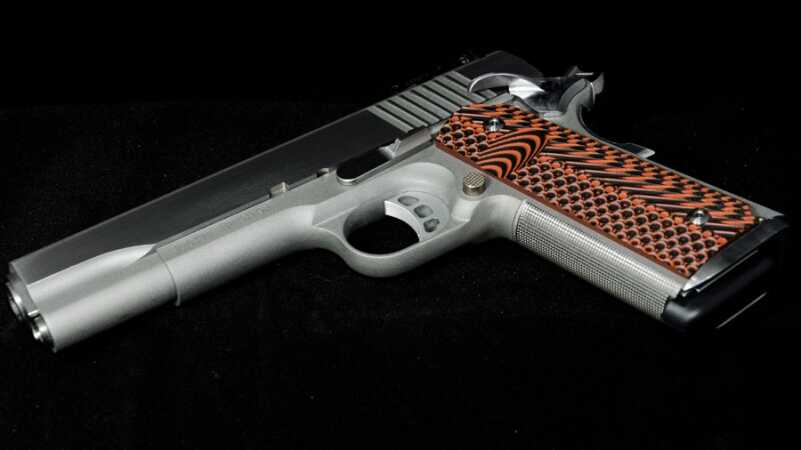
I have the good fortune to have a nearby pistol maker (Annis Arms) who is not only a well-equipped custom shop, but a long-time student of Bob Marvel’s (hey, there’s that synergy thing!). Dale Annis has become a good friend, too. For those taking notes, that’s another name to watch for. Dale gave me some workspace in his shop with access to lots of great toys and his experienced supervision – and he liked my idea for the finish. First, there were still some rough spots to work out. I needed to do the final blending of the slide to frame and beavertail, starting with the extractor heel that was still sticking out like the wart on a witch’s nose. I spent several hours over a couple of days on the finish work – and although I can still see little details I’d like to work on later, I think I have a damned nice finished product.
[full_width]
[/full_width]
Attending Bob Marvel’s class was truly a once in a lifetime experience – and a big checkmark on the bucket list. I’m still digesting all that I learned, but if I can pass on one condensed lesson I think it would be this: Fine pistol making is an art. If you have a chance to learn to paint from Rembrandt or from someone who makes pretty good copies of his work – which do you choose? So yeah, to me Bob Marvel is a real life superhero. But I don’t think he’ll mind me saying that I’m kind of glad he wasn’t wearing spandex.
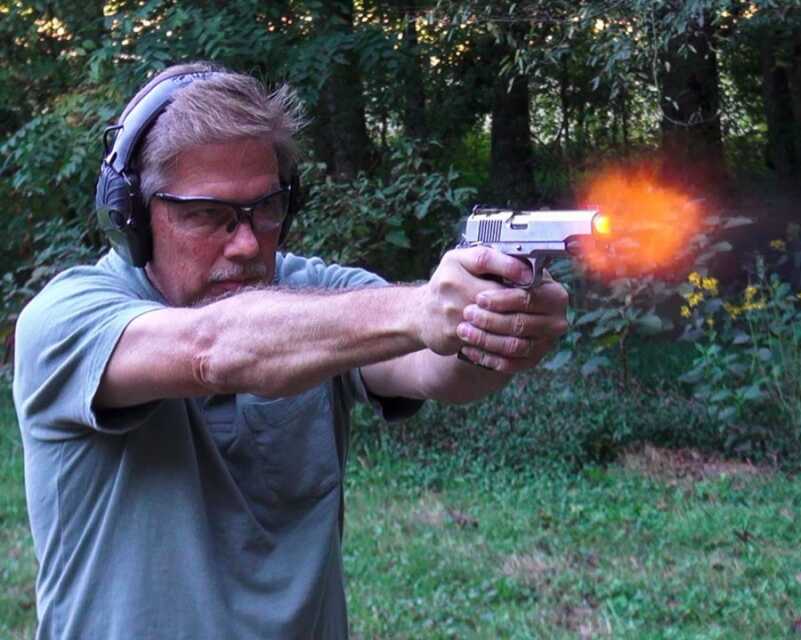
Coming soon – part two of the story of my 1911 will be a full detailed look at this pistol. I struggle with the word ‘review’ regarding something I made. There will be lots of shooting, accuracy tests, guest opinions, and up-close looks. Stay tuned!
Check out the work of Bob Marvel: https://bobmarvelcustomguns.com/
Buy one on GunsAmerica: https://www.gunsamerica.com/Search.aspx?T=bob%20marvel

I just have a question: Is it possible to mount a Commander .45 slide assembly on a 5″ 1911 9mm frame successfully. I read two articles years ago where 2 Mercs each made a 9mm/.38 super/.45 acp 1911 with changeable parts. One did it “the hard way,” the other said he merely bought a 1911 9mm, then a .38 super barrel, and then mounted a complete Colt Commander .45 slide assembly on the 9mm 1911 frame, and it supposedly worked flawlessly.
What are your thoughts, please?
Anyone wishing to study under Bob Marvel himself, follwo this link: https://www.nelsoncustomguns.com/bobclass/
Bob is setting up a school in his home state of Nebraska…..
I can’t wait to take Mr Marvel’s class this year coming up as soon as I get all the cash. I lve to customize weapons and want to learn to build from scratch. I hope to get a job at a major gun company in Columbia.
I wonder if Bob knows Carl Leopard, he has been around a long time in the costom 1911 world and builds some fine firearms and his own designed parts as well! Ive use them and his guns, nothing to smirk about well made stuff!
“it took some pounding with a mallet to get it there”
Bigger hammers save lots of time … LOL
If you end up with a “slop fit” you’ve just made a $4000 Mil Spec GI 1911.
I guess I’ll stick with my SR1911
Pounding with a mallet and wearing the slide in for the first few hundred cycles are two different things. If hammering an ilfitted slide onto an unprepared is what you are referencing then fair enough. How ever, if using a soft faced mallet to wear together a slide frame fit to keep the palms of my hands from getting any more banged up then let me ask… How many 1911s have you put together????
Built myself a stainless 9mm 1911 out of basic components a few years ago. Never took a class, just bought basic components, used basic know how, hand tools and lots of time. Took about a month to do in my spare time, but well worth it. The use of a Easy fit Kart barrel takes a lot of the drudgery out of it. I consider it my passage as a “Jedi Knight”, building my own light saber. Shoots great too, the plain, stainless Caspian slide with no logos makes it look classy. I now know why 1911s cost a lot, every component must be custom fitted to the particular slide and frame and then tuned for flawless performance. A fun project and a learning experience too.
Outstanding, Well written and good photos. Jealous and envious
I wanted to know how to schedule a time to attend the 1911 course and contact information to do so.
How do you get in contact with a class date to learn from the best? I am interested in attending the course and wanted to see if I could use my GI bill to pay for the class. I know that it will cover one of my armors school.
How do you get in contact with a class date to learn from the best? I am interested in attending the course and wanted to see if I could use my GI bill to pay for the class. I know that it will cover one of my armors school.
Chris – here’s the link: http://www.deeprivercustoms.com/1911-classes.html
Nice, nice craftsmanship, in the truest sense. BTW, it’s “breech”, not “breach.” :))
Truly the best GA article this far. Absolutely stellar work on your article and your gun. This class is on my bucket list.
What kind of accuracy have you got so far?
Really enjoyed the article. I had a similar experience building an M1 Garand at the CMP. It was an amazing time and so fascinating, learning from those who have “Master” knowledge. Would love to do the same with the 1911! Looking forward to Part 2!
Without exception, this was the best article I have had the pleasure of reading on GA. I could sense your nervous apprehension and feel the metal give way under your file stroke. You can whisper 1911 musings to me anytime. Have the pistols name, ser# and crafted by (your name) engraved on a mag as a minimum. I am looking forward to Part 2.
Outstanding and well supported by the pics.
Thank you,
WR
how long and how much is class?I am a disable vet and would love to learn how to fine turn a 1911,dont know if i could spend the time there or the cash is there a book or tape that would teach this?
Building a 1911 from scratch is no task that you learn from a book, unless you have lots of frames/slides/parts to practice with and toss out when you make junk out of them. As the article states, the cost is $4,000 and it takes 7 days, plus travel, lodging and meals. Taking a class on making your own AK or AR is comparable, but easier. IMHO, it’s much better to start on easier projects and when you can do those well, then consider stepping up to this level of challenge. Take a cheap, old stock 1911 and just modify it a bit first. Learn to cut the frame for a beavertail grip safety. Fit a new barrel. Replace the working parts with higher grade “drop in” (no such thing!) internals… Learn those skills before you move on and you’ll likely end up with a useable pistol rather than an expensive paperweight.