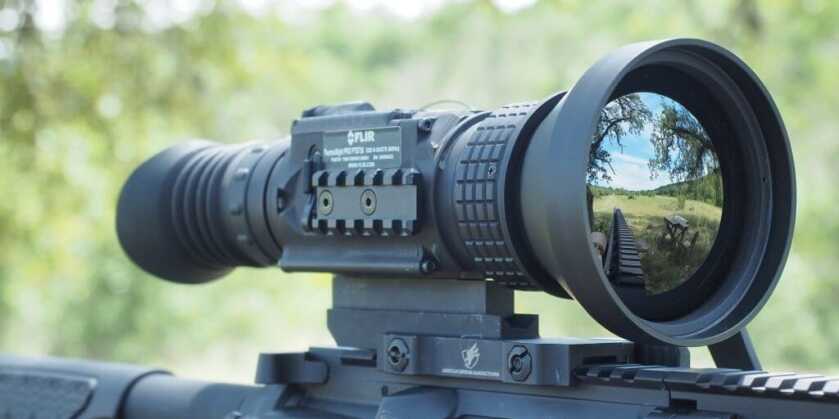
While thermal imaging technology is not new, recent advancements over the last five years have significantly improved image quality and lowered the cost of thermal devices. Yes, they are still expensive, and they aren’t for everyone. But if you’re looking for the ultimate nighttime advantage or just someone who geeks out over cool technology, a thermal scope can’t be beaten.
Several big storms this summer damaged our high fence resulting in an influx of feral pigs and coyotes on the property. Wanting to hit them hard, I reached out to FLIR and requested the PTS736 Thermosight Pro for this review. FLIR is one of the most recognizable names in thermal imaging technology and has been around since 1978.
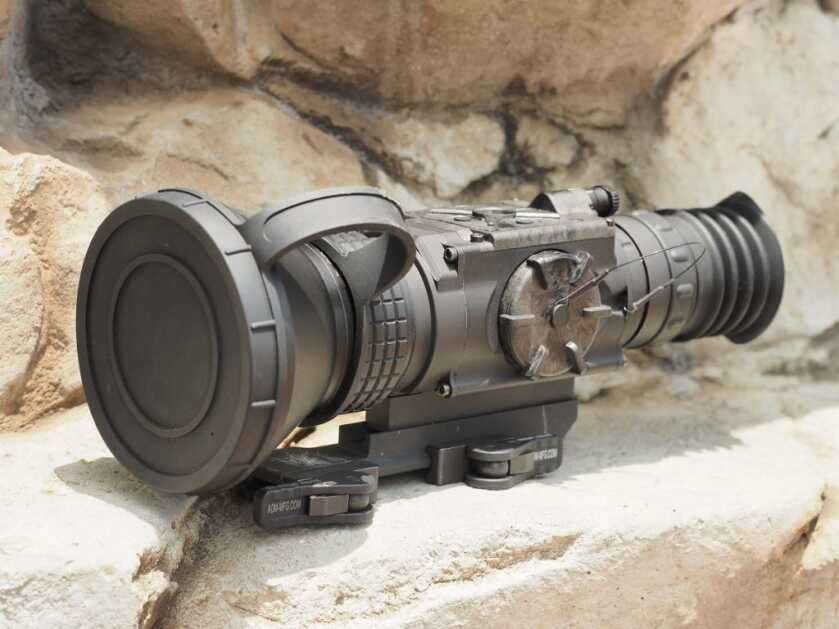
The latest FLIR Thermosight lineup is feature-packed and powered by their new Boson core producing detailed high-quality images. FLIR offers 3 different Thermosight Pro models (PTS233, PTS536, PTS736) with the only difference being the base magnification – 1.5x, 4x, and 6x. And they are all made in the USA.
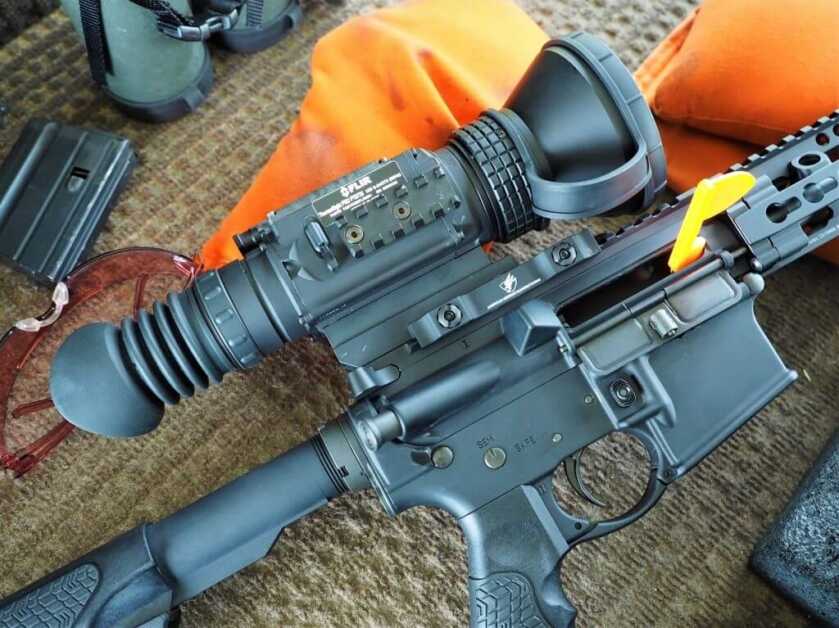
Features and Specs:
- Detector Type: 320 x 256 VOx Microbolometer
- Display: Quad-VGA (1280 x 960) FLCOS
- Eye Relief: 45 mm
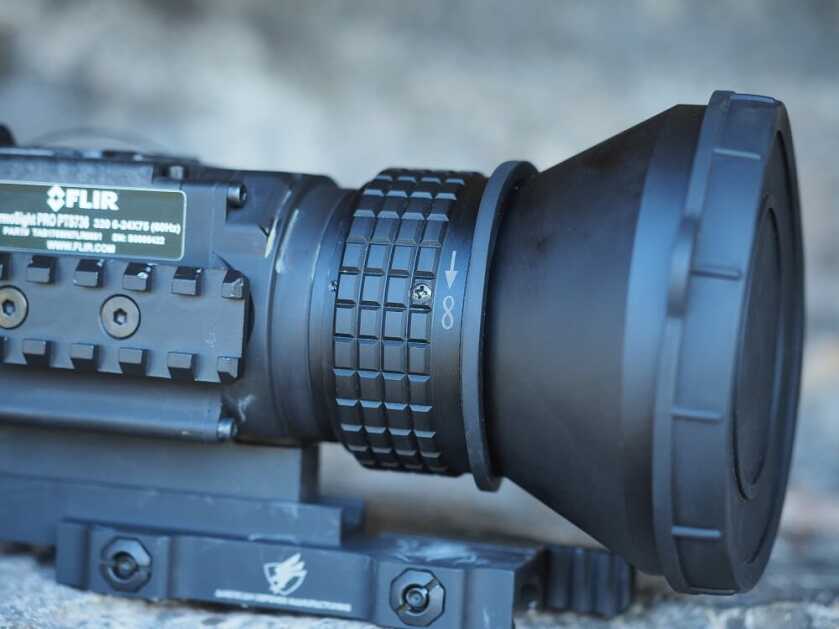
- Focus Range: 10m to infinity
- Internal Memory: Up to 2.5 hours of recorded video or up to 1,000 pictures
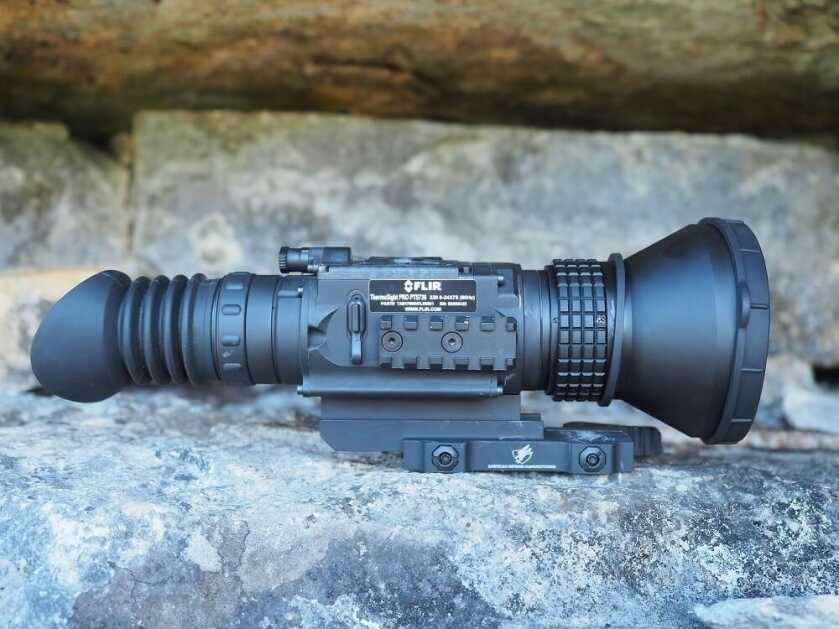
- Size (L x W x H) 11.1″ × 3.5″ × 3.7″
- Weight: 2.4 lbs
- Digital Zoom: 1×, 2×, 4×
- Core: FLIR 12µm BOSON
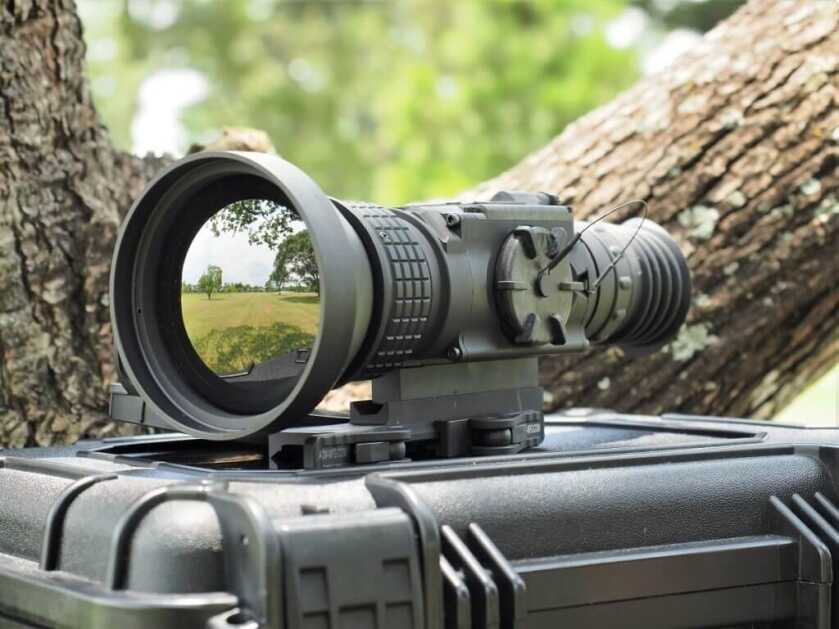
- Objective Diameter: 75 mm
- Optical Magnification: 6x
- Weapon Mount Type: Picatinny, MIL-STD 1913, and Weaver Rails
- Battery Life (Operating): Up to 4 hr
- Battery Type: 2 CR123A 3V Lithium batteries
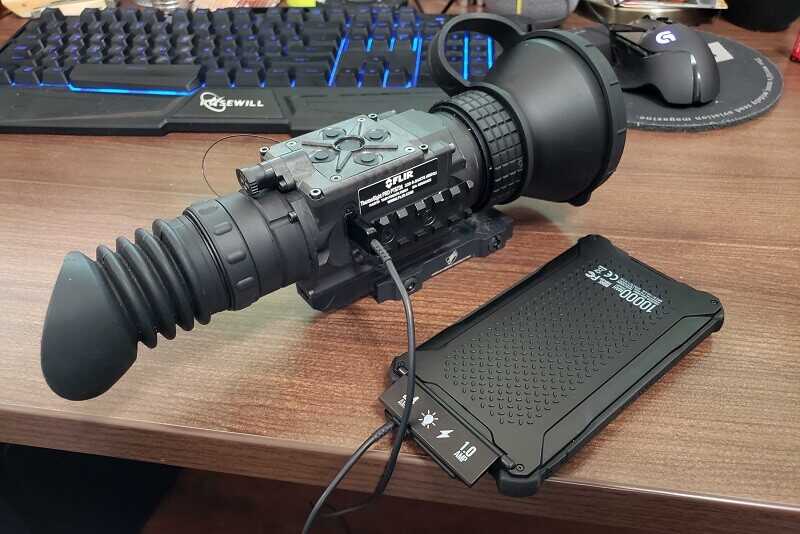
- External Power: Through USB-C port (5Vdc)
- Reticle Type: Dot 4 MOA, Line Dot, Cross Center Dot, Cross, Crosshair, Crossdash, and “No Reticle”
- Polarity: White Hot, Black Hot, Rainbow High Contrast, Ironbow, Sepia, Arctic, Outdoor Alert
- Reticle Colors: Black, White, Red, and Cyan
- Made in the USA
Full list of features and specs available on FLIR’s website.
The PTS736 comes in a hard case with a QD Picatinny rail mount, USB-C cable, and instructions. It is a large scope that weighs more than my other optics but still feels light for the size. The build quality is top-notch and the rubberized operating switches all provide positive tactile feedback. A large 75mm front lens with adjustable focus ring allows for long-range identification, in my experience, 400 + yards.
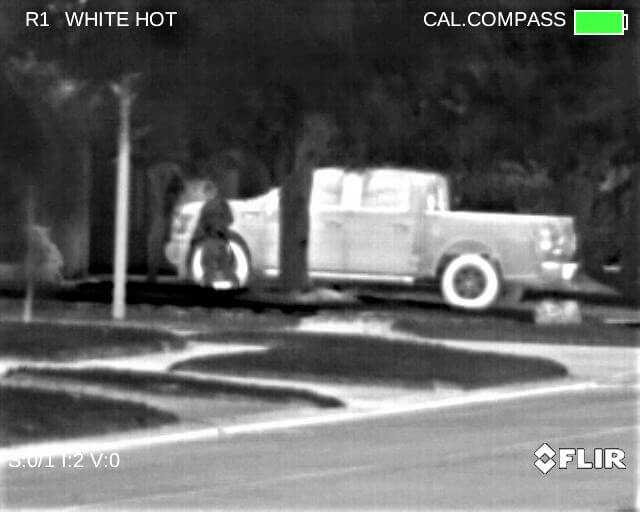
Like a kid on Christmas, I slapped some batteries in and ran outside for the first look. It was midday in June, 98 degrees and humid. These conditions are not ideal for thermal optics, but I figured it would be a good test at seeing how well it performs in sub-optimal environments. 175 yards down the street was a neighbor washing his truck. I powered on the PTS736 and, after waiting 5 seconds for initial startup, was amazed at the image quality. I could clearly identify every part of the truck and see the man and water coming from the power washer. The quality of the picture displayed on the viewfinder is far better than the picture I’m showing below:
Setup
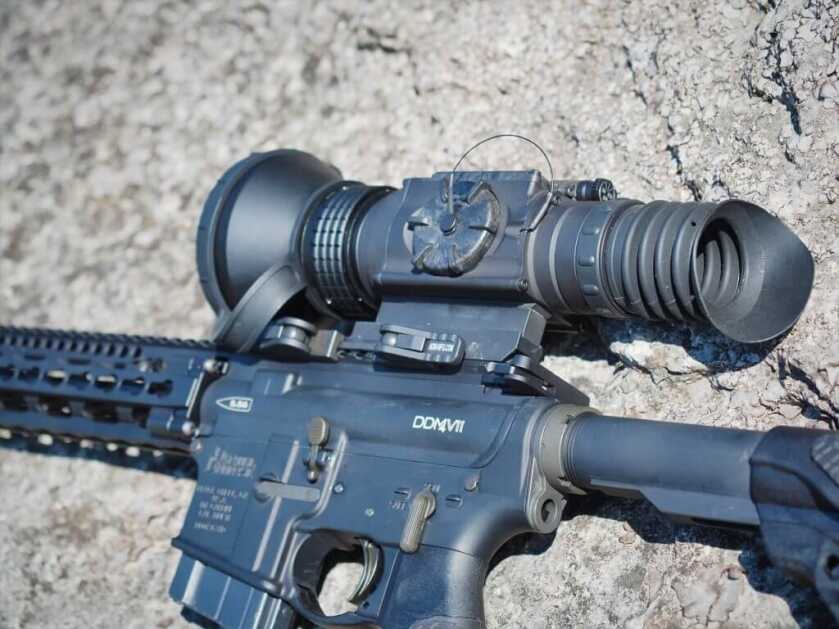
The QD mount makes it easy and familiar to install the PTS736 on any rifle with a standard Picatinny rail. I used it on two different AR’s during my testing and it held zero perfectly each time I switched rifles.
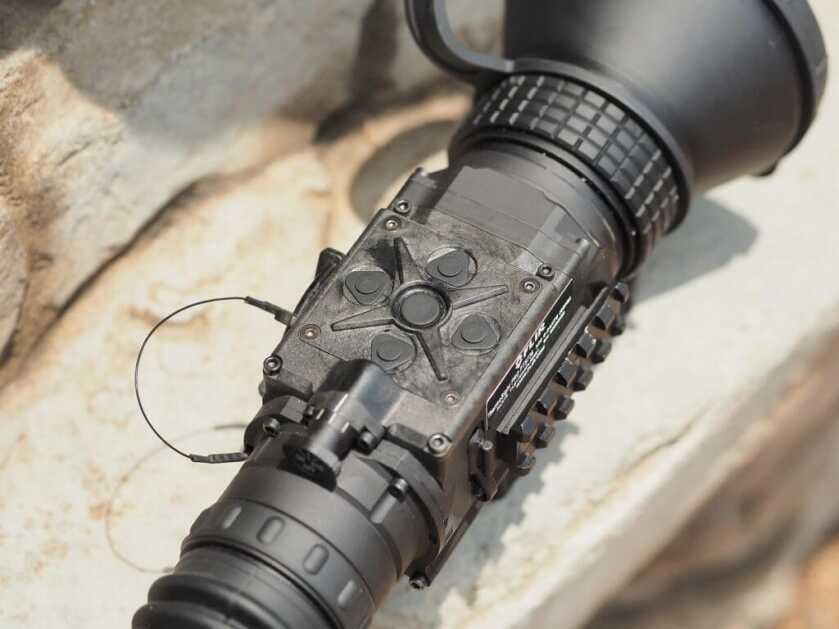
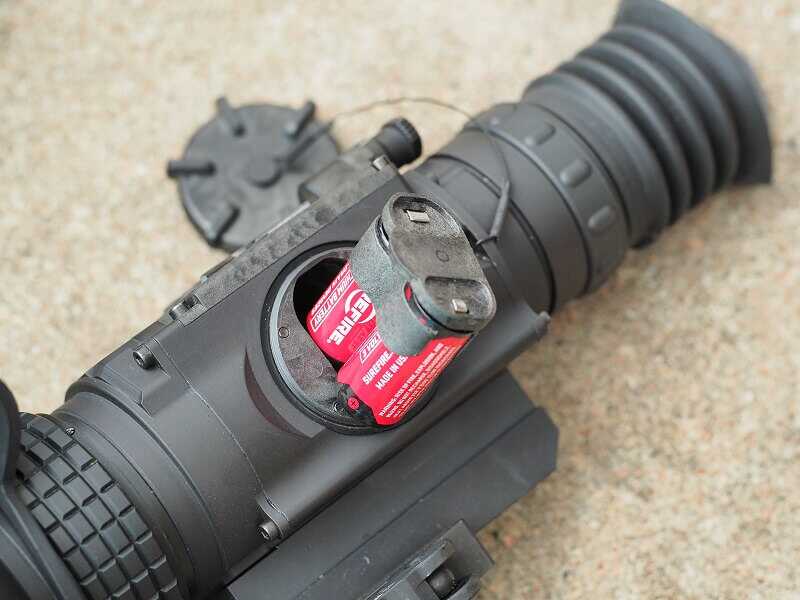
Using the rubberized control pad, you can easily navigate the menus and setup preferences. Without entering the main menu, the control pad arrows allow you to change the color palette, reticle type/color, and optical zoom. The main menu has more advanced options such as recording features, compass calibration, zeroing function, and multiple profiles for multi-rifle use.
Zeroing
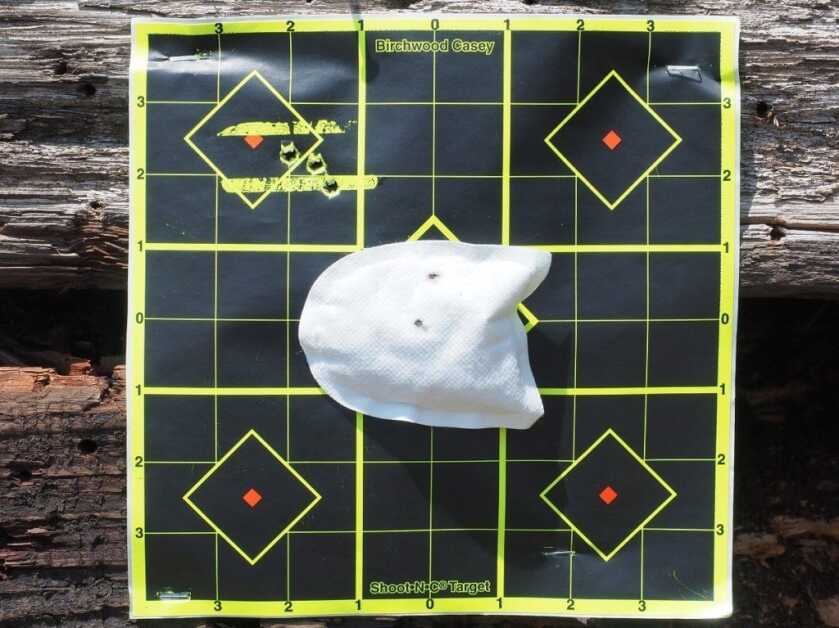
It’s rare that I take a shot over 200 yards, so I started at 50-yards to sight-in my first AR (.223). I used a Shoot-N-C paper target with a foot warmer taped to the center. The foot warmer glows in the thermal and makes it easy for reticle adjustments. I shot an initial 3 shot group just to make sure I was on paper. Even though it was 100 + degrees outside, I could see the bullet hole briefly through the thermal. With just a few menu clicks, I adjusted the reticle to where my bullet was impacting and had completed zeroing the rifle. In order to test the multiple profile settings, I repeated the zeroing process with my second AR (7.62×39). I confirmed my zero at the 200-yard mark and it was good too. I was able to achieve 1 MOA groups with no problem.
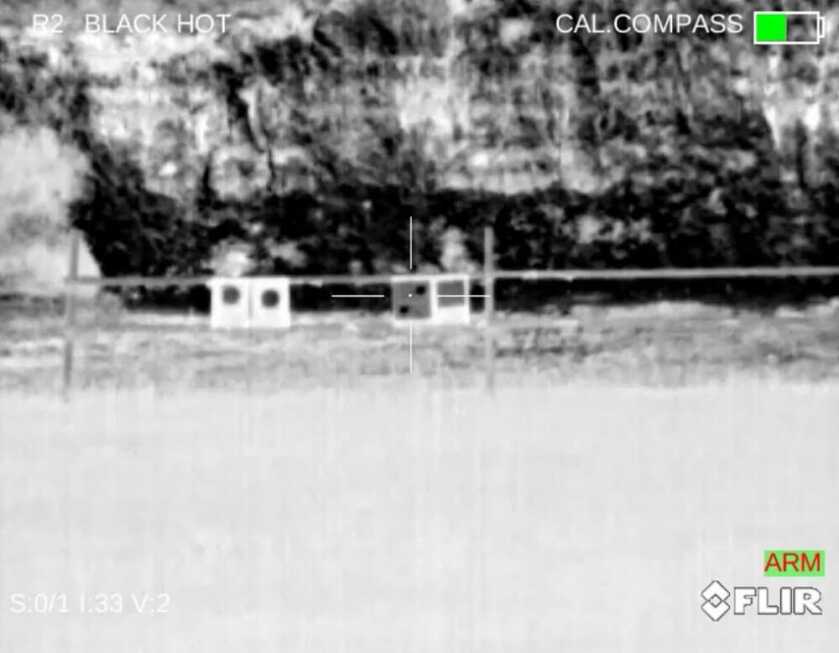
First use at the ranch
The ranch is located in the Texas Hill Country near Central Texas. The desert-like landscape has tall limestone and granite hills with tons of exposed boulders and live oaks scattered throughout the property. Summer is brutal here, and temps typically don’t drop below 85 during the night.
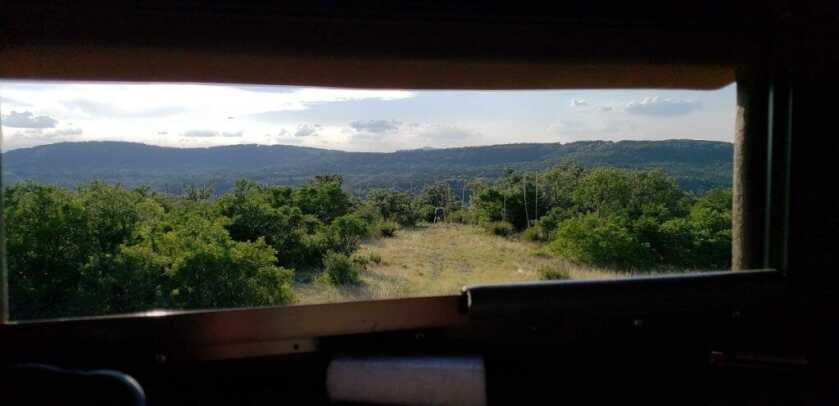
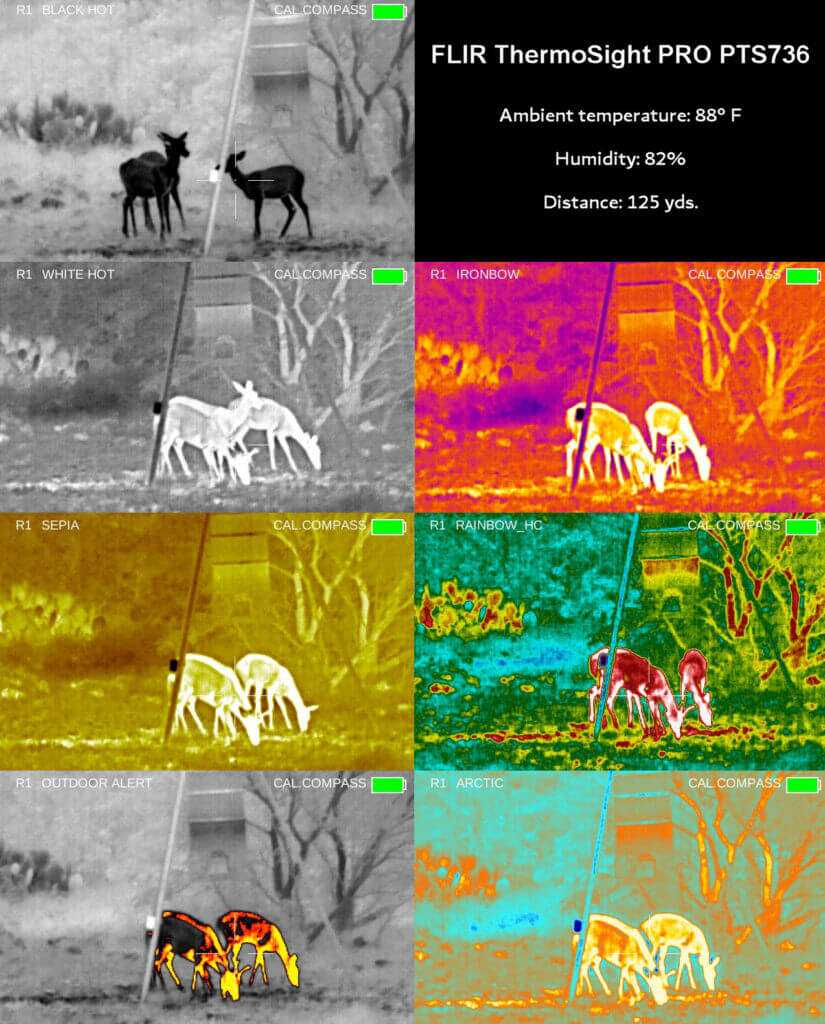
On the first night, I sat in a blind 125 yards from the feeder. I didn’t see hogs or coyotes during this time, but some doe fawns came by for a late snack. This gave me the chance to familiarize myself with the different color palettes. I found myself using the “black hot” and “white hot” color palette with a standard white reticle the most:
Nothing else visited the blind so we hopped in the Ranger and started driving the property. I kept the unit in “standby” mode as we cruised- this helps conserve battery while reducing the startup time. We came across several big bucks at varying distances and in different coverage. It was exciting to see their big racks glowing like Christmas trees in the viewfinder.
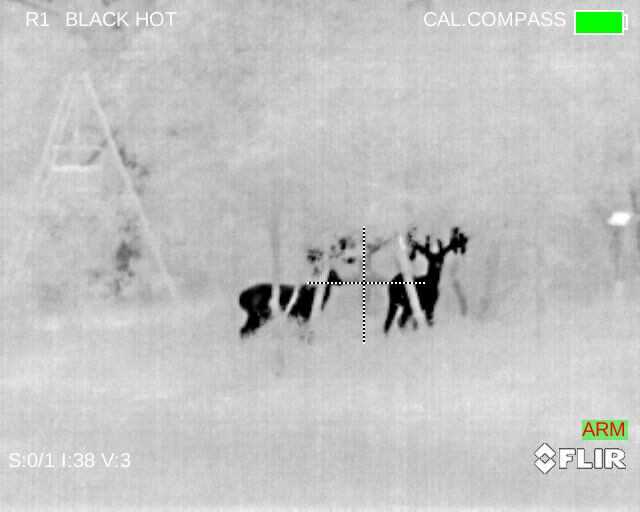
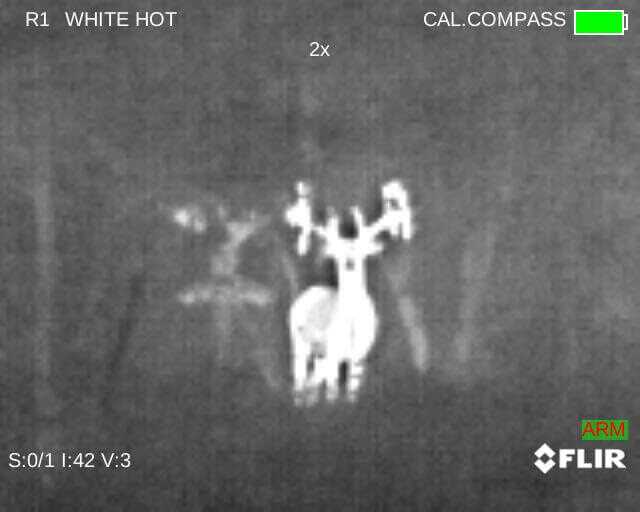
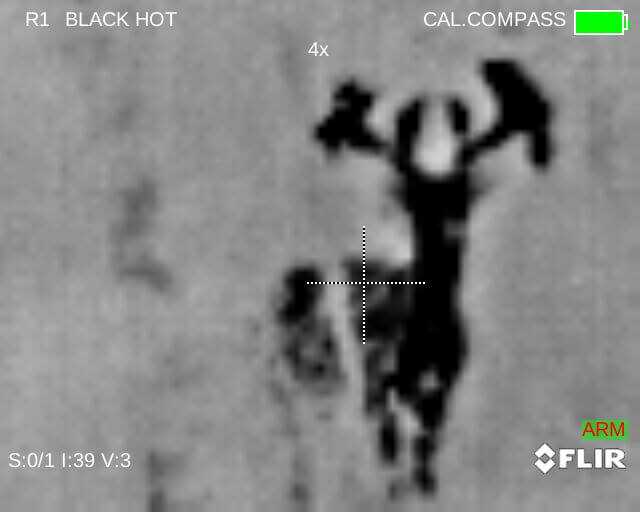
There is a slight learning curve with identifying heat sources through the thermal. It being mid-summer, hot and humid, the ambient temperatures were not much different from the animals. But there’s still enough clarity and definition to tell the difference between a rock and an animal.
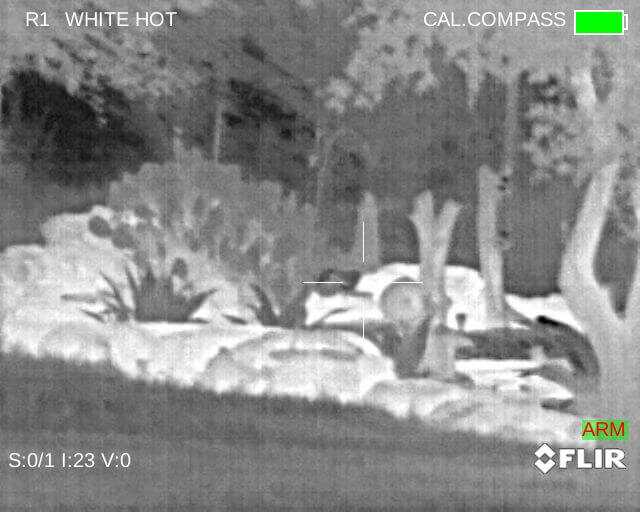
Once you know what to look for, it’s incredible the amount of wildlife you can see. It truly is like a video game or something straight from the movies. I was able to identify and clearly see rabbits past 200 yards and saw field mice jumping at the feeders at 150. I also spotted a ring-tailed cat and porcupines at 175 yards.
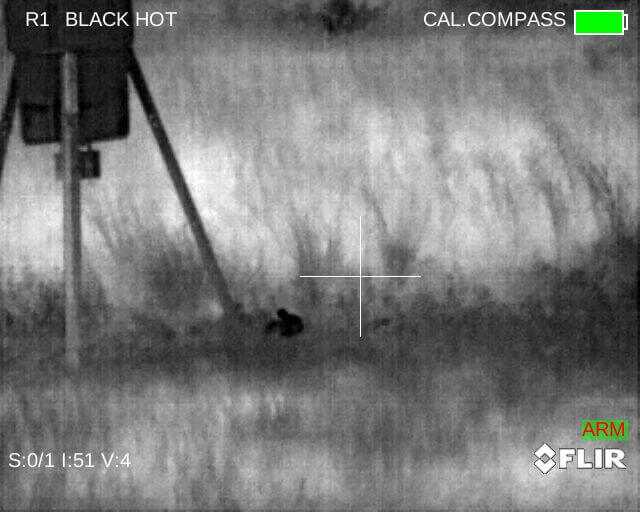
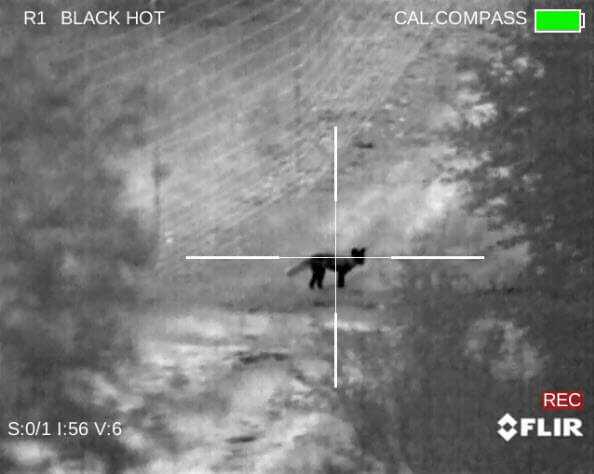
The new FLIR Bosun core and 12-micrometer pixel pitch sensor provide excellent image quality and detail. An adjustable focus ring allows you to adjust the image at any distance. Coupled with the high-resolution viewfinder, it doesn’t get much clearer than this. You can easily see fur on larger animals. With a 60 HZ refresh rate, the image remains smooth as you track moving targets. Anything less than 50 HZ you will start to see the image stutter when an animal takes off.
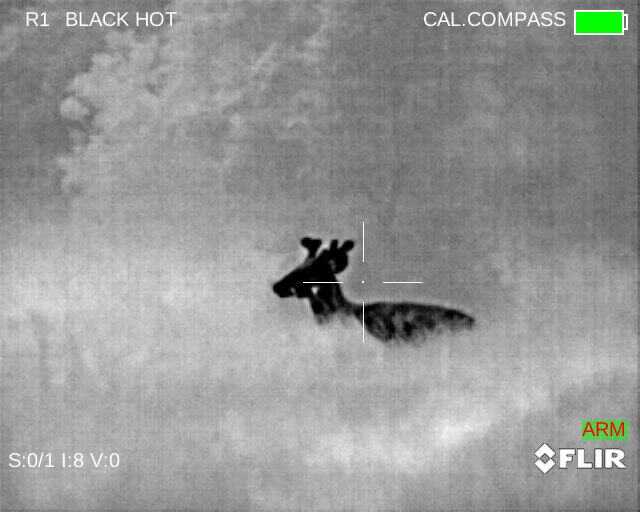
Occasionally you will hear a clicking noise during an automatic NUC calibration. This is a normal operation for thermals to produce a clear image. It’s nice the PTS736 does this automatically – I’ve used other (way more expensive) thermals where this had to be done manually and it can be a real pain. The optical zoom feature I found to be useful only up to 2x. The 4x zoom was too pixelated for me. But, since the PTS736 has a base power of 6x, I rarely needed to zoom in and often wanted less magnification so I could have a broader field of view.
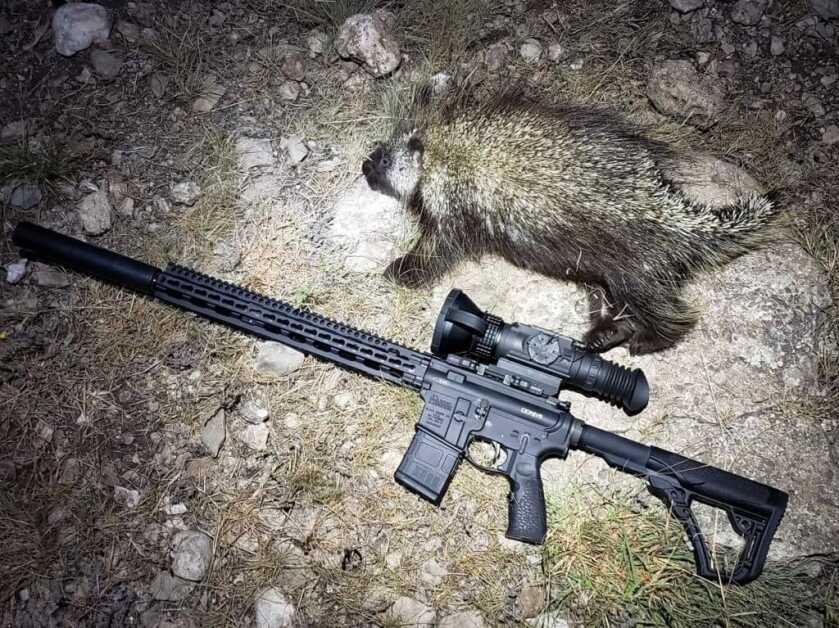
Unfortunately, the two trips I was able to take during my time with the PTS736 came up empty-handed. I was only able to get a porcupine at 175 yards eating from a protein feeder. It was the largest porcupine I’ve ever seen and it weighed at least 20 lbs. I hunted for a total of 12 hours during my two trips and only had to change the batteries 1 time. I was able to use my external battery bank to power the PTS736 which is such a great feature in a pinch or for extended use.
The internal video recorder and storage is convenient for capturing events throughout the night. You can set your preferences so it automatically records when it senses the gun was fired. Still images are captured by pressing the center button and can be used to manually record videos. The video above shows a UTV at 600 yards driving through coverage.
The Thermosight lineup all feature an internal compass that is calibrated through the setup menus. I personally never went through the calibration feature, but I could see where others might find this feature beneficial.
Pros:
- Easy to use and setup – navigating the menus and operating the PTS736 is intuitive and simple.
- 60 HZ refresh rate – fast refresh rate retains high image quality.
- Auto NUC feature- no manual calibration needed.
- Size – surprisingly light and compact given the range and effectiveness of this unit.
- Feature packed- Internal video recording, compass, external power supply, multiple color palettes and crosshairs, digital zoom etc. The amount of features you get at this price point is impressive.
- Price – At $4,795 you get a serious piece of tech that outperforms thermals at twice the price.
- No proprietary cables – standard USB-C cable comes included.
Cons:
- Narrow field of view- The 6x base power produces a narrow view. For 250+ yards, the PTS736 would be perfect.
- User manual is lacking – Not sure if my test unit didn’t come with a user manual, but the instruction guide provided needs to be improved.
- CR-123 batteries can be expensive.
The PTS736 is a long-range thermal scope and was not the best choice for the terrain I was hunting. This scope shines past the 250-yard mark. Anything closer, I found it to have a narrow field of view making it difficult to scan in close quarters.
Compared to other night vision and thermal scopes I’ve used, the FLIR PTS736 stands up to those at twice the price and is loaded with features. The battery life was better than expected, and you can easily identify heat signatures at 800 + yards. If you’re looking for the ultimate nighttime hunting tool, nothing can come close to the benefits you get from hunting with a thermal. Being able to see the heat from bodies through coverage and identify targets in pitch black at over 300 yards still shocks my mind. Looking through the Thermosight Pro PTS736 makes you feel like Predator. You just have to pay for it.
You can buy a Thermosight Pro PTS736 for $4,795. The Thermosight Pro line offers scopes starting at $2,199.

The recoil triggers the recording. I believe it goes back and saves a couple seconds prior to the shot also.
…”a preference for automatic recording WHEN THE GUN HAS BEEN FIRED”..? Huh? That makes no sense to me if it is an actual programming mode; to record AFTER you’ve taken a/the shot? What am I missing here?
The recoil triggers the recording. I believe it goes back and saves a couple seconds prior to the shot also.
“At $4,795 you get a serious piece of tech that outperforms thermals at twice the price”
At that price, I’ll not be getting one unless the guy thats hunting me makes a serious mistake and I get his!
Archangel BRILLIANT! lmao