A question I see asked a lot from newer homebuilders is: “I’ve built a few ARs, now I’m looking for something more challenging. What should I build?” Obviously, this is something of a loaded question, as the answer largely depends on the builder’s personal interests, skills, and what skills they want to develop. So, there can be a bunch of different answers to that question. One particular firearm I recommend to newer builders, particularly those without metalworking experience, for “the next build” is the FN-FAL rifle. I recommend the FAL because while it is definitely more difficult to build than an AR is; it’s not that much more so.
To those of you not familiar with the FAL, it is something of a classic 7.62×51 NATO battle rifle. It came out in the early 1950s and was carried by armies all over the world during its heyday. The US military even considered it before ultimately going for the M14. The FAL is sometimes referred to as “The right arm of the free world”, because so many non-communist armies used it, with 90 or so different nations using it at one time or another. It remained in service with major armies well into the 1990s (with even the British Army still issuing some during the 1991 Gulf War), and it remains in service with some armies and continues to turn up on battlefields around the world.
If you’re reading this and are one of the AR builders I mentioned earlier, here are the extra things you’ll have to learn to build a FAL rifle: You absolutely have to understand headspace (whereas there are lots of people building ARs right now who don’t even own headspace gauges-not that I condone this practice), but it’s easy to adjust on the FAL by using different sized locking shoulders. You have to time your barrel (which requires some real torque), and you may have to fit some things, or look for certain types of parts (as not all FAL parts work together). And there is the whole 922r compliance issue in most FAL builds (though not necessarily all, as it is possible to build a FAL from completely US made parts these days). And naturally, there are some specialized tools involved. But overall, it’s really not that much more difficult than an AR and you might’ve noticed the lack of metalworking skills required for this build.
As usual, I should say a few words on the legalities of this build. Make sure you understand and comply with all local, state, and federal laws if you wish to attempt a FAL build. If you live in a state with some kind of “assault weapons ban” this build may not be legal in your area or may require additional modifications to be allowed. A lot (though not all) of FAL rifles were select-fire military weapons, and so if you’re building from a parts kit you may need to take additional steps to convert the fire control group over to semi-auto depending upon the specific model of your parts. Lastly, if you are using foreign-made parts in your build, make sure you have enough US-made parts to comply with 922r. Regulation 922r states that you can’t have more than 10 foreign-made parts off of a specific list of parts in your rifle for it to be legal. If you aren’t familiar with NFA, or any of these other regulations, do your homework before starting a FAL build. Fortunately, these are not hard requirements to meet in building a FAL, as semi-auto parts and US compliance parts are fairly available. Now, onto building!
Those of you moderately familiar with FAL rifles have probably heard about the “metric vs. inch” issue. In a nutshell, “inch” pattern rifles were made in Britain and the Commonwealth (such as Canada & Australia), and “metric” pattern rifles were the Belgian pattern and basically used by everyone else. Other than magazines (which are definitely different), most of the rest of the parts do interchange between the two patterns. Interestingly enough, the major parts are more or less interchangeable. However, there are some parts that are not, so do some research on your particular build before beginning so you don’t end up with stuff that either won’t fit together or won’t work properly after assembly. Typically speaking “inch” pattern rifles are referred to as L1A1s (unless they’re one of the odd variants, like the L2A1, or Canadian). The actual build process is basically the same for all of them, and the major tools are the same.
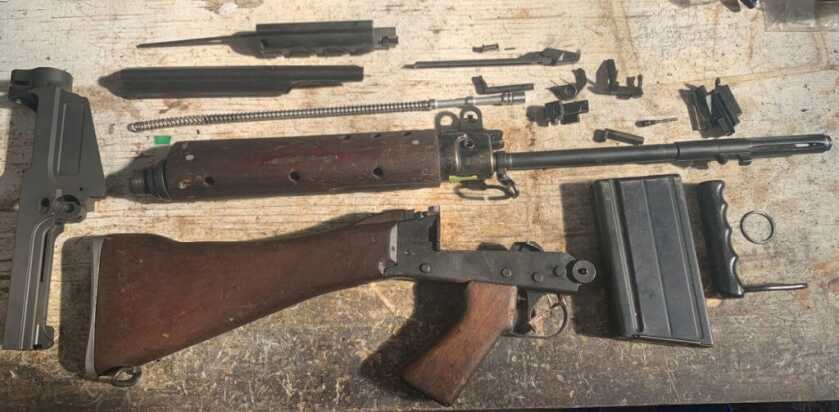
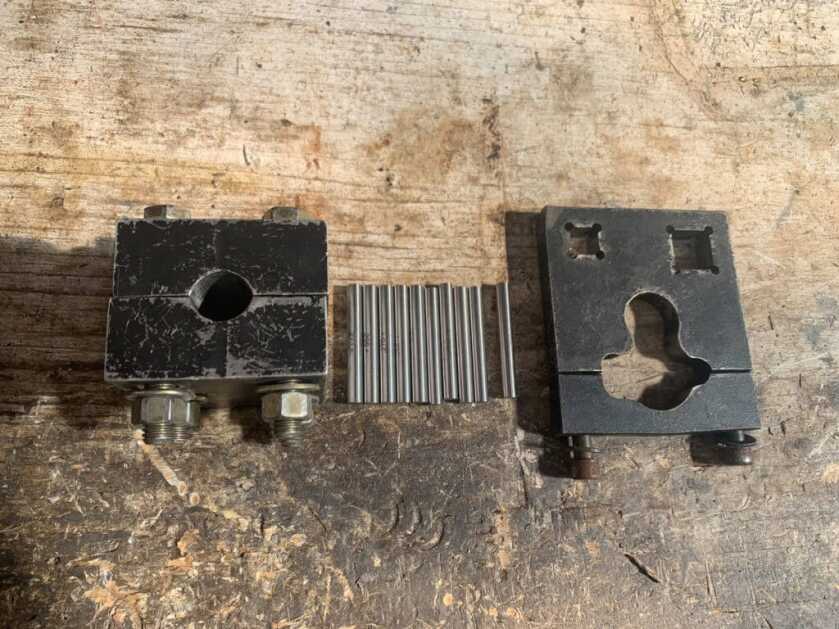
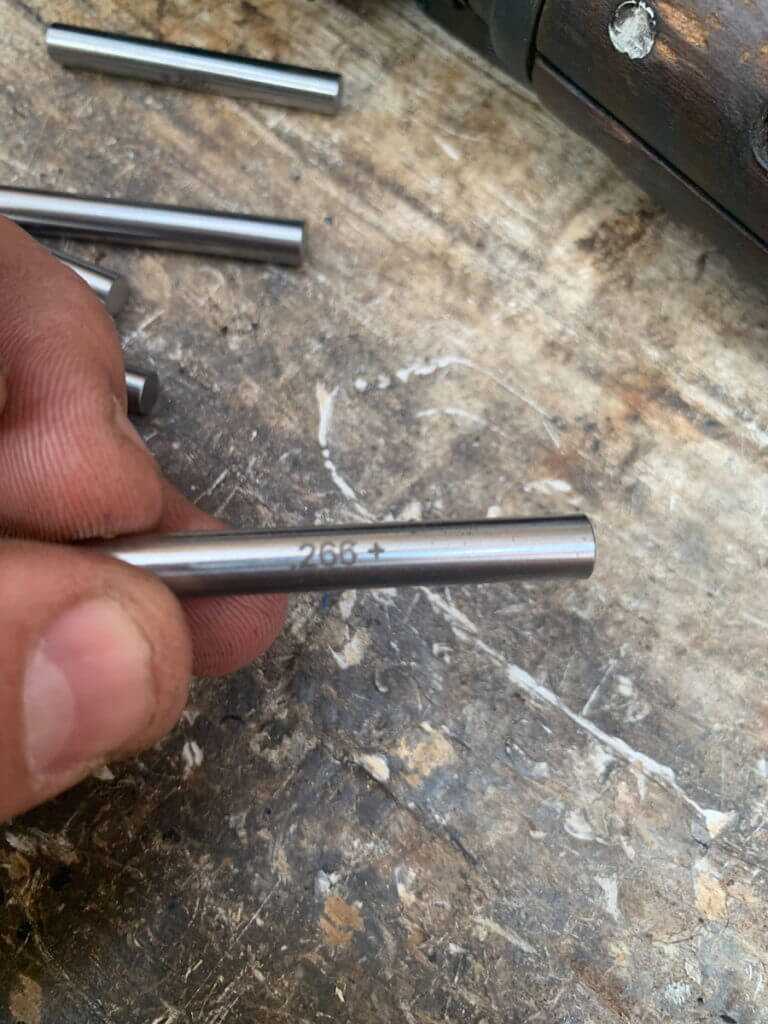
The particular rifle I’m building in this article is an Australian L1A1. I’m using a parts kit with an original barrel that I bought at a gun show some time ago-same story with my compliance parts. There are other parts kits out there right now, like these Israeli kits. The receiver is from DS Arms. Unlike ARs, the upper receiver is “the firearm” portion of the FAL. For metric rifles, compliance parts can also be found at DS Arms, and you heathens that want to “modernize” your FAL will find a number of interesting items from them as well. Inch pattern rifles are a little more challenging to find compliance parts for, but by no means impossible. You can find a FAL receiver wrench at DS Arms as well (or from a variety of other sources if you prefer). Barrel vises are available in a variety of forms, from a number of sources such as Brownells. Any of them will work as long as they’ll fit your barrel. Do not be tempted to just use a big wrench on the barrel; you WILL chew up the shoulder if you try. Get the right tools for the job. I use gauge pins to determine the locking shoulder size, and I bought them as a set from GunThings. The barrel I’m using for this build was already assembled. If you’re using a stripped barrel in your build, you’ll have some extra work to do. Just so you’re aware, FAL barrel components are not supposed to slide on like AR components; they’re supposed to be a press fit. It’s not a big deal, just something to be aware of.
The first step is to install the barrel. On FAL rifles and variants, the barrel threads into the receiver. It must be lined up properly, or timed, with the gas port and extractor cutout in the rifle place. Inch pattern rifles like this one all require a breaching washer in order to properly time them (though I have seen a few metric builds need them as well). Before you do all that, go ahead and put the handguard cap on. Otherwise, you’ll forget and have to take the barrel off again after you already timed it (ask me how I know). The barrel should hand tighten into the receiver until it’s around the 10-11 o’clock position when looking at it from the muzzle-it should NOT turn all the way around to the 12 o’clock position. There are different sized breaching washers available to help time the barrel on inch rifles to get them to the right position, or if you have metal working skills you can just make one.
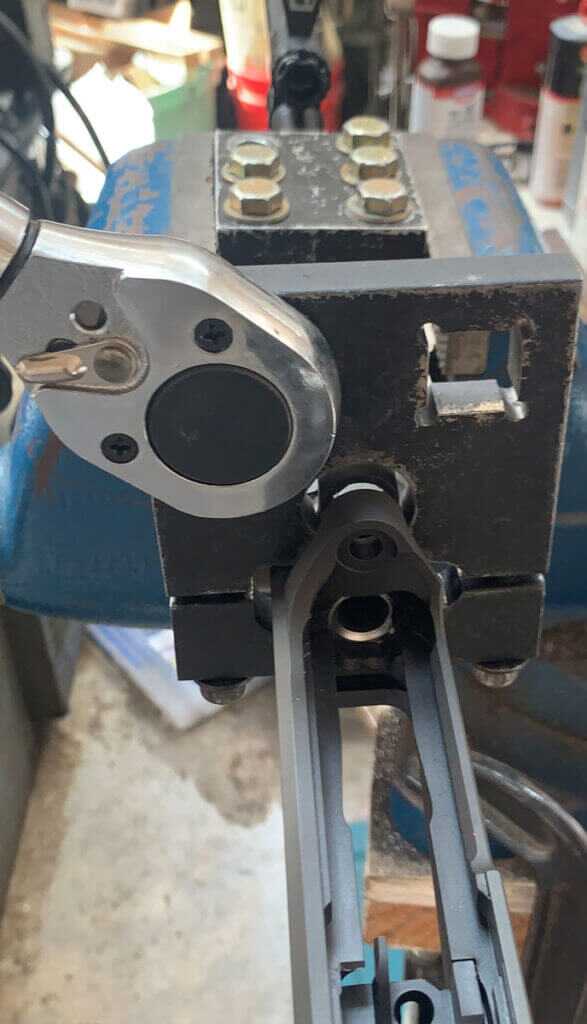
After it hand tightens to the proper place, it’s time to tighten it the rest of the way on. FAL barrels need a good bit of torque to stay tight during use. I’m not aware of a specific torque spec, but it’s typically a lot. Part of this process is “timing” the barrel, or properly aligning the barrel with the receiver. There are tools available to assist with this process. I just use the sights for reference. Basically, the lower receiver, (which has the rear sight on it), will go onto the upper while the upper is installed in the wrench. So I attach it and look through the sights to see how close it is. I keep tightening it, a little at a time until the sights look straight.
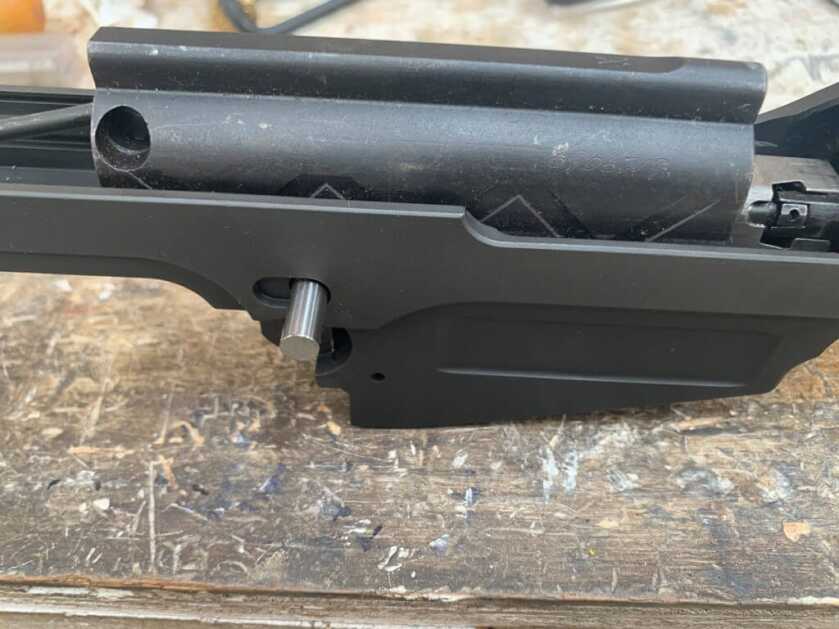
After the barrel is installed, we need to set the headspace. As I mentioned earlier, the headspace is essentially adjustable using different sized locking shoulders. First, you have to make sure the chamber is completely free of any dirt, grease, or crud and is completely clean. Any little thing will affect your headspace reading. Then using a GO gauge, and one of the gauge pins see if it closes. If it does close, then check with a NO-GO gauge to see if it doesn’t close. Try different sized pins until it closes on the GO gauge and doesn’t on the NO-GO. Once you find one that does, that’s the size locking shoulder you need. In a lot of cases, the locking shoulder contained in your parts kit will be the size you need, though not always. Also looking forward long term, as your rifle wears and the headspace grows, you just go to the next sized locking shoulder to keep the headspace at the right setting. Pretty simple, huh?
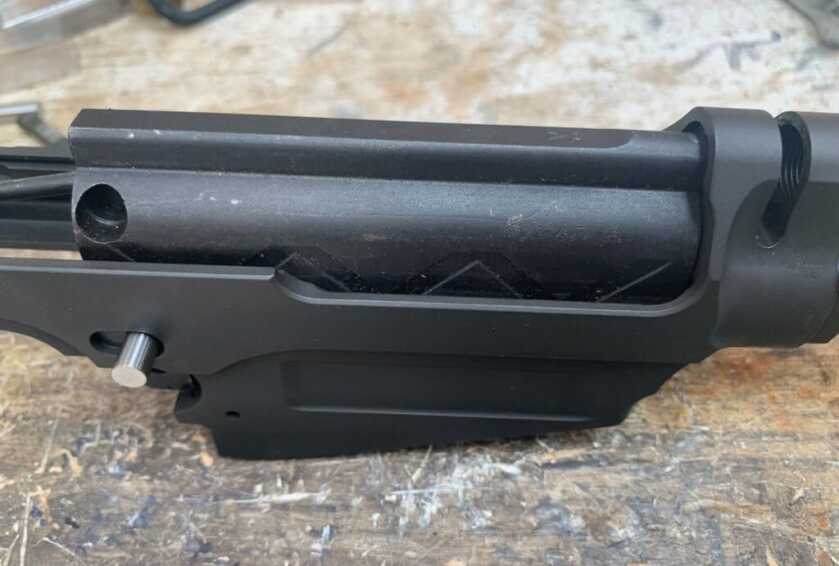
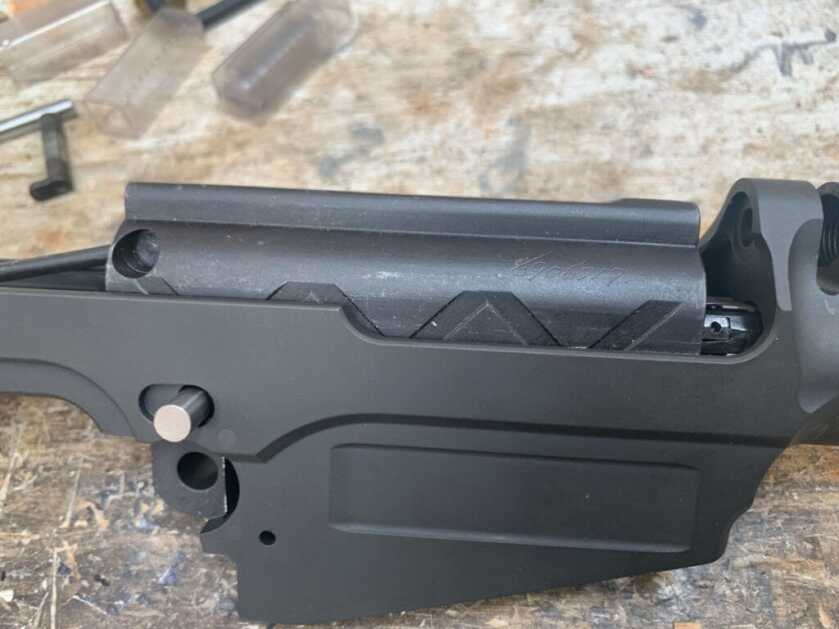
The actual locking shoulder installation bears a little bit of mentioning as well. I just use a hammer and a punch for this task. I flip it over and tap the big end into its recess to ensure that it will actually fit before I actually install the locking shoulder. Then I take it back out and proceed. The idea here is that if you need to fit these parts, it’s a lot easier to figure that out before you have the locking shoulder most of the way installed. Basically, you drive the locking shoulder into the receiver and you’ll have some resistance for the first little bit and then it’ll get easier as the end goes into the open part of the receiver. Before you get it into the other side, take your punch and re-seat the “pin end” into its slot. The locking shoulder will want to walk out of its slot and it won’t be properly aligned with the hole on the other side. So if you don’t re-seat it, you risk damaging your expensive receiver when driving the locking shoulder into place. Once you’ve re-seated the locking shoulder, finish driving it into place.
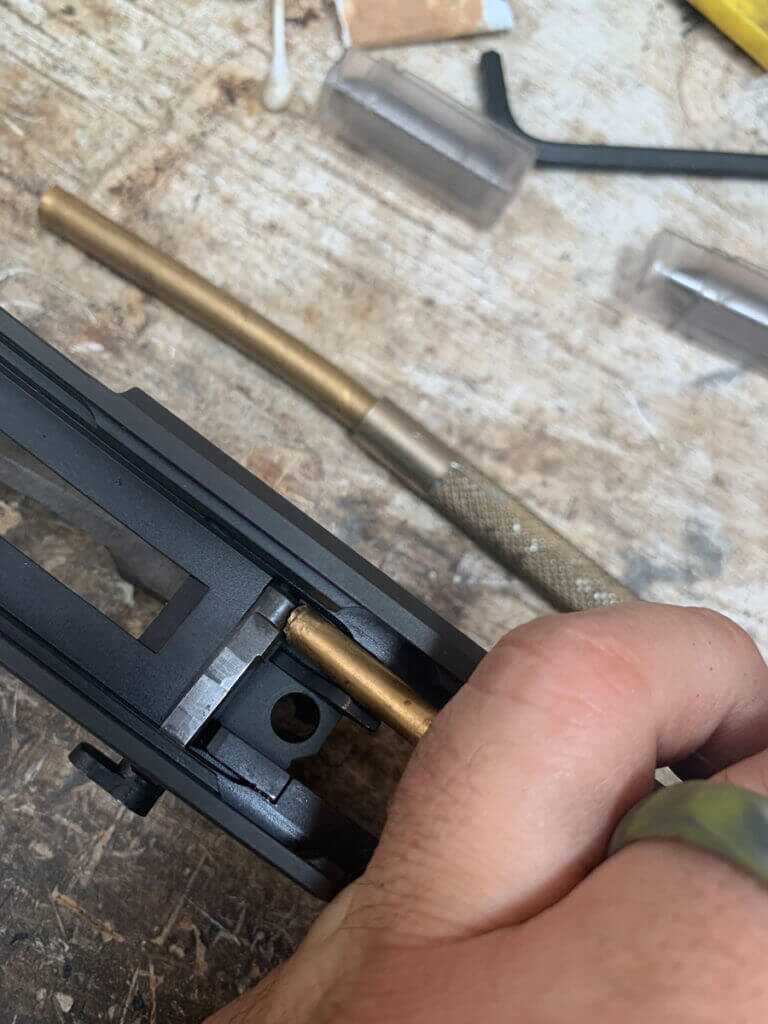
The rest is just basic assembly. I have had a few receivers that needed a little bit of fitting to close properly. The charging handle goes into its track on the side of the receiver, then its lug is installed and retained by a small pin. The gas system has a few small details to be aware of as well. Slide the gas tube nut over the tube, and the gas regulator & spring on the other side. Screw-in the tube and nut. Be careful when tightening the gas tube nut if you’re using a carry handle in your rifle. Sometimes the carry handles need fitting, and if you fail to do this you can damage the tube nut enough to impede function (the gas piston has to pass through it to hit the bolt carrier). Then there is a small pin that keeps the gas tube from backing out. Make sure the tube is aligned so that the flat is aligned and the pin can pass through the hole. Then install the gas regulator and spring. Inch and metric pattern gas regulators are a little bit different, as is their installation procedure-just so you’re aware. Metric regulators thread on after slipping over the spring that keeps it from free rotating (and provide the “clicks”). Inch regulators slide on over the same spring but are retained by another spring. Then you install the handguards, gas piston & spring, and the gas plug. Now the front end is done.
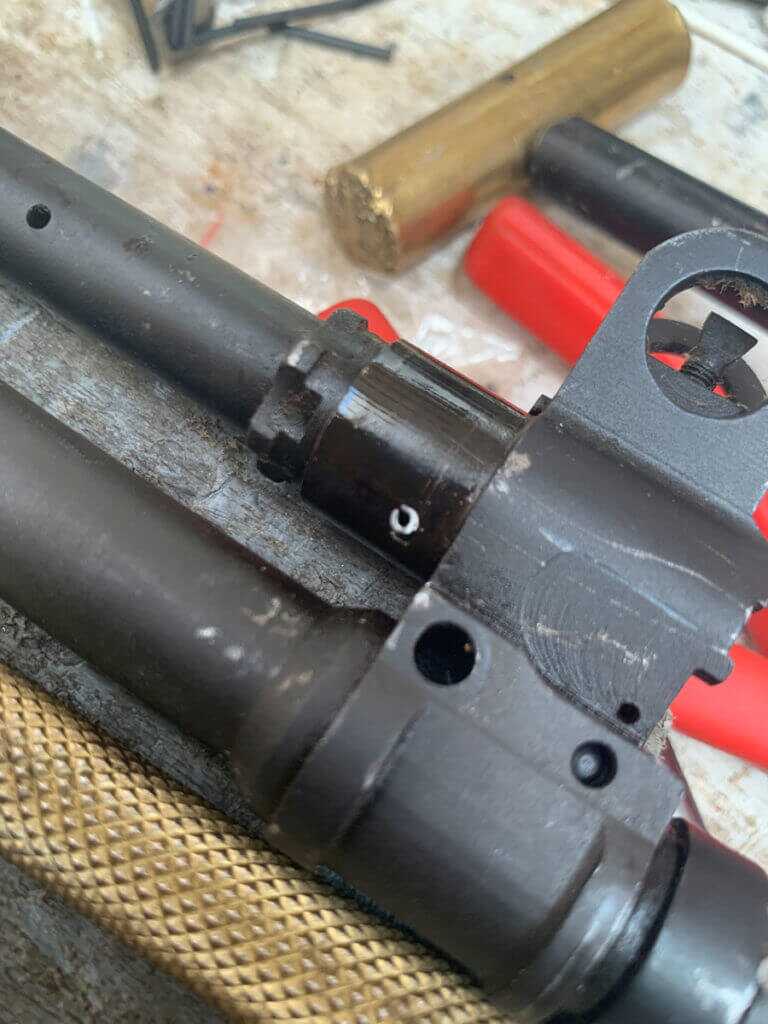
Lower assembly is pretty straight forward. The hammer strut/spring are not retained by anything. So if you let the hammer go all the way forward while the lower is not installed on the upper, you will likely launch it into points unknown (hey, at least it’s not as small as those takedown pin detents in your AR). Obviously, if you need to replace FCG parts for legal purposes, you need to do this before proceeding on with the build (if you haven’t already). Removing the stock does require a special tool, should you need to do that. The recoil mechanism is contained inside a tube in the stock, and it’s almost impossible to deal with without the tool. For this build, I didn’t replace the stock. Once you have all that done, put the upper and lower together and, install the receiver hinge pin. Lastly, slide the top cover into place and drop in your bolt carrier group. Now we’re ready for function testing and test firing.

In function testing, you want to make sure your FCG is functioning properly BEFORE test firing. Once you have verified that it is, then test fire your build. I use a particular method of test-firing, and while I know I’ve mentioned it before, I’m going to mention it here again because I can’t stress its importance enough. Fire one round, and then look at the casing to ensure it doesn’t indicate some issue. Then fire two rounds, checking the casings again. Then three rounds in the same fashion. If you get through all that with no issues and no telltale trouble signs on the brass, you’re probably good to go.
I will admit that I am a bit biased. I really like FAL rifles and their variants. I find that they handle well, are reasonably accurate, and enjoyable to shoot. They are an excellent “next step” if you’ve built some ARs and are looking for something a little more challenging. So if you’re looking for something a little bit different to build, take a look at a FAL. Until next time, Happy Building!

I have been building FAL’s for almost 20 years. I am some what surprised the author didn’t mention Arizona Response Systems (Gunplumbers) DVD and work book on FAL’s and building them. It is absolutely the best and most informative guide on building FALs. Mark Graham (AKA Gunplumber) is considered by most people in the FAL community to be the number one authority on FALs and building them. Anyone wanting to build a FAL or just wanting to know more about one they have should pick up a copy of his DVD and work book. ARS is also a good source for parts.
Sweet! My first build was the L1A1. It was serious, no let’s say seriously bubba assembly. No spanners i.e. barrel and receiver. Nope, a very large vise and layers of lead foil wrapped around receiver in vise. Snap-On makes a nice 24 inch adjustable wrench too. That and a 3 foot cheater pipe brought us right into High Noon. I brought mine down close and backed out for a crush washer thinning with 400 tri-m-mite sandpaper lubed in motor oil. Roll pinned, yes roll pinned the guts inside. Borrowed HS gauges and the shoulder I got with kit was bueno!
Are there any books or tutorials showing step by step, where would you find the tools
Thanks
DS Arms has the receiver wrench. Here is a link.
https://www.dsarms.com/p-17094-dsa-fal-sa58-upper-receiver-action-wrench.aspx
Brownells has barrel vises. As long as they’ll fit your particular barrel, any of them would work. Headspace gauges are available from them as well.
There is a link in the article to Gunthings. They have the gauge pins. They have a video on building a FAL, though I think this article covers everything you’ll need to know.
Hope this helps!
I have assembled a few dozen FALs over the last 20 years. My first few were done with hand tools and a bench vise, so there is no need to invest in expensive tooling if you are only going to assemble one. if you are careful, you can use the 25mm wrench on the barrel flats without “chewing it up”. The barrel clamp and the action wrench make the job much easier, and are a good investment if you are going to assemble more than one.
Barrel clocking is where most newbies get hung up. I use the parallel rod technique, and it has worked very well for me.
Since the FAL is a steel gun, it is also a great candidate for learning how to parkerize.