If you are just stepping into the Factory to Table Series, welcome. This series started when I was thinking about all of the components required for me to go out shooting or hunting. Every piece of it from the gun, to the ammo, sling, mounts, all of these things have to come together in order for me to have a successful outing. That on its face amazes me. So I figured, why not track down and have a hand in building all of these things?
Which in turn got me thinking of the next question, what would be a great backcountry gun to hunt with up here in Northern Idaho? You can often only get shots out to a 100 yards or so due to how thick the forest is. And those shots are mostly in clear cuts. So the gun I settled on was the MiniFix by Q LLC. A bolt action pistol chambered in 300 Blackout. In Part 1 I build out the MiniFix with one of Q’s engineers, Brian. Then, wanting to take advantage of the 300 Blackout cartridge, in Part 2 I wind up back at Q in Portsmouth, New Hampshire to build a silencer, this time helped by Mitch Lessard…
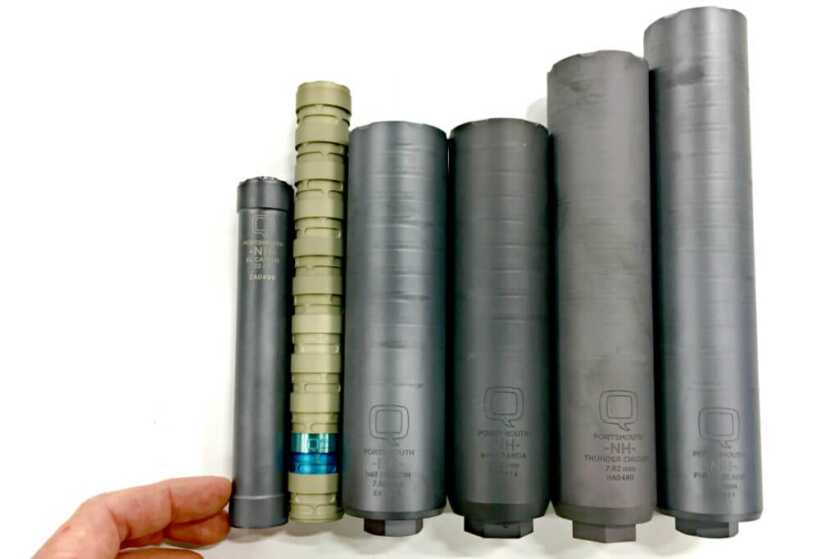
Mitch, Ethan’s father, as in Ethan the lead engineer at Q, walked me through building my silencer. We started off with selecting a number of different raw titanium baffles. Once the baffles come in, they are cleaned meticulously in a ultrasonic tank, to get any impurities off of them. After that comes the assembly.
Q makes a number of different .30 caliber silencers, four to be exact (at the time of this article). Two are direct thread onto barrels while two other models attach to Q’s muzzle brake, the Cherry Bomb. Then, past the attachment method, their silencers come in two different sizes. The longer of the two QD cans being the “Thunder Chicken” and the shorter being the “Trash Panda”. In the interest of keeping things short and light, I opted to build a Trash Panda.
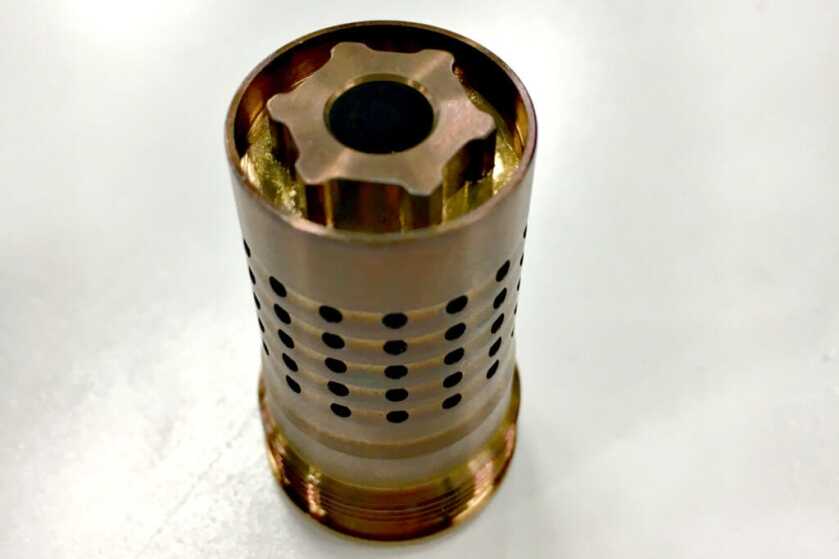
After selecting and inspecting a Blast Chamber and blast baffle, I lined up all the step baffles and finally an end cap. The difference between the silencers really lying in the number of step baffles, which in turn translates into internal volume at the expense of extra length and weight. The Trash Panda being the smallest (6.9”) and lightest (11.8oz).
While some silencers that have mono cores are just put in a CNC machine and a button is pressed, these silencers take a bit more individual attention. The first step was to assemble the silencer. I accomplished this one piece at a time. Initially putting my Blast Chamber and Blast Baffle together.
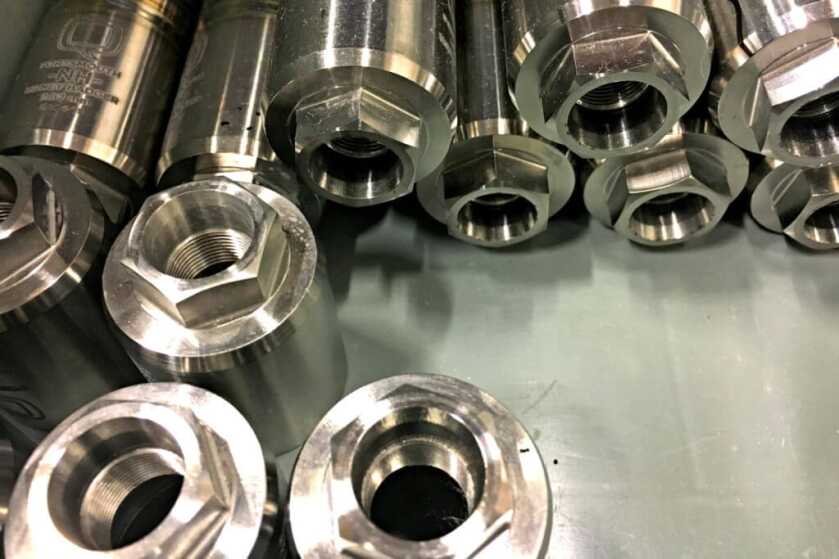
The pieces are manually assembled, one piece at a time and then pressed into each other. The tolerances are very tight. Once they are fitted onto each other by hand, leverage is captured on the press, pushing the pieces into each other, holding them firmly in place.
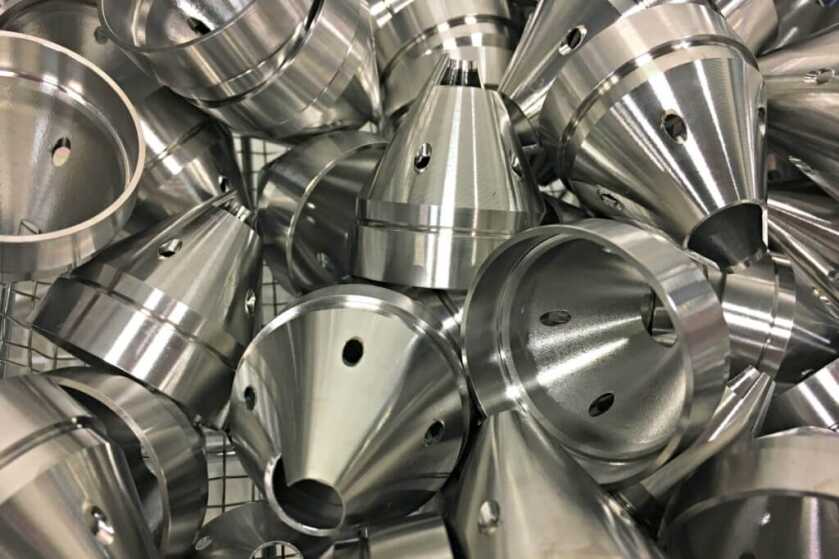
While the initial step baffle can be placed in any orientation, it is then crucial afterwards to line up all the following step baffles. This ensures the silencer works as designed, redirecting and slowing gas to create a quiet suppressor, but at the same time, not being so disruptive as to hinder accuracy. After all 7 of the step baffles were in place, I pressed on the end cap. It was then time to weld.
Back in the day, companies had to hire master welders to weld up their baffle stacks. And even then, with the human element at play, a pile of discarded metal would accumulate. Can you appreciate how hard it would be to weld something cylindrical to the correct depth, consistently? This is probably why most companies opt for mono core designs, or just tack welding baffle stacks and then sliding them in a tube.
Fortunately Q has the technology to allow myself, a layman, to weld up my silencer without the need for 20 years of welding experience. They use a robotic TIG welder. For all intents and purposes, it is a computer controlled lathe that spins the silencer while welding it. The set up flushes the silencer with Argon gas during the process, to keep the weld clean.
My job was fairly straight forward. After putting the pressed together silencer into the machine, I manually lined up the Tungsten tip of the welder above the seam of the pieces I had pressed together. Once sure of my alignment, I simply pressed the Start button. The TIG welder would then come down, create the arc while the lathe portion of the machine rotated it at the appropriate speed in order to create a perfect weld. It was amazing…
I continued this process for each of the seams between each piece until I finally finished by welding the end cap on. At this point the welding process was complete. I used pliers to remove the incredibly hot silencer from the robotic welder and placed it on a rack to cool for about 20 minutes.
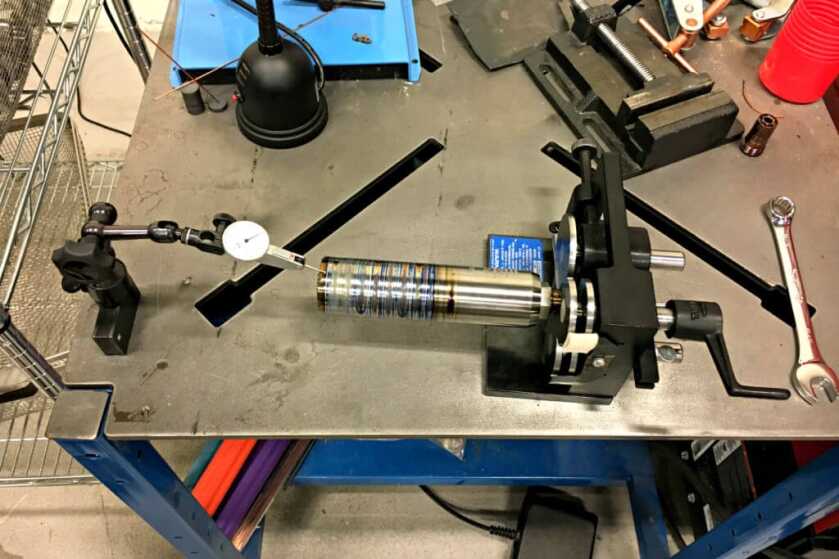
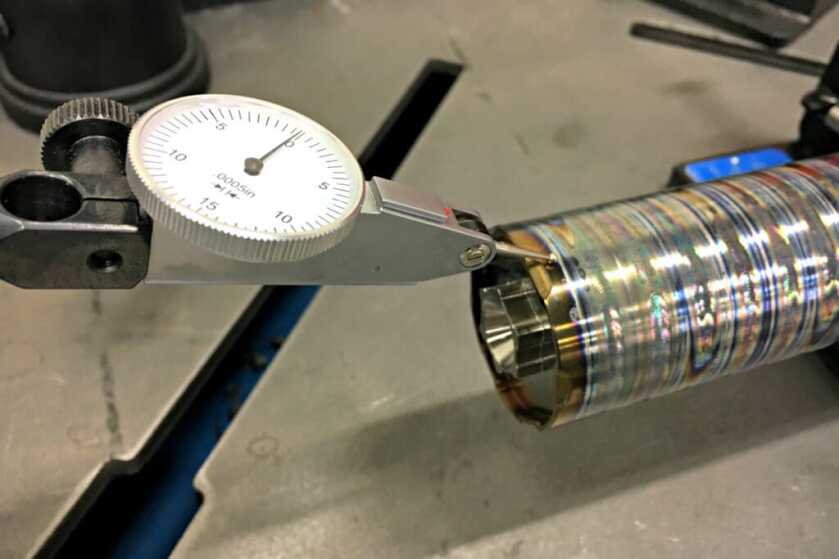
After it had cooled to the touch, it was time to see if I did a decent job of it. Quality Control was the next step. After placing the silencer in a fixture that would rotate it, I applied a very precise gauge to the outside edge of the end cap. By rotating the silencer in the fixture, the gauge would read how many thousands of an inch difference there was from one side to the end cap to the other. If any welds or baffles are off, it could throw it out of tolerance. Fortunately, my silencer passed this initial QC.
The next step was for my silencer, and a bunch of others, to go on the Wire EDM (Electrical Discharge Machining) Machine. While some companies run a drill bit through one or both ends of their silencers, Q approaches it a different way. All of their baffles are purposefully undersized, meaning they are actually too small to fire a projectile through. This allows them to Wire EDM the bores, creating a perfectly concentric hole down the entire silencer. Coupled with the use of tapers to align the muzzle to the silencer, this ensures you won’t get a baffle strike. It also makes the silencer more efficient.
From there, the silencers move back for one more round of QC, this time checking the internal diameter of the end cap that was Wire EDM’d. Making sure everything is perfect. And after that, the next step that usually happens, is the silencers are sent off for PVD Coating. Due to my timeline, my Trash Panda was instead bead blasted. Allowing me to continue on with my Factory to Table Series without having to wait on the Coating Shop.
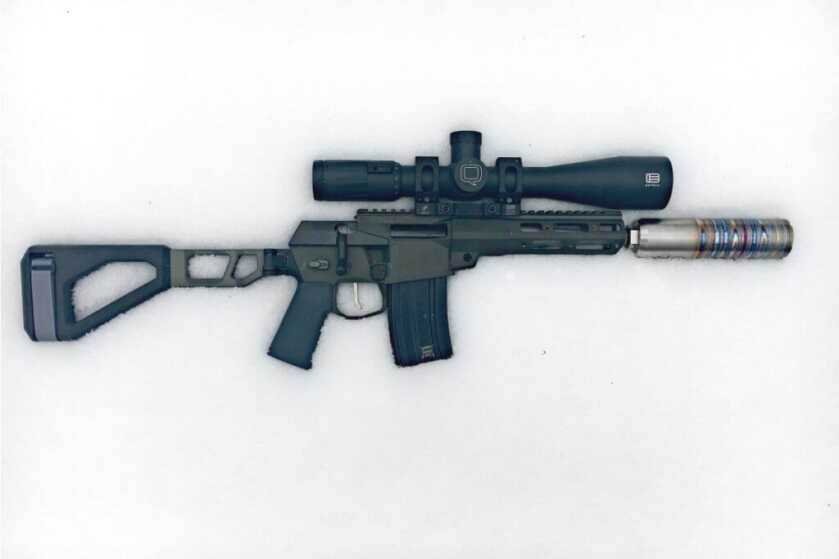
Overall it was an incredible experience building my silencer. I walked away from it not only with a sense of pride in having built it, but also a deep appreciation of the time and energy that goes into making them.
This wraps up Part 2 in the Factory to Table Series. Join us next week for Part 3.
Below of is a video of Mitch walking me through building my silencer.

To go hunting, you need a gun and appropriate ammo. The rest is want.
Neat article. Could you do one on that Minifix rifle ? I use an STI built AR in 7.62×39 , suppressed , hvy buffer/spring ( no adj gas block ). Good to 300 yards easy , 150 with subsonic hvy bulet handloads – 180 gr.