For more information, visit https://www.lauerweaponry.com/index.cfm?fuseaction=category.display&category_ID=1144.
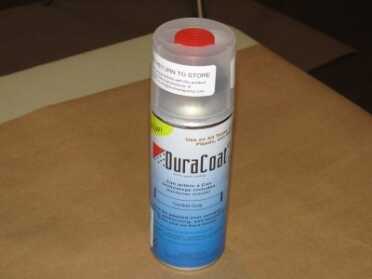
Duracoat’s aerosol product combines the ease of use of a standard spray can with the superior finish and color options of DuraCoat.
Just as some people like to work on their own cars, I like to work on my own guns because the process can be fun and rewarding. One project that I like to do from time to time is to refinish firearms to give them a better appearance and long-lasting protection. For most of my refinishing projects, DuraCoat has been my go-to brand for a number of years for many reasons. For the longest time, DuraCoat only came in a two-part finishing system that required you to mix the paint and hardener at specific ratios and it could be kind of intimidating for first timers. Then there were the additives to thin the mixture out or help give it a more matte appearance but again, it required specific mixing ratios so that everything cured properly. A few years ago DuraCoat introduced a product that would change all of that and greatly simplify the process for the do-it-yourselfer, DuraCoat Aerosol. This is literally DuraCoat in a can that makes the process of refinishing a firearm about as easy as 1,2,3. Follow along as I go through the process of refinishing a Mossberg 590 using DuraCoat’s Aerosol product.
DuraCoat, The Paint
As I mentioned before, at its heart DuraCoat is a two-part uerthane finish that utilizes a paint and a hardener that has been mixed and sprayed onto the surface of an object. The properties of DuraCoat that I appreciate as it applies to the hobbyist is that it is an air cure product that doesn’t require any specialized equipment. There’s no need for a curing oven or blast cabinet, pretty much all of the necessary equipment can come from the local hardware store. When properly applied, DuraCoat dries to the point that you handle the parts within an hour and within 24 hours you can reassemble the painted items. After that initial 24 hours the finish is impact- and chemical-resistant enough for use, however over the course of two weeks, on its way to being fully cured, the properties of the finish gain most of their strength.
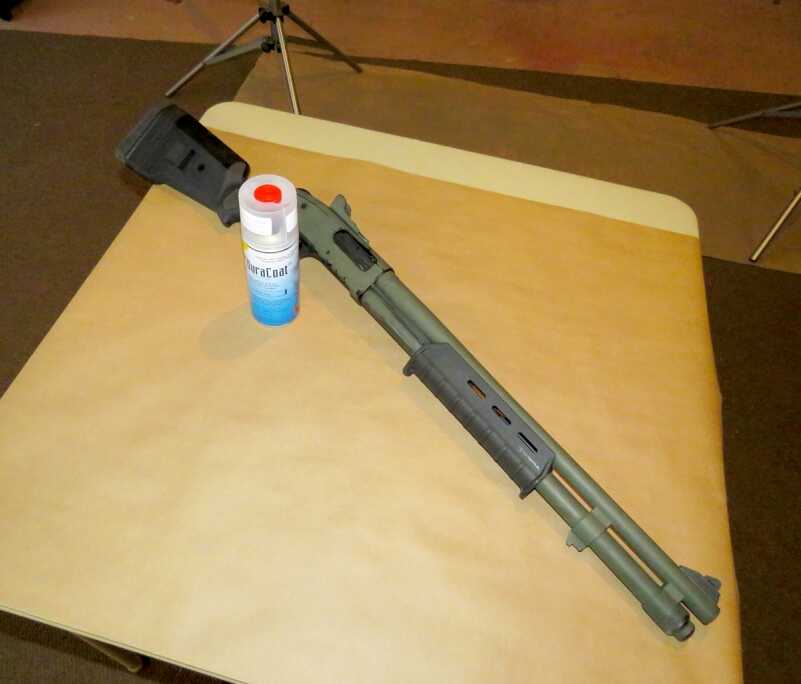
The Mossberg 590 was painted in an OD green Krylon finish that proved to not be durable. The author aimed to address that with the DuraCoat project.
DuraCoat does have to be sprayed on and I’d be lying if I said the first couple of times I used it to paint a rifle I wasn’t a little intimidated by it. The DuraCoat Aerosol product takes a lot of the intimidation out of it by removing the need to carefully measure out the paint and hardener and instead puts it all into one container. Inside the otherwise typical looking spray can is another container that holds a proportional amount of hardener that is released when a small red button is pushed into the bottom of the can. You shake the can to mix the two together and you can start painting just like it was any other can of spray paint that you’d buy at the hardware store. However, what sets this paint apart from just about anything else that comes in a rattle can is the sheer amount of colors available. Literally, there are hundreds of colors available in matte, flat, metallic, and standard finishes.
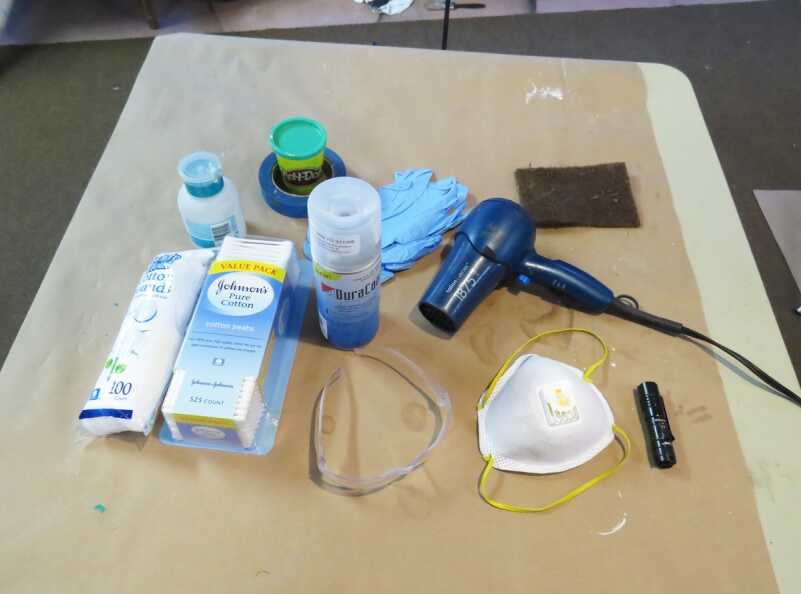
Tools of the trade. Everything you’ll need to finish your firearm or accessories is shown on this table.
Prep, Prep, Prep
Any successful refinishing job is going to begin with not only properly prepping the substrate but also gathering the right materials for the job and getting the space ready. As easy as the DuraCoat Aerosol spray makes it to paint a firearm or accessory there will be some additional items that you’ll want to have to help protect yourself and make sure the project goes smoothly. Nitrile gloves, safety glasses, and an N95 dust mask will make sure that paint particles don’t get where they aren’t wanted in and on your body. A cleaner/degreaser, q-tips or cotton rounds, and a scuff pad will also be needed to get the surface of the material ready to accept the paint. The cleaner/degreaser can be acetone, denatured alcohol, or even DuraCoat’s own TruStrip, which works very well. If you purchase DuraCoat Aerosol directly from Lauer Custom Weaponry you have the option of getting it as a kit that includes the paint and degreaser, which I would recommend as it puts everything you need in one package.
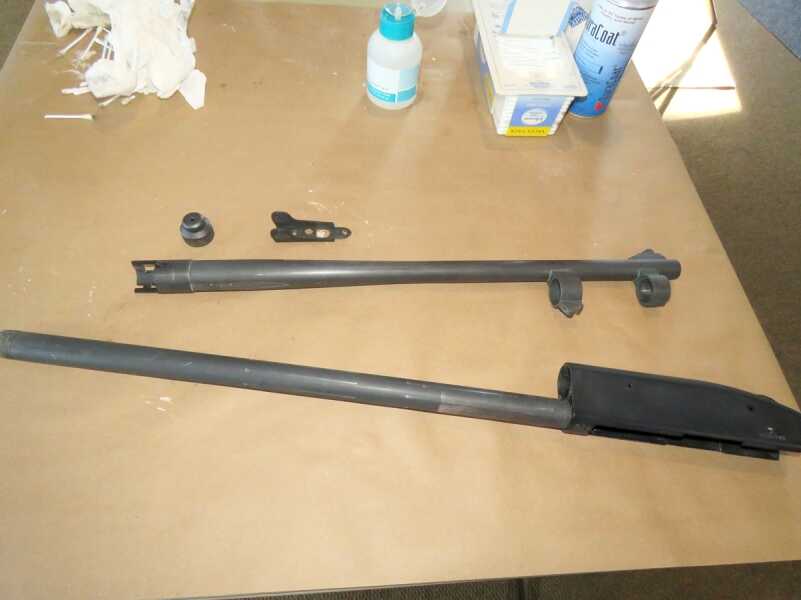
When all of the paint has been removed, it is time to prep the components by cleaning, degreasing and taping off the areas you don’t want paint to go.
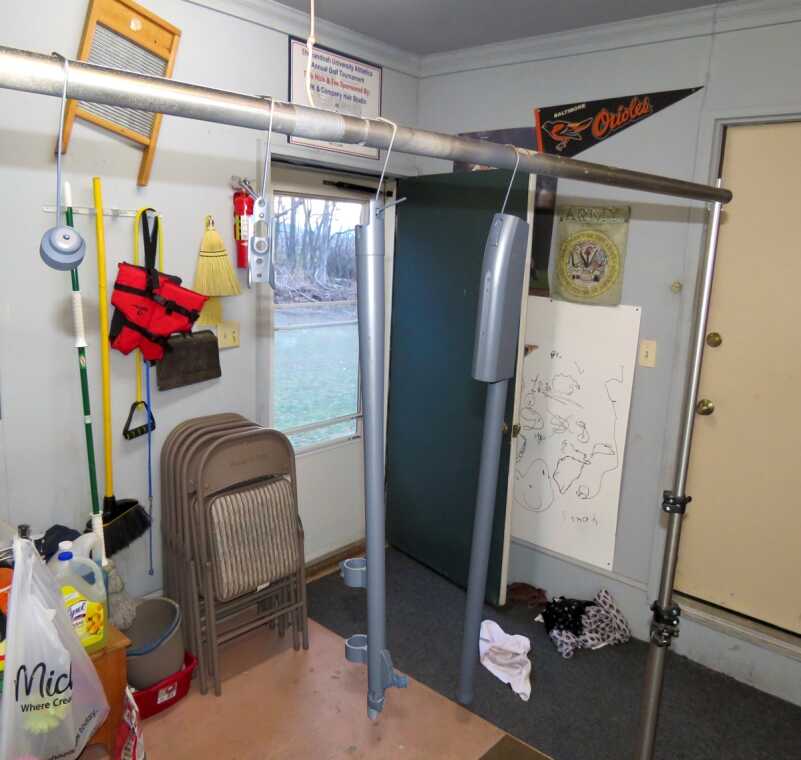
Almost as important as having the right materials to work with is having a good space to use for painting. I prefer to paint in the garage because it offers good lighting, good ventilation, and plenty of space for me to work. It’s important to have good ventilation any time that you are refinishing a firearm or accessory because it’s no fun to get a headache or become nauseated from the paint fumes. I also learned the hard way that while the outdoors provide plenty of space, it doesn’t pay to try to paint outside unless the conditions are just right. I can almost assure you that the wind will blow dirt or debris into the paint and it’s likely to catch a stray insect as well. In the garage, I prefer to work off a small card table because it keeps the items up off the ground as I’m getting them ready and afterward while I’m reassembling everything. I prefer to hang the items to paint; I use an old photography background frame but there are lots of different ways to skin that cat. Just make sure that what you are using is strong enough to support the items and stable enough not to be easily knocked over.
Before we can apply the DuraCoat we want to ensure the surface is free of grease, oils, rust, or anything else than can inhibit paint adhesion. In the particular case of this Mossberg 590 shotgun, I had previously coated it with an OD Green Krylon—nothing fancy, but it had to be removed completely. To accomplish this I used Citistrip paint stripper as it’s easy and safe to use indoors, but there are a number of methods that can be used to strip semi-permanent paints from materials. The aim of this article though is to talk about the necessary steps to use DuraCoat so I’m not going to dwell on the topic of stripping the paint anymore.
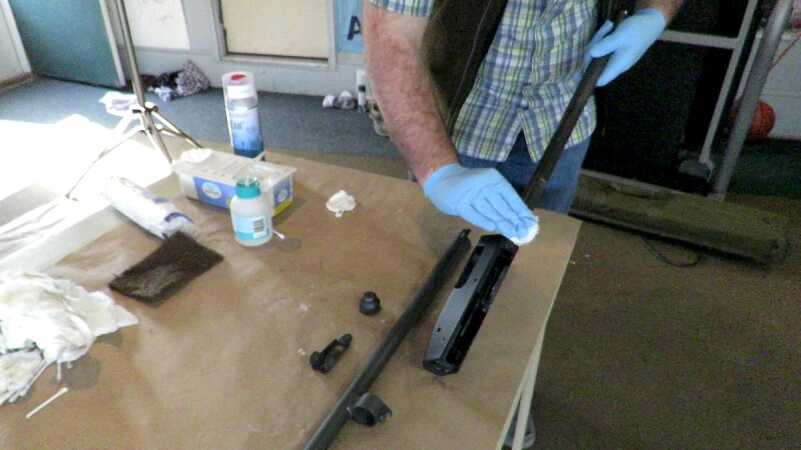
Cotton rounds and regular acetone do a good job of cleaning the metal and getting it prepped to accept the DuraCoat.
After the paint has been stripped off but before I could begin prepping the surface of the metal I put those nitrile gloves on so that my hands didn’t contaminate the surface. Using the scuffing pad, available in just about any hardware or grocery store, I rubbed the surface of the receiver, barrel, and anything else I was going to paint. The aim was to roughen the surface to give it some texture and something for the paint to bite onto. I only needed to scuff the surface of the material, not go all the way down to bare metal, so this is a pretty quick process.
Cleaning and degreasing the surface of the material is a vital step to making sure the end result is a clean-looking paint job. I like to use acetone since it’s readily available but you can just as easily use denatured alcohol as well to make sure the surface is clean and dry. I used cotton rounds, the type used for make-up, which you can abscond with from your wife’s side of the vanity or just go buy at the store. I soaked the rounds with acetone and I only used a single cotton round for one or two passes before I discarded it. The reason was that by continually using clean cotton rounds I could gauge how clean the surface was. It took about five or ten minutes to get the surfaces clean and ready for the next step of sealing off any areas that I didn’t want DuraCoat to get into. I used a combination of quality blue painter’s tape and Play-Doh to seal off the muzzle, chamber, action and magazine tube. The Play-Doh and tape will ensure that I have good clean lines when it’s all said and done.
Now, Get To Painting
The moment had finally arrived. The parts of the 590 had been stripped, cleaned, degreased, taped off, and were ready to be DuraCoated. Believe it or not, this was pretty much the beginning of the easy part since a majority of the time doing a refinishing job is in the preparation.
The DuraCoat Aerosol can needed a fair bit of shaking to get it ready, a few minutes before releasing the hardener inside the can and a few minutes after to mix the paint and hardener together. From this point, the mechanics of using the aerosol can are just the same as using a normal can of spray paint. I like to keep the nozzle anywhere from 10 to 12 inches from the surface of the material and use smooth, deliberate passes over the surface. I wanted the paint to build up gradually, going too fast and trying to cover the entire surface in one go will result in blemishes in the paint that have to be corrected later. After each coat I gave the paint about five to ten minutes to flash off before starting the next coat of paint. The time between coats can be reduced by using a regular blow dryer to help the paint flash a little quicker making the time between coats more like three to five minutes. I try to go slow and move around the materials that are hanging up so that I’m getting equal coverage all over the parts. In between coats, I inspected the parts with a bright LED flashlight that would reveal any thin spots that needed to be addressed. This process of spraying and inspection went on until I was satisfied that the parts had a sufficient coating of DuraCoat. After this I let them hang overnight before coming back and reassembling the parts back into a functional Mossberg 590.
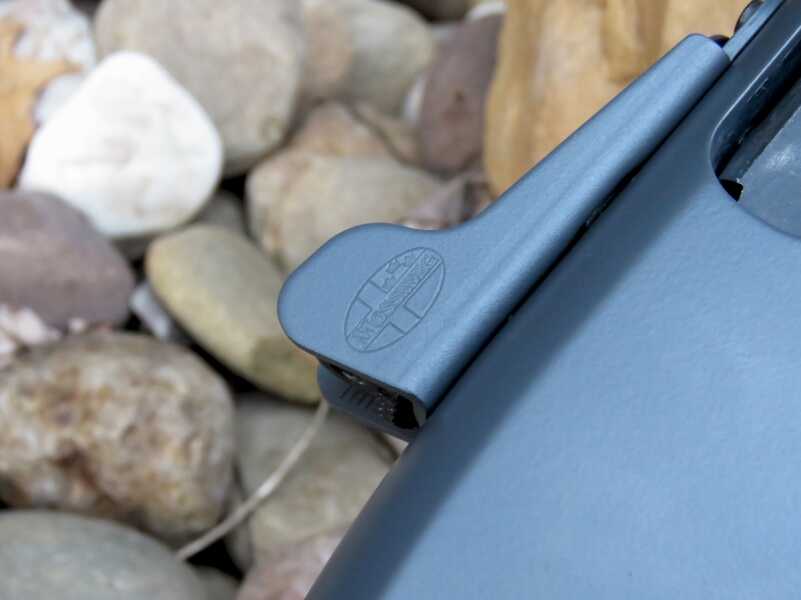
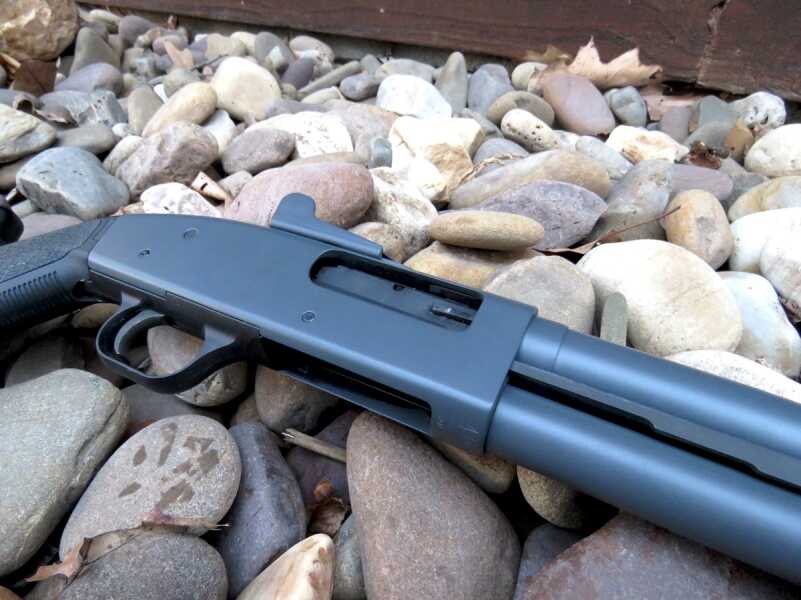
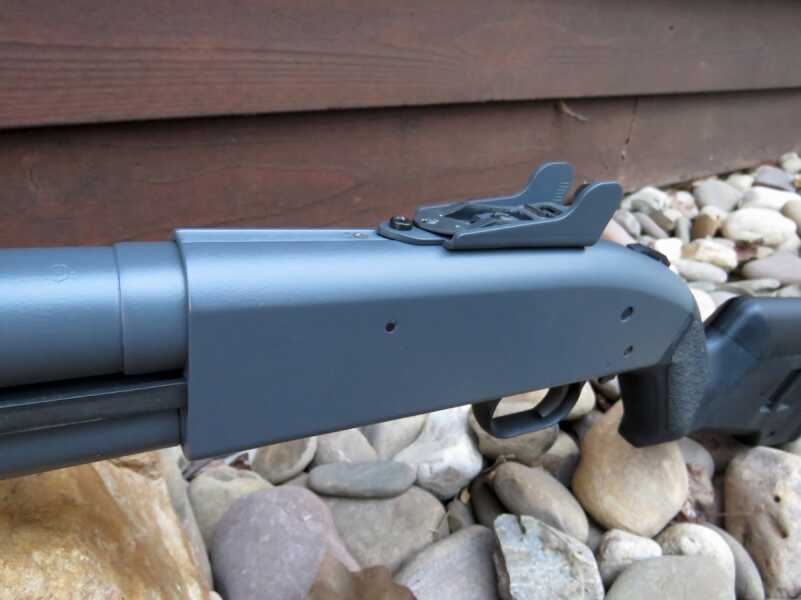
By applying coats lightly so they build up a little each time allows small details like this Mossberg logo to show up.
Final Thoughts
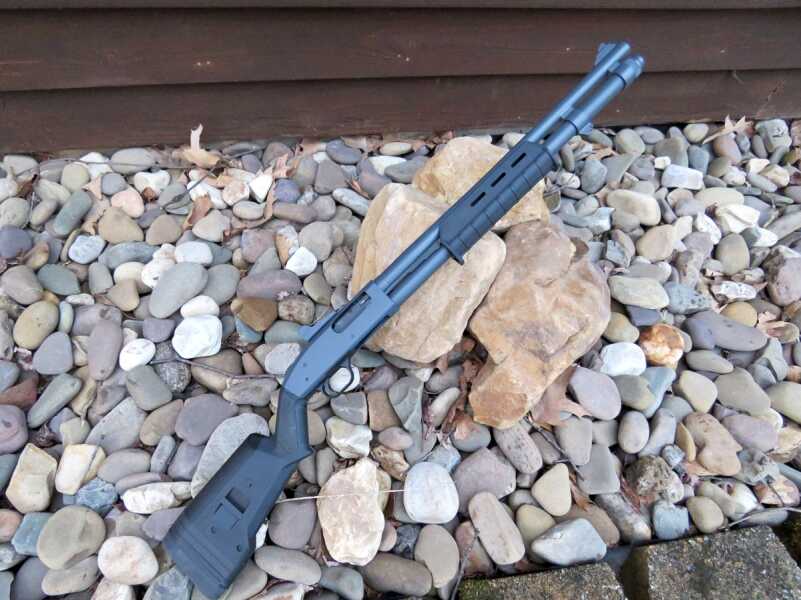
As you can probably tell from the photos this refinishing project finished up very well, the Mossberg has a new look that is both durable and resists corrosion. The Aerosol paint made the entire process much easier and from start to finish, this project was easily accomplished in a weekend. If there’s one criticism that I have for the DuraCoat Aerosol product is that it doesn’t seem to have the volume of their paints that come in the bottles. The can of paint that I had was enough to do the barrel, receiver, magazine tube, rear sight guard, and the magazine cap of the Mossberg with a little left over for any touch ups. In my opinion, this makes the Aerosol product perfect for jobs like refinishing an AR-15 receiver set, the barreled action of a rifle, or a couple of pistols. Any more than that, such as adding in a stock, hand guard, or other accessories would almost dictate needing another can. DuraCoat Aerosol retails for right around $40 and is available in over 300 colors, which I think makes it ideal for anyone looking to give their firearms and accessories a new look or match an existing color scheme.
For more information, visit https://www.lauerweaponry.com/index.cfm?fuseaction=category.display&category_ID=1144.

Great article, have you ever used methlyene chloride as a solvent/cleaner prior to refinishing?
Have been thinking about doing this to my Sig P320 grip module. Not sure how it will hold up on polymer but might give it a try now. Always good to hear how a product turns out from a “regular person”. Instructional videos always seem to make doing something easier than it actually turns out to be.
The first time out of the gate anything can seem a little daunting but the DuraCoat Aerosol product is pretty forgiving for the first time user. I’ve used the DuraCoat to coat a Glock frame and the end result was pretty good and while I did have some minor wear on a forward edge, overall I didn’t have any other issues with chipping or wear on other parts of the frame after use. I scuffed the frame with sandpaper as opposed to a Scotch Brite but otherwise the techniques for application were all the same.
Very nice video and article. I would add that the particle mask you were using provides very little protection from urethane products. A dual cartridge respirator provides much better protection.
I’ve tried both types of DuraCoat, Cerakote, Brownell’s Alumahyde I and II, Brownell’s Baking Lacquer, Gunkote. Teflon coating and Norrell’s Moly-resin. After trying it all multiple times over two decades as a full time Gunsmith, the best product for acceptable durability, ease of application and cost is Norrell’s Moly-resin…hands down!!! You need a $20.00 Harbor Freight air brush, a $10.00 heat gun (or your wife’s blow dryer) and a household oven. Some products require no equipment to apply, other products have slightly tougher finishes but in the end I’d recommend Norrell’s as the best compromise without hesitation. But as the man say’s “cleaning and preparation is the key”.
In some regards, yes Norrell’s is a superior product but for the guy that doesn’t have all of the apparatus at home to utilize the baked on finishes or doesn’t want to invest the funds for a one-time refinish project, I think DuraCoat is hard to beat. Aluma Hyde II did not give me satisfactory results when I used it last time, the unreal cure time and the seemingly unforgiving finish turned me off to that air-cure option post haste. However, I think we both agree that when you are painting anything it’s all in the prep.
Very good article! As a former aircraft painter, and one who has also painted their share of firearms, I can appreciate the use of urethanes as compared to other types of paints (epoxy polyamides, acrylics). As a pre-cleaner just prior to painting, I would recommend using naphtha instead of acetone. It is “cleaner” to use and actually milder on skin and synthetic material (rubber. plastic, skin). You can usually buy a large bottle of lighter fluid at the CVS or grocery store. Only other thing I’d add would be to practice the paint stroke technique (YouTube it).
A thorough, detailed and well illustrated article. Well done.