[one_half padding=”0 0 0 0px”]
Ruger Single Actions
[/one_half]
[one_half_last padding=”0 0 0 0px”]
[/one_half_last]
Ruger single action revolvers, Blackhawks and Vaqueros, are usually pretty nice out of the box. But what if you want to take it to the net level? I’m talking about a smooth hammer cock and a clean trigger pull. You can send your pistol off to the gunsmith and have it slicked up, or you can do it yourself. This is a DIY on how to go about this. It’s not all that hard and is a great learning experience.
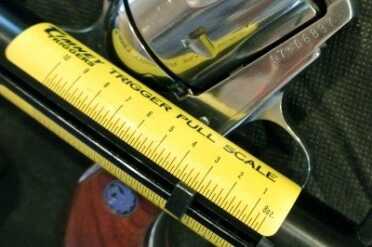
There are two reasons to clean up an action. First it makes for a more pleasant and accurate revolver. A clean trigger that breaks around 3.5-4 pounds is a pleasure to shoot and it helps cut down on your trigger finger pulling the gun off target. The other reason is for reliability. We are going to slick up some parts and cut down on the chance they could bind and cause a malfunction. It is also important that we are doing this to a safe and functional gun. Nothing in this article is going to tell you how to fix a problem. We are simply trying to make it work better. Ruger has great support. If your revolver has a timing issue or other problems, call Ruger. They will almost always make it right, assuming you didn’t mess it up with some Bubba gunsmithing.
First off let’s get a disclaimer out of the way. This article will show you what parts to smooth and polish and talk about a couple of techniques to accomplish this. However, you can screw up your gun doing this if you are too aggressive and remove too much metal. If you do mess something up it’s not the end of the world. Most of the parts are available straight from Ruger. Brownell’s, Midway and the like also carry the innards for these Rugers. But learning from your mistakes and how to fix them is all part of the DIY thing. So proceed at your own risk, have fun, and learn how these revolvers tick.
The following tips, tricks and whatnot apply to New Model Blackhawks and The Vaqueros. This is not for the Old Model Blackhawk, aka 3 screw actions.
You are going to need some tools for doing this. Here is what I use
Fine and medium grit Eze-Lap Stones
Arkansas Whetstones
6 inch smooth file
Small needle files
Emery Cloth in 250-600 grit
Plus the screw driver and bits to take the gun apart
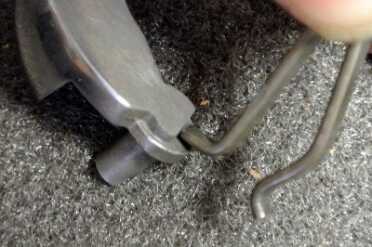
[one_half]Before we get started I want to talk about the “poor man’s” action job. If you are not familiar with this method it is very simple and does actually help. The idea is to take one of the legs of the hammer return spring off of its post so that the spring weight is reduced. This does make for a lighter trigger. But take a look at the pictures and see what you think about that leg of the spring just hanging there. It looks to me that it could get hung up in the main spring or slow the main spring down which could result in a failure to fire. That alone makes this a poor trick for an action job. We want to increase reliability, not make it worse.[/one_half]
[one_half_last]
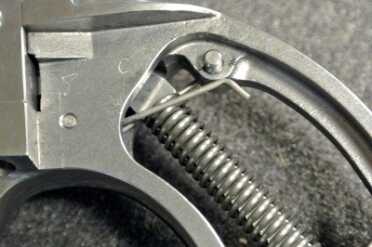
Knock one spring loose and it lighten the trigger pull, but this isn’t recommended for a reliable gun.
[/one_half_last]
Now lets get started!
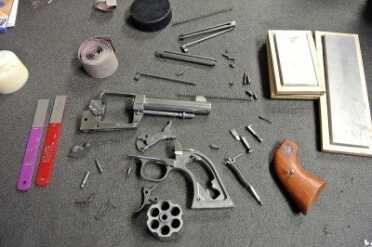
First take the revolver apart. There isn’t room in this article to do a step by step on how to do this. Plus if you don’t already know, or can’t figure it out, this is probably not something you should be trying to do anyways. These are pretty simple actions. Not as simple as an old Colt Peacemaker, but not a double action Smith either.
You can pretty much do these steps in any order. I have tried to put it in an order to help show how the parts interact with each other. I will be using Rugers terminology for the parts.
[one_half]
The Hammer Strut and Mainspring seat
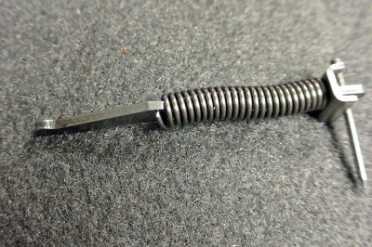
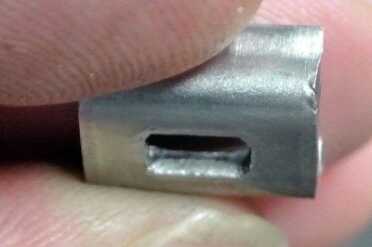
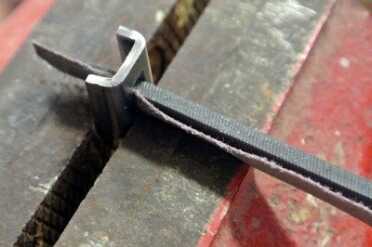
On the hammer strut polish the ball end where it sets in the back of the hammer. This will help with the feel and smoothness when you cock the revolver. Also check the sides of the strut where the mainspring and the seat run up and down. The example was pretty slick but I have seen some that have burs that could cause the seat or spring to bind. And check the insides of the seat for burs. This one had a pretty bad sharp lip/edge inside. I filed it down with a small file then smoothed it with Emory cloth backed by the same file. This is all done for reliability. Speaking of backing the emory cloth with a file, always back it with something hard and flat. Using your fingers will just dish out the metal.
[/one_half]
[one_half_last]
[/one_half_last]
[one_half]
[/one_half]
[one_half_last]
[/one_half_last]
[one_half]
Hammer
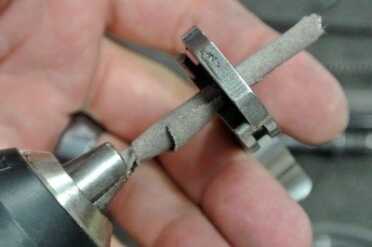
We need to polish where the hammer strut rides on the back of the hammer. This is probably the hardest part to get to. The best way I have found to do it is with rolled up emery cloth. I roll it to be a tight fit in the hole then use a drill to spin the cloth. This is the only time I use a power tool with working on these guns. Drimel polishing wheels are great, but when working on firearms that are really hard to keep things square. That will be important later. [/one_half]
[one_half_last]
[/one_half_last]
Pawl
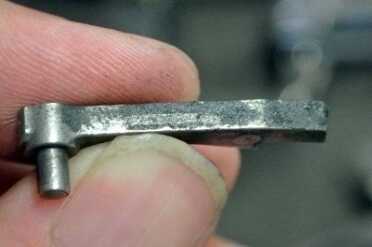
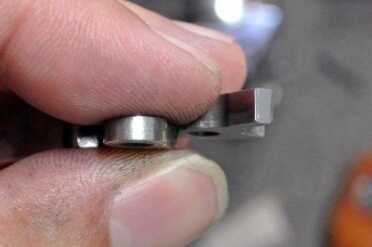
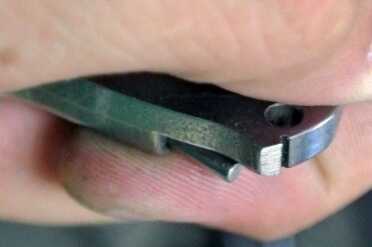
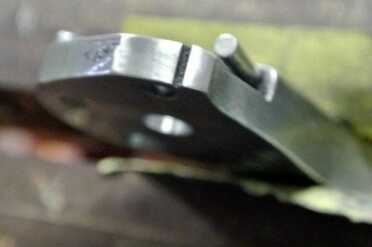
The pawl is the part that rotates the cylinder. There isn’t much to do to this part. If you start sanding on the “teeth”, where they engage the cylinder, you can mess up the timing. I usually leave those alone. What you can do is smooth out the area on the back that the pawl plunger glides on. You can really see the area in these pictures in the grime that was on this pistol. This one was pretty bad. I used a smooth file then sanded to 600. While you are at it polish up the plunger itself.
[one_half]
[/one_half]
[one_half_last]
[/one_half_last]
[one_half]
Loading Gate and Spring
This Vaquero has a very smooth and tight gate. I didn’t change anything on this one but if yours has a overly tight or gritty feeling gate you can smooth the area the spring rests on and the spring itself. If it is really really bad you can bend the spring down. But down over do it! You want the loading gate to stay closed during recoil. When the gate is open you can’t cock the hammer and fire the gun. Making the gate too lose hurts the reliability goal.
[/one_half]
[one_half_last]
[/one_half_last]
Cyinder latch
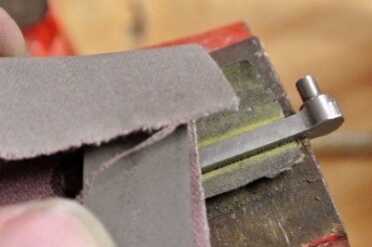
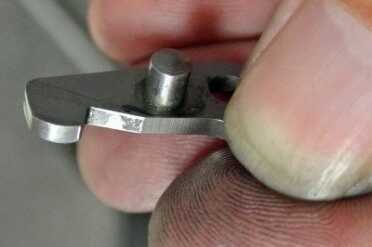
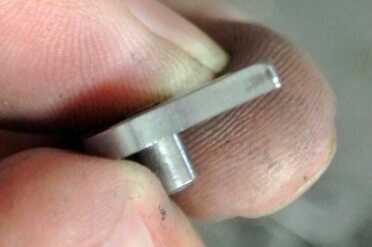
This is sometimes called the bolt. There are a couple of areas we want to look at. First is the bottom. There is a plunger that rides on this. It is a flat area so its just as easy to slick the whole thing up. This is also a good part to see the lines from where it was cut with an EDM. Lap it with the stones then follow it with 600 grit paper.
Now check the actual latch part, the area that engages the cylinder. Knocking off any burrs or rough edges will help keep it from marking up the cylinder. Don’t take too much off or you can cause the cylinder to have some slop when the hammer is back and it is locked up. That is not good and can affect accuracy.
The last place to look at is where the hammer plunger rides. There is usually a mark from where it has come in contact on a gun that has been fired or cycled a few time. Smooth that up. Stones work really well here.
[one_half]
[/one_half]
[one_half_last]
[/one_half_last]
[one_half]
[/one_half]
[one_half_last]
[/one_half_last]
[one_half]
The Trigger
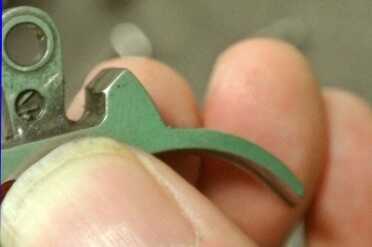
The first place we want to look at is where the trigger return spring rides. On most of the Rugers I have worked on this is the part that is usually the roughest. This trigger is no exception. It might be hard to see but there is a bur or lip of thin metal that sticks up right on the edge. That is biting into the string that rests there and causing an extra pound or so of trigger pull. I filed this down flat with a 6 inch smooth file, then starting smoothing it out with the Eze-laps and polishing up to 600 grit paper.
Now we get to the first place that you really have to be careful with. This is the part that engages the sear on the hammer. We want to polish this up nice and smooth. But we don’t want to change any angles. Go slow and start with a fine stone. Look for any machine marks and smooth those out but keep everything nice and sharp.[/one_half]
[one_half_last]
[/one_half_last]
[one_half]
[/one_half]
[one_half_last]
[/one_half_last]
Back to the hammer
First take a look at the hammer plunger. This is what pushes on the cylinder latch. You will probably need to remove it with a small punch. Smooth it and break what is usually a sharp edge on the front of it.
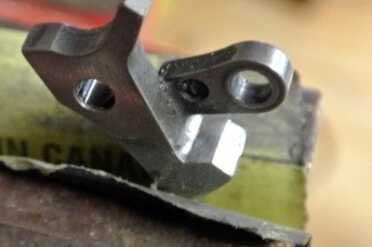
Now the other place that we have to be careful with, the sear area. Once again we don’t want to change this, just smooth it up. Changing the angle on the sear, or how deep the surface is that rests on the hammer, is a bit tricky. This is the easiest part to screw up. I’m not going to get into changing the sear angle or engagement in this article. Doing this wrong can make the revolver unsafe. If the sear seat is not deep enough the gun could fire when cocked if it is pumped or jarred. Now that I have scared you, take your time and polish up the area to the front of the sear. Like with the hammer, go slow and start with a fine stone or paper. If it takes a little longer that’s ok, it’s better than taking too much off too quick.
[one_half]
[/one_half]
[one_half_last]
[/one_half_last]
Receiver
This one was good already. Check the channels where the transfer bar and the pawl run. Sometimes there is a goober or two of metal that is left over from the casting. You want to remove any of those.
It can be a little hard to get in there but a needle file will work. Smooth out the file marks with emery cloth backed with the same file. The idea here is to get rid of anything that could potentially bind up the action.[/one_half]
Put it back together
Give everything a light coating of oil and reassemble. If we did everything right you should have a noticeably smoother revolver. If your trigger pull is still a little hard, as in over 5 pounds, you can try a reduced power trigger return spring. Wolf makes a good one. That is the only spring I would change out. They do make a reduced power main spring that does make the cocking a bit easier. But this comes with the cost of not hitting the firing pin and primer as hard. I had rather have the hammer be a little heavier to cock than to have a misfire from a light strike. Remember we are trying to improve the feel AND increase the reliability.

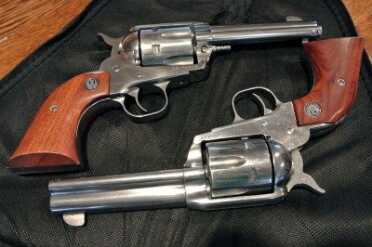
I recently bought three Ruger single action guns. All of them operate decently and don’t have the issues that many people report here. My 357//9MM Blackhawk and my 45 Super Blackhawk Bisley convertible both have 3 1/2 pound triggers. The SBH does have some creep and rather long travel which I will address. For the money, these are great guns. If you want perfection, you can buy a Freedom Arms for $2500. We’re not dealing with match guns here, but good, reliable sidearms for hunting and plinking.
I just bought and old but new in the box Virginian Dragoon made around 1976 Stainless steel 44 magnum with 8 3/4 barrel will this work on that
Having owned three or four Virginians over the years I can say that they are pretty good to darn near perfect from the factory. But they are not similar to the Rugers. The Virginians use the old style Colt four click action.
Ruger revolvers need smoothing up. I’ve done GP100 and Vaqueros, and all showed improvement. This article shows valuable techniques on improving the Rugers. After many years of playing with Ruger revolvers I find it is easier to buy a S&W, as even after work the Rugers remain crude. I have sold all of mine, but just bought an older KP95, as for the money ($175) it represents a good value.
I agree with you. Old Rugers used to be tight and smooth, right out of the box. Now their lack of effective quality control is letting a lot of very poor fitting and operational problems get packaged up as finished firearms.
I just bought two New Vaqueros in .357. The loading gate on both revolvers required major work, even to be able to get them open the first time, right out of the new packaging! The spring was very hard and sharp at the tip. It had actually cut into the softer surface of the loading gate cam. It took so much polishing of both the spring and the cam surface that the for was compromised and the gate began to gape slightly, requiring spring reshaping. The spring snapped when I tried to spread it slightly. All of the other contact surfaces inside the action were left rough — rough enough to prematurely wear the tips of the hammer plunger and cylinder latch plunger. Very poor machining and worse QAQC. When I tried to remove the hammer plunger to repolish its tip, it’s notched shaft came out in two pieces– snapped in half.
Ordering original parts took an act of Congress, two “serious discussions”, and four weeks for delivery.
This kind of worknanship issue is inexcusable on a brand new firearm. Looking at posts here and elsewhere, the loading gate problem is nearly universal on new Rugers. Their tech said they had never heard of the issue before. I sarcastically had to ask if they had ever tried to load one of their “finished” guns. It’s sad to see this happen to a formerly good company. But I’m forced to say, “No more Rugers for me”.
How about slicking up an old model single action?
The old models require less work, and give you big improvements.
This is a pretty good article. I’m guessing that “DIY” means Do it yourself.I have been shooting Colt and Ruger Single actions since I was 15,I’m 57 now and have always done my own action jobs.The Colt SAA’s needed a little tune up.The Ruger’s never really needed anything.I have a new model Ruger now and it was right in every way out of the box. No problems ,I’ve shot 100’s of rounds with it.Mine’s blue and this article shows a stainless steel model,I’m wondering if the the stainless steel has issues binding against it self ?
Stainless steel hardware is well known for galling when contacting surfaces are moved while under pressure. You may have a valid consideration about the SS in firearms in general; although I’ve not had problems with S&W’s SS models.