Estimated reading time: 8 minutes
The last time I talked about my Remington 783 I’d just added a cheek riser to the factory laminate stock from stuff I got at the hardware store. All in all, that was a pretty simple project but I wanted to embark on another aspect of this project that I’d never done before. The 26” barrel this rifle came with always felt a little awkward for carrying around and made the rifle feel too long for its own good. Now, I could’ve found a gunsmith, paid them to chop the barrel, and compared how long it actually took versus what I was quoted after all was said and done. However, me being me, I decided to just do it myself with some simple hand tools, how hard could it be?
The Tools
In and of itself, chopping a barrel isn’t rocket science but I’d need to do some planning if I had any hope of it coming out not looking like a total hack job. I already had the tools I needed to physically cut the barrel in the form of a hacksaw, cutting oil, flat bastard files, and a tape measure. What I needed was a way to finish off the muzzle that looked clean and semi-professional but also didn’t cost a ton of money.
Enter Brownells and their Muzzle Facing and Chamfer Cutters, available individually or as a single caliber kit with a caliber specific pilot. I purchased a single caliber kit in .223 Remington that included a 90-degree facing cutter to square up the muzzle and a 45-degree chamfer tool for the crown with a brass jag. At the same time, I also picked up a 79-degree facing cutter to give me a traditional 11-degree muzzle.
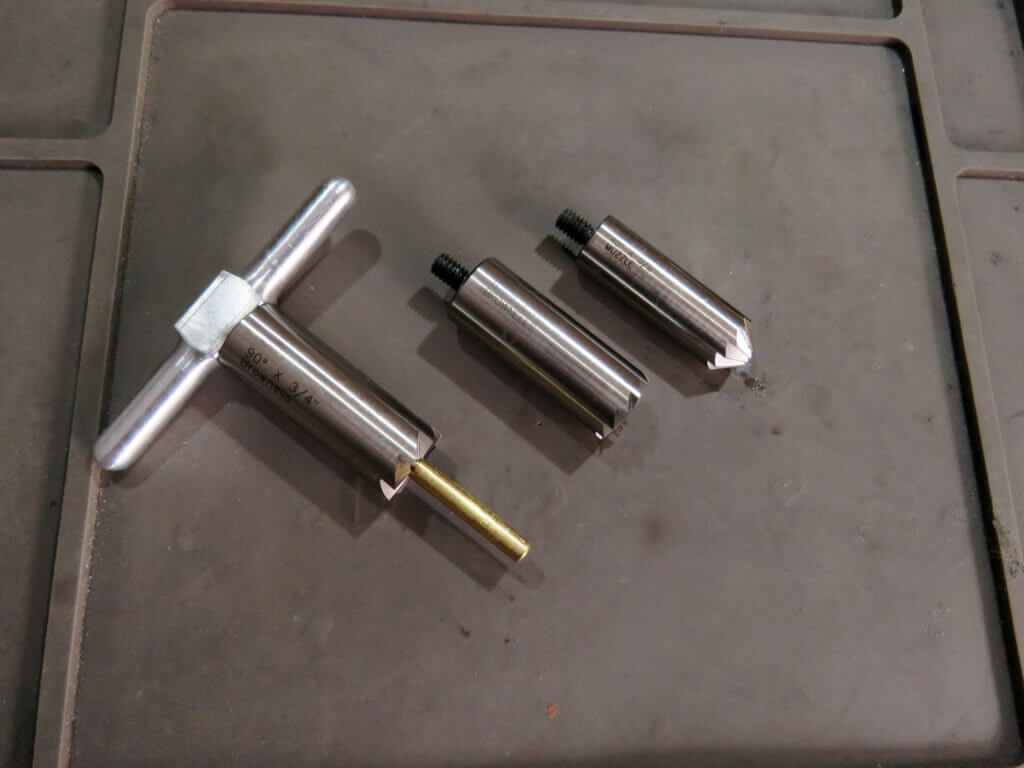
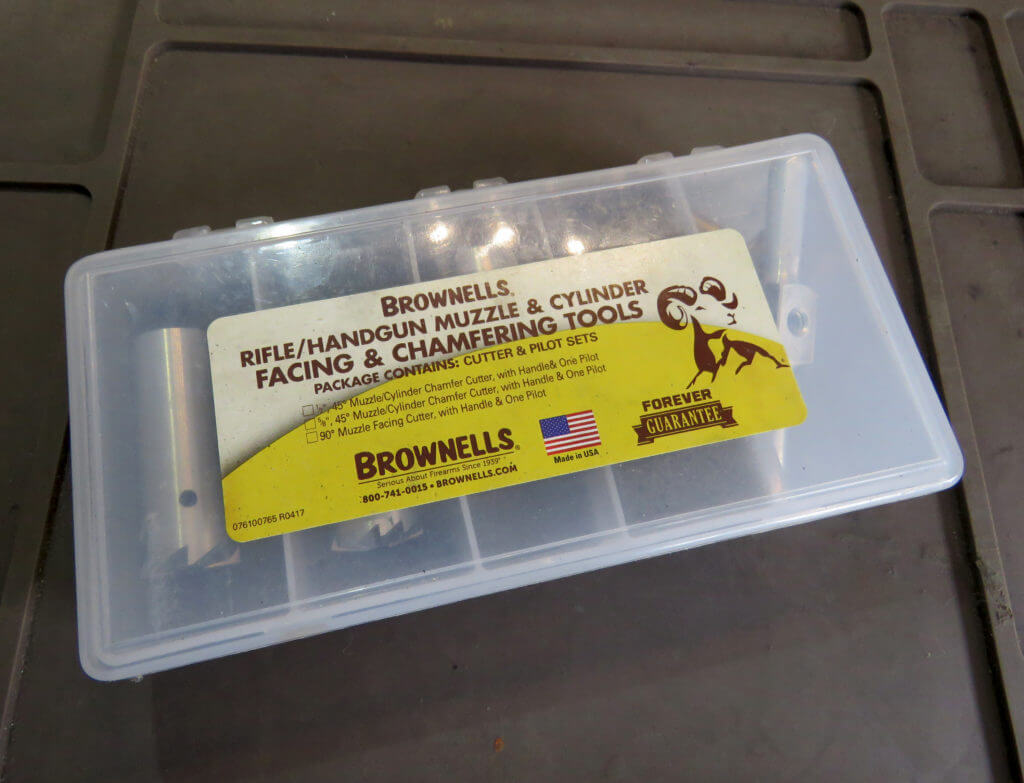
The set comes in a nice storage container that has enough room for the three cutters above in addition to the associated pilots and a brass lapping tool.
It’s Barrel Choppin’ Time
I debated on which barrel length to go with but settled on 20” because it would definitely balance better than the 26” barrel, give me decent velocity, and if I messed up I had some extra length to work with. Keep in mind that if you’re going to chop your own barrel down, make sure the finished barrel length is over 16” so that you don’t inadvertently turn your rifle into an SBR.
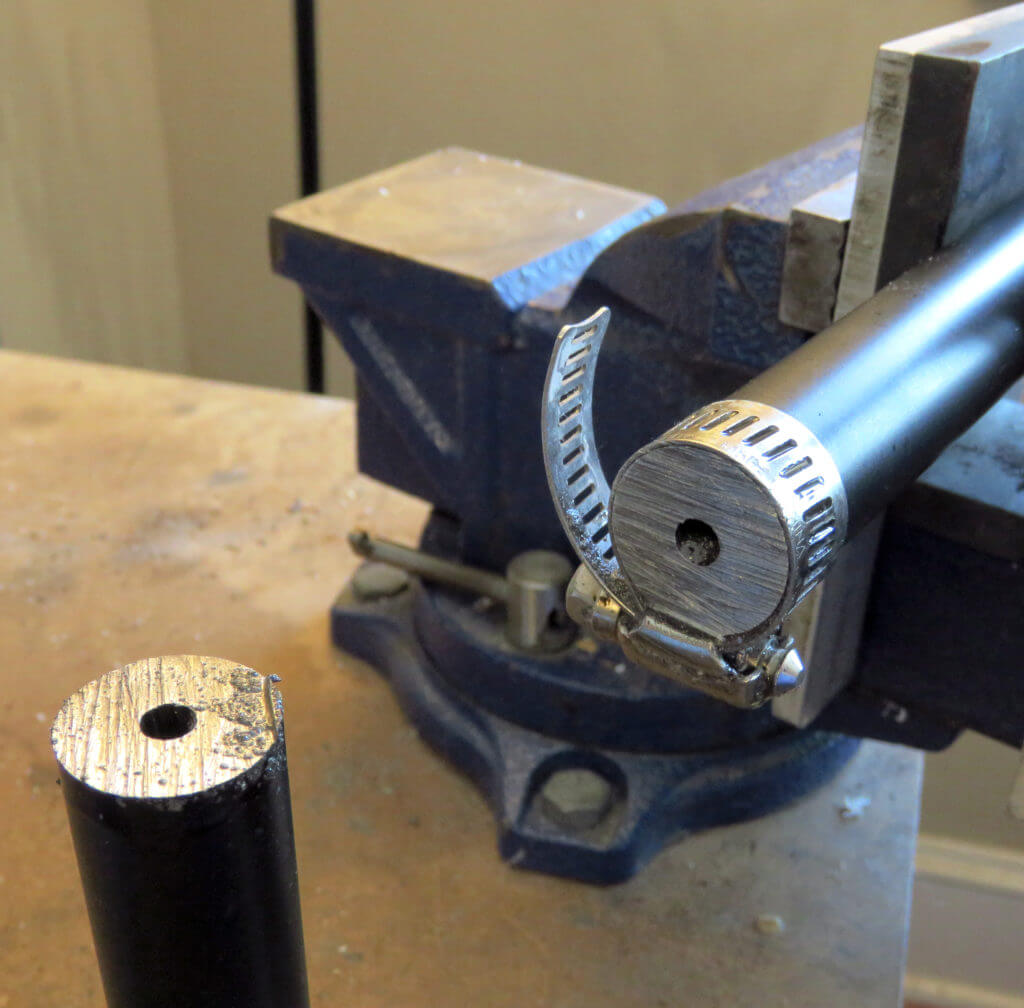
After I’d marked the barrel for cutting, I secured a metal hose clamp around the barrel to act as a guide of sorts for the hacksaw. It worked pretty well since it didn’t seem like I had to do a lot of filing afterward to remove the high spots after the cut was made. Unlike some internet-famous bubbagunsmithing projects, no alcohol was involved, my advice is to take your time, check your progress, and don’t be stingy with the cutting oil.
Finishing The Muzzle
Pro tip, work on the cut-off piece of barrel first so that you can get the processes down and a feel for things before working on the actual barrel. If you mess something up it’s easier to cut a little more off that scrap piece and start over.
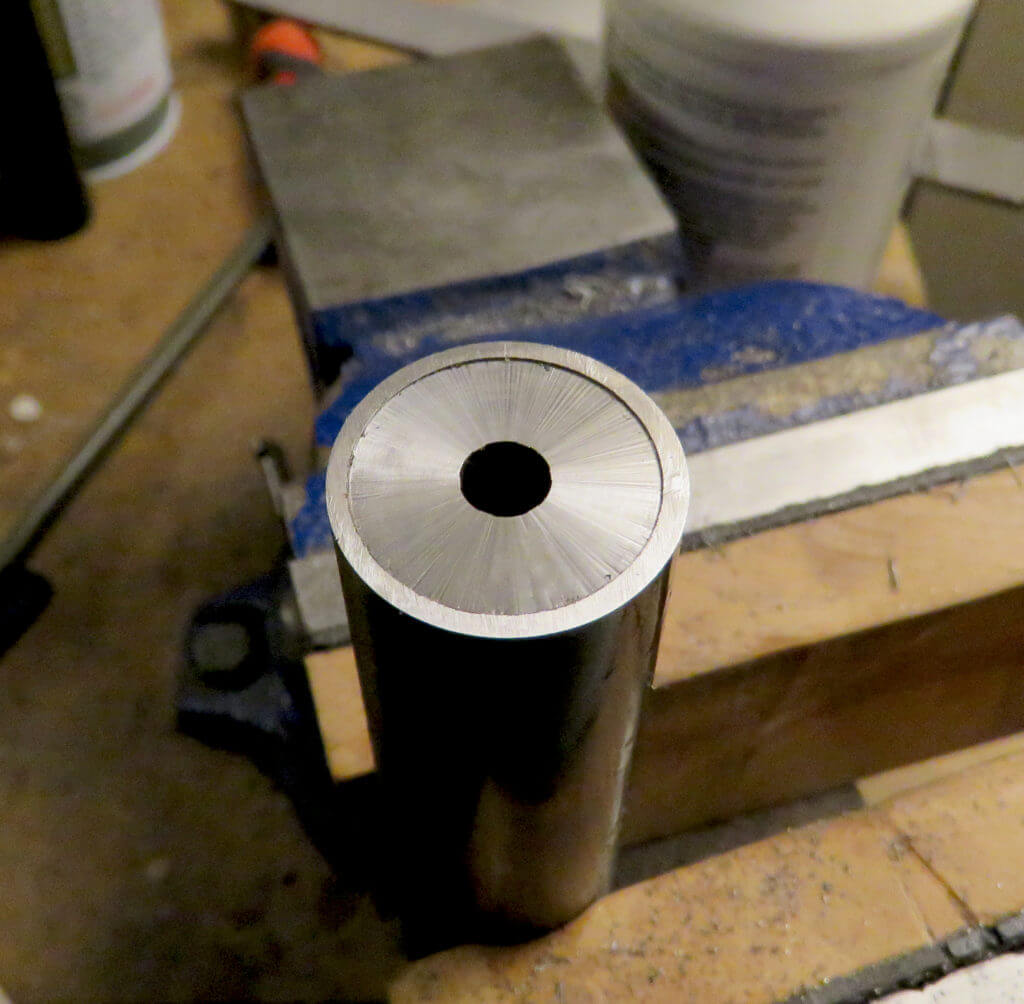
Once I was satisfied with my work on the scrap piece and I could repeat that on my barreled action, I switched them out in the vise to get started. The Brownells kit comes with easy-to-follow instructions on how to use the facing and chamfer cutters. I started with the ¾” diameter muzzle facing tool to square the muzzle in relation to the bore. I used plenty of cutting oil and turned the cutter clockwise with even pressure, never turning it counterclockwise, which could damage the cutter. When I mention “even pressure” what I mean is you want to exert just enough pressure to keep the cutters in contact with the barrel. The cutters will do the work, don’t try to force it because that will just lead to chatter and more work to get those out.
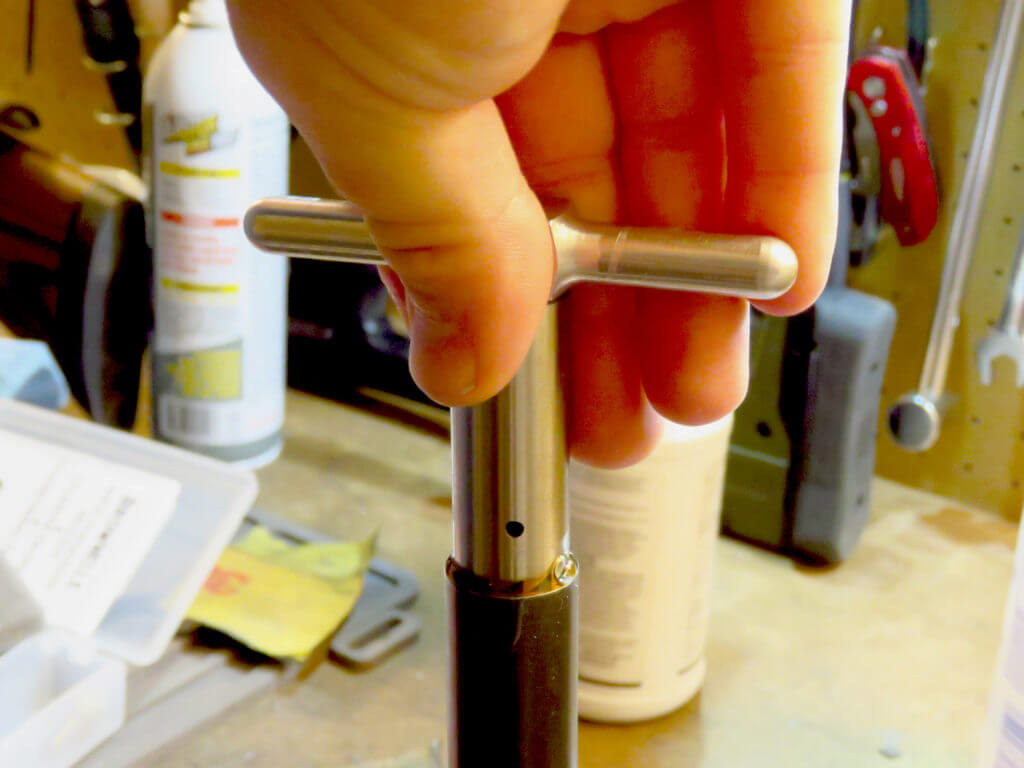
Next, I used the 79-degree cutter to create that classic recessed muzzle that’s common with the Remington 700 Varmint and SPS Tactical rifles. The process for using this cutter is much the same as the previous one, except this cutter has to remove a good bit more materials so it’s going to take some time.
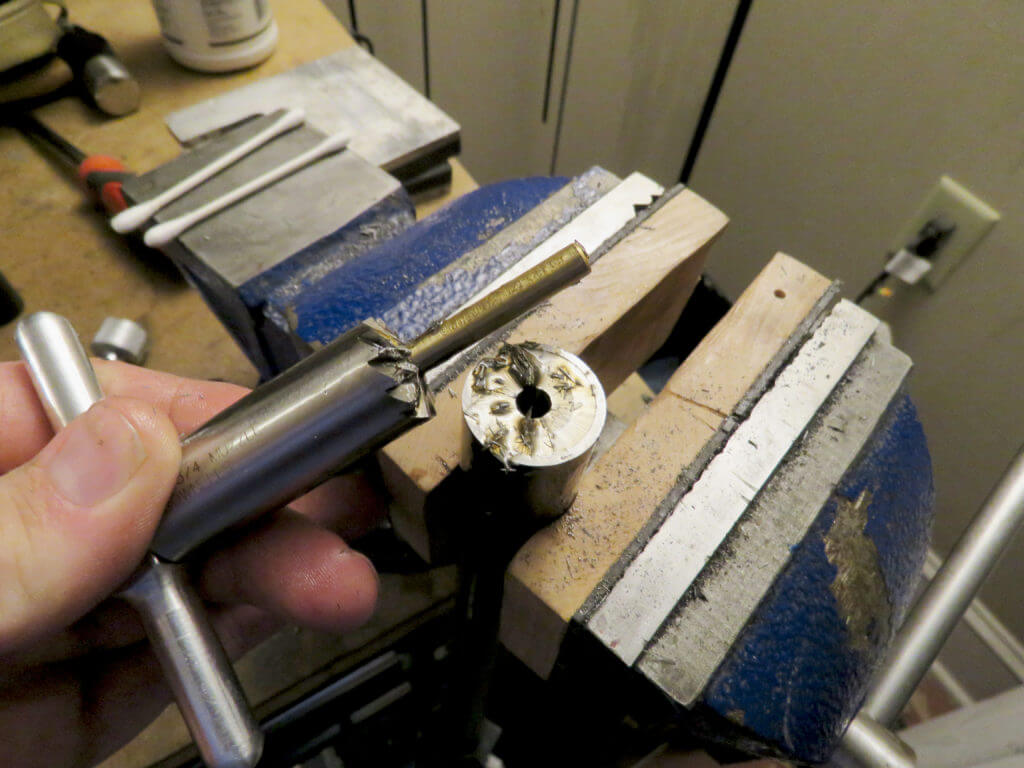
Again, let the cutter do the work, don’t try to make things go faster by using more pressure and turning faster. The 79-degree cutter was also ¾” in diameter so in time the muzzle had a small flat section before recessing down to the crown. I finished the crown off with the 45-degree chamfer cutter while wet. Dry sandpaper, starting at 600 grit and going up to 1,000 grit, was used to remove marks from the muzzle.
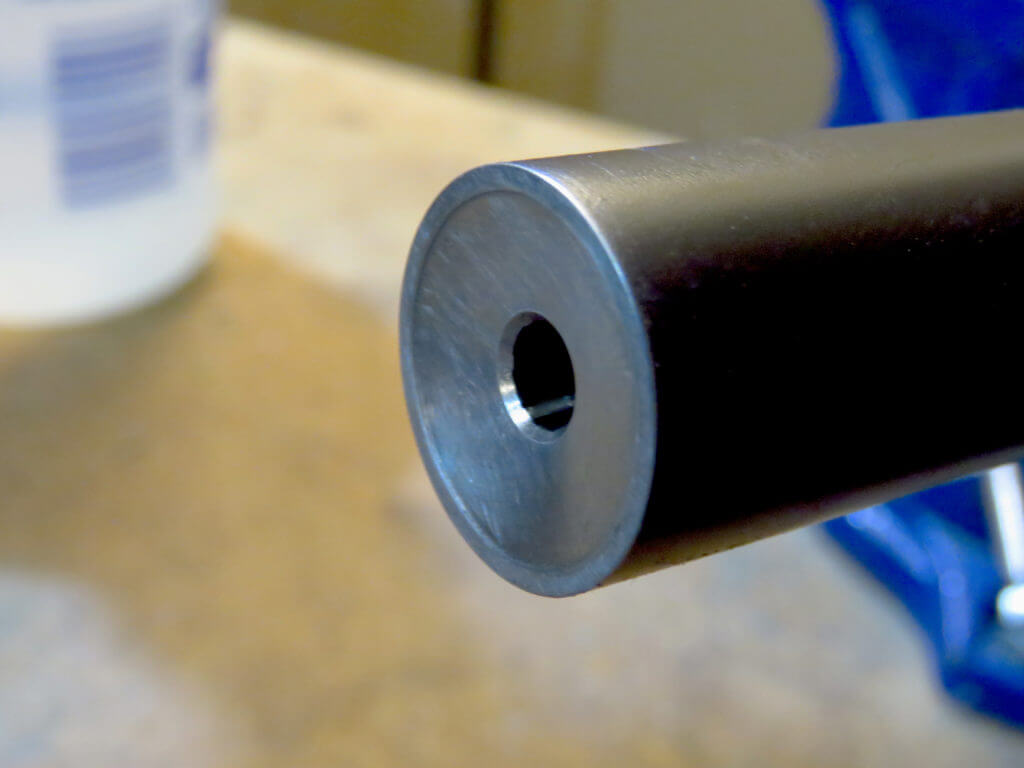
The last step was to push a couple of patches through the barrel to clean everything out and give the crown a q-tip test to make sure there were no errant burrs that could mess things up.
At The Range
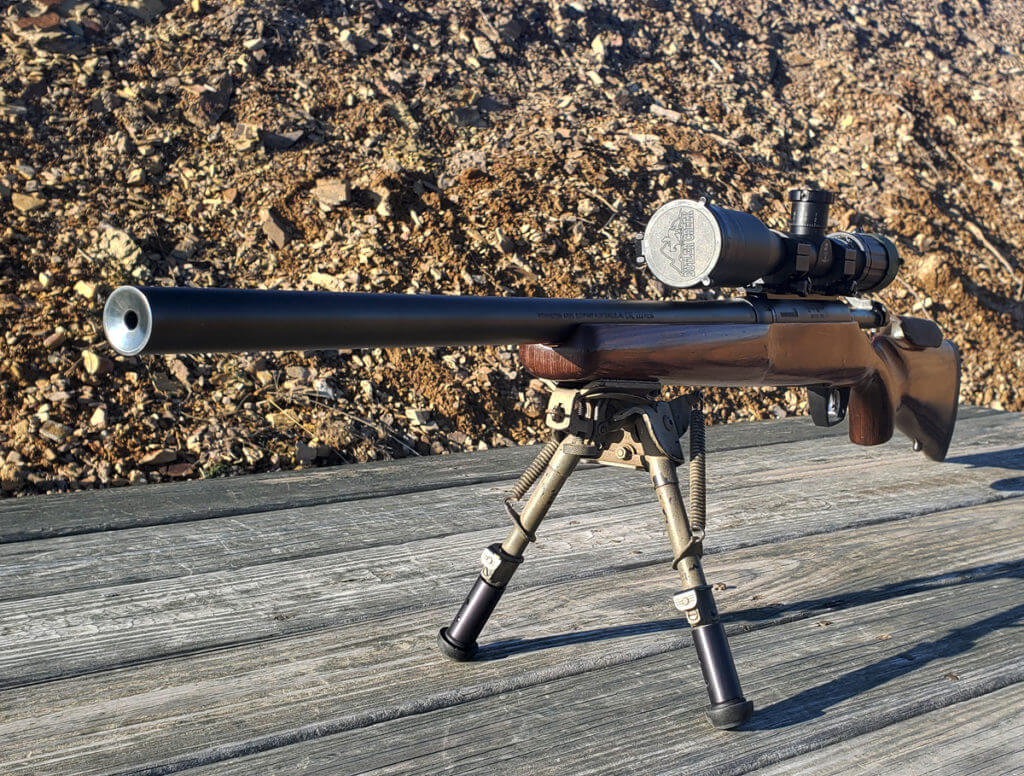
I didn’t have the exact ammunition that I originally used to test the 783’s accuracy, but I had some 69 gr Federal GMM and some Hornady varmint ammunition loaded with 55 gr VMAX bullets. At 100 yards the accuracy was largely the same as before, the rifle will still do 1 MOA, which I’ve always been fine with. I took it over to the longer range side of the range and consistently dinged steel plates out to 500 yards without much effort. The biggest change though was of course in the feel of the rifle, it felt handier, easier to throw into a position, and just all around more pleasurable to shoot. Eventually, my Brownells Oxpho-Blue arrived and I was able to touch the muzzle up so that it’d blend in better with the rest of the rifle.
Closing Thoughts
This particular project was more or less an extreme use case for this Brownells kit but it does illustrate what can be done with simple hand tools right at home. The single caliber set and the additional 79-degree cutter cost $204 before tax and shipping and I finished everything in about 3 hours. Another benefit to having the Brownells kit now is that I can repair damaged crowns myself should the need come up in the future. In fact, I had to use the 45-degree chamfer cutter to clean up the crown on a Remington 700 that had been damaged, restoring its accuracy. This little project was enlightening and fun, helping me to expand my personal capabilities and teaching me what my limitations are when it comes to working on my own firearms.
Check out Brownells to see the variety of cutters and pilots that they offer here.
*** Buy and Sell on GunsAmerica! ***

Great post about a simple up grade. Thanks for motivating me to try something new.
Thank you very much Ian ! We need such topic much more often, at least myself I appreciate this a lot. Editor, please take note.
A useful post, thanks.