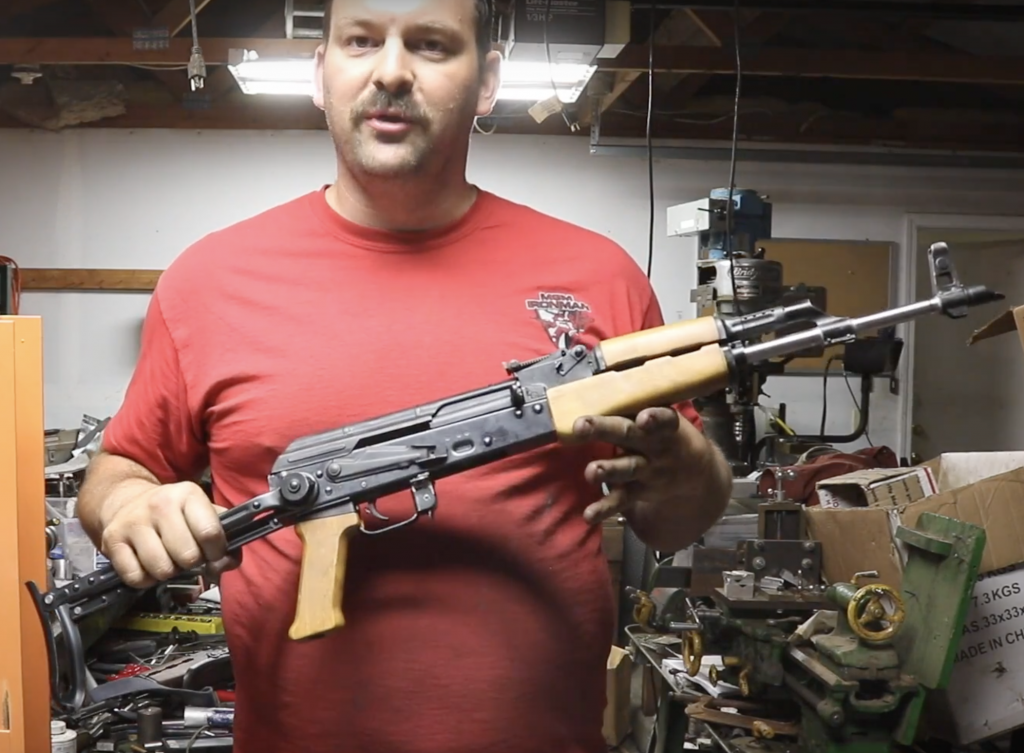
Editor Note: Watch the full video for step-by-step instructions as this excerpt is merely an overview. As the author mentions below, if you’re unsure with a portion of the build, consult a gunsmith or farm that particular step out to a gunsmith. Happy building!
You have probably seen those advertisements for AK parts kits in your favorite gun magazine and wondered, “What are those all about?” Or you have put together an AR-15 or three and now seek a new challenge. Building an AK is a very interesting and rewarding experience. You come to truly appreciate the genius in the simplicity of the design.
Getting the Parts
First, ensure that you have all of the parts that you need. Most retailers will have good pictures of the kits on their websites that you can use to verify that you have everything. If you are putting together parts from more than one nationality, just be aware that some parts will not work together. So make sure to do your homework before attempting a “Kyber Pass” build. Don’t forget to get a set of rivets. There are many companies like What a Country, Sarco, Inc. and NoDak that offer full kits, receivers and components.
Once you’ve made sure that you have all of your parts, you’ll need to replace the full auto fire control parts with legal, semiautomatic parts and add enough U.S. made parts to make the rifle 922r compliant. Since you have to replace some of these parts anyway because they were destroyed in the demill process, it’s not really a big deal, as long as you do it. The required US components are widely available for AK type rifles, so you won’t have any problems finding them.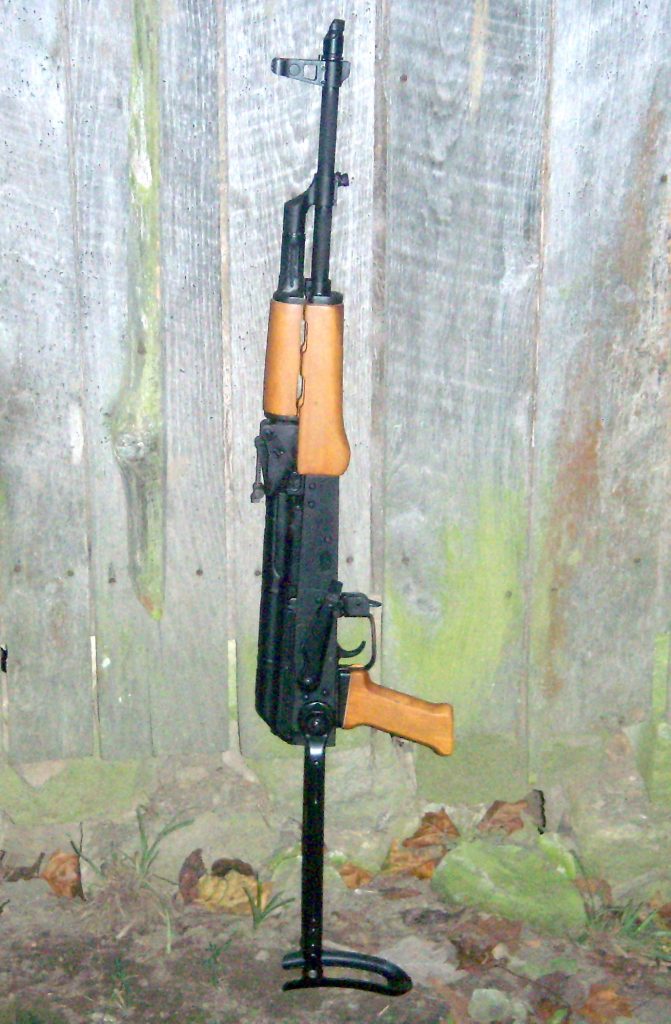
List of Parts:
- Parts Kit
- Barrel
- Receiver
- Rivets
- Fire Control Group
- 922r compliance parts
Places to Purchase Kits:
- Apex Gun Parts (Probably my personal favorite)
- Sarco Inc.
- Arms of America
- Gun Parts Corp
- Centerfire Systems
- What a Country
Other Build Parts:
- AK-builder (922r parts, rivets, tools)
- Brownells (tools, parts)
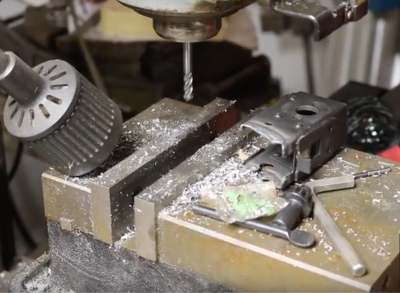
The author used a milling machine in the garage for the first step, removing the remnants of the old receiver (the old rivets). You could also do this step with a grinder or a hand file if you’re ambitious.
Barrel Basics
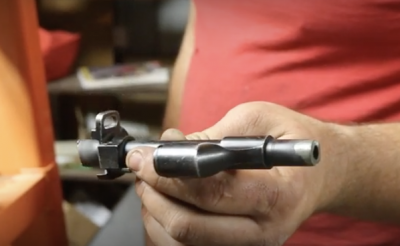
Barrels present an interesting situation. There are a lot of options out there. The communist bloc methods of “tolerancing” barrels and components will make modern engineers cringe, to say the least. So, your nice new barrel may not perfectly fit your barrel components. I use a micrometer to measure the journals where the components mount on the barrel. If a part is undersized for its journal, you can either ream it or turn that portion of the barrel to fit. You can get barrels with oversized journals as well, should you need one. I also use the micrometer to measure the barrel pin
Tools
You will obviously need some tools for this build. Get a set of headspace gauges for the caliber rifle that you are building. At a minimum, you will need GO and NO-GO gauges. If your kit contains an original barrel, I would recommend a FIELD gauge as well. If you do not understand the use of headspace gauges, you should really farm this part of the workout to a gunsmith. There are a number of fixtures needed to assemble an AK, and you can buy them commercially, or you can make them yourself. You don’t have to be too elaborate with this stuff. Keep in mind that, right now, some Afghan is putting an AK together in a cave with almost none of the niceties you have in your garage.
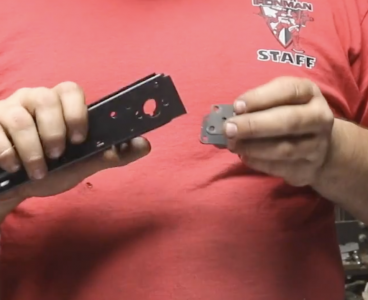
Unlike AR-15 builds, as you go through and build your AK, the tolerances may conflict. Certain parts require a reasonable amount of fitting.
Removing the old receiver pieces is a pretty straightforward, though sometimes difficult (in terms of effort required), procedure. Basically, you are removing the pieces of the original, now destroyed, receiver from the remaining usable components. Generally, I start by removing the rivet heads. Since I have a milling machine, I prefer to mill them off. But you could grind them off. Then you can pull the scraps off of your trunnions. For the rear trunnions, you also have to get the center portion of the rivets out, since these parts use the long rivets. Pay attention to your trigger guard assembly as you remove the scraps from it. Make a note of how the selector stop is mounted to the old receiver. Make sure it goes on the same way when you start re-assembling.
Your kit most likely has a destroyed barrel as well, which you have to get the parts off of. These parts are pressed on, and so will need to be pressed off. I have a 20-ton hydraulic press and fixture, so that’s what I use. But again, there are other ways to do this. If the barrel was torch cut (most are), you will also need to remove the slag (nasty melted metal from the torch) from the barrel segments so that your parts will press off.
Article Continues Below
Building Overview
Once you have everything removed, it’s time to start building. Keep in mind that some parts may require some fitting to go together, likely due to tolerancing issues similar to what I mentioned earlier. The front trunnion is riveted into the receiver with short rivets. I use the bolt cutter jaws for this purpose. The trigger guard assembly uses similar rivets to mount, but I use a special fixture for these rivets, since the bolt cutter jaws won’t reach. The selector stop goes between the receiver and trigger guard assembly. Don’t forget this piece, or you’ll end up having to cut the trigger guard off and remount it.
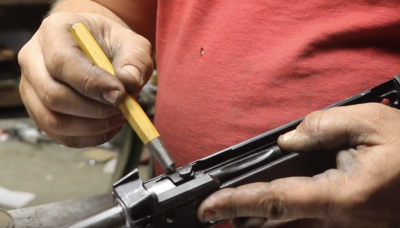
How far the lug on the bolt will cam over with the headspace gauges is indicative of how much further the barrel needs to be pressed in. It will also indicate if the barrel has been pressed in too far. It should cam over on the GO, but not on the NO-GO.
Then you press the barrel into the front trunnion. Use some high-pressure grease to help. Make sure that your gas port is located at the top dead center. Here is where those barrel journals come into play. They need to have an interference fit, meaning that the barrel journals should be something like .0005-.001 inch larger than the parts that mount onto them. A little more is OK, but if you have more than a couple of thousandths interference it will require a large amount of force to assemble your front end, and it’ll be a whole lot easier to accidentally bend your barrel. Use your headspace gauges to get it pressed into where it is supposed to be. You only have a few thousandths of an inch to play with here, so expect a lot of trial and error.
Then you need to install the barrel pin. This will require you to drill and ream the hole to fit. Just like the barrel components, you’re looking for an interference fit. Make sure not to forget the lower handguard retainer, before you mount the gas block or you’ll have to take the block back off. After that comes the front sight base.
Now all that’s left is to assemble the small parts and fire control group. Before test firing your new Kalashnikov, Do some function testing without live ammo to ensure that everything is working as it should. I use dummy rounds to identify any functioning issues before I put live rounds into the rifle. When you do test fire with live ammo, do not just load up a full magazine and go to town. I start with one, then two, then several. If something goes wrong, you don’t want to have the rifle work through a whole magazine before it stops.
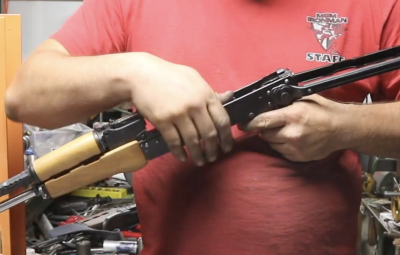
Here the author is function testing the fire control group. Before taking your build to the range, manipulate the trigger, safety and perform all function testing with dummy rounds. The author uses two or more for a build like this because the magazine feeds from both sides. So, you want to make sure that it will do so.
It’s Time to Refinish
After all of the functional testing and live fire testing is complete, it is time for refinishing. It sounds like a pain in the neck to take apart a bunch of things you just put together. But it’s a lot less frustrating to wait to do this step, instead of messing up your nice finish while making the final tweaks needed to make the rifle work.
As you can see, building an AK is a bit more complicated than an AR-15 build. It requires some additional skills. But it is a very rewarding experience. It is also a way for you obtain AK variants that are not available commercially.
For more information about the parts kit used in the video, visit What A Country, Inc.
For more information about parts and kits, visit Sarco, Inc.
For more information about receivers, visit NoDak Spud, LLC.

