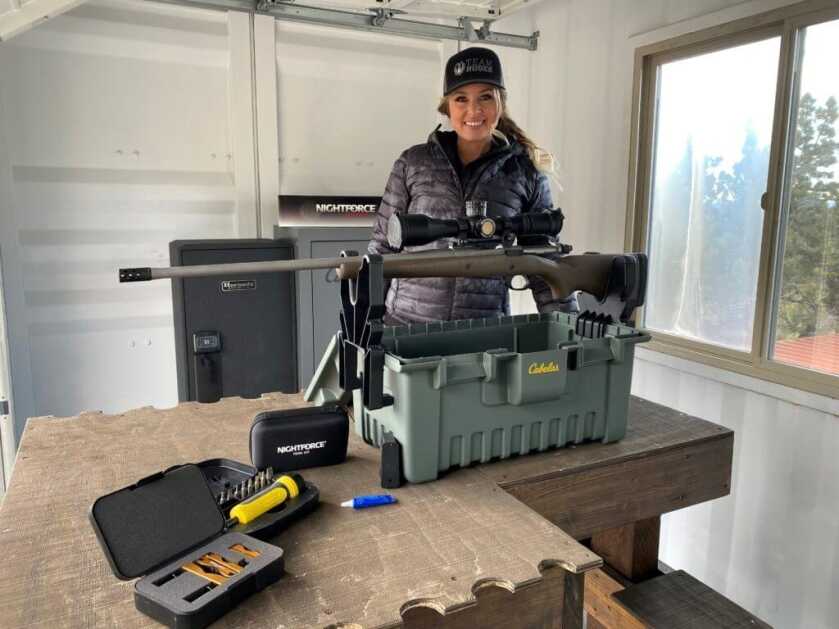
Whether you are at the range or afield, all of the components of your firearm must work together properly in order to precisely engage a target. Downrange precision begins with rifle selection, extending into optic selection, and mounting hardware.
Considerations
Selecting high-quality scope mounts is as important as selecting a quality optic. Inferior riflescope mounts can cause alignment issues which is why a lot of precision rifle shooters have historically hand-lapped riflescope rings. With the advancement in technology, that is no longer necessary. Quality scope rings and bases like Nightforce mounts are precision engineered and eliminate the need to hand lap for consistency. In fact, they are so precise, that hand lapping the rings will void their factory warranty. Simply open the package and install them.
When selecting rings, you may want to evaluate your personal preference in low, medium, or high ring heights. Mounting the scope as close to the line of the bore as possible aids the shooter in acquiring a solid cheek weld on the rifle stock. This will cause the rifle to feel more like an extension of your body and allow the shooter to rapidly acquire optimal sight picture.
When it comes to adjusting for eye relief, you will want to start the process with the riflescope on max power because that is the most diminished field of view available to your optic. If you have a full field of view at maximum power, then you will also have a full field of view at minimum power.
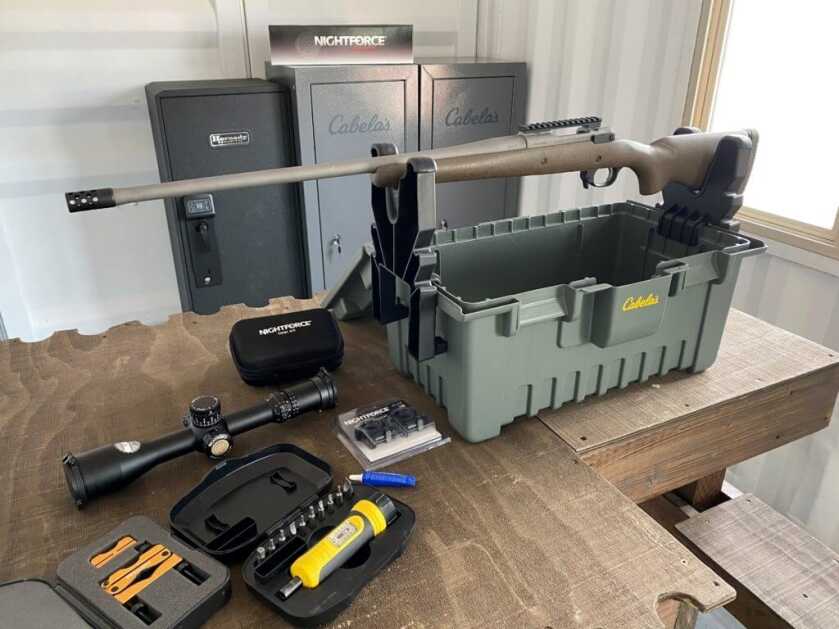
Needed Supplies
Reticle Scope Leveling System
Torque Wrench
Rings & Bases
Rifle Scope
Staggered Yoke System or Gun Vise
Blue Loctite
Step by Step Process
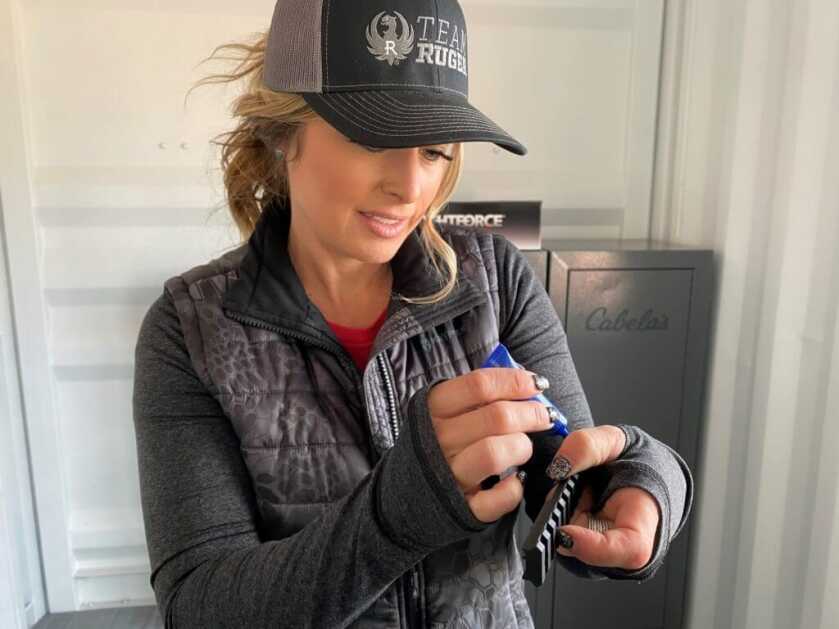
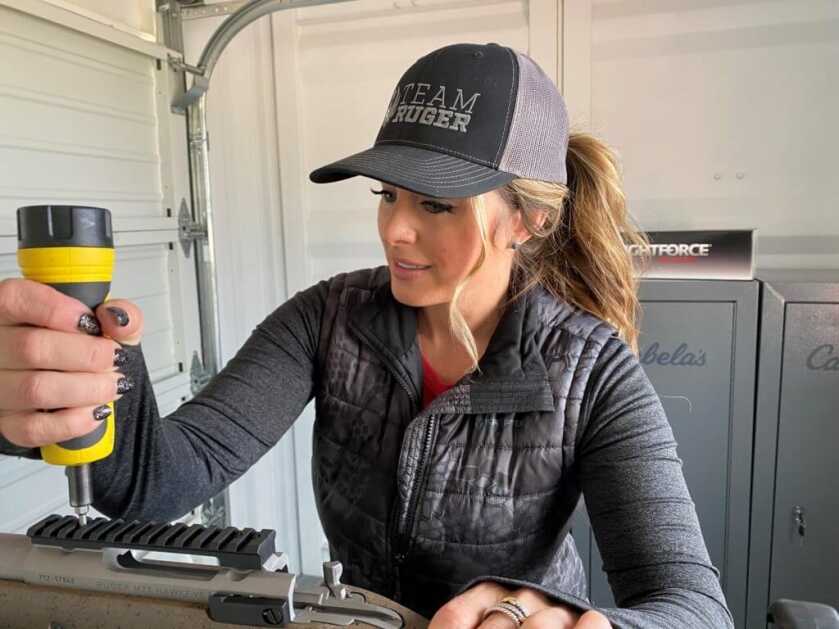
- Ensure that your Picatinny rail is secured to the action with blue Loctite and properly torqued into place.
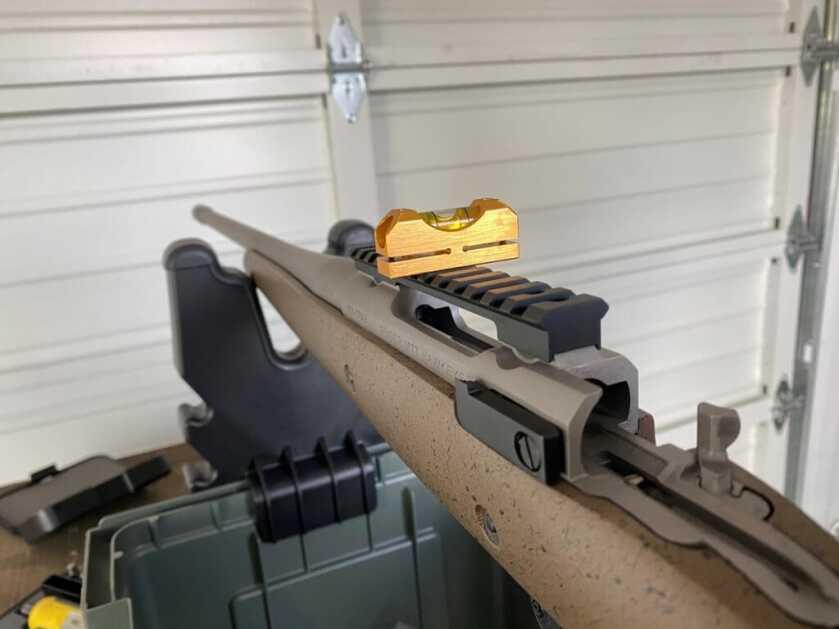
2. Place reference level on Picatinny rail and level the gun.
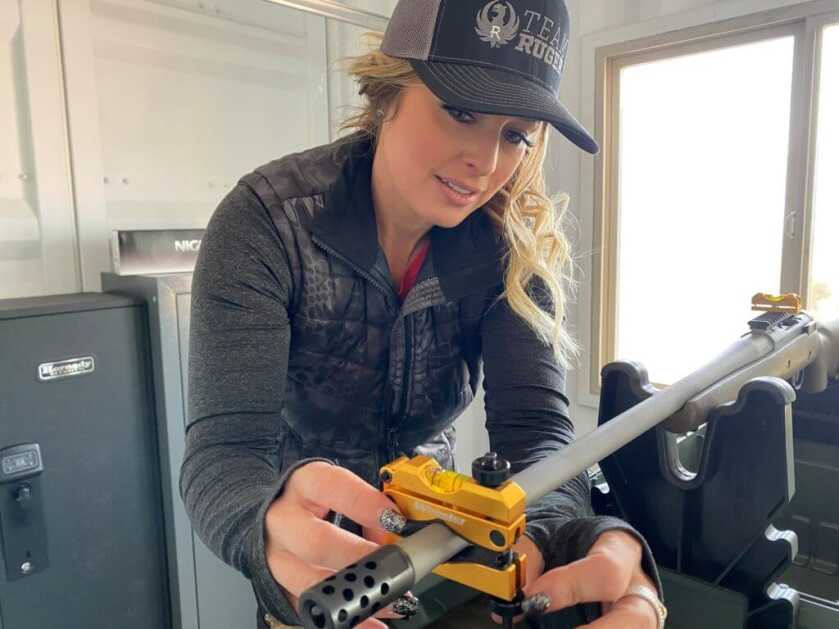
3. Attach the barrel level and level it to the reference level on the Picatinny rail.
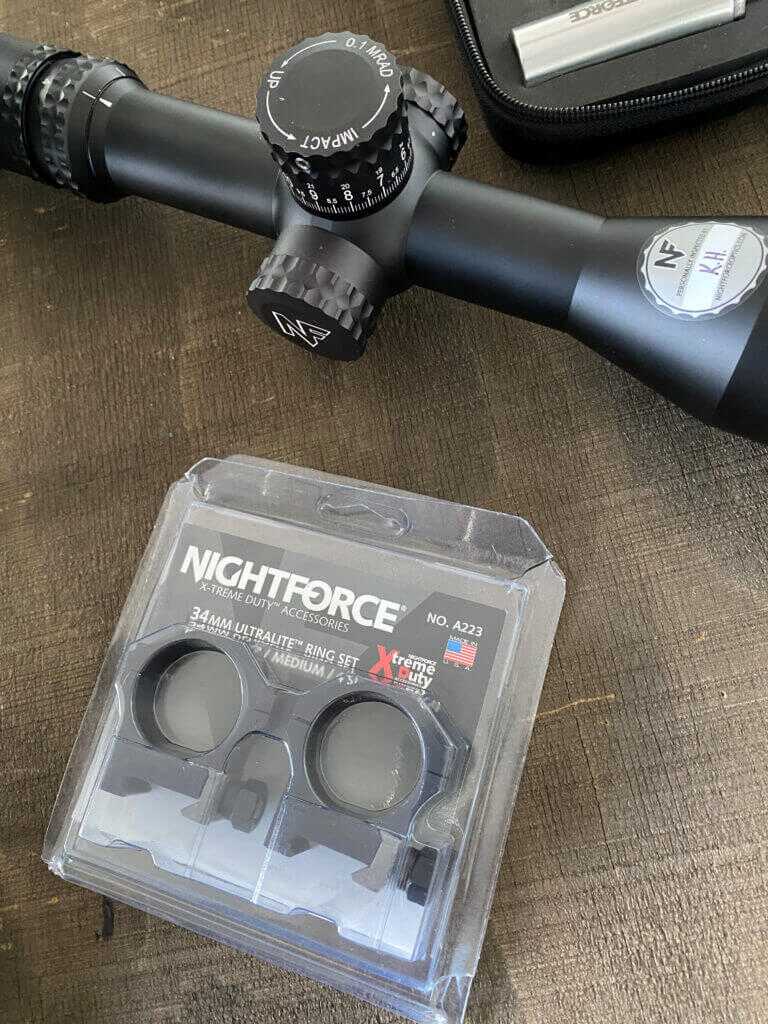
4. Refer to manufacturers’ specifications for a scope base and ring torque specs.
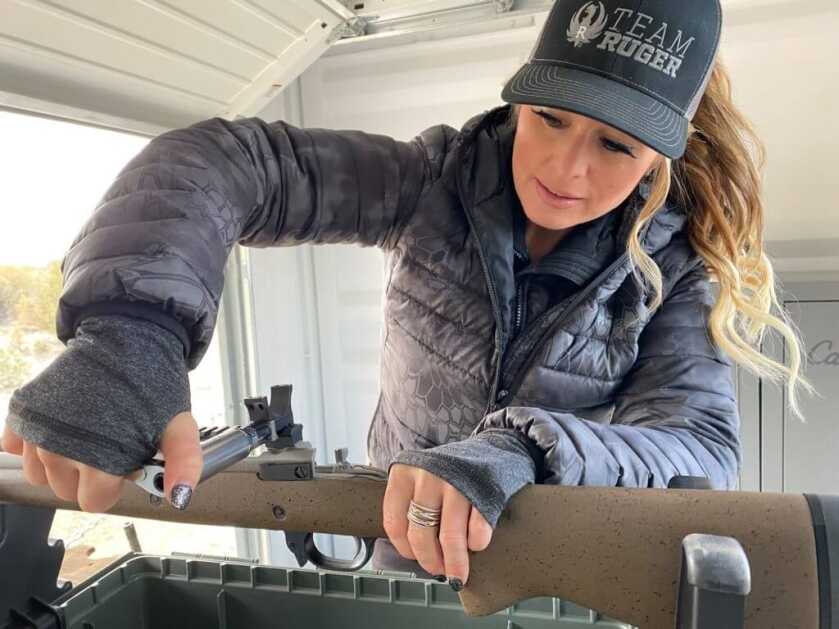
5. Attach the bases to the Picatinny rail. Ensure that the bases are pressed forward into the Picatinny rail grooves. Torque the bases into place using the manufacture specifications.
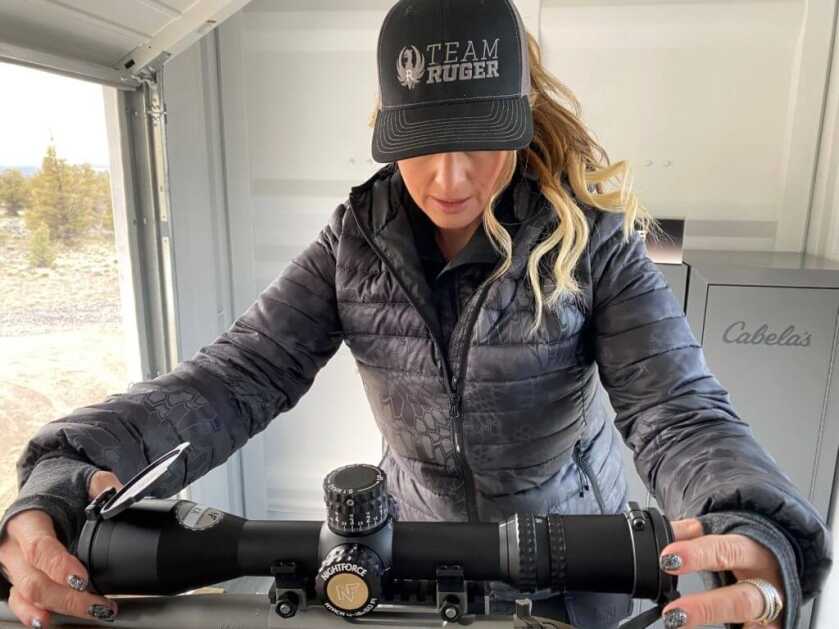
6. Set the riflescope magnification on max power.
7. Place the scope within the bases and lightly secure the rings around the scope allowing enough action to adjust for optic eye relief.
8. Adjust the scope forwards and/or backward to set the proper eye relief.
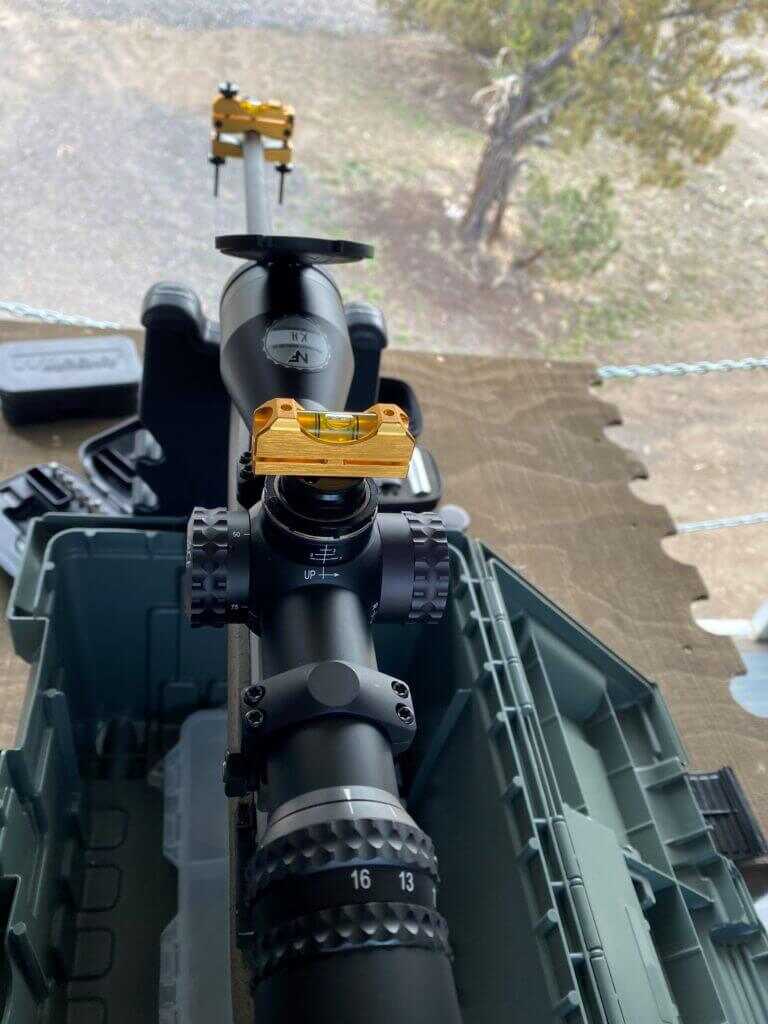
9. Use the reference level atop the riflescope to ensure that the scope is placed within the rings level to match the barrel reference level.
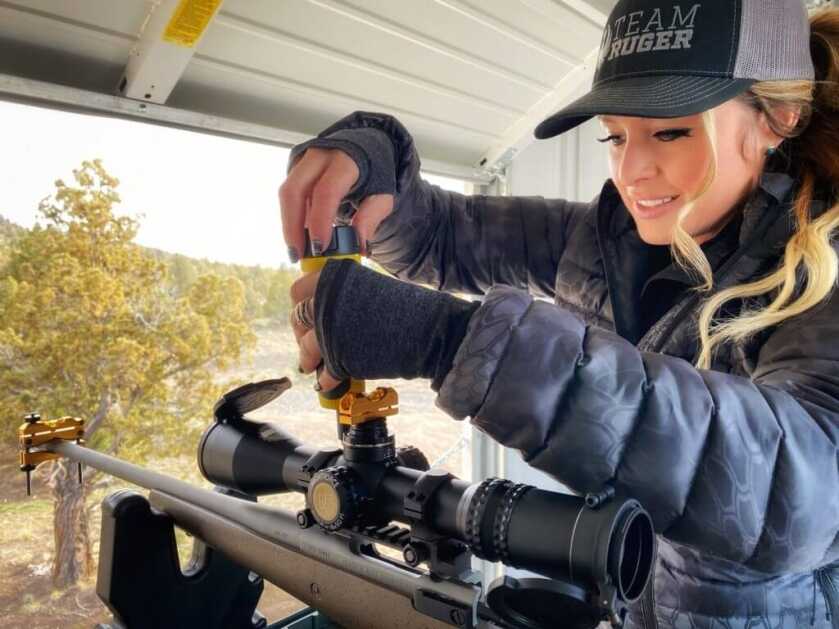
9. Tighten rings gradually until specified torque specs are reached while observing that the scope reference level stays level with the barrel level.

When leveling the rifle/base you must level them front to back first or the side to side leveling won’t be true.
The top pf the elevation turret on top end optics is usually square with the scope’s cross hairs. However that is not always true with cheap and even mid level optics. For example, I have been mounting pistol scopes on handguns for over 30 years and have yet to see either a Leupold or Burris pistol scope where the cross hairs were square with the top of the elevation turret. So I use a level on the firearm and a plumb line out at 25 yards to level the scope.
Once the scope is leveled both the Leupold or Burris scopes will tend to shoot a box by adjusting the scope up, down, left and right when fired off of sandbags. So the internal adjustments are square to the cross hairs. But the elevation turret ends up looking canted from behind the scope. The best pistol scopes tend to be mid level optical quality at best. I’ve seen similar results with cheap rifle scopes.
I think that having the top of the elevation turret square to the cross hairs is one of the features that drive the cost of top end optics so high. Using the top of the elevation turret is great if the scope happens to be built square, but a plumb line will always work. Lately I’ve been using a 24″ solid aluminum level from Harbor Freight hung off of a wood screw installed on a fence post for a plum line. It’s heavy enough not to get blown off of true by a light breeze and you can verify that its hanging square by viewing the level vial in the scope. The fence post is located about 25 yards away from the sliding glass door in the kitchen so it’s easy to use the kitchen table for the rifle vise or sandbags.
I would add a few hints here.
As a first step when mounting a picatinny rail to an action, use a good straightedge and make sure the rail is definitely straight. Then lay the rail on the action and lightly snug down a screw in the front mounting point, remove it and do the same in the rear mounting point. If the rail lifts from the action at the other end of where the screw is, the front and the rear action rings are slightly out of true. I float a thin layer of JB Weld under the rail end that lifts up to bed the rail.
Generally if I’m using a mount that has integral rings I won’t worry about whether they need to be lapped. If they are separate front and rear rings I check to make sure they line up properly and lap if necessary.
For reticle alignment I use a self-leveling laser and project a plumb line on the wall as far across the room as I can get it and use that to align the vertical part of the reticle to the plumb line.
Excellent and well written article. Others mentioning use of plumb is excellent.
I just wanted to mention another caution. Do not mount the riflescope against a ring as recoil can harm inner working and you may not be able to vary the power if ring is jammed in variable power dial.
She didn’t lap the mounts. going to do it. do it right.
She is drop dead gorgeous and loves guns and a great teacher.
Stop acting like that, it’s pathetic.
That’s fine and dandy for a $3000 scope and rings, what about something on the economic side of things, or will those scope rings work with any scope
Do these same principles apply when mounting a scope to a springer pellet rifle?
I understand that scope mounting and securing can be quite an ordeal given the double recoil
of a springer.
I would add one final procedure for reasons that will be clear. Recoil, drops, viberation, and rough handling can loosen fastener tightness/torque. Add Slip Mark/Torque seal type lines across Fasteners and onto the mount surface. These are thin but durable markings that can be quickly viewed and you will know if the status of the fasteners torque has changed from the crack in the slipmark or allignment between the Line on the fastener and the mounting surface. This method is much simpler than applying tools to fasteners that aren’t out of spec and possibly screwing your Zero. You can Web search “torque seal, Tamper Detection paint” and how to apply it. This IS NOT a Lock-Tite type product or use as it doesn’t Hold or Bind, it only marks relative position of parts.
It really doesn’t matter if you shipped/air carrier handled the firearm thousands of miles or its been bouncing around in a Case in the rear of your Squad/car. At a glance: you will know its “Good to Go”.
I’ve always been a fan of lapping my rings, too. Also, you can do a lot with an inexpensive hardware store level and a lightly weighted string hanging down.