I have always thought of the bluing process as a kind of dark art. Some of the finishes look like they could only be achieved by a mad scientist and his minions mixing chemicals in a secret lab complete with a Jacobs Ladder and some bubbling flasks. The truth is not too far off. But you don’t need a minion to do this, just a 650 degree pot of salt. Niter Bluing is one of the simplest of the bluing processes and it gives some of the most vibrant colors.
So what is Niter Bluing?
Niter Bluing is mostly a heating technique to achieve different color to the steel. We use melted salts to get to the right temperatures. The salts play a factor in the coloration too, but it is mostly a heat reaction. You can get a lot of different colors from niter bluing, not just blue.
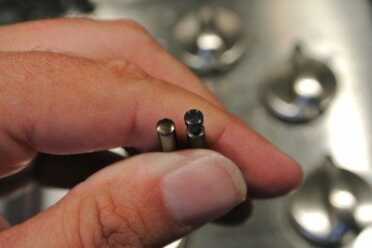
Two of the different colors you can get. The yellow comes first, I simply pulled it out before the other one.
At the lower scale on temps you can get a light, straw yellow color. Some of the old Luger’s had yellowish niter blued parts. You can also get deep electric blues, purples, plumbs and light blues. I am personally a fan of the deep blue that is almost purple. If you decide to give this a try, experiment with different temperatures of the salts and see what colors you can get.
The other thing we are doing with niter bluing is changing the temper of the metal. This can be a good or bad thing. You don’t want to change the temper of a gun part that is exposed to the pressures related to firing. In other words don’t niter blue a barrel, chamber or cylinder! I wouldn’t even mess with a revolver frame or the slide and frame of a pistol. Niter bluing is best used for the little parts, screws, pins and what not. Think of it as a way to add a little color to something, not the whole gun.
Stainless Steel will not take niter bluing. This is a process for carbon and tool steels.
Tools and such
Well you need some niter bluing salts. I use Brownell’s but there are others out there. They are all pretty much the same but might have a slightly different mix of salts. The Brownell’s salts come with a really good instruction manual. When dealing with something as potentially dangerous as this, it’s a really good idea to read the manual.
- A pot to melt the salts in–I used a cheap stainless pot
- Heat source. I used the gas stove in my kitchen (don’t tell my wife). A camp stove will work, or a turkey fryer. Just remember you need to get the salts up to about 650 degrees and you want the pot to be very stable!
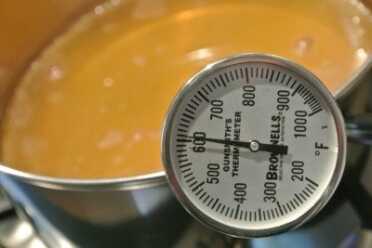
- Thermometer that reads over 650 degrees
- Pliers for moving the parts around
- You can use thin wire to wrap around the parts to hold them in the salts.
- Gloves. Shits hot, yo!
- Safety glasses, 650 degree salt and eyeballs don’t mix.
- Quench bucket or heat resistant surface to cool the parts on.
- Oil to coat the parts when all is done
- Parts to blue! For this is article I blued pins and the base pin latch for a couple of Ruger Vaqueros.
Preparation
Like all finishing work, the true detail is in your prep work. For niter bluing of small parts you really want to polish them up to a mirror like luster. I typically go to about 800-1000 grit on a polishing wheel for most parts. You want to be sure to remove any pits or scratches. When the part gets put into the salts anything that is at the bottom of a pit or scratch is going to get boiled out. Those cervices will not blue to the same color as the rest of the piece and can make for a splotchy surface.
You also want to remove any leftover polishing compound and oil from the surface. Brake cleaner works pretty good for this. Other degreasers can be used, but if they leave a residue be sure to rinse them off in warm water.
Blue it up
This is a pretty simple process. But don’t forget to use common sense and be safe. For example make sure you don’t splash any water into your salt pot. The water will instantly turn to steam and will splash out extremely hot liquid salt that will burn you badly.
One thing that you will need is a really good source of light to see the colors. Florescent lights don’t really do the colors justice. Natural light or an incandescent bulb works best.
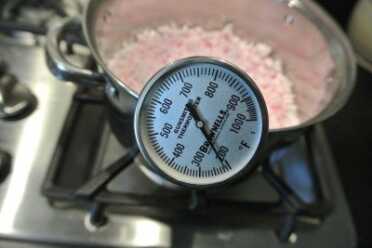
Once you have all of your parts ready to be blued, its time to start melting some salt. We are aiming for 600-650 degrees. You can go higher, up to about 900, but the changes in color will happen faster and you might blow past the color you want. If that happens you can polish the bluing off and try again.
[one_half]
[/one_half][one_half_last]
[/one_half_last]
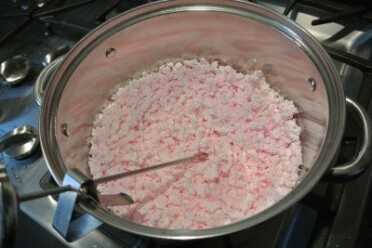
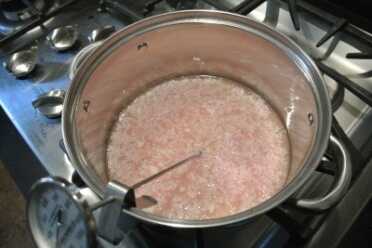
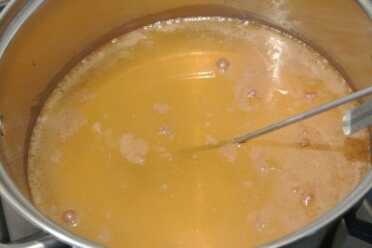
The salts will start to turn liquid around 300 degrees. Stir them up as they heat up. Wait awhile. Add more salts if you need to. Wait awhile. Stir. Wait. It takes a bit of time to get these up to the temp we want.
[one_half]
[/one_half][one_half_last]
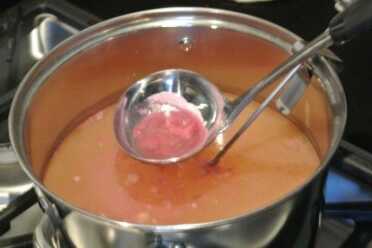
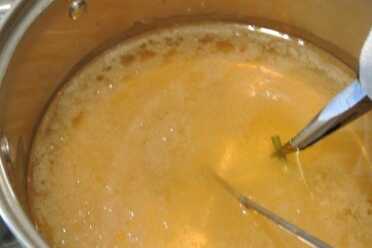
As the salts heat up the pink die that is in them floats to the surface. You need to skim it off to better see the parts as they blue. This is only the case with fresh salts.
[/one_half_last]
Once we are at 650 or so degrees you want to adjust your flame to help hold that temperature. As you do this more you can try some different temps to see what kind of results you can get. It is fun and experimenting is one of the best things about DIY.
[one_half]
[/one_half][one_half_last]
[/one_half_last]
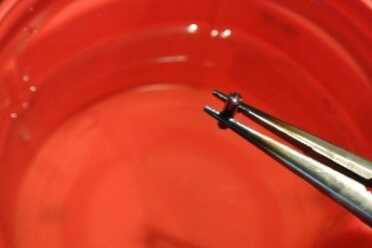
After the flame is regulated, dip your first part in the salt. Swirl it around gently to make sure there are no air bubble stuck to it and to help keep an even heat. You can see the color change on the piece through the salts. It is best though to pull it out and take a look every so often. This doesn’t take long. Most of the pieces I did for this article only took about 2-3 minutes. You can pull the piece out and quench it to see the color and then put it back in if need be. Just remember to get the water off!
[one_half]
[/one_half][one_half_last]
[/one_half_last]
If you are using a wire to hold the pieces, you can do more than one at a time. Just make sure they are pretty close together as there will be temperature gradients in the salts and you can end up with two different color pieces. Although that can be cool.
Oil it up
Once you have everything all blued up it is a good idea to check the pieces for any salt residue and oil them to prevent corrosion.
That’s it–you are done. The parts I did for this article took me about two hours from start to finish. I even used a new pot and fresh salts to show that part of the process. Most of the time was in waiting for the salt to get hot. It also takes a long time for it to cool down as well. Speaking of which it is still on the stove, I had better go get it before my wife gets home and finds the evidence.
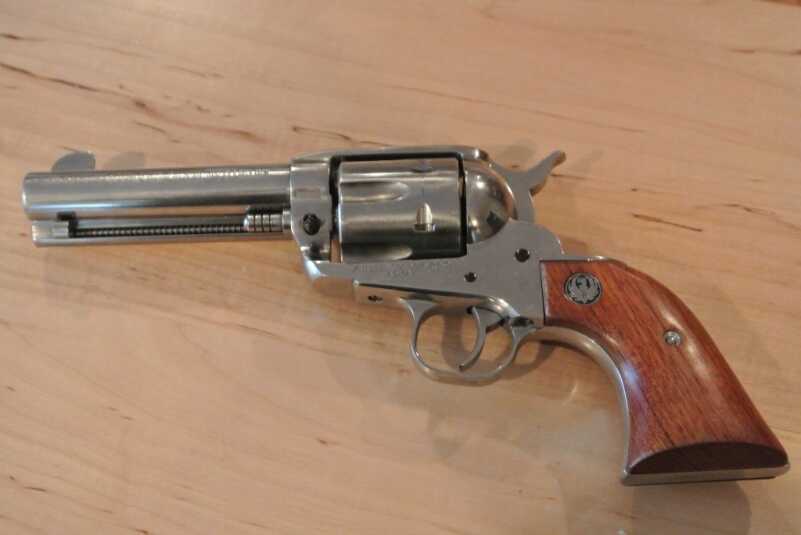
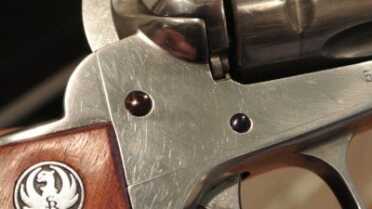
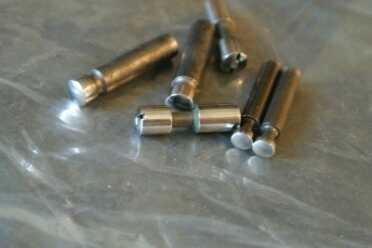
The finished product. I like how they stand out on a stainless revolver. They also looks good next to color case hardened too.

I have a Sako 222 Rihimaki that has this type of bluing on the trigger guard/magazine well from the factory. It really looks great and I recommend it for all rifles.