I’m probably one of the least handy people I know. The washing machine breaks down, I call someone. The toaster stops working, I buy a new one. The car needs an oil change, it’s going right to the shop. I guess part of my inability to work on stuff is due to (a) an incurious attitude with respect to handy work thanks to a father who could pretty much do it all (I was spoiled and anytime anything would go wrong, I’d say, Not to worry, Dad will fix it!) and (b) a product of living in apartments for most of my adult life, which means I never had a garage or a backyard for tinkering with stuff.
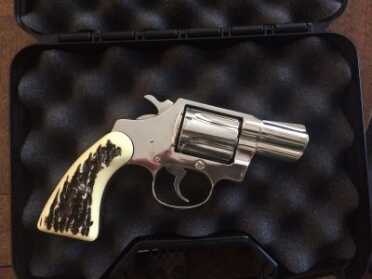
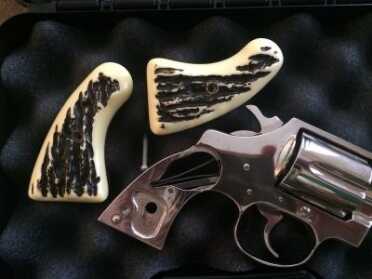
The cheap stag grips. Not only are they ugly, but they weren’t comfortable. Too thin for my big paws.
My point is that when it comes to gunsmithing or working on firearms I’m pretty much useless. I can clean them, that’s simple enough. But anything beyond that is above my skill level — or so I thought.
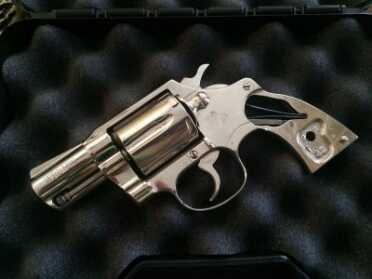
When I recently purchased my Colt Detective Special, one of the first things I knew I had to do with it, aside from taking it out to the range to break it in some, was to change out the cheap-looking, faux stag grips that someone had put on it. Not only are they ugly, but they made the gun uncomfortable to shoot. It was like someone had put old mud tires on a Ferrari. The crappy grips marred both the performance and aesthetics of this fine-looking firearm.
I reached out to Hogue and they agreed to send me a fantastic monogrip or “one piece revolver stocks” made from exotic hardwoods. I plan to do a review on the monogrip in the near future, so stay tuned. But for now, I’m going to focus on how to mount this exquisite piece of hardwood to your revolver. That’s right, I — the least handy person I know — am going to show you how to switch out your revolver grips. Welcome to what I call “Coffee Table Gunsmithing,” as most of the work done on this gun was done right on my coffee table with a simple box of tools. If I can do this little project (with no help from Dad nor the luxury of a garage), trust me, you can do this as well.
Coffee Table Gunsmithing
Before you get started, please make sure your wheel gun is unloaded. Any time you plan on cleaning your gun or working on your gun, you need to check to make sure it’s unloaded. This is stating the obvious, but sometimes the obvious needs stating.
With that warning out of the way, the first thing you need to do is remove the unwanted grips. Easy enough. Grab a screwdriver and get to work. My screwdriver was a little too big for the small hole in the grip, so I had to sort of cant it at an angle to make contact with the head. This can be troublesome as it will, over time, strip the screw head. To make things easier on yourself, try to ensure that you have the properly-sized tools for the job. If not, things can get hairy.
[one_half]
[/one_half]
[one_half_last]
[/one_half_last]
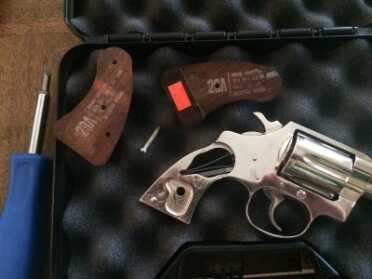
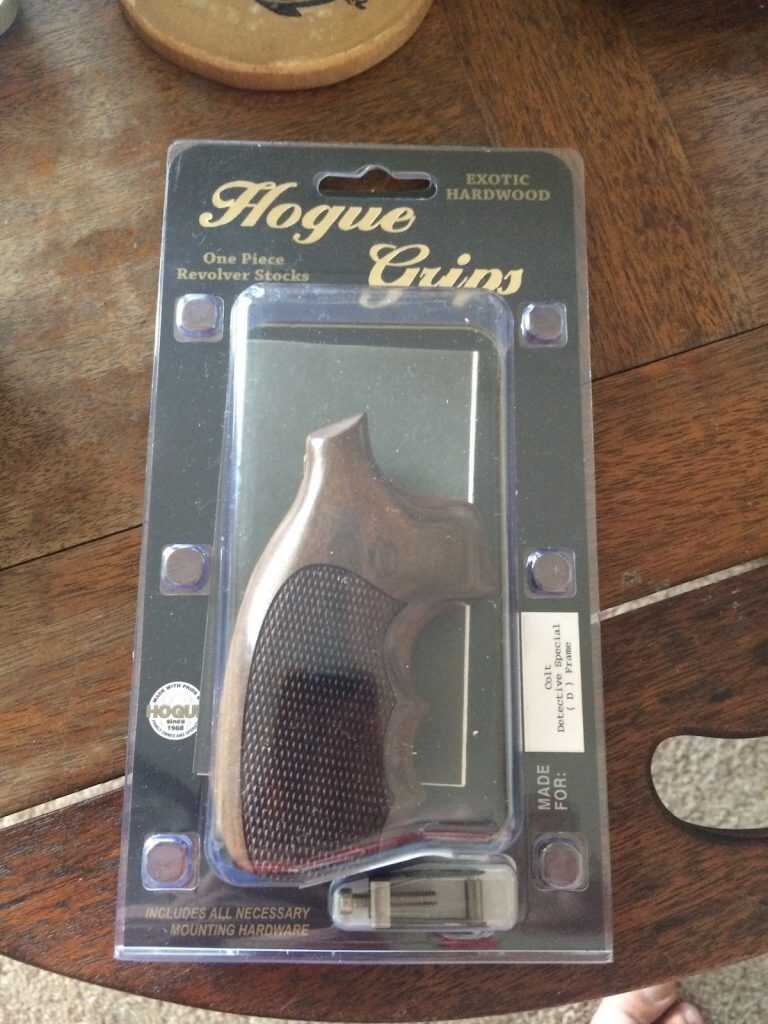
Next, once the old grips are off, it’s time to take out your new grips. Here is how the exotic hardwood monogrip arrived from Hogue.
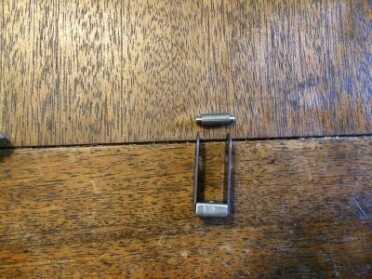
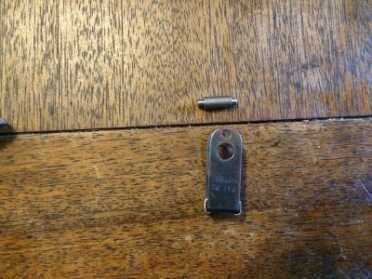
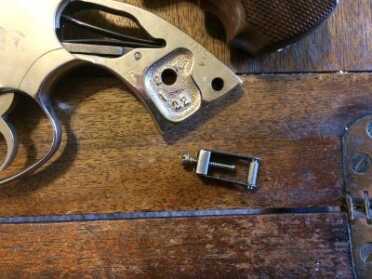
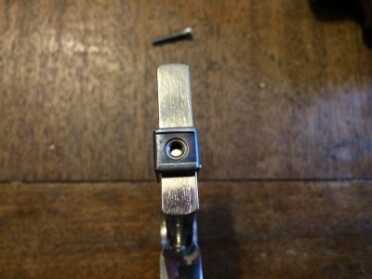
Pull it out of the package and notice the included parts. There’s the monogrip, a single piece of wood that is the grip. There’s the stirrup, a spring steel mount for the monogrip. There’s the stirrup pin which connects the stirrup to the frame. And lastly, the screw that locks the monogrip into the stirrup at the base of the grip.
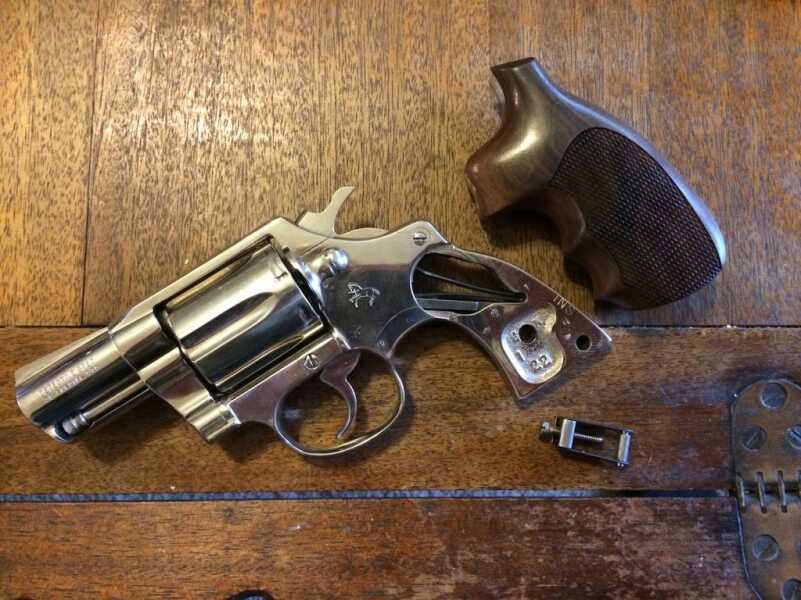
The parts that are included in the Hogue package: Monogrip, stirrup, stirrup pin, and screw. That awesome Detective Special is not included, sorry!
[one_half]
[/one_half]
[one_half_last]
[/one_half_last]
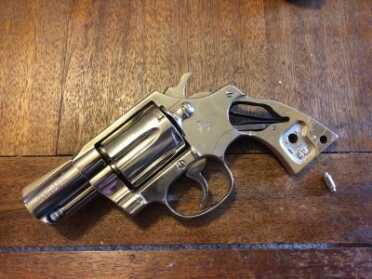
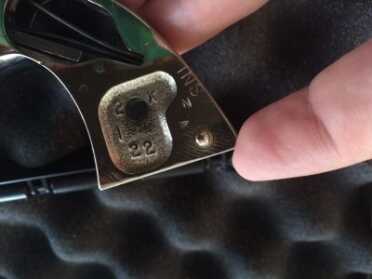
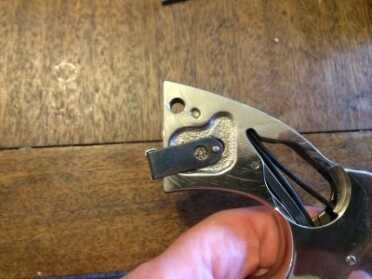
Now that you’ve taken inventory of the pieces, you can begin the mounting process. What you must do next is arguably the most difficult part. Before you mount, you must remove the grip pin on your revolver (if it has one). The grip or stock pin installs with a very tight fit and won’t just fall out.
There are multiple ways to do this. You can use a hammer and a punch on a block to knock the pin out, or a vise and a block of wood to press it out. Or you can drop it off at your local gunsmith and have it removed. I suggest that if you don’t have the proper tools that you bring it to a gunsmith. By pounding away at a nickel-plated beauty with makeshift tools you run the risk of damaging either the gun or the pin or both. I’ll leave it up to you to decide how you want to get the grip pin out.
Let me back up for a moment and ask the obvious: Why do you need to remove the grip pin? Because it gets in the way of the monogrip. The monogrip won’t attach if the grip pin is left in.
[one_half]
[/one_half]
[one_half_last]
[/one_half_last]
[one_half]
[/one_half]
[one_half_last]
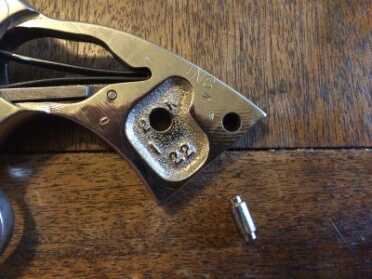
A close up after it’s been removed. It looks quite similar to the stirrup pin. Don’t confuse the two.
[/one_half_last]
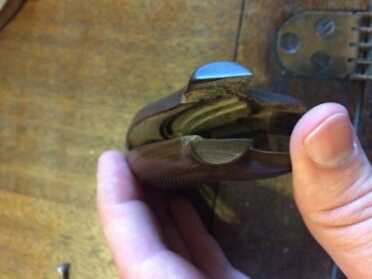
Once the grip pin is removed, the rest should be smooth sailing. All you have to do now is get the stirrup locked into place using the stirrup pin. It’ll fit right into the center hole in the grip — not where the grip pin was.
[one_half]
[/one_half]
[one_half_last]
[/one_half_last]
[one_half]
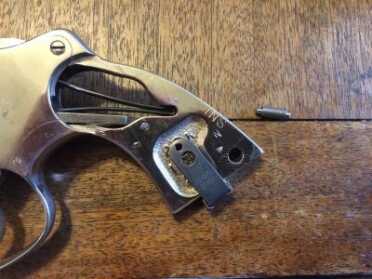
The stirrup is made from spring steel, so all you have to do is bend the arms out a little to place the stirrup pin in, after it’s aligned with the hole.
[/one_half]
[one_half_last]
[/one_half_last]
I had a little difficulty with my stirrup and stirrup pin. One of the ends of the stirrup pin was a bit larger than the machined hole, so it wouldn’t go fully in. I was able to tap the stirrup arm over the pin with the back of a screwdriver, fixing the issue.
Once the stirrup is on, it’s time to slide on the monogrip. It should go on rather easy. All you have to do is align the stirrup with the designated grooves in the monogrip. Then rock in forward using, what the instruction booklet calls “radial motion.” Basically, just slide it up and on gently.
[one_half]
[/one_half]
[one_half_last]
[/one_half_last]
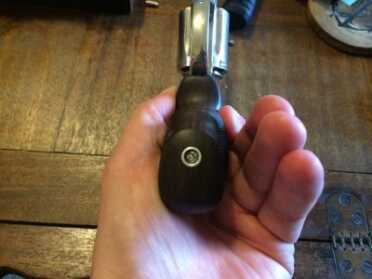
You want to make sure that the grip is fully seated on the frame before you insert the screw. In fact, the screw won’t catch with the stirrup until the monogrip is fully seated.
[one_half]
I jumped the gun here and had the screw in as I was sliding it up. It won’t catch until it’s fully seated.
[/one_half]
[one_half_last]
[/one_half_last]
That’s really all there is to it. Pretty simple; pretty straightforward. I think this is a project that takes at the most, maybe, 30 minutes (assuming you have the right tools). And you can’t argue with the results. It looks much, much better. But more importantly, it feels awesome in the hand. I can’t wait to go shoot it and try it out. I’ll report back later with a complete review.
[one_half]
[/one_half]
[one_half_last]
[/one_half_last]
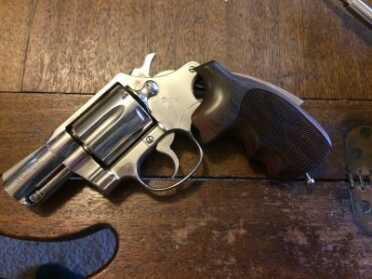
How is this for an EDC knife and gun? A nickel-plated 1975 Colt Detective Special with Hogue exotic hardwood grips and a Chris Reeve Sebenza 21, with snakewood inlays and a ladder Damascus blade.
Shop for a Detective Special on GunsAmerica: https://www.gunsamerica.com/Search.aspx?T=detective%20special
Shop for Hogue Grips on GunsAmerica: https://www.gunsamerica.com/Search.aspx?T=Hogue%20Grips
Also, Check out the Hogue Website for An Awesome Array of Hardwood Grips and Rubber Grips: https://www.hogueinc.com/
Lastly, KnifeArt.com Has Some Cool Chris Reeves for Sale: https://www.knifeart.com/

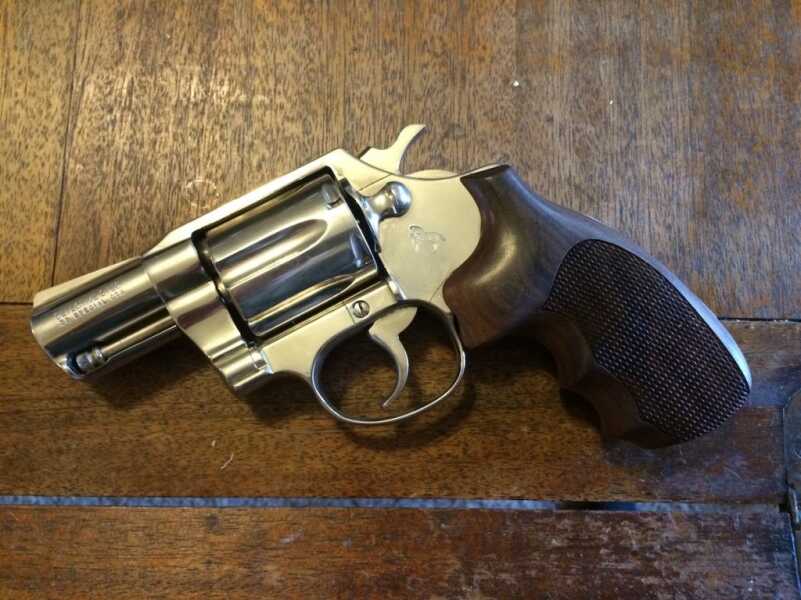
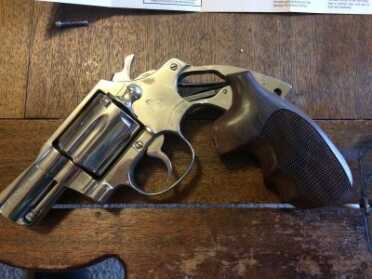
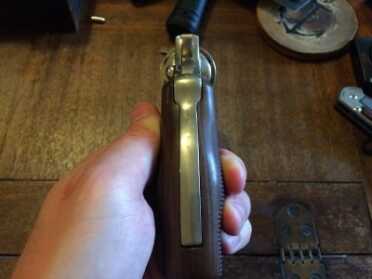
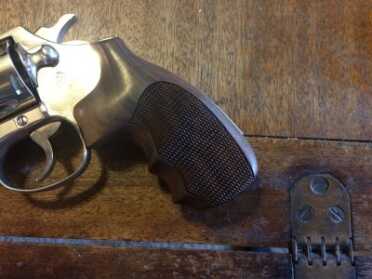
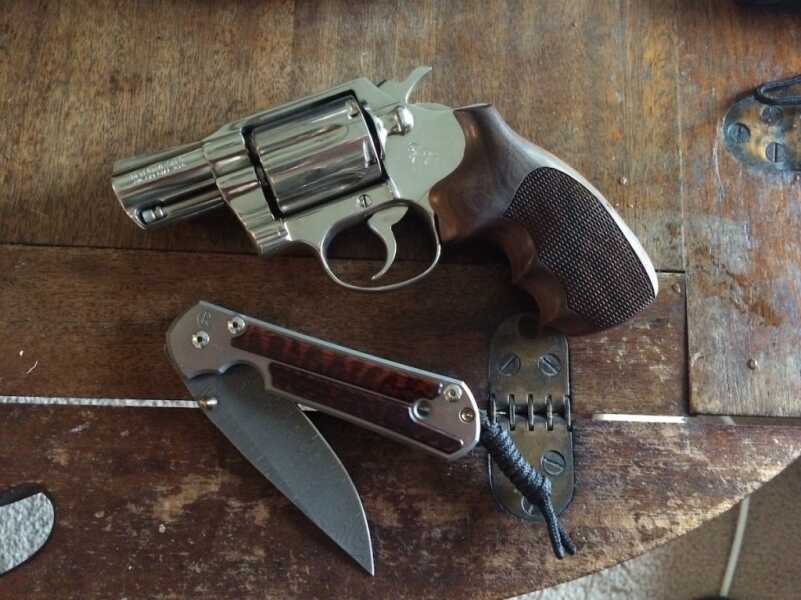
The new hardwood grips make that revolver look like an entirely different pistol! It truly is beautiful. I am curious to hear about what you think of it at the range. I’m betting you’ll find it much more natural and faster to aim, and probably end up with a tighter shot group than before. Regardless, the grips definitely took away the whole “Kojak meets Wyatt Earp” look of those stag grips!
Does Hogue make an exotic hardwood grip for my S&W .460 Revolver ?
Does hogue have plans to make exotic hardwood GRIPS for TAURUS 44C revolvers?
Many of us would like to swap out rubber factory GRIPS for beautiful exotic hardwood GRIPS by hogue.
Many thanks…dont forget us TAURUS people.
Chuck Hickman st
5013 10th ave ne
Keizer, or 97303
Pau Ferro is a type of wood, also called Brazilian Ironwood.
Pau Ferro is the wood the grips are made of, not the designer.