When I first dipped my toes into precision rifle competition the very first match that I attended did not allow competitors to use laser rangefinders to get distances to the target. This was familiar territory for me since I’d been trained in range estimation using the reticle in the Leupold M3A and Steiner binos. Getting an accurate range estimation using just a reticle requires a good deal of skill and prior information though, such as the dimensions of the target. If you didn’t know the dimensions of the target you were in a bit of a pickle but laser rangefinders don’t suffer that disadvantage. Although you don’t have to know the size of the target to get a range, using a laser rangefinder isn’t always as easy as point and click. Laser rangefinders were once expensive luxuries but the newer models are smaller, range farther, and pack more features than the models from just a decade ago. However, it’s a good idea to research the options that are out there now to make sure that your money is well spent and that the unit will meet your needs.
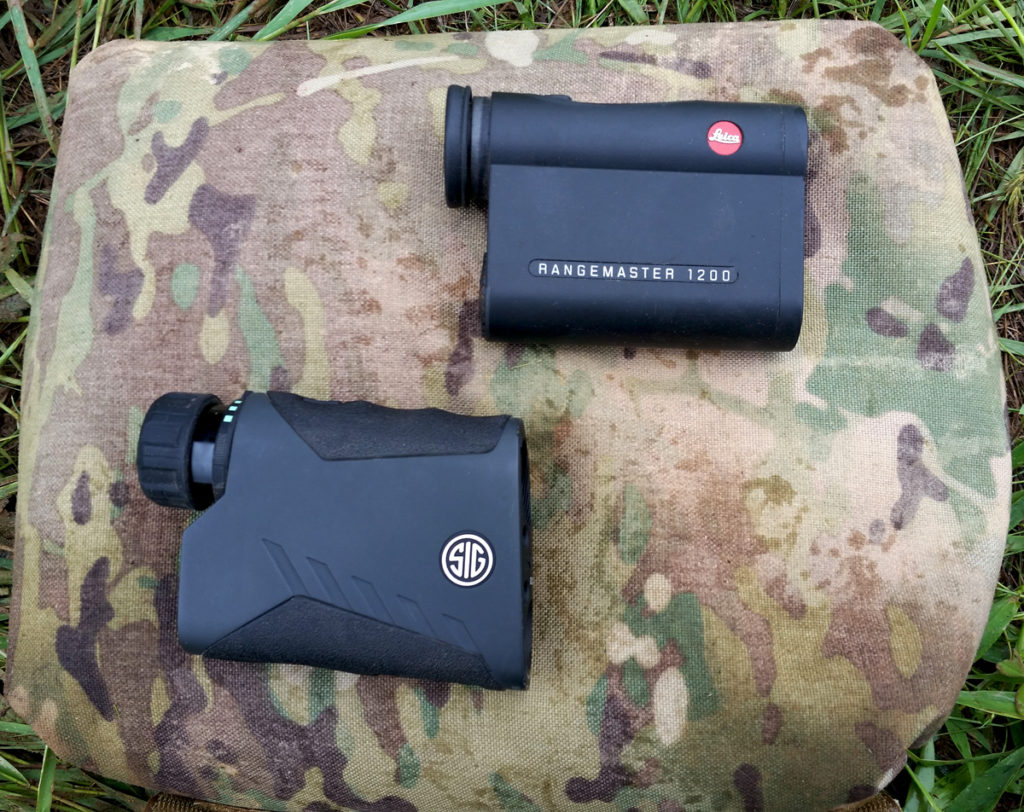
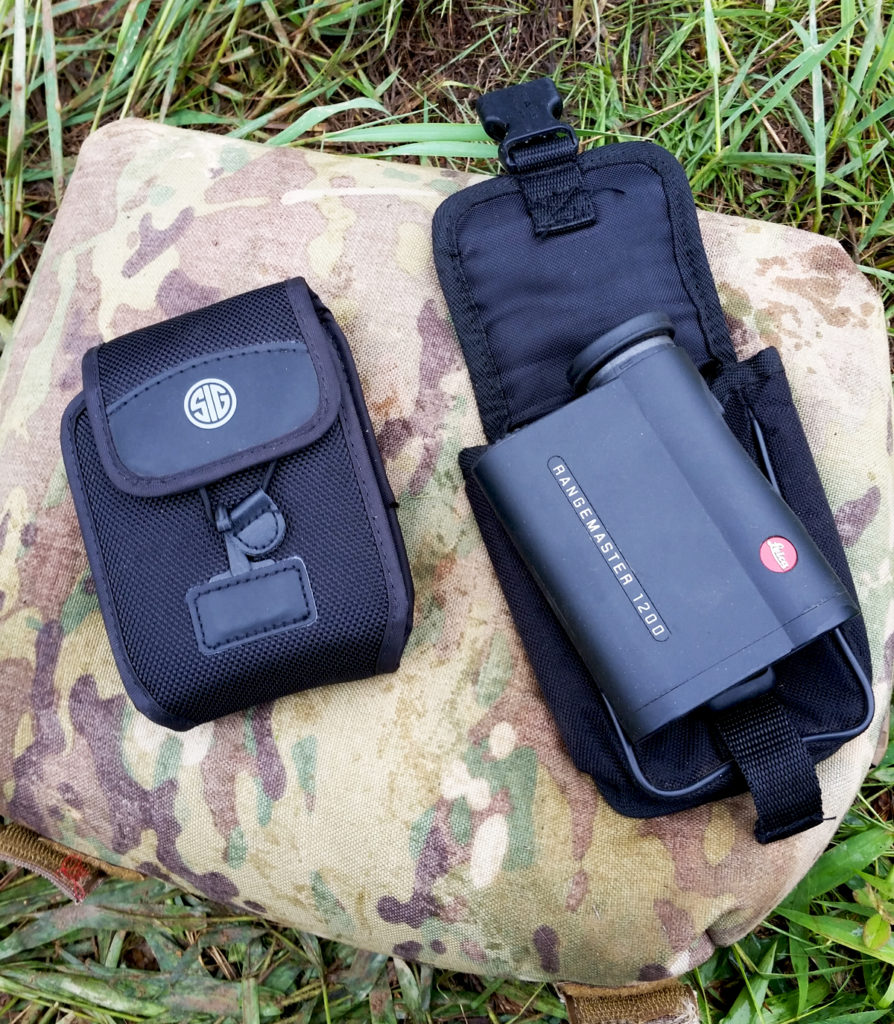
New laser rangefinders pack in a lot of bang for the buck. The Leica 1200 CRF at the top was good for its day but newer models like the Sig KILO below provide the ability to range farther, range in meters or yards, account for angles, and adjust the brightness of the display
How Does It Work?
In simple terms, the laser rangefinder will emit an infrared beam towards a target while another sensor looks for the reflection coming back. Once the sensor has detected that reflection it calculates the range based on the time it took to get back to the unit and displays it for the user. Current generations of rangefinders can not only do that in less than a second but also provide the angle to the target by way of an internal inclinometer as well as differentiate between clutter and the actual target. The rangefinders that have a “brush” mode accomplish this by programming the rangefinder to essentially ignore close readings and display the farthest distance. This is especially helpful for long range hunters that may have to punch through scrubs or foliage in order to get a reading on an animal. Nearly all of the off-the-shelf rangefinders work the same way so what sets a $300 rangefinder apart from a $3,000 one?
Emitter and Sensor Quality
In the world of electronic devices, you tend to get what you pay for and laser rangefinders are no different. One area that sets apart good laser rangefinders from great ones is the quality of their sensor and emitter package. You may find that rangefinders at the lower end of the pricing spectrum use an emitter with a less focused beam coupled with a sensor that isn’t as sensitive to the reflected signal. The result is a rangefinder that can maybe do 800 yards off of a reflective target in perfect conditions as opposed to 1000+ yards. More expensive laser rangefinders with a higher maximum distance rating will use an emitter that has a tighter beam divergence in addition to a sensor that is better able to pick up the reflection off a variety of materials.
If you notice that some rangefinders use a Class 1 laser and some use a Class 3R laser I wouldn’t get too wrapped around the axle about it. Class 1 lasers are more or less eye safe while Class 3R lasers are less so but still ok around humans as long as you take precautions. The laser classification doesn’t necessarily mean that a rangefinder with one type is going to be better than the other one. Again, the overall performance is going to be determined by the focus of the beam and the quality of the sensor used to pick up the return.
Optical Performance
The optical performance of the rangefinder is going to play a part in how well you can range objects, mostly in how well you can see the target. All laser rangefinders have some level of magnification, most of the monocle rangefinders have 7X but sometimes you’ll see 6X and 8X too. I like the 7X magnification, it offers a good balance between being able to see targets against brush or in shadows while still having a good field of view. Some of the binocular laser rangefinders will have a higher magnification, typically 10X or so, which is just about perfect for hunting situations where you may have to look through brush or scan a far hillside.
Going hand in hand with the magnification of the unit is the quality of the glass. I try not to be a glass snob but it really can make all the difference in a laser rangefinder. I’ve used laser rangefinders before where the image looking through the unit was so dark it almost seemed like you were wearing sunglasses. Now most rangefinders do have a coating on the lens to help you see the display inside but you’ll want a laser rangefinder with good glass quality. Good enough that you can spot a gray, shot up piece of steel against a far hill while it’s sitting in the shadows of the brush. That might sound a little far-fetched but that very scenario occurs at nearly every match I’ve been to.
Beam Divergence
I mentioned it a little bit earlier but when I was talking about the focusing of the laser I was talking about beam divergence. Laser beams do not stay as focused points of light forever and ever. If you take a laser pointer and aim it a close object you’ll probably see a nice point of light there. Now, aim that same laser at a far wall and you’re likely to see an oblong patch of light instead of that defined point. The beam from the laser pointer spreads out and the same thing happens to the beam in a laser rangefinder, this is called beam divergence. The manufacturer can focus the beam in different dimensions to suit the overall requirements of the laser rangefinder. Ideally, you want the tightest beam divergence that you can get, since too wide of a divergence can cause the unit to provide false readings. The beam divergence in my Leica 1200 CRF is .5 X 2.5 mils, which translates to 1′-6″ X 7′-6″ at 1,000 yards. That’s not too bad as rangefinders go, I can still range trees at over 1,000 yards, but my Leica is over a decade old, many of the newer models have a much tighter beam divergence for better ranging.
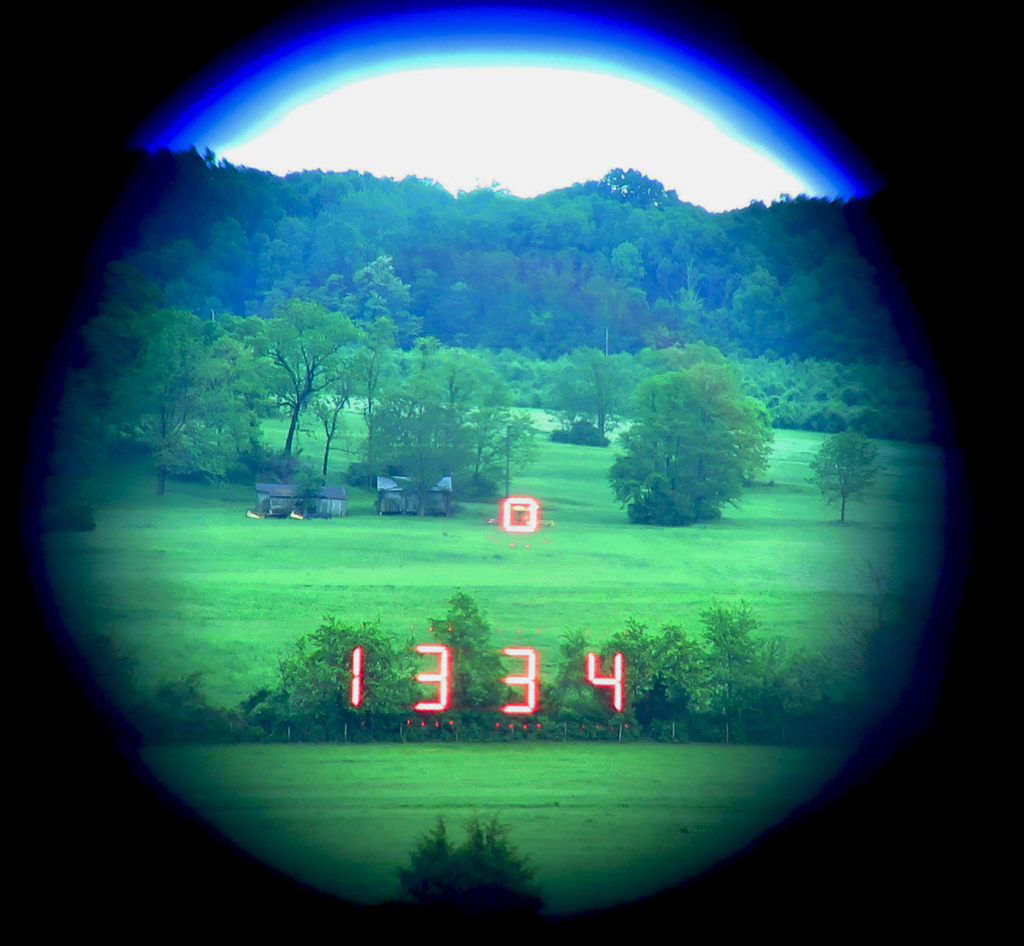
I used my Leica 1200 CRF to range a piece of farm equipment more than 130 yards beyond it’s stated maximum range. The combination of high quality emitter and sensor along with ideal lighting conditions helped push the boundaries of this compact laser rangefinder. The beam divergence at this range is approximately 2′-0″ X 10′ – 0″, luckily the farm equipment was huge.
Rangefinder Features
We’ve talked about the aspects of a laser rangefinder that help explain how it provides the range, now let’s talk about some of the things it should do. When you’re out looking for a new rangefinder my first piece of advice is to start looking for one that has a maximum distance rating 20-30% more than what you think you need. If you get a unit that will range farther than you need it to, you can count on it to be able to hit those targets you need to get a range on in less than perfect conditions. The rangefinder should also be able to give you the slope distance to the target, which is extremely important for a rifleman that’s shooting in steep terrain. Whether you’re shooting uphill or downhill the actual distance the bullet is affected by gravity is less than the gun-to-target distance because gravity is pulling straight down. Knowing this slope distance is very important when shooting at steep angles because just using the gun to target distance could result in a miss. Integral ballistic computers are also becoming more and more common with laser rangefinders, something precision rifleman and hunters alike can appreciate. Some units only display relatively generic ballistic information while others can offer custom gun profiles. Probably one of the best full-featured rangefinders on the market is the Sig KILO2400ABS, a compact laser rangefinder with a built-in Applied Ballistics computer.
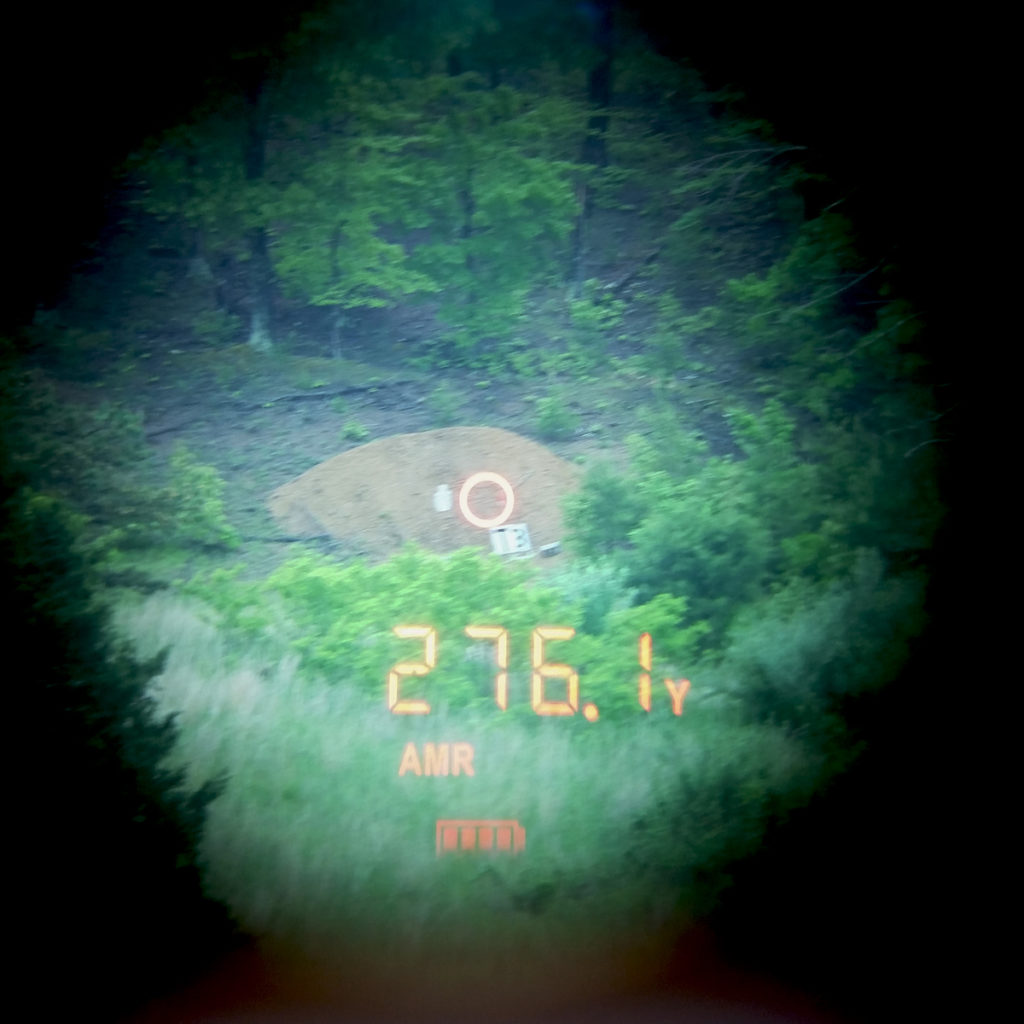
The Sig KILO can range to the 1/10th yard and automatically provides the adjusted range for slope when in AMR mode. This takes the guesswork out of adjusting the range for high angle shots.
Challenges
Laser rangefinders can be hamstrung but a number of factors that can dramatically reduce their range and effectiveness. Ambient lighting conditions can be the Achilles Heel of a rangefinder, with bright sunny days being the worst for trying to max out a laser rangefinder. On really bright sunny days I’ve had my Leica 1200 CRF, which I know can range past 1,200 yards, fail to range anything past 900 yards. In my experience, ideal conditions for a rangefinder are when the light is more diffused such as on overcast days or in the evening as the sun is going down.
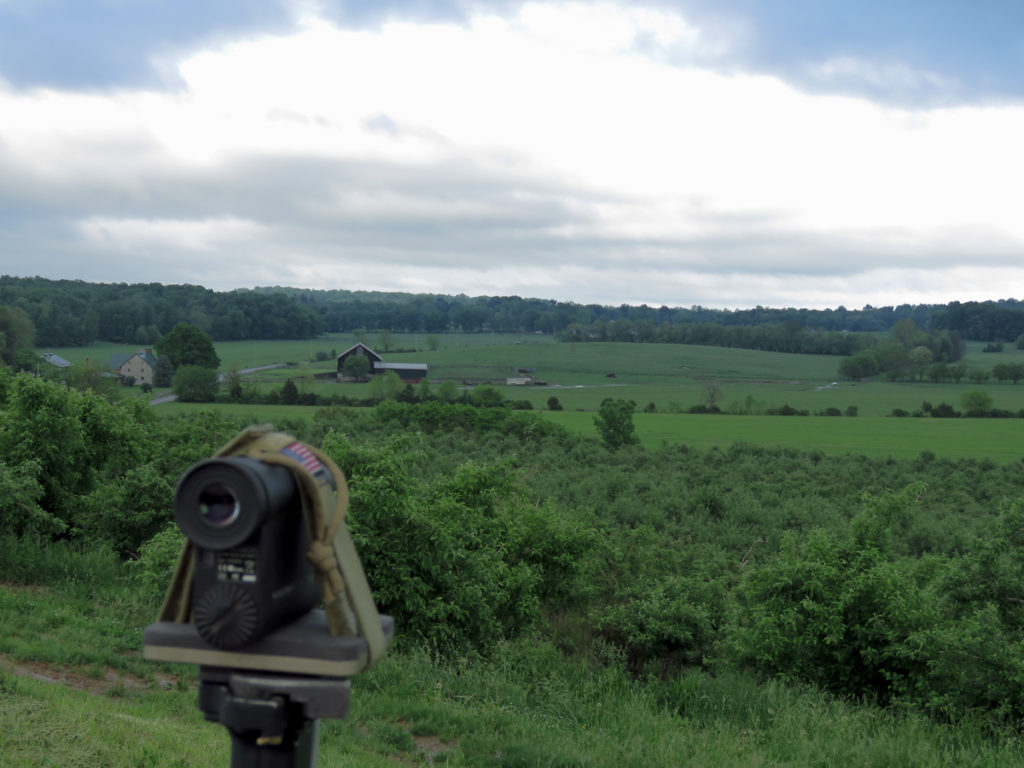
Overcast lighting conditions such as this are ideal for laser rangefinders if you want hit the limits of their ranging ability. Bright, sunny conditions can reduce the effective range of some laser rangefinders by 30%.
Additionally, things like the orientation, color, and size of the target can all play into how well you’ll get a reading at distance. A laser rangefinder works best when hitting a flat surface since it gives it the best chance of reflecting back a good signal. If the target is angled away this can increase the chances of the sensor not picking up the beam. Likewise, dark colors also do not do particularly well when trying to reflect a beam back to the unit, lighter colors work best in this regard. I think it also goes without saying that trying to range small objects that are far away can also be challenging so try to pick large objects with lightly colored flat sides if you can.
Rangefinder Best Practices
To get the most out of your rangefinder here are some things that you can do to help get an accurate distance reading.
- First, hold the rangefinder as steady as you can. If at all possible, mount the rangefinder to a tripod since this will be about as stable as you can get it. Some rangefinders come with a built-in 1/4-20 but if you have to use a two-handed grip, brace against something for more stability.
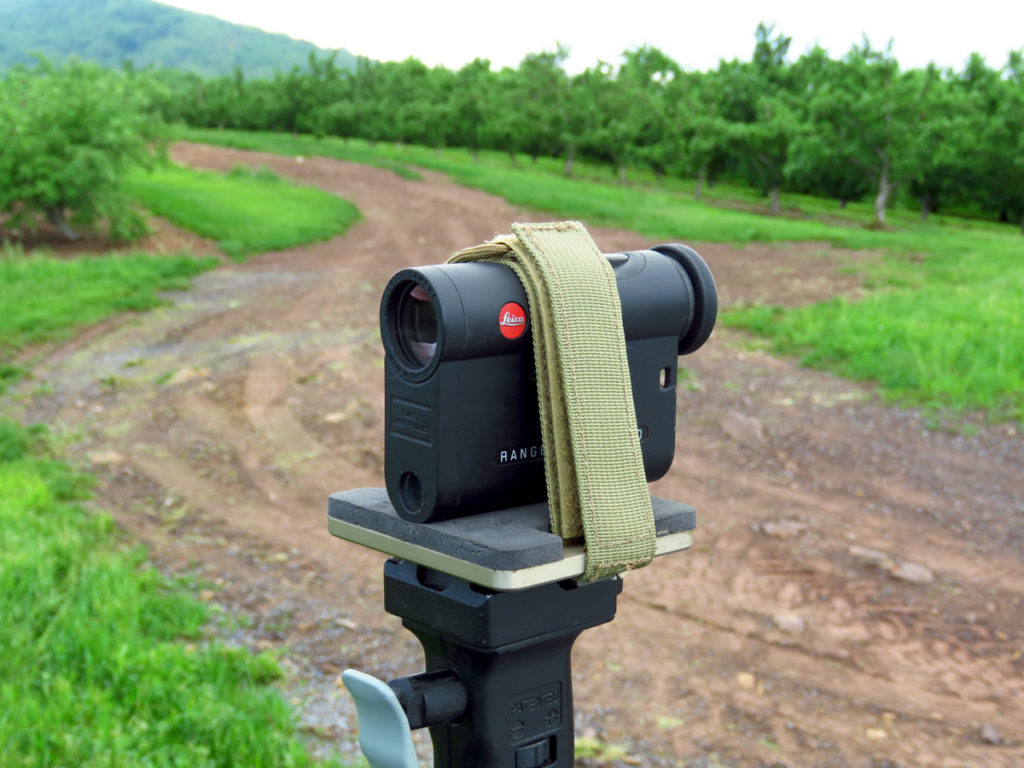
Using a tripod is the best way to get accurate long range readings with a laser rangefinder, especially if the target is small. Some rangefinders have a built-in 1/4-20 attachment point, however, in some cases you may have to use a secondary mount. This universal optics mount from Precision Rifle Solutions is an excellent way to mount laser rangefinders for a steady hold on a long-range target.
- Make sure the batteries are fresh. If you have been getting irregular readings or no readings on objects you know it should hit, switch the battery out for a fresh one.
- Choose your target wisely. As it was mentioned above, choose your target wisely to ensure you have a good chance of getting a good reflection. Avoid small targets, angled away from you that are dark in color. If you are ranging vegetation, choose the densest part that you can find.
- Range objects multiple times. When you are ranging a target, hit it multiple times to make sure the beam isn’t hitting an object in front of or behind the target. If you get two hits that are the same, aim the reticle off the side and get another reading. If that reading is a lot different then the other two you know the first two readings probably good to go.
- Keep the laser rangefinder protected. Scratched or damaged lenses can degrade the performance of the unit so when not in use keep the rangefinder in a protective case. Remember, a clean lens is a happy lens.
- Read the instructions. To get the most out of the features your rangefinder might have, read the instructions and then go out and practice with it. Learn its limitations, what the buttons do, and the best ways to hold it to get an accurate range reading.
- It should go without saying but the laser rangefinder does emit a laser beam that can be harmful if directed at someone’s eyes. Don’t point the rangefinder at someone’s face and hit the range button, this isn’t kindergarten or an infantry platoon.
In Conclusion
As you may have guessed by now laser rangefinders are an incredibly effective tool for long range shooting, but they are not miracle workers. That being said if you are going to get a laser rangefinder to fill out your long-range kit then spend as much as you can, buy once cry once applies here. When I bought my Leica 1200 CRF over ten years it was one of the best compact rangefinders you could get and pricey. Now, after a decade of use, it’s a little worse for wear but it works great and still ranges to beyond it’s stated limit so the cost is justified.
For some great laser rangefinder options check out the table below.
| Laser Rangefinder Guide | ||||
| Manufacturer | Range | Angle Compensation | Multi-Mode | Ballistics |
| Bushnell Elite 1 Mile ARC | 5-1760 yards | Yes | Yes | Yes |
| Bushnell Fusion 1 Mile ARC Binoculars | 5-1760 yards | Yes | Yes | Yes |
| Leica Rangemaster 2700-B | 10-2700 yards | Yes | Yes | Yes |
| Leupold RX-1300i | 6-1300 yards | Yes | Yes | No |
| Sig KILO2200MR | 3400 yards | Yes | Yes | No |
| Sig KILO2400 ABS | 3400 yards | Yes | Yes | Yes |
| Vortex Ranger 1500 | 9-1500 yards | Yes | Yes | No |

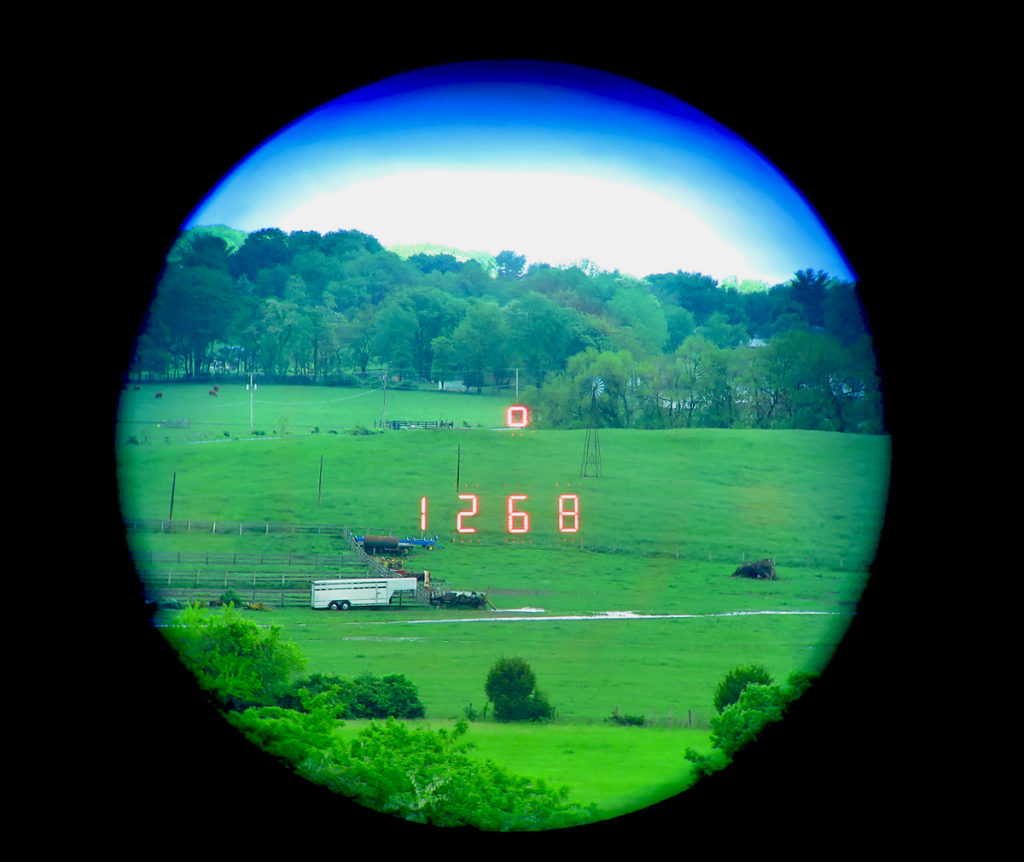
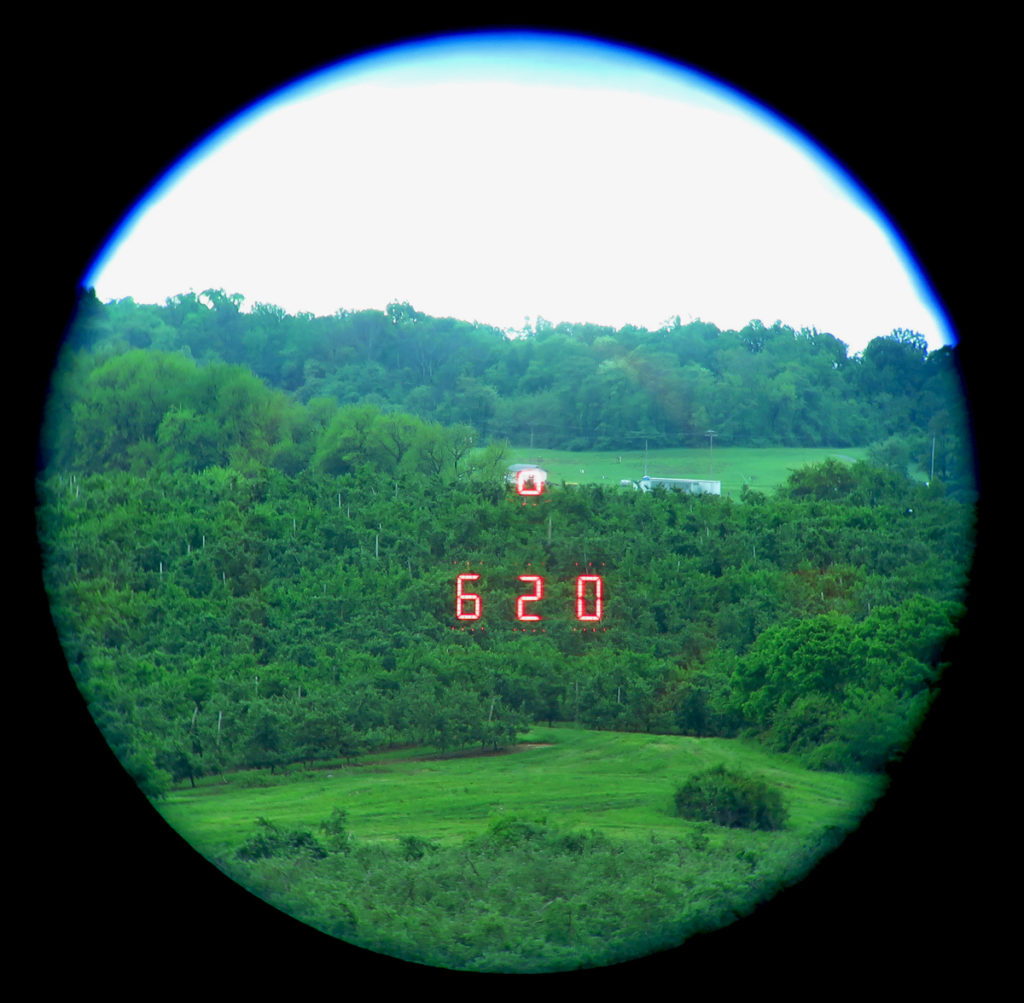
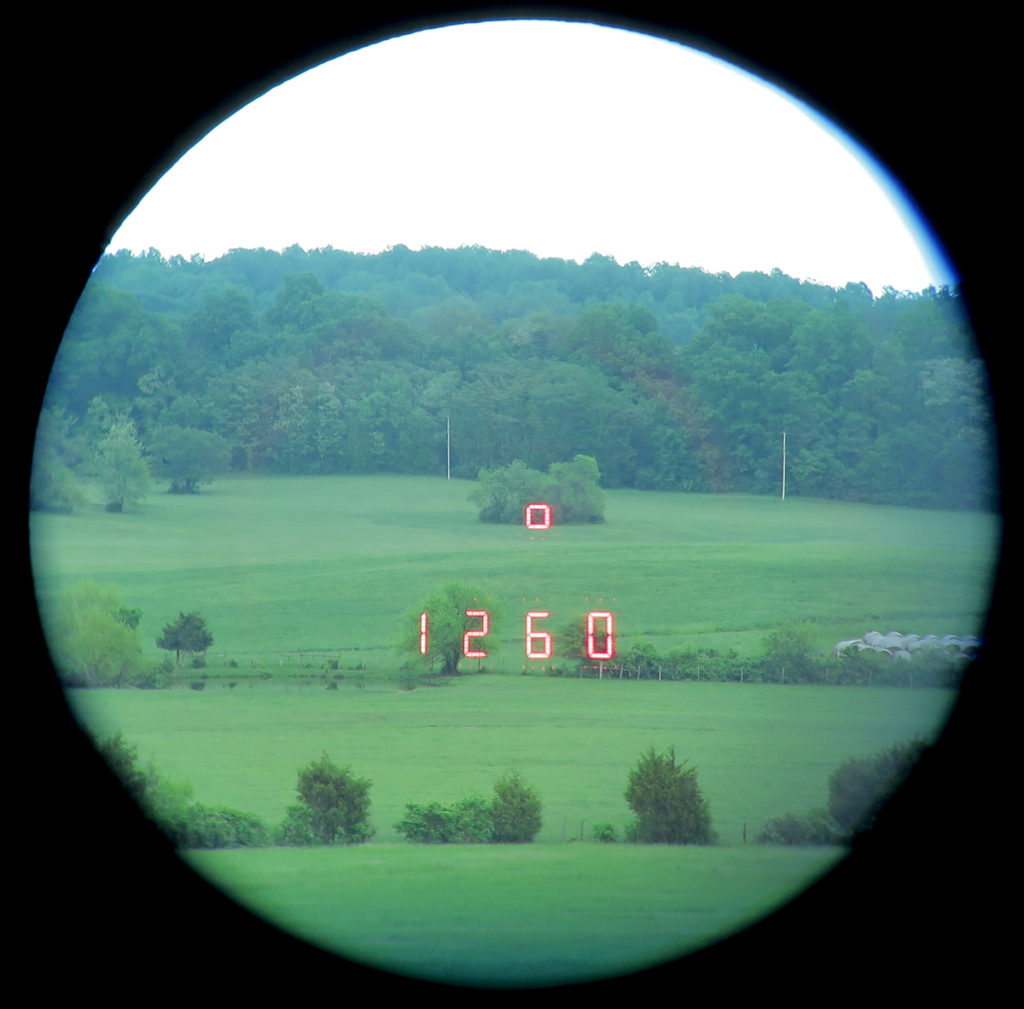
Honestly, I think the argument for monocular vs. binocular laser rangefinders is one about trade offs, basically what can you tolerate? A monocular laser rangefinder is obviously more compact and lighter in weight but the magnification could be 7X give or take 1X with an objective size of 22-24mm. In broad daylight you probably aren’t going to have any issues with the optical performance to do short scans of the background, find a target, and then see it well enough to range. In the article I had mentioned that I was able to hit a road sign just past 1200 yards with a monocular rangefinder. The trade offs, the things that you might have to tolerate, have to do with the compactness in that it can be harder to hold steady. The low magnification can also make seeing some details or burning through brush harder depending on the range.
Binocular rangefinders are bigger and heavier but they do provide a little bump in magnification, most it seems are 10X give or take, but with a larger objective size. The binocular LRF’s are easier to hold steady for longer periods of time to scan, while extra magnification can burn through brush a little better too to see something on the other side. I’ve also found binocular laser rangefinders a little easier on the eyes as well if you’re going to be looking through them for a long period of time.
Monocular LRF’s are great for match type shooting or general hunting situations where you may only need to do a quick scan, get a range, and then take your shot. Here the compact size wins out since you can keep it in a shirt pocket and not get weighed down. If you’re going to be in a situation where you’ll have to glass a mountainside or plain for a lengthy amount of time looking for a target and then quickly get a range before transitioning to the gun, the bino LRF might win out despite the bulkier package. In long range shooting the bino LRF’s can also serve double duty to spot for misses and impacts depending on the magnification level. This could keep you from having to carry multiple optics.
A lengthy response that probably should have been in the article. Thanks for bringing it up!
All good info, just the primer I needed. Thank you.
Thanks for the primer it was useful. I would, however, appreciate your thoughts on the merits/limitations of monocular vs binocular range finders. For the uninitiated, me, it would see the bino, while bulkier, would be more versatile. Yes/no?
Thanks, again, for a very informative piece and I’ll look forward to your feedback.