Just got here? Read Part 1 by clicking here!
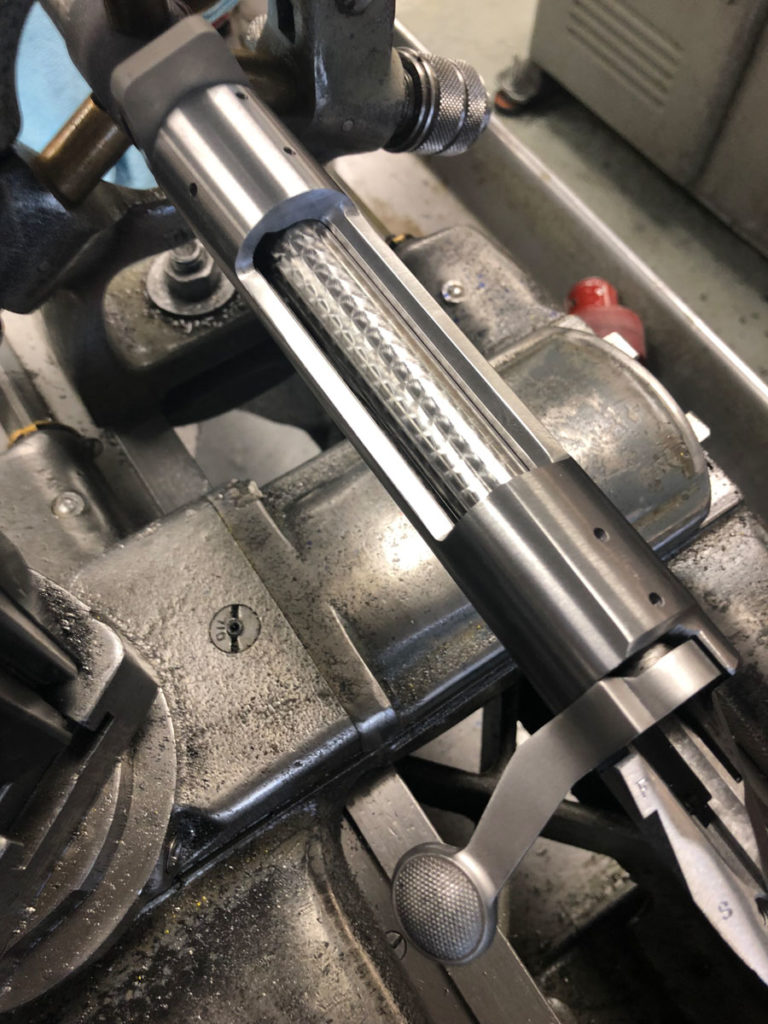
With the receiver work complete it’s time to move on to the barrel. There is more than one way to set a barrel up in a lathe. In this class we put it between centers. This ensures that the work we do will be concentric to the bore.
On one side there are some stampings which tell you the caliber, rifling rate, and maker of the blank. This is typically supposed to be the chamber end. Turn the muzzle end to some nominal size larger than your intended final outside diameter. Then put a collet attachment into your lathe with a collet of the size you just turned the end of the barrel to be. Put the turned end into the collet, and stick a live center into the other end. This will hold it properly centered.
Now setup a steady rest behind the area you’re about to machine and remove the center. The real beauty in this setup is that your lathe does not need to have a large spindle bore in order to do the required barrel work, so a smaller lathe can be used, so long as it had sufficient bed length.
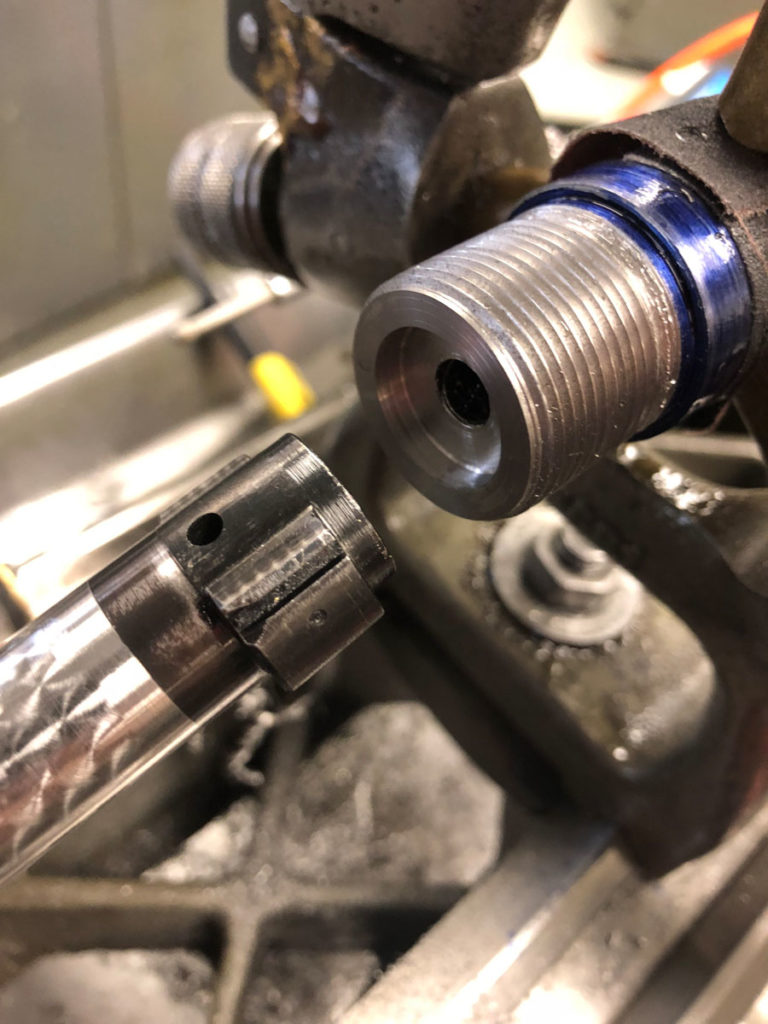
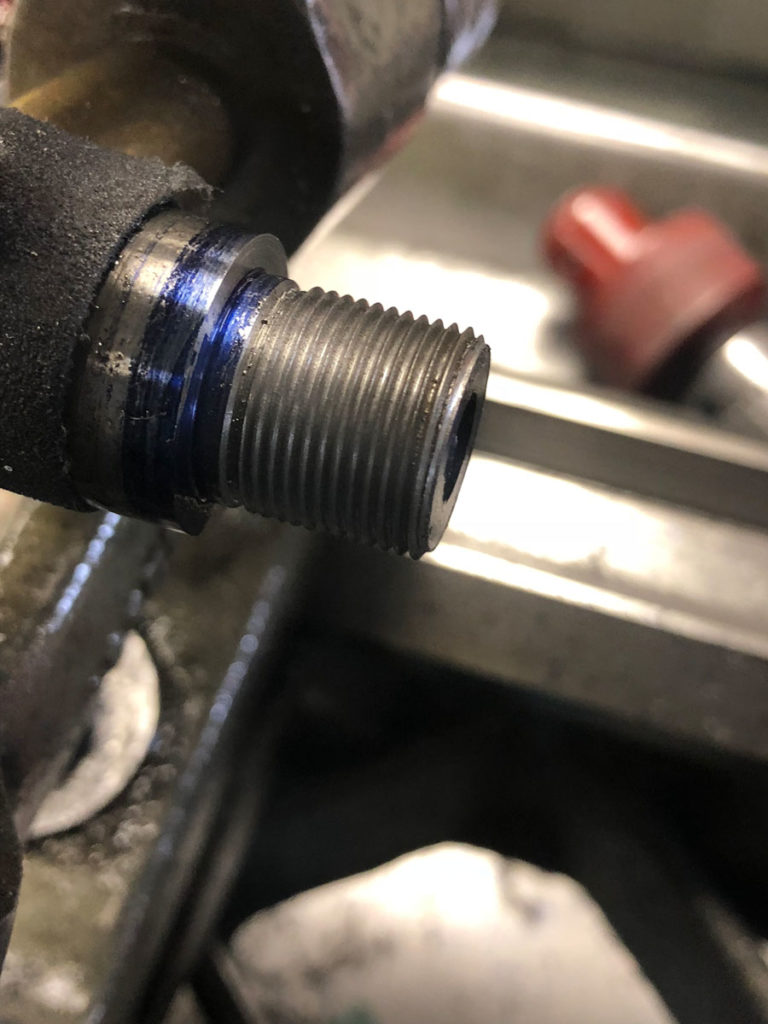
Turning the tennon is the next step. The tennon is the threaded portion of the barrel that screws into the receiver. You’ll want to turn it down to the major diameter of the receiver threads, which if you blueprinted your action will be slightly oversize from the typical 1.062 dimension. You’ll want to add that extra distance you came out when you were chasing the threads to the outside diameter, since the threads will need to be oversized that much to match the receiver.
To get the length of the turned portion, you’ll need to measure your receiver, bolt, and recoil lug. You’ll get the distance from the face of the receiver, subtract the size of your bolt lugs and add the actual thickness of your recoil lug plus .005 inches for clearance.
After turning it to size, the next step is to thread the tennon. Again, the specifics of this are going to depend upon the action you are using. Threading on a lathe takes some practice. I’d definitely recommend your barrel not be the first thing you try to thread.
You’re going to set up the same way you would for any other unified thread with a 29.5-degree setting on the compound. Then start taking passes. When the threads start to look like they’re coming to a point, test fit your action. Don’t forget to check this with the recoil lug installed. Once it threads all the way on with no gap between the receiver and the recoil lug, it’s finished.
If you’re working on a Remington 700, you now have to cut a recess for the bolt. The particular dimension is going to be determined by your specific bolt. Measure the distance from the front of the bolt to the lug plus .005 inches for clearance and the diameter of the front of the bolt, allowing a few thousandths for clearance. Then make your recess to fit.
Once you’ve done this, test fit your bolt to ensure that it will close. If it won’t, then you need to figure out where it’s too small and make only that dimension larger. If it goes, then it’s time to move to the next step, the recoil lug.
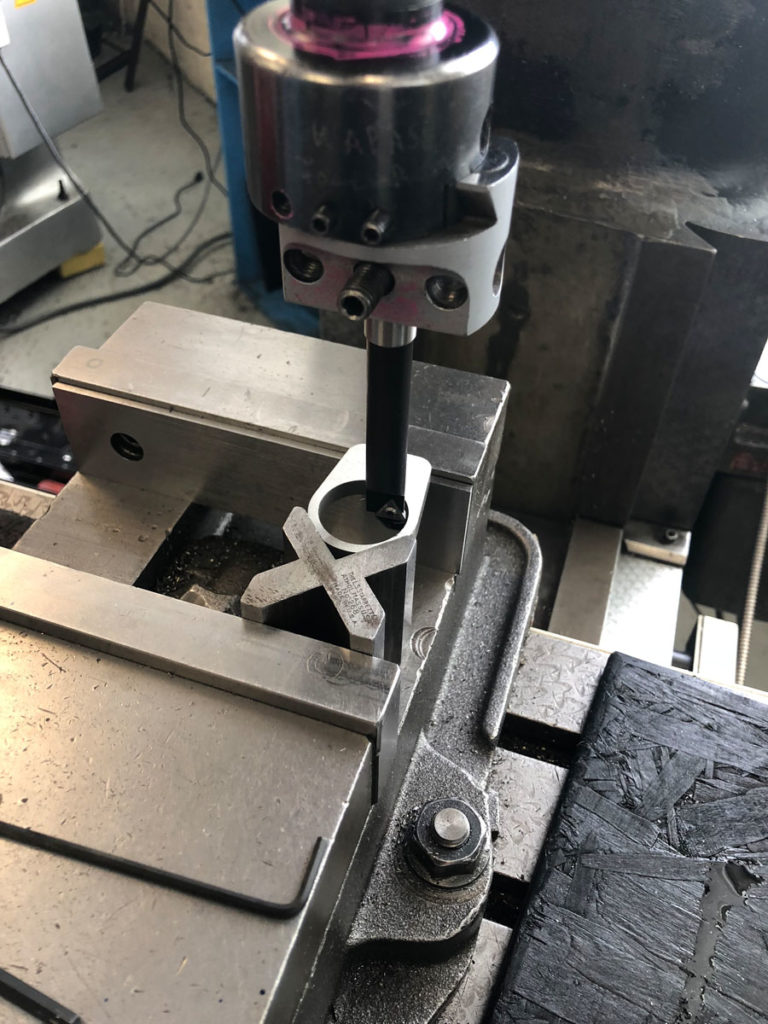
Recoil lugs should be surface ground to ensure they are perfectly straight. You can purchase recoil lugs from Brownells or other retailers that have already have this done. If you made oversized threads from blueprinting your action, you’ll likely need to open the hole up to be able to install it.
I used an offset boring head on a milling machine, but you could do this on a lathe as well. Either way, you’ll want to open it up enough to slide over the threads on the barrel. Do yourself a favor if you’re using a milling machine, set up a stop on the part. You will likely have to put it back in and open it up a little bit more, and the stop will save you from having to re-indicate the part in again to find the hole center.
By now, some of you are undoubtedly asking “What’s the purpose of all of this measuring and fitting?” Everything in manufacturing has some kind of tolerance associated with it. The closeness and complication of this tolerance depends upon what the item in question actually is.
What we are doing is essentially making our barrel to fit the specific dimension of each of our parts. This allows us to wring out a lot more accuracy than your average factory rifle has since we are fitting everything together much closer than a factory rifle is.
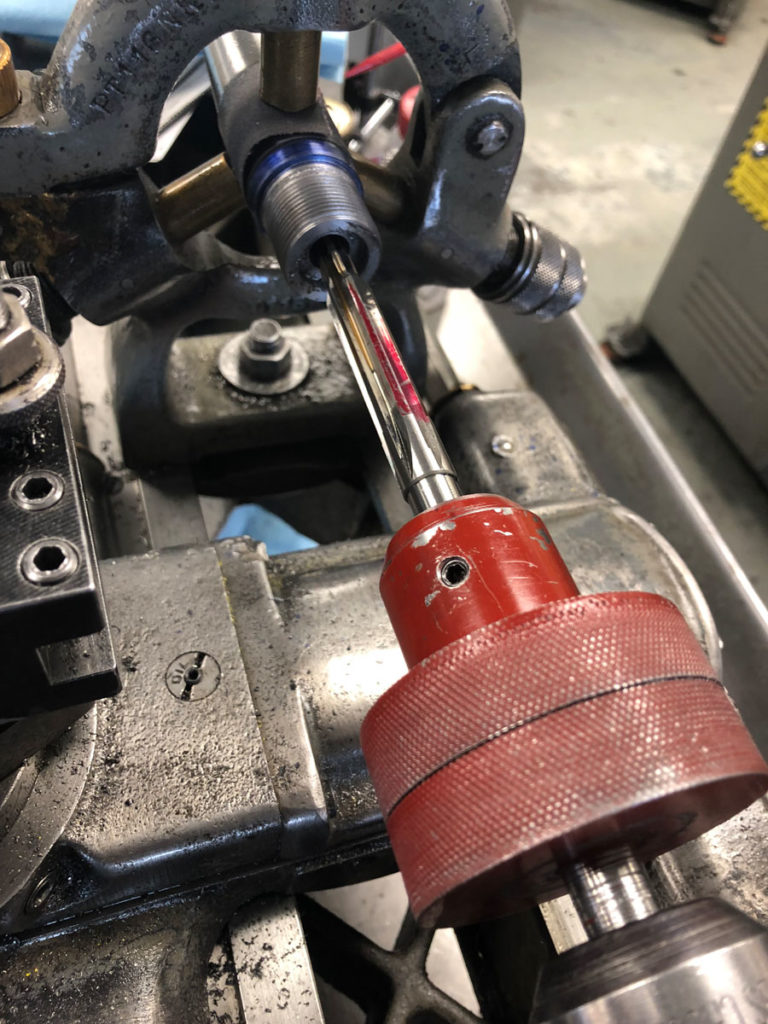
Chambering your barrel comes next. You need a chamber reamer to chamber your barrel. There are a whole bunch of different options in chamber reamers. You can completely ream your chamber with a finish reamer. There are some differing opinions about roughing reamers, and using one will make your finish reamer last longer.
There are also solid pilot and removable pilot type reamers. Piloted reamers allow you to pick a particular pilot for each specific barrel, which allows you to get a better fit, which in theory fits the reamer a little better to your barrel. This is another situation where you have to look at what you are doing and decide if the extra expense for the removable piloted reamer is worth it for your particular project.
There are also different ways to set up the chamber reamer. I used a floating reamer holder for this task. Floating reamer holders are my preference, but there are other options that way should you prefer. Once you put the holder in the tailstock and put the reamer in the holder, you’re ready to begin.
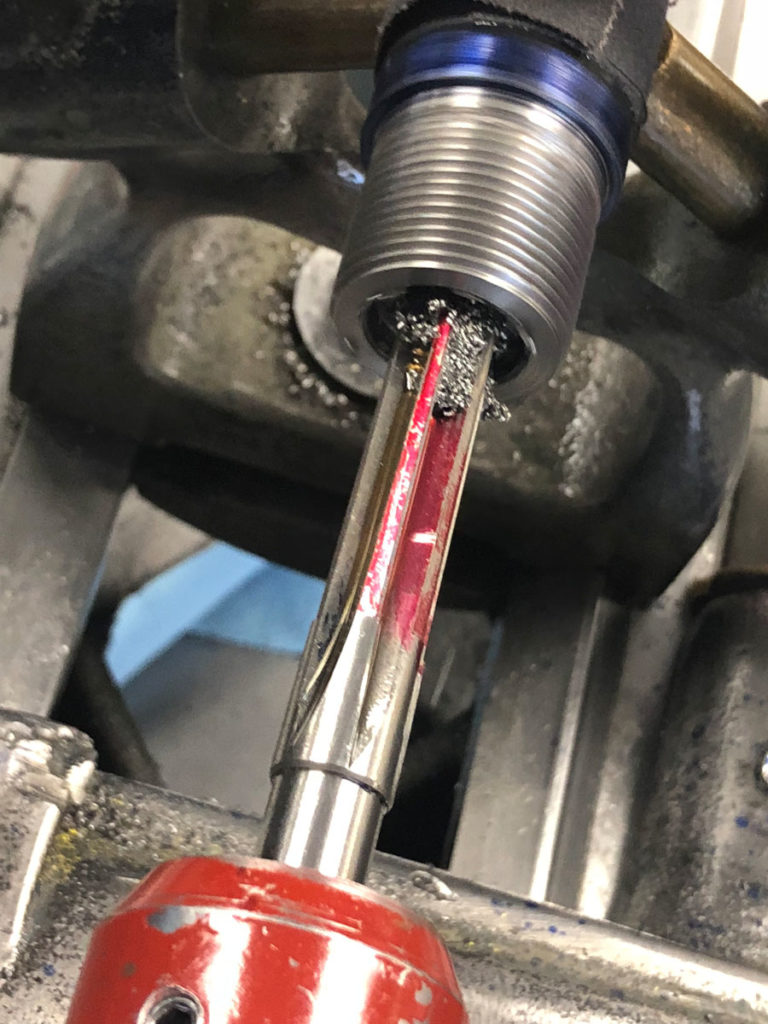
It is really important to only go in a little at a time, or you risk the chips gouging the chamber you’re trying to ream.
Stop and check with your go gauge frequently to ensure you don’t go too deep.
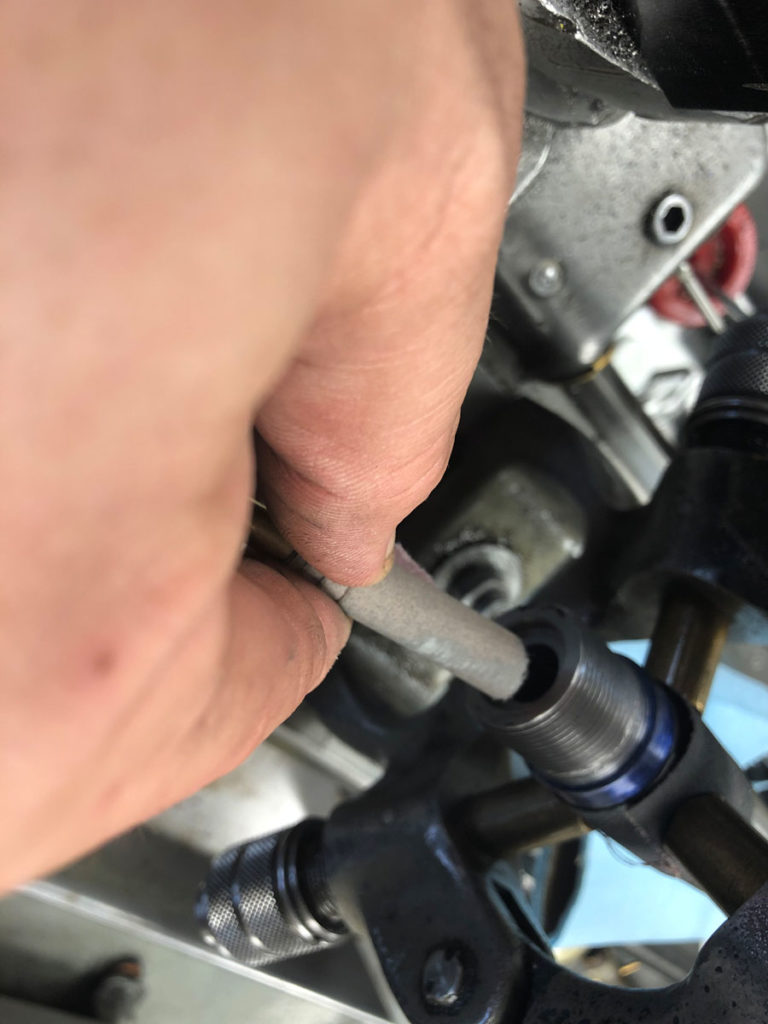
Once you have reamed to the proper depth, carefully polish the chamber. You don’t want to make it absolutely shinny, as that will cause extraction issues, just remove any visible machining marks.
You don’t want to cut your barrel to length until you have finished your chamber. That way if you were to make a mistake and need to set your chamber back, you wouldn’t end up with a barrel that is shorter than your intended length since the barrel blanks are cut long anyway.
I wanted a 26-inch barrel and that’s what length I cut mine to. Mark your barrel where you want it, and cut it off with a hacksaw, though I suppose you could part it off with a parting tool if you prefer. Leave a little extra material on the barrel, so that when you crown it, it’ll be at the length you want it to be.
Next, you can either thread your muzzle or crown it. It doesn’t really matter which order you do these two operations in if you’re doing both. Threading the muzzle is almost exactly like threading the tennon on the other end. Put the chamber end in a collet, setup the steady rest using a center in the tailstock, pull out the tailstock, and go to work.
The typical gunsmith’s opinion is that an 11-degree crown is the most accurate. For a typical 11 degree crown, you just basically face off the barrel from the inside out using the compound. For a recessed crown, you stop partway, move out .010 to .020 iches and continue. This will leave a nice step or recess in the crown.
Of course, if you’re going to mount some sort of muzzle device a recessed crown is unnecessary to protect the crown. I decided to put a recessed crown on mine for aesthetics. I just like how they look.
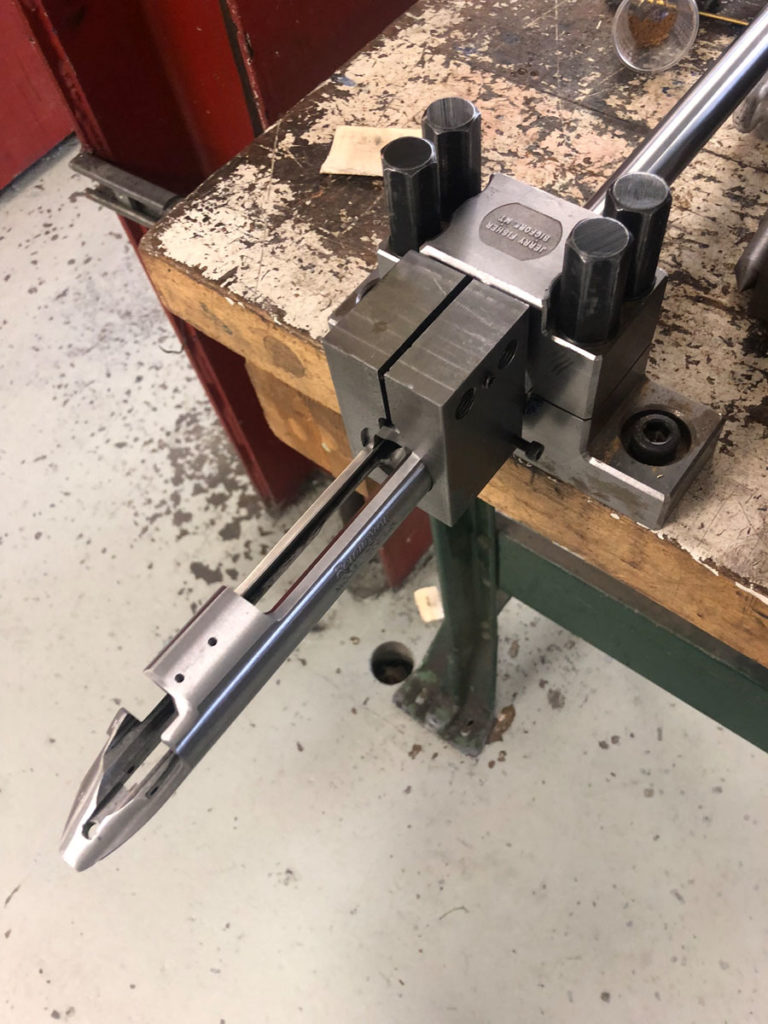
Now you’re ready into install your new barrel into the receiver. Put the barrel into a barrel vise, and a receiver wrench on the receiver.
Be careful when performing this task. If you tighten it too much, you’ll damage all of that close tolerance work you just did. Not tightening it enough is also bad. Tighten it a little past snug with the wrench. That’s plenty of force for it to stay on. Now you have a barreled action!
This particular class was obviously not a beginner’s course. But there are plenty to choose from that are in the NRA Summer Gunsmithing Program. For those of you out there who have some basic machining knowledge, hopefully this gave you an idea, of how to do some barrel work on a lathe.
Whether you are just getting into hobby gunsmithing or have been at it a while, you’re likely to find a course that interests you at Trinidad State, or one of the other participating schools.

Thanks Chris, that is a fascinating subject to me and makes me wish I’d have pursued a formal education in machining in my younger days. The more I read the more I desire to get into it if for nothing else than threading a barrel for a suppressor. I have not heard of the NRA Summer Gunsmithing Program and wonder if there are any offered in the vicinity of Eastern North Carolina. NH
The list of schools participating in the NRA Summer Gunsmithing Program is here…
https://gunsmithing.nra.org/find-a-school/
There is one located in Troy, NC. The specific courses offered vary with each school and year.