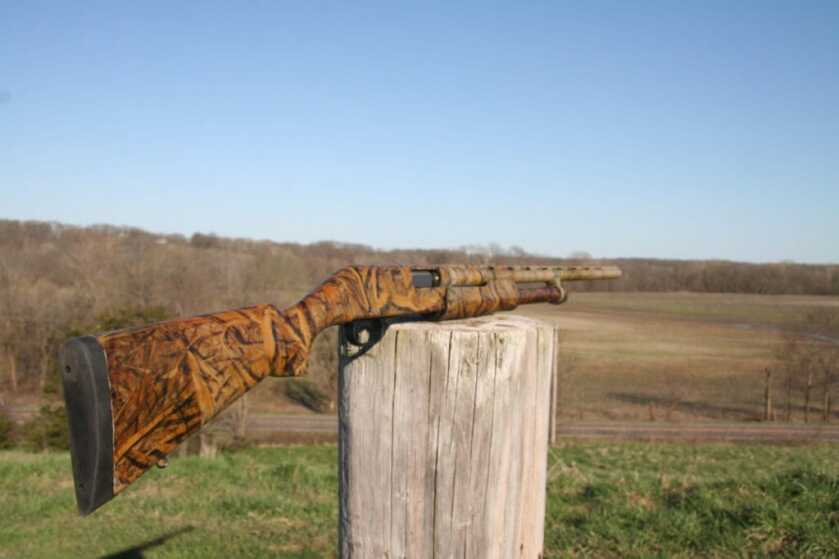
Guns are meant to be used but require the same concealment as we do when hunting in tough conditions. I hunt waterfowl and know barrel flash, shiny things, and moving a gun around that is not concealed can cause birds to flare.
I had a nice 20 gauge Savage Stevens Arms 320 that I won at a banquet that I thought would be a good candidate for hydro-dipping to show how it is done. The process is easy, but like most skills it takes practice. Getting it perfect is tough, but for the most part, any camouflage is better than black or a shiny gun. Note that hydro dipping is permanent, so if you have a gun that needs to remain original you might try a stick-on camouflage rather than this process. Also, keep in mind older previously camouflaged guns wear and reveal the undercoat that might be too bright. These can be re-coated easily and make good candidates for a hydro-dip.
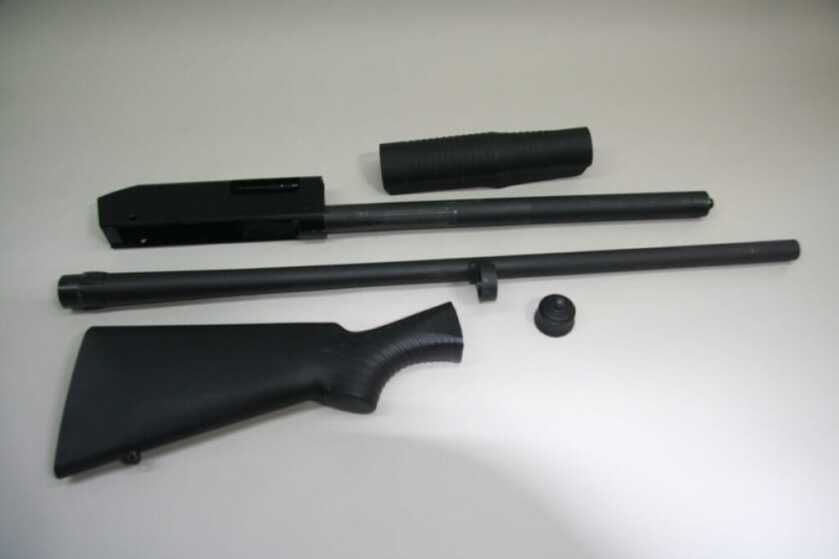
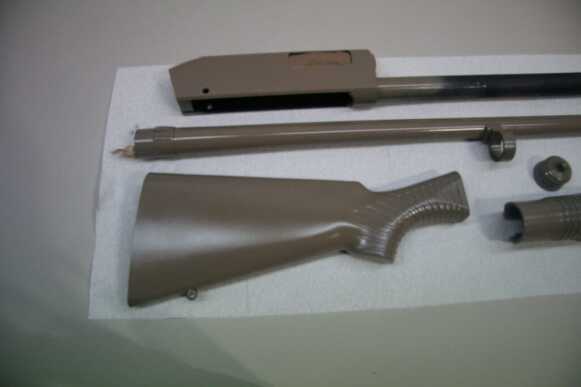
First up, your gun needs to be free of oil and grease. Take the time to clean it with soap and water and remove all the oil. After this, handle the gun with clean hands or with rubber gloves to make sure you don’t put oil back on the gun. It is best to disassemble the gun and at this time determine what you will dip. Most often the trigger mechanism is not dipped. In this gun, I dipped the barrel, forearm, stock, and breach.
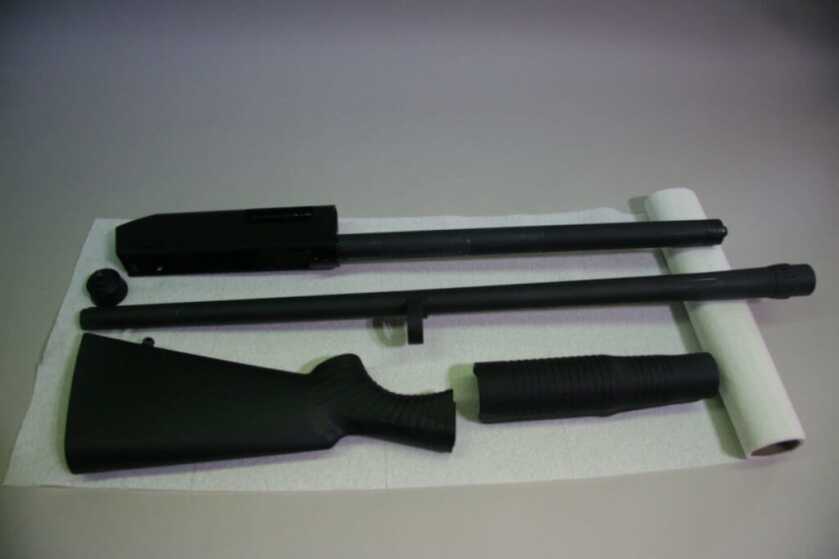
Once cleaned, mask off places you don’t want color. Take some masking tape and seal the breach so nothing gets inside. Do the same for the stock. You will also need to create some type of handle for each piece to hold onto when dipping. Use clamps, or whatever you can devise to make sure you can control the piece as it passes through the dip. Items like the stock will try to float and unless you have them stabilized you will fight to get them through and under the material in the tank.
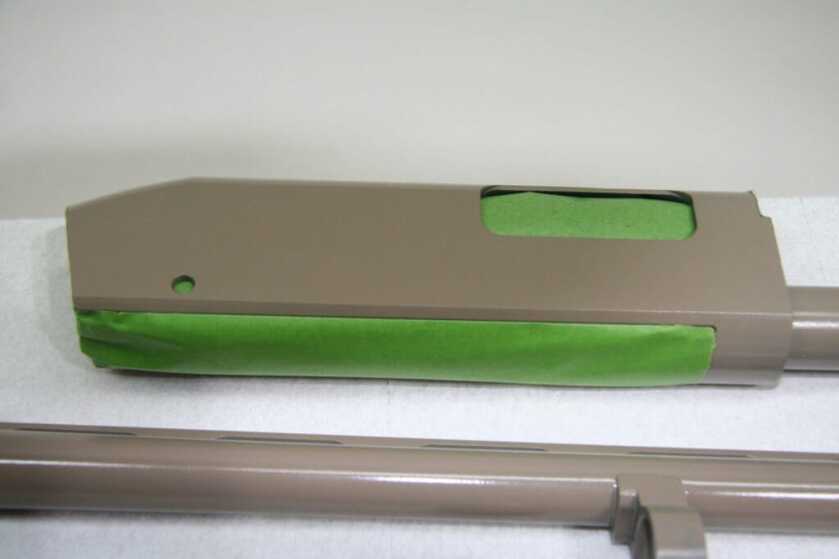
Pick an undercoat paint that will blend in behind the hydro camouflage you have selected. I used a Krylon brand that worked very well as they had a khaki color that I thought would work well. Colors and styles of hydro-dipping material are readily available online and to dip this gun I purchased one square meter of material at a cost of $16.99. You will also need activator and that can also be purchased online with a combo or separate for about $12.99 for a six-ounce can (plenty for one gun) or $20.99 for a 16-ounce can capable of doing several guns.
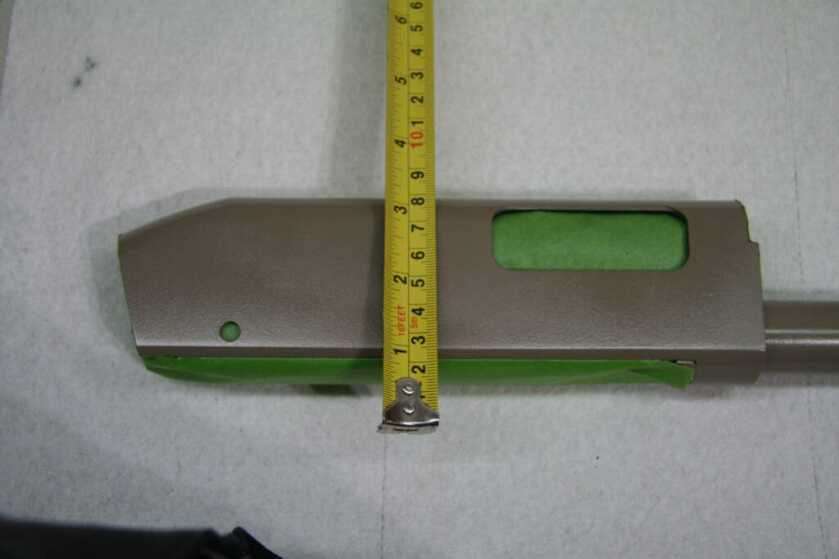
After painting each piece you need to measure the material and create each piece that will be used. Surround each cutout with masking tape. This keeps the material from curling and also keeps the water from getting onto the material before you dip.
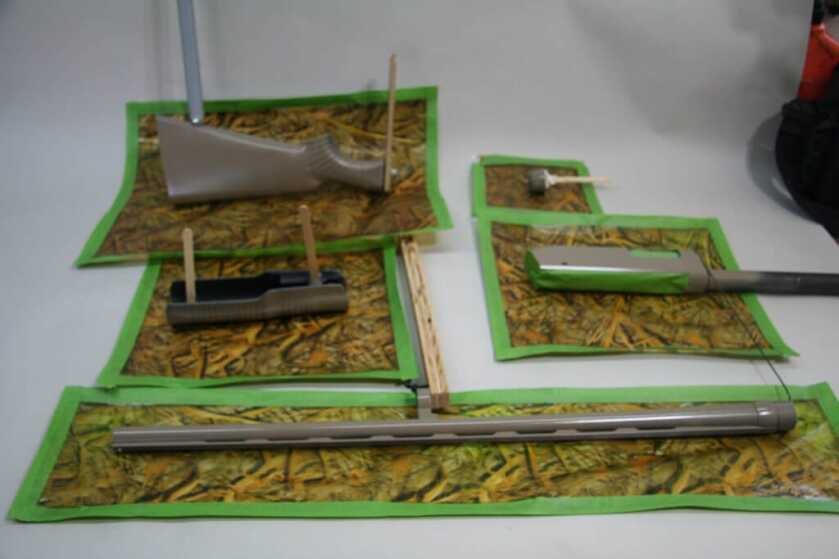
To dip, you need a tank of water. A utility sink works well or a big plastic tub. Make sure it is deep enough to allow each item to pass through the material and under it after dipping. The water must be near 90 degrees to work well. Eighty to ninety is good, but 90 is a good mark to hold.
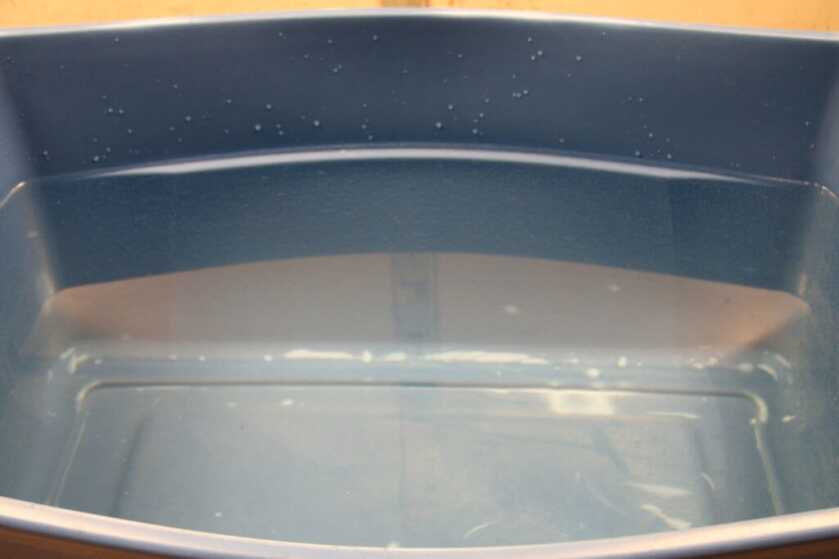
Each piece has a correct side to dip so a simple test before placing it in the water is wet your thumb and forefinger and grab a corner of the material. The side that sticks to your finger will go face down in the water. So take your first piece of material and item to dip plus a timer and your activator to the tank.
You will lay the material carefully onto the water making sure to not get any water on top of the material. Once on the water set your timer for 60 seconds. The material will start to crinkle and eventually flatten out. You can use your dry finger to gently push bubbles out from under the material. After one-minute, spray the material with the activator, coating it evenly, but at a distance far enough not to move the material on the water. As you spray the material it will flatten even more. In ten seconds dip your item.
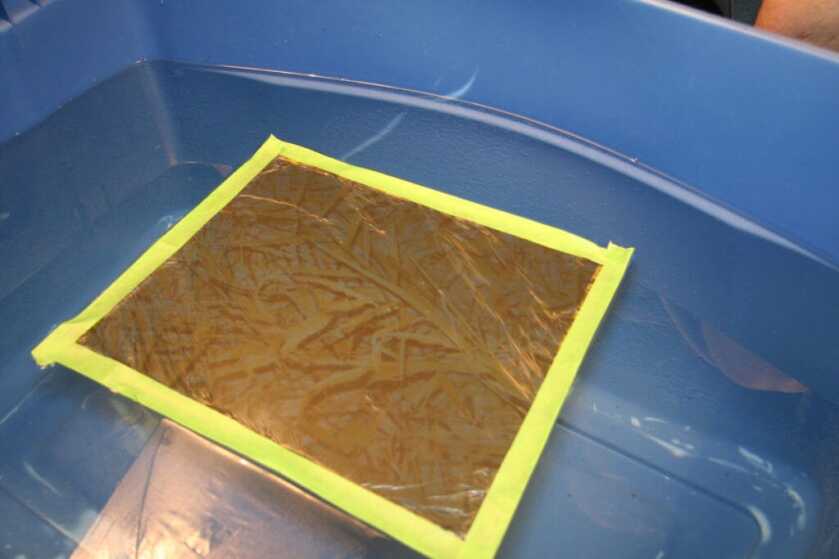
Dip the item slowing and evenly at an angle into the material. Keep pushing it through until it is all the way past the material. Shake the item underwater and move unused material out of the way on the surface and pull the item out.
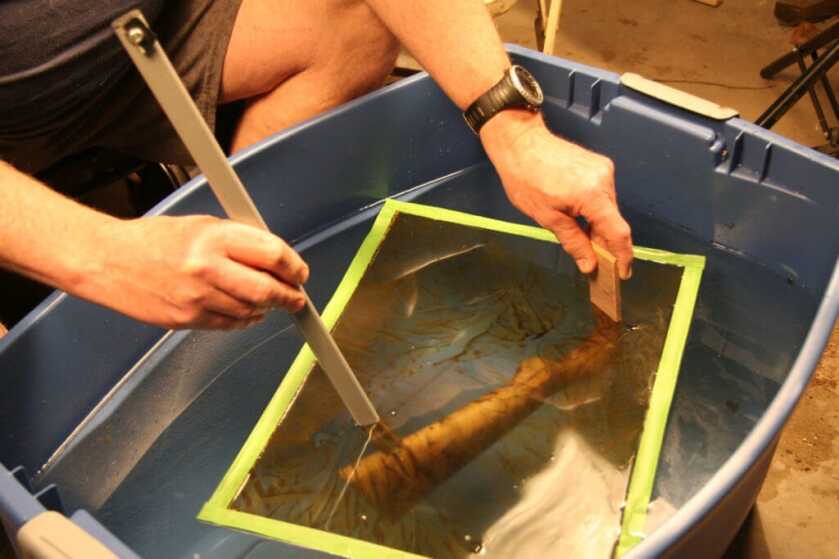
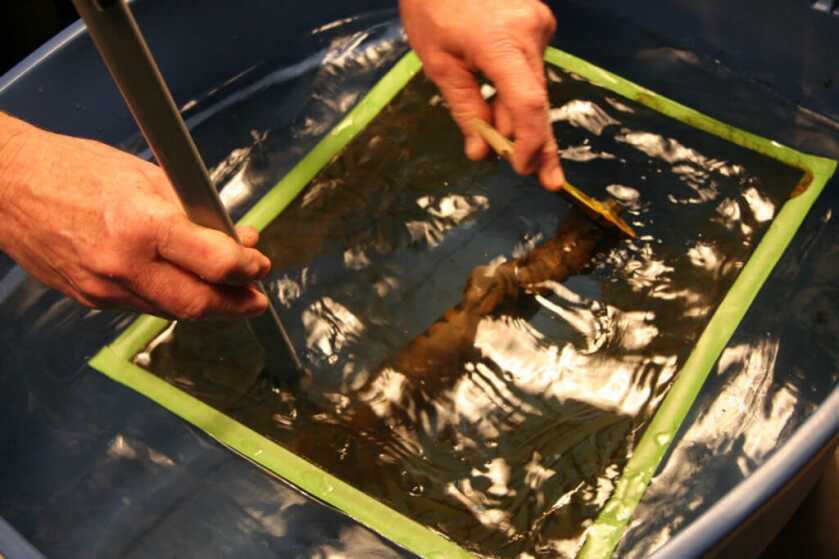
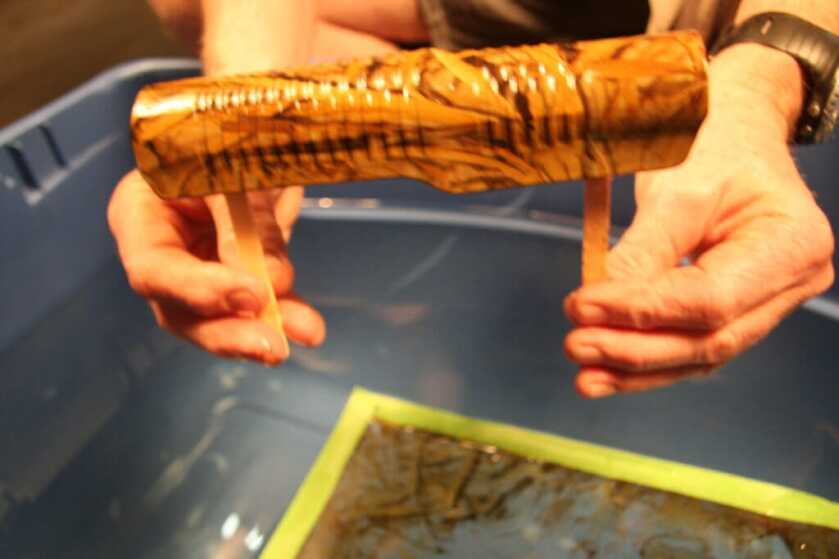
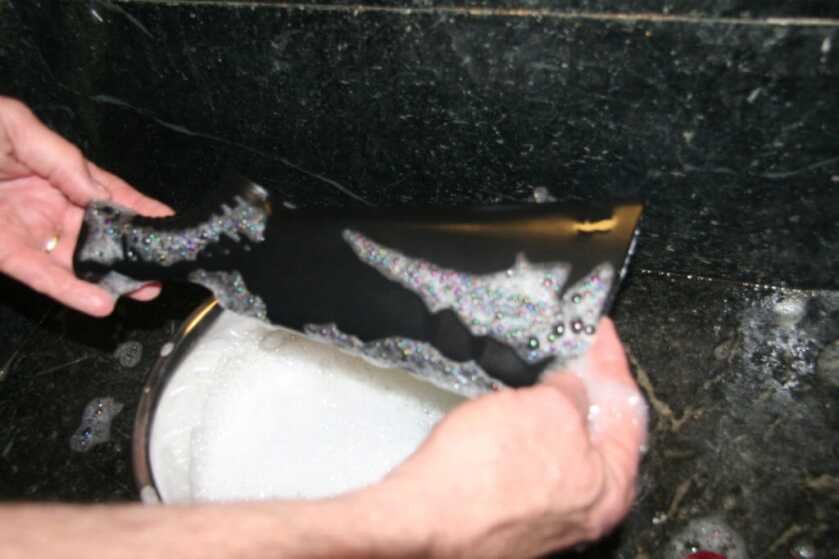
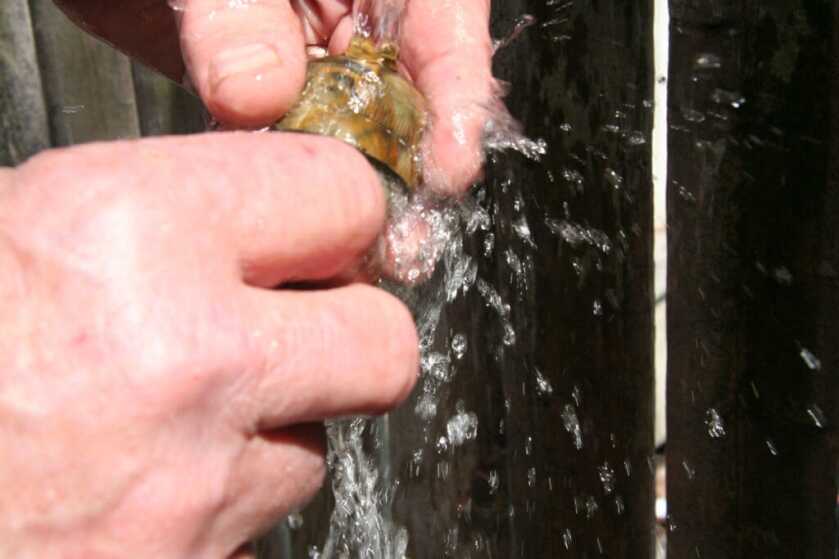
The item will be slimy. Take it to the sink and wash and rub it gently to remove the slime. The color and pattern will not rub off as it is now firmly attached to the item. Once clean, let it dry and repeat this process for all items.
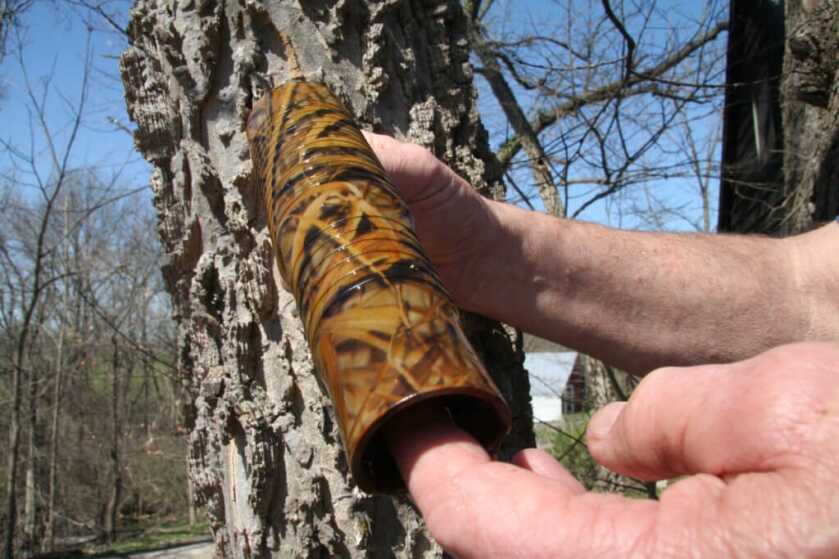
Lastly, you will use some automotive clear coat to spray over all surfaces you just dipped. This protects the pattern and ensures a long life for the new camouflage. Now you can put the gun back together. I will add here that any mistakes you might have made can be corrected by another dip. Easy to do and worst case scenario is a re-paint and start over.
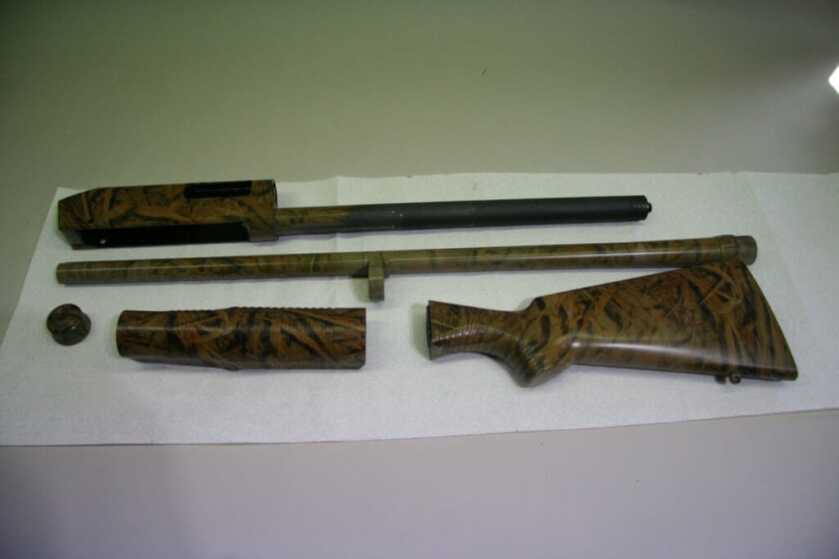
So there you have it. If you have a gun you want to use but it is not camouflaged then this is an easy and cheap way to take a gun and make it useable and very concealable. Give it a try.


Sweet
Interesting process to be sure with many possible applications. I have always liked tiger rags as well and this is similar in pattern !
But I have no issue at all with just painting your rifles in what ever camo form you prefer. The entire point is only to break up the outline of the object for any camo, as well blend in with your surroundings.
Well done. Thank you.