Sausage is a delicious way to eat meat. It can be ready to eat quickly and even people who have never cooked wild game know what to do with sausage.
You can make links bulk sausage in bags like at the grocery store. But when I went to make sausage for the first time, I was surprised at the lack of how-to resources out there. Here’s what I wish I’d known.
What You Need
Grinder
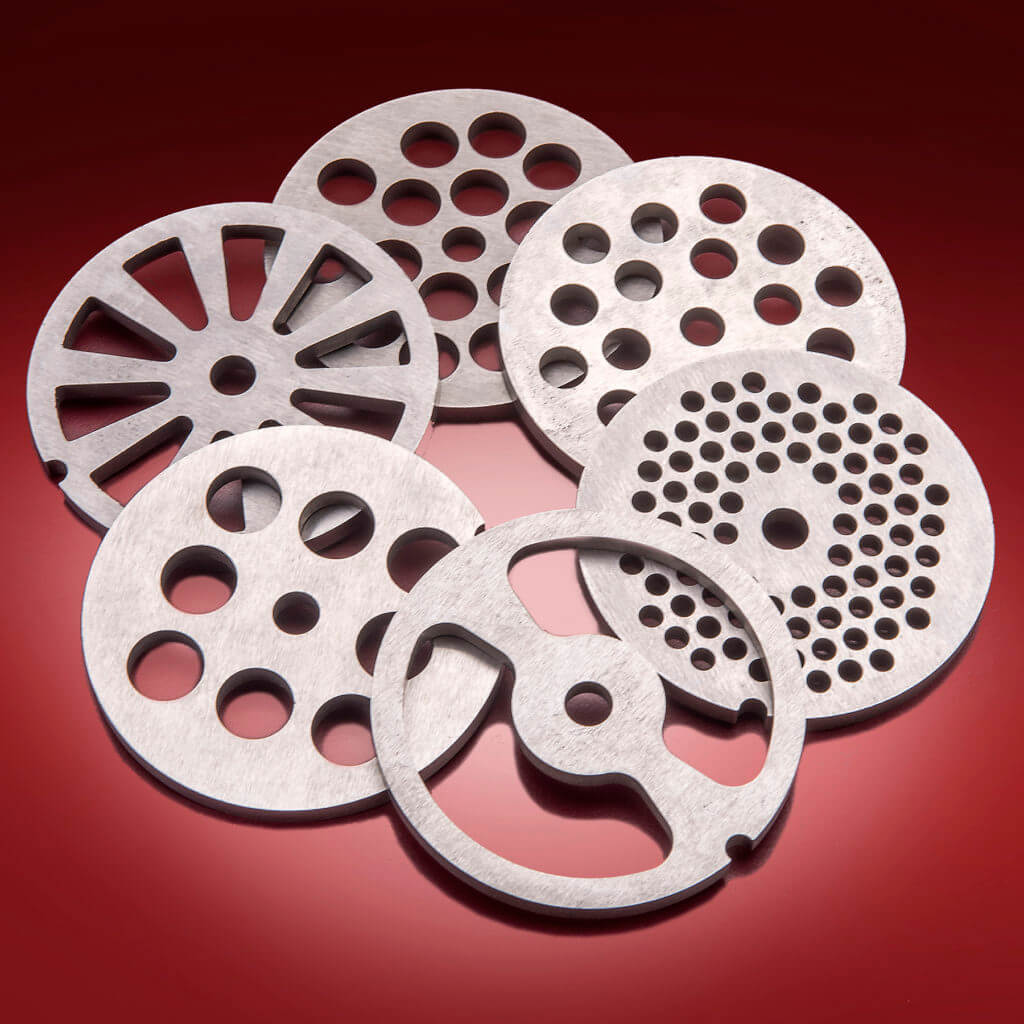
You’re going to need a meat grinder. The more powerful the motor in the grinder, the faster it’ll grind and the longer it’ll run without overheating. You’ll want one with a coarse grinding plate and a beaner/sausage plate.
Fat
You’ll also want some fat, typically beef or pig fat. You could also use bacon ends and pieces. You can get this at the supermarket or from a butcher. I found it for about $1/pound at the supermarket. Freeze the fat before dicing to mix with your ground meat.
Spices
I’ll work on some spice recipes you can blend yourself, but in the meantime, you can buy spice packets from your hunting store or online. There are all manner of spice mixes for breakfast sausage, Italian sausage, salami, summer sausage, spicy sausages, etc. A $6 package mixes with about 20 pounds of meat. Salami and summer sausage packs are more costly, around $20 for 20 pounds.
Bags
You need something to put your sausage into. 1lb bags are common and cost about $0.10 each. You need a tie to keep them closed — you can buy metal crimps and a tool, but I find it much easier to use tiny zip-ties.
Casings
Making linked sausages requires casing. Casings come in various diameters and materials — make sure they’ll fit the grinder’s stuffing tubes. LEM makes a collagen casing that is easy to use and ready to stuff right out of the package. You can also use beef, pork, or sheep gut casing, which I haven’t done yet, but it’s not quite as simple as the collagen casings. However, each time I cook with the collagen casings they split in the pan, which may be due to too much fat in the sausage. Summer sausage and salami kits include casing, which is part of the reason the kits are more costly.
What You Do
Prep the Meat
You’ll start by cutting the meat you want to grind into cubes about 1″ square. The meat should be nearly frozen when you grind it, as should the fat. This helps inhibit bacterial growth, but the grinder also works better when the meat is very firm. It also helps keep the grinder cool. Put the metal grinder parts into the freezer beforehand, too, to help keep it cool.
All the spice packs I’ve read have recommended a meat to fat ratio of about 80% to 20%. That is, ten pounds of sausage would have 8 pounds of meat and 2 pounds of fat. I find that much fat is too high, though. I think you’ll like 10% to 15% fat much better. Unless you want to stretch the meat a little farther, then by all means add more fat.
Grind
Start with a coarse grinding plate, like 1/4″ or larger. Position a tub or bowl to catch the ground meat.
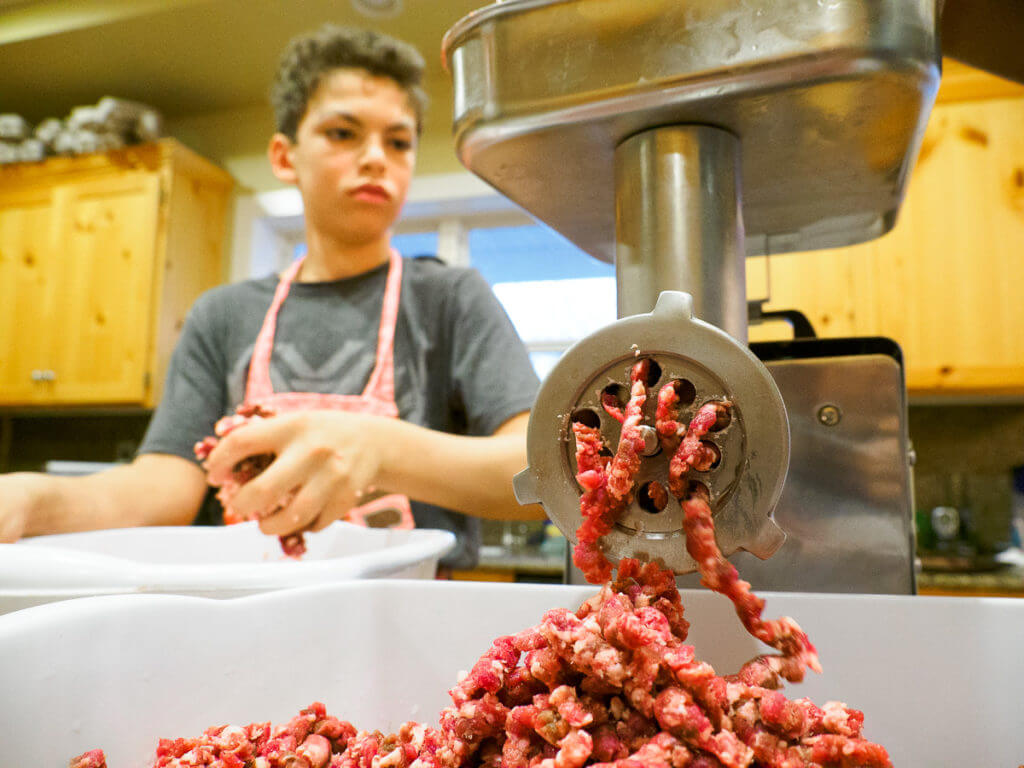
Place meat and fat cubes on the hopper tray on top of the grinder and feed them into the chute at about the ratio you want to end up with. You’ll have sections that have more fat than others, but you can even that out when you mix the spices into the ground meat.
While running the grinder, it would help to place an icepack on the metal parts to help keep the machine running coolly. Be sure to follow guidelines in your manual on how often to rest and clean the grinder.
Mix
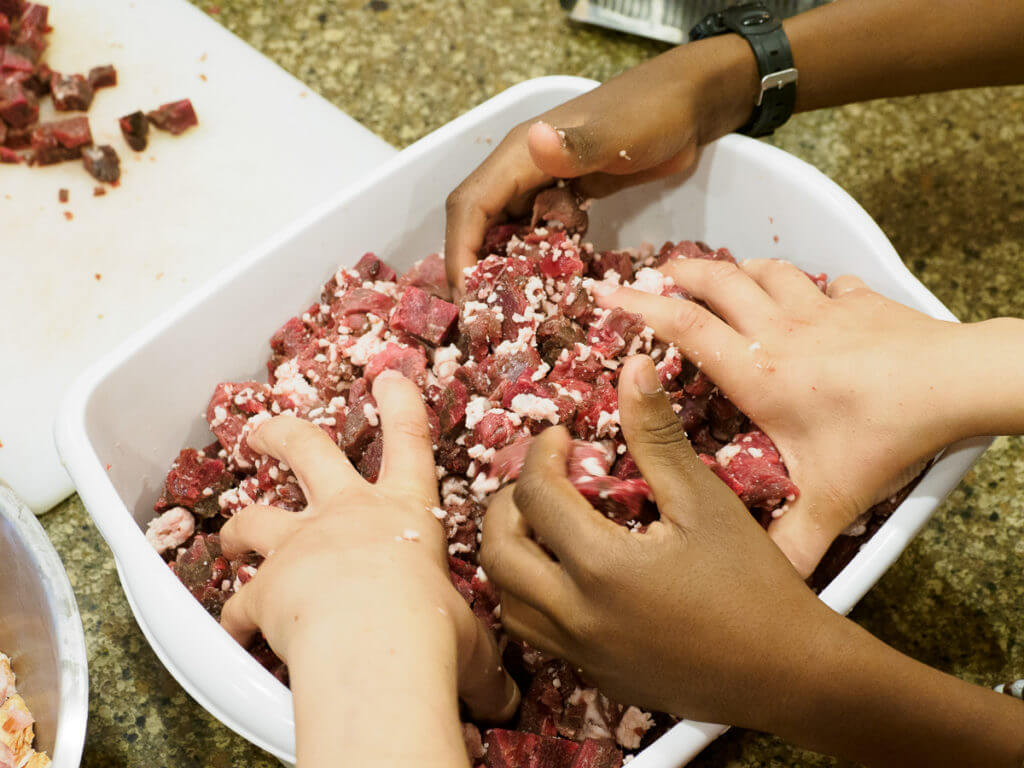
After you’ve run the meat through the grinder, you’re ready to mix in the spices. It’s best to sprinkle them as evenly as possible over the meat then knead and mix it throughout with your hands. Use this opportunity to redistribute areas of more fat and homogenize the grind.
Stuffing
Now switch to the sausage stuffing plate, or beaner plate and attach a stuffing tube to stuff casings or bags. Hopefully you bought casings that match the diameter of the nozzles that came with your grinder.
Bags of Ground
Push a bag all the way onto the tube and fill the bottom of the bag first, moving the bag around to fill the corners, then let the bag slide back as it fills until you reach the fill line for about 1lb. Stop the grinder before you remove the bag.
Cased Sausages
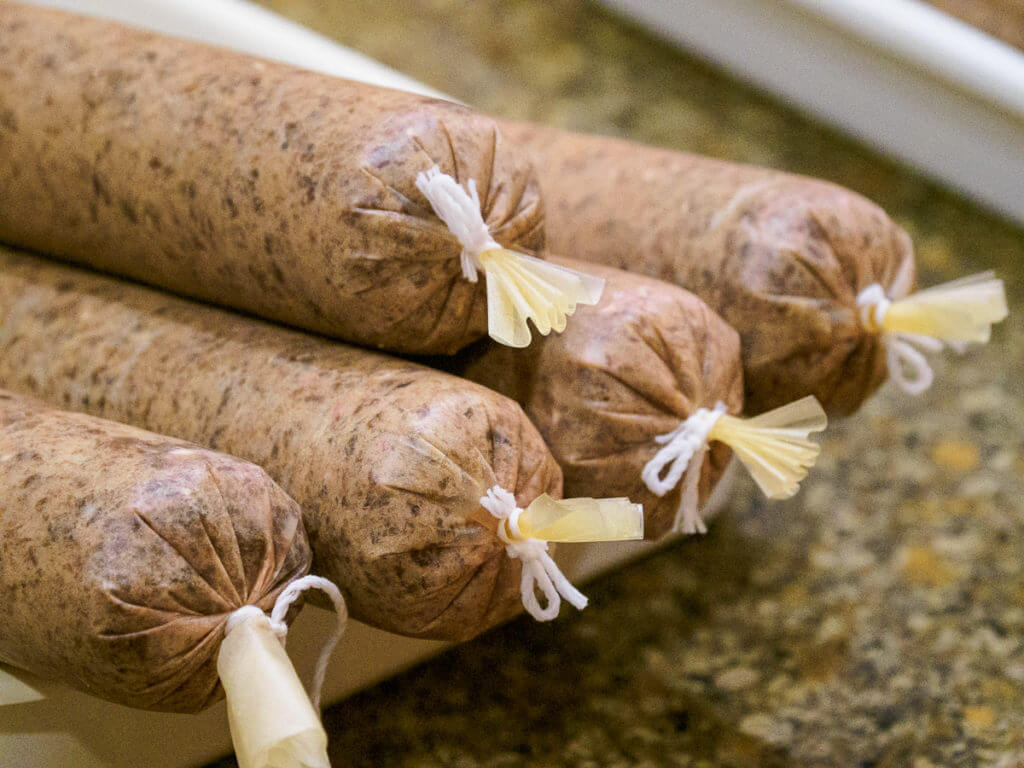
For cased sausages, push a length of casing onto the stuffing tube as far as it will go and keep it bunched up so it can expand as it fills. Tie off the end so that it catches the sausage mix. Keep a little pressure on the casing with your hands so it fills tightly as the meat exits the grinder.
Once the casing is as long as you’d like, twist it repeatedly to close it off, like making a balloon animal. You might need to stop the grinder the first few times you twist. When the next section is as long as you’d like, twist it off in the opposite direction as the first one. If you twisted the first counter-clockwise, twist the second clockwise, the third counter-clockwise, the fourth clockwise, and so on. This way, you don’t untwist the previous section each time.
Place the sausage mixture onto the hopper again and once you have a bag or casing in place, begin feeding it into the chute. I’ve got a footswitch with my grinder so I can start and stop the machine while keeping two hands on the casings and hopper.
Storage
Be sure to label the bags of ground sausage with details. You think while you’re making it that you’ll always remember what’s in it — until after that late-season hunt you got invited on and then made more sausage. Be sure to label it with the date and exactly what’s in it. If you’ve mixed ten pounds of sausage, get ten one-pound bags ready before stuffing so the marker will stick to the bag better.
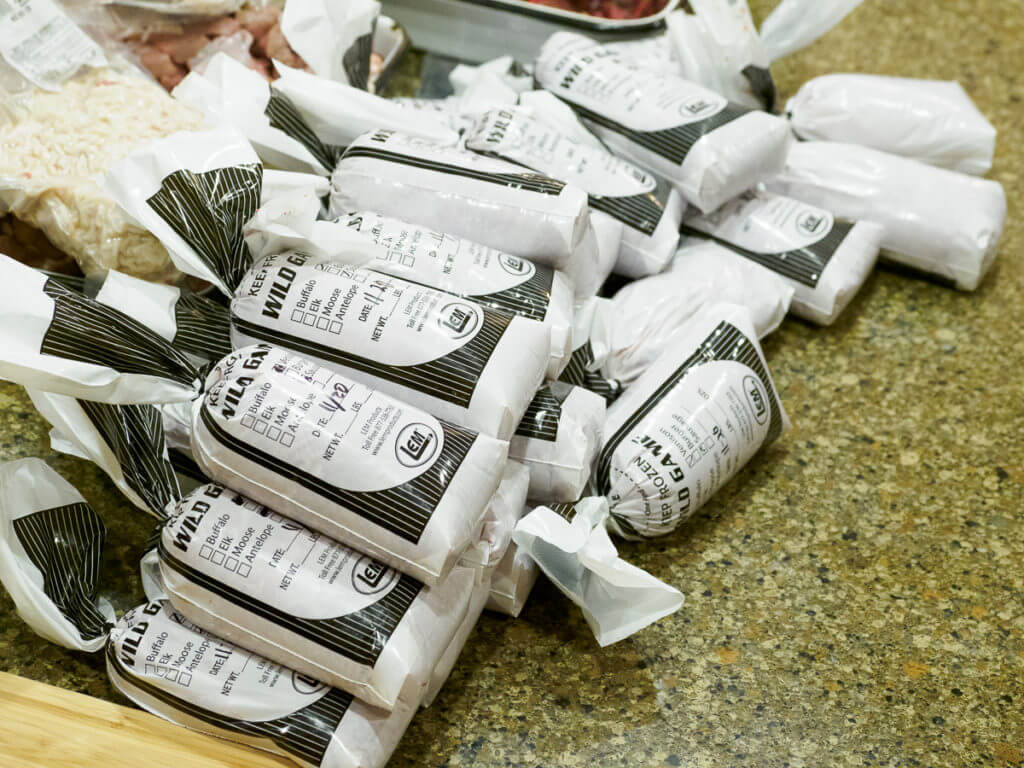
You can freeze links for the short term in ziplock bags, or pack them in vac bags. If left in ziplocks for very long, they may freezer burn.
Salami and Summer Sausage
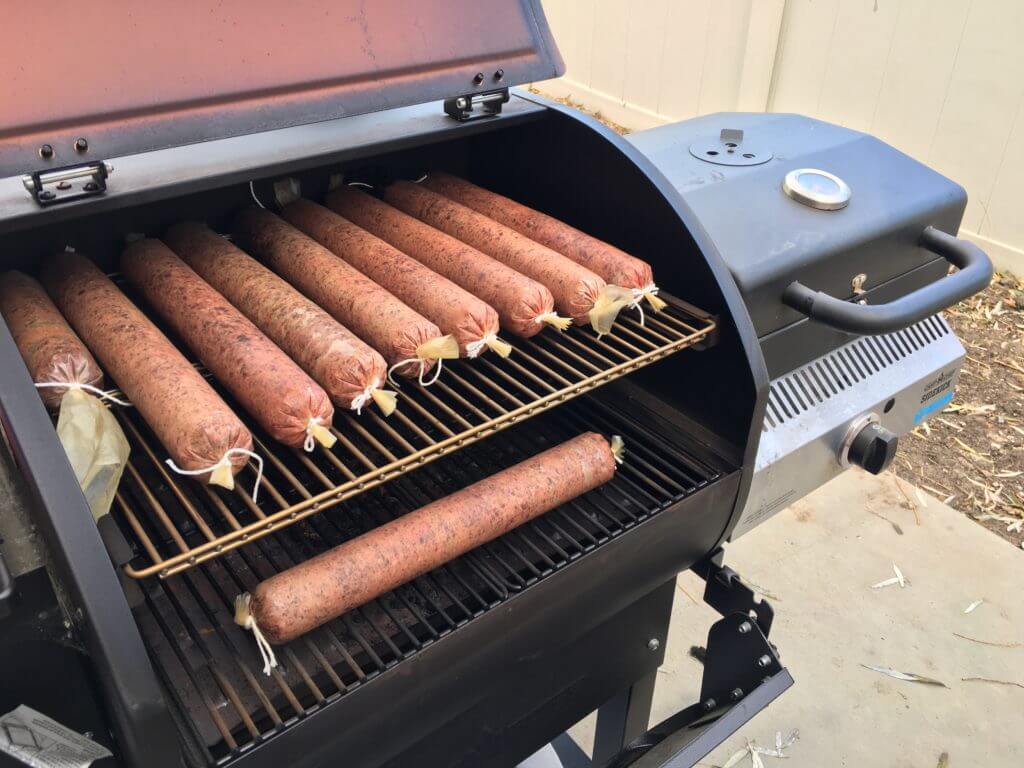
These require additional steps for curing and smoking. Follow the directions in the kit. Regarding smoking, the kit said to place on screens or hang in the smoker. I don’t have screens and my smoker is the horizontal kind, so I can’t hang them. But I didn’t have any negative impact from laying them on the racks except that there’s a slight dent where the racks touched. Also, you have to air-dry them after smoking to reach specific moisture contents. Again, I used stacking cookie cooling racks for this with good results.

Make Sausage!
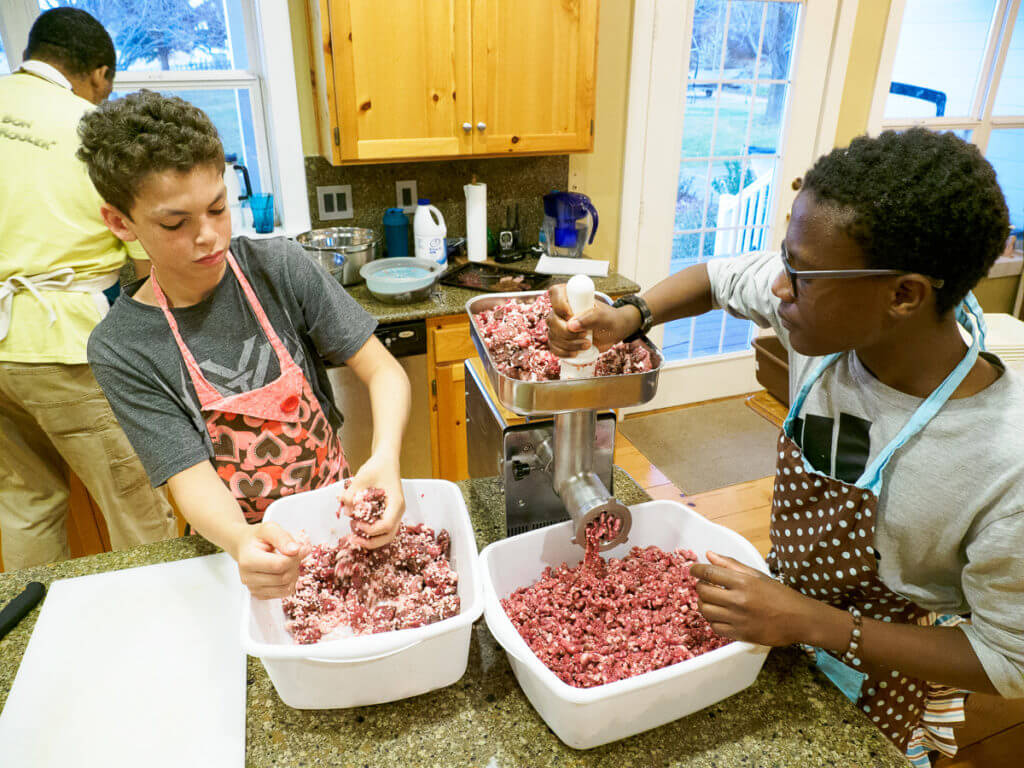
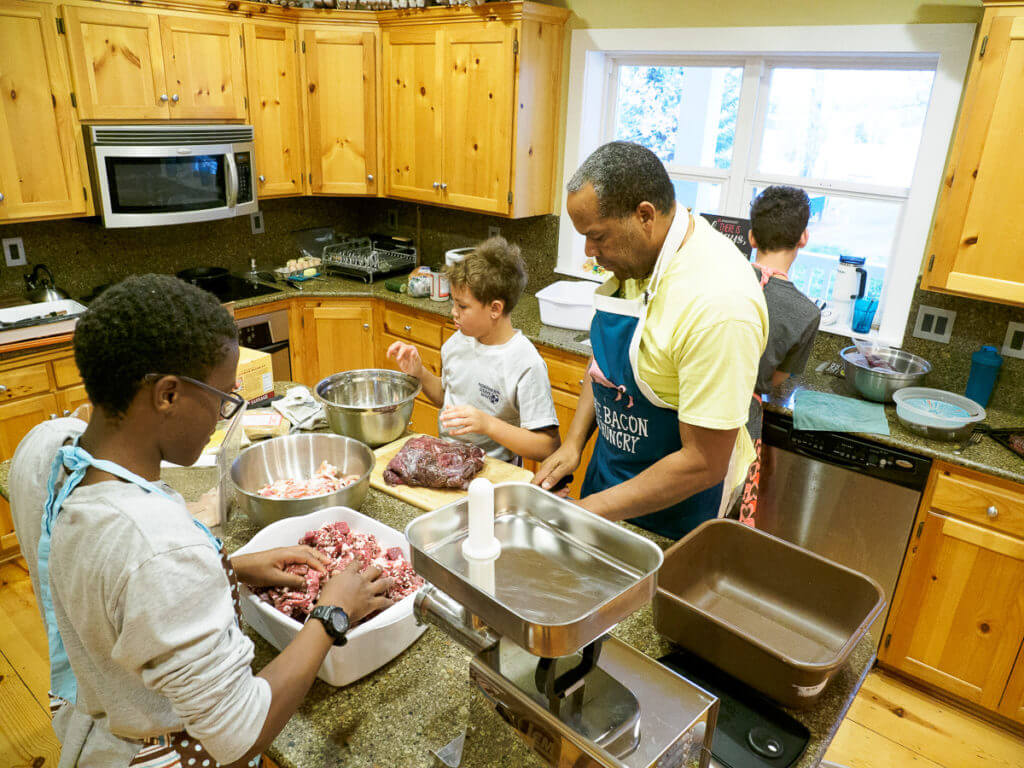
There’s all the saying about not wanting to know what goes into making sausage, but when you’re making it yourself with the best ingredients on planet earth, sausage making is fun and rewarding. Heck, we had three teenage boys making sausage for eight hours on a Saturday and they didn’t fight even once.
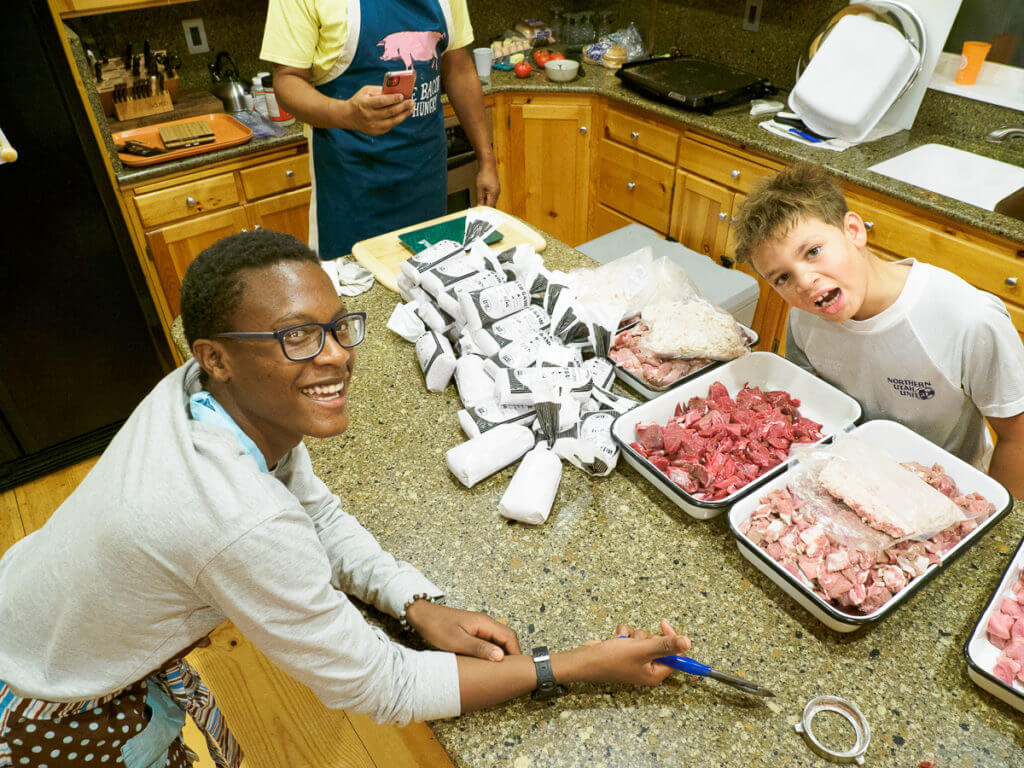
So far I’ve made sweet italian sausage with wild hog and deer, maple breakfast links with black bear and bacon, bulk breakfast sausage with deer, and salami with elk. They are all delicious and everyone likes them.
If you don’t have a grinder, make friends with someone who does. There’s a bit of equipment required and repeat purchases for casings and bags and spices, but once you enjoy breakfast with your own links and a delicious sandwich at work made with your own salami, you’ll be shopping for a grinder and looking for more meats to grind in no time.


I liked the sausage making article. I have been making sausage since I was a child.
We lived on a ranch and raised and butchered our on hogs and cows. I started using venison in the 70’s. I would offer some suggestions that have helped me. Before grinding put the cut up meat and fat in the freezer until it is almost frozen. Then season it and grind it. This will keep your grinder cool and help mix the seasonings. I also always wear latex gloves. Helps with sanitation and keeps your hands clean.
I just purchased a #8 grinder, stuffer, jerky gun, and mixer from LEM and used it for the first time to make a batch of Italian sausage and it turned out great!
A little time consuming for the first time, but it was very rewarding and I have no doubt it’ll run a lot smoother with the summer sausage I plan to make next!
looks good