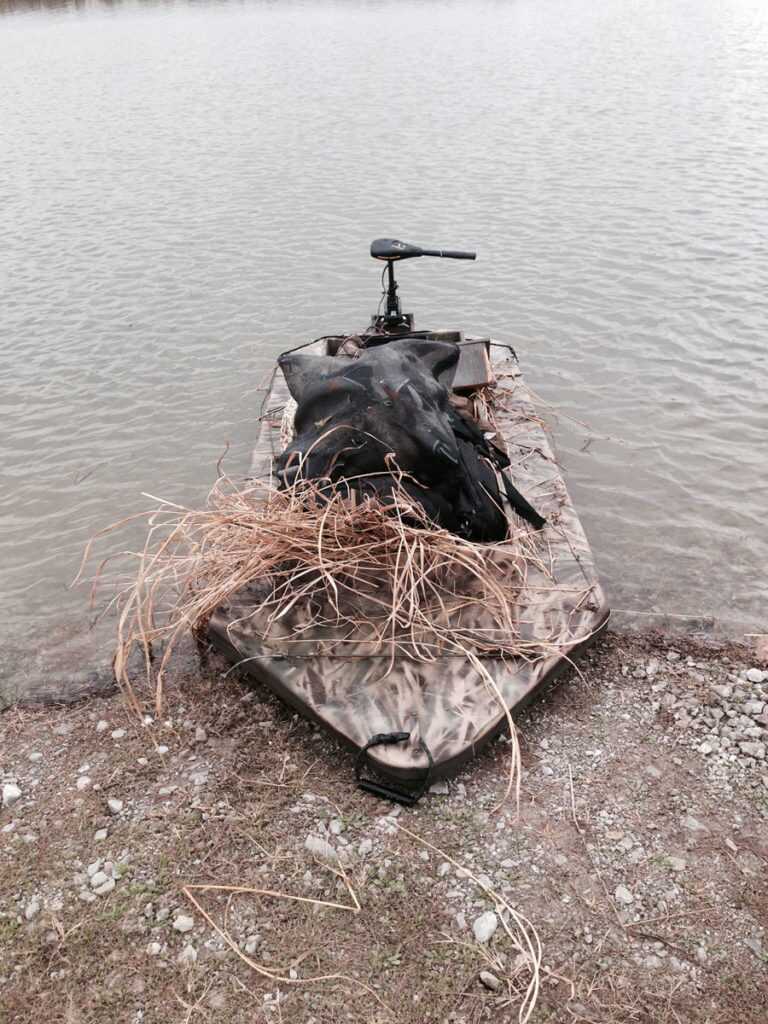
Concealment is the key to duck hunting. This is especially true when they get wary and have been dodging shot for a few months. My first introduction to the layout boat idea was many years ago and I still use them today. In my younger days though, money was a little tighter so two other friends and I decided to make three boats one summer in my garage. I had a design that I knew would work and that floated me, my decoys and even a dog very well. Our goal was to build boats that weighed no more than 100 pounds and cost less than $100 each to build. So follow me through some easy steps to making your own custom layout boat.
Materials:
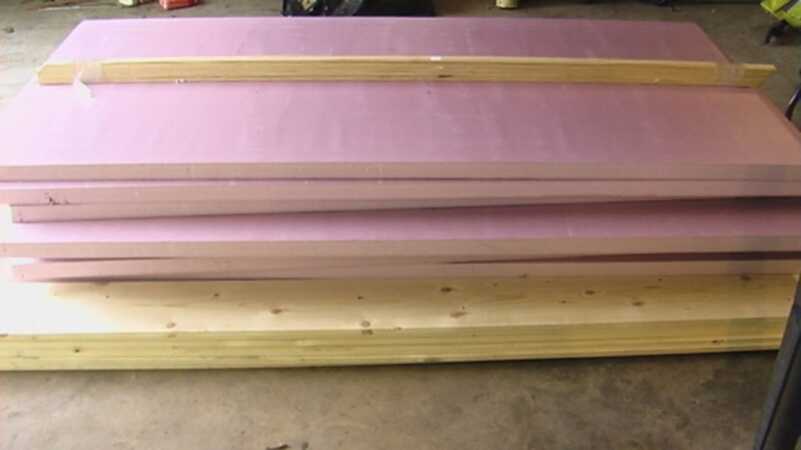
3 – 4’ x 8’ sheets of 2” insulating foam
3 – 8’ 2 x 8” pine boards
1 – 8’ x 30’ piece of ¼ flooring board
4’ – 2” x 2” board
10 yards of 7oz x 60” plain weave fiberglass cloth
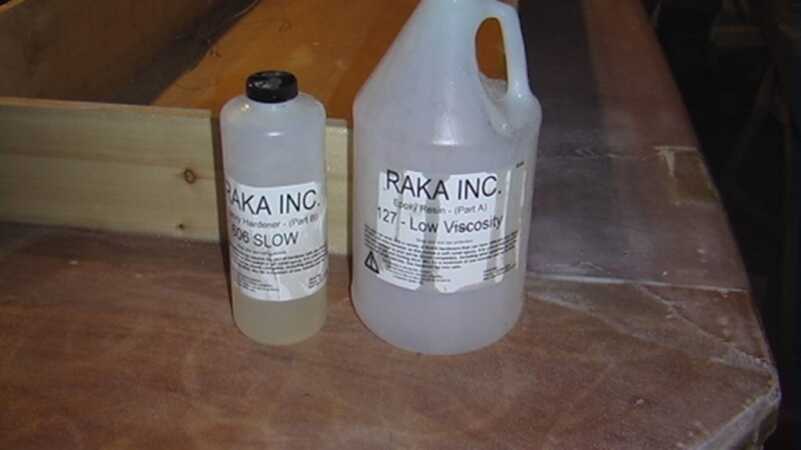
1 gallon of Raka #127 thin epoxy resin
Raka 606 slow cure hardener
Sharp knives and scissors
Rubber gloves
Sander with 60 grit paper
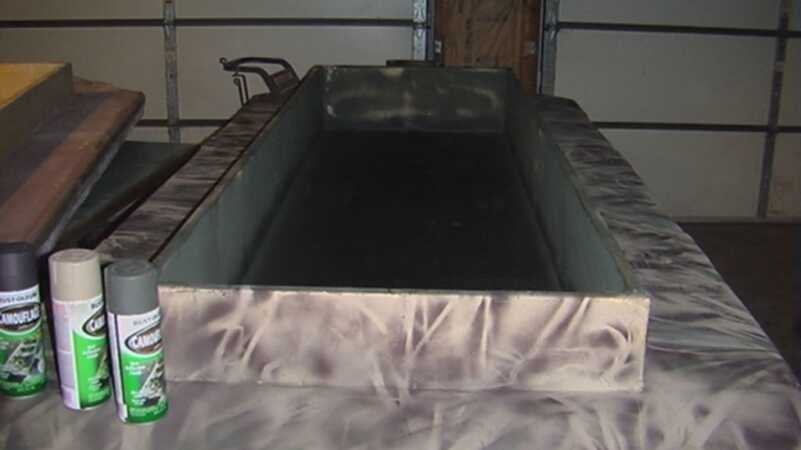
Camo Spray Paint
Gorilla Foam Glue
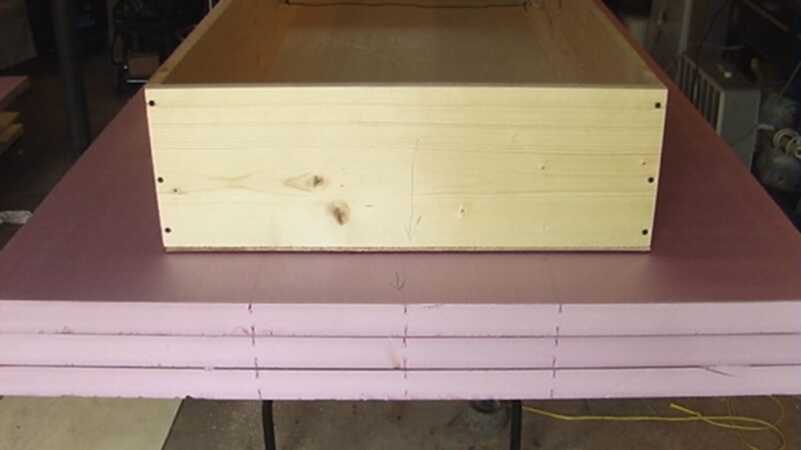
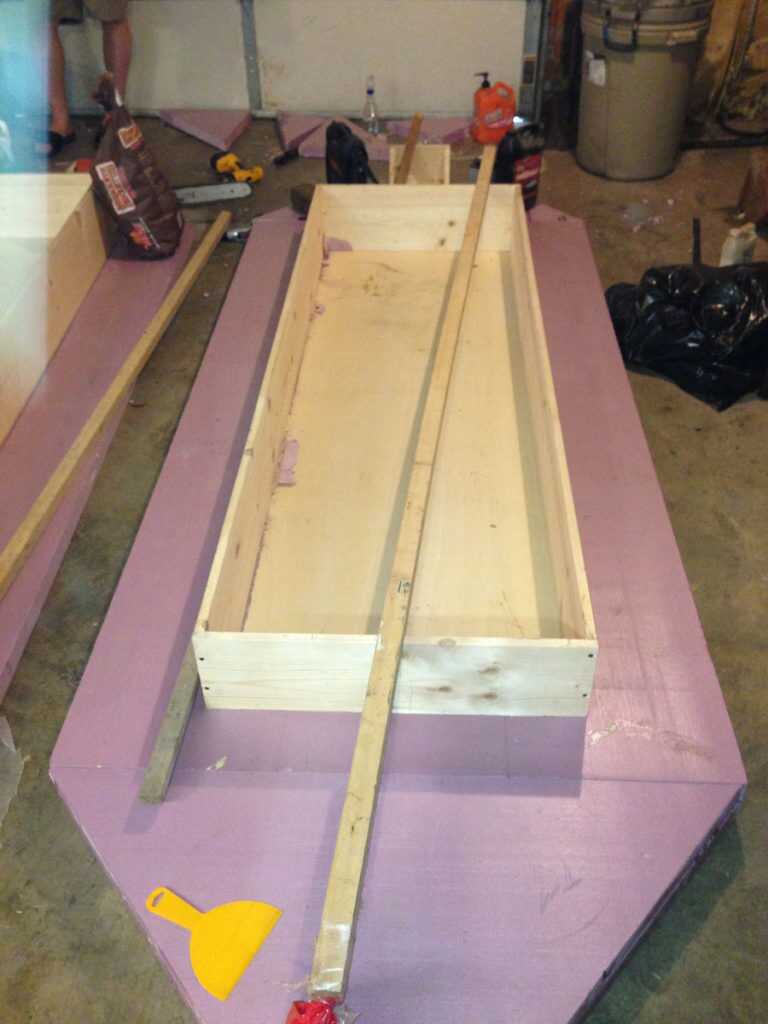
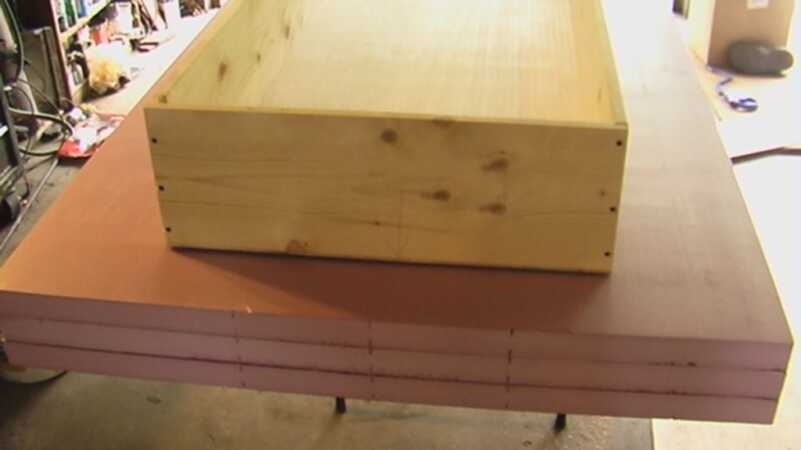
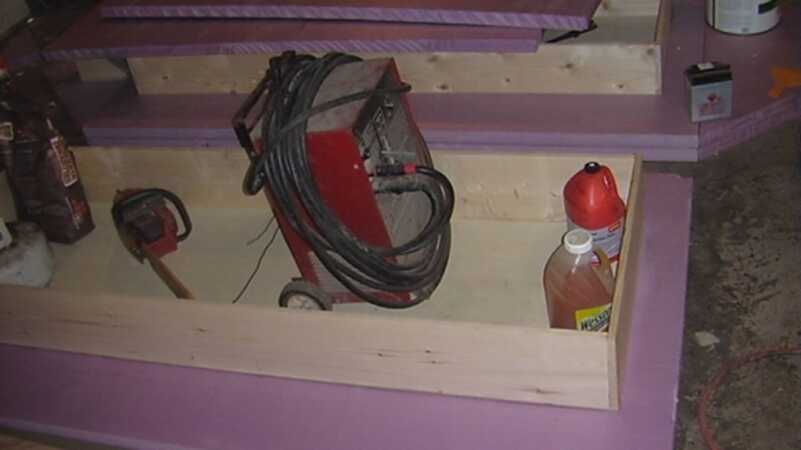
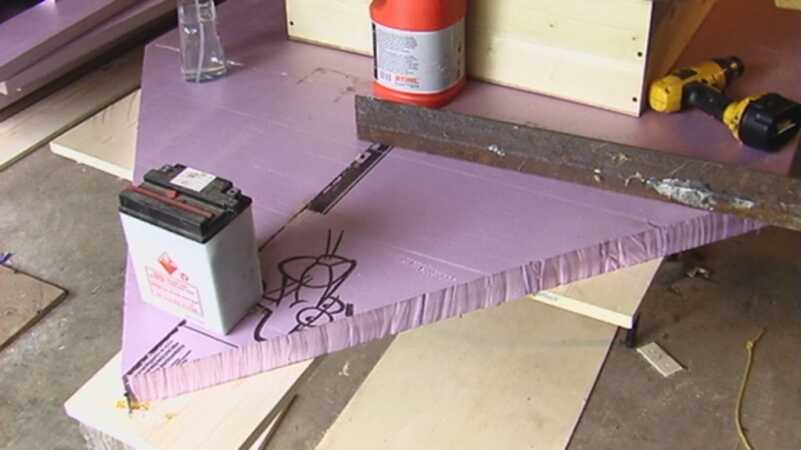
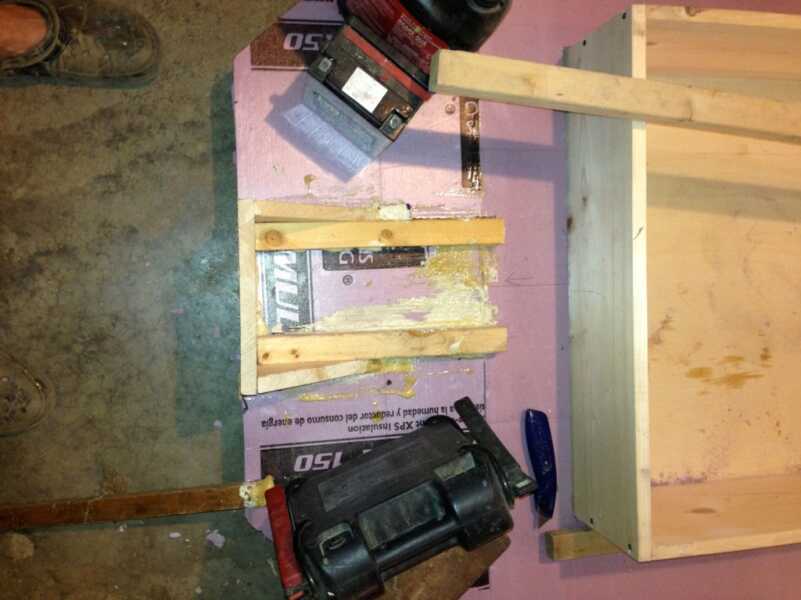
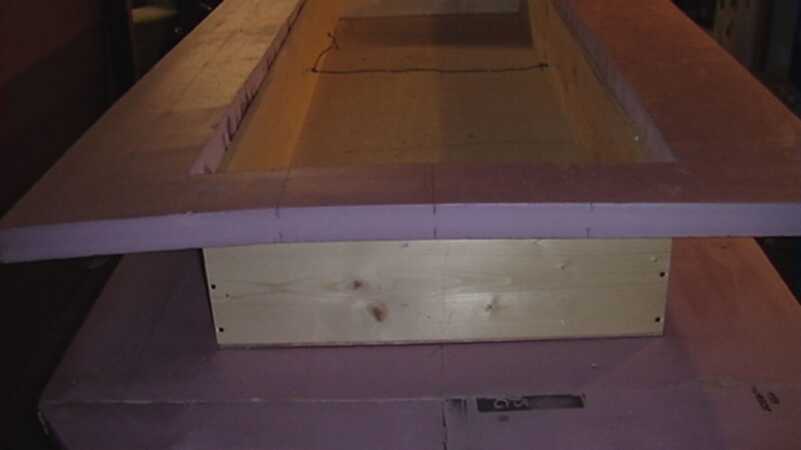
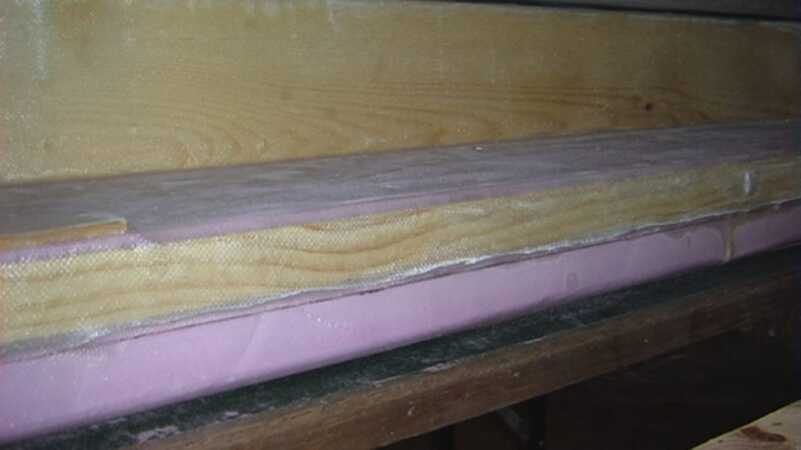
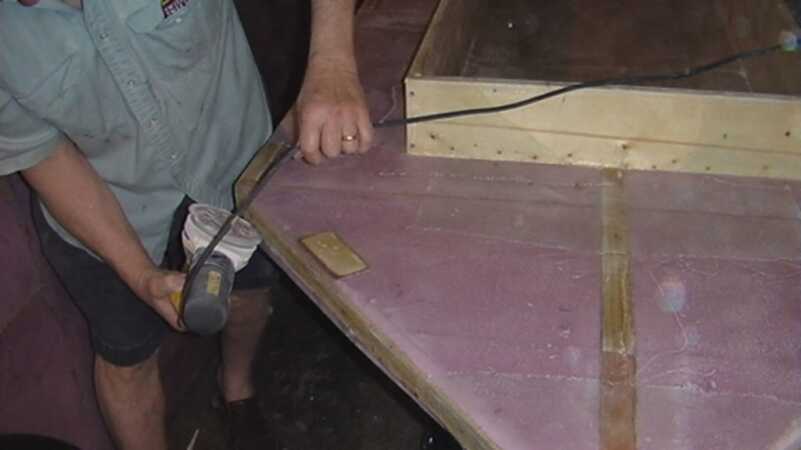
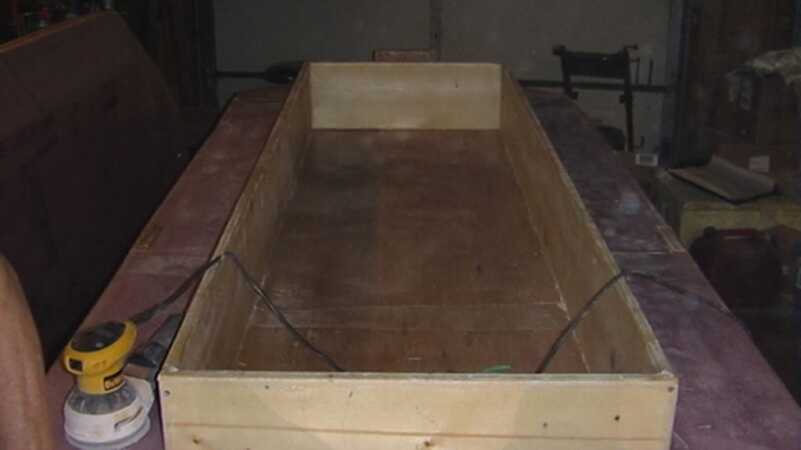
The boat design is 48” wide and 12’ long, but you can narrow them some if you wish. Stability is important so make sure you do not take away too much floatation. The first thing you need to do is take the boards and make your interior. This should be square and end up about 7’ x 28”. Add the bottom ¼” plywood to the interior. The room is good to keep things dry and to allow you enough legroom to stack up empty decoy bags, shell bags, and other items you need. Once complete you will lay this on a sheet of foam and cut out the foam to allow the interior to drop inside the first layer of foam. Do this as well to the second sheet of foam. The foam you remove will be glued to the 8’ foam sheet to form the bow and stern and extend the boat to 12’.
Now take the interior and glue it to the first bottom sheet of foam. Use all the weight you need to make sure the glue is stuck tight.
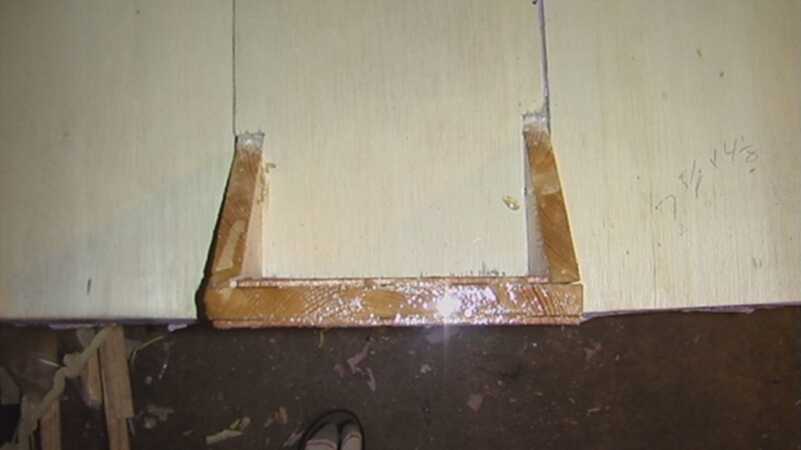
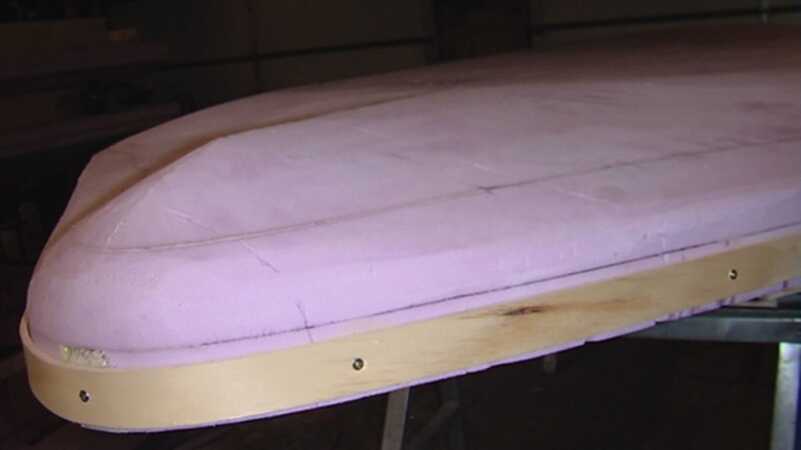
Go ahead and glue on the bow pieces making sure the joint is square. Feel free to make the nose any shape you want. The more pointed the more likely you dent the fiberglass running into stuff. Round it slightly. You can also slide back the layer to create the bow shape. The same has to be done to the stern so add foam here. Start the process of building up the motor mount. Use some 2” x 2” pine that extends onto the bottom sheet of foam that will eventually be covered with more ¼” plywood making a great place for a dog to sit. Each layer of foam you slip-on will have to be trimmed to cover the motor mount support.
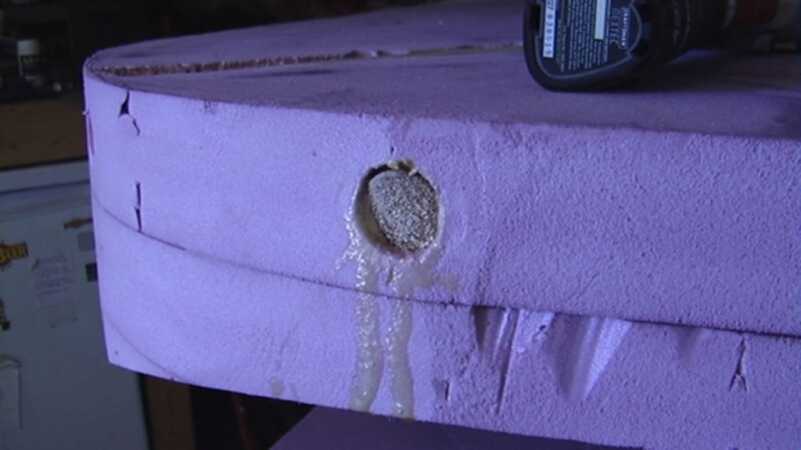
Now slip the interior into the three sheets of foam. The top two are cut out and the bottom one remains intact. Each layer needs to be glued and weighted to get a good glue joint. Once all of this is complete, you can start to form up the side protection. Insert ¾” dowels into the side of the foam and glue. These will be your attachment points for the side protection.
You may also want to add a piece of wood to the nose so you can attach and handle.
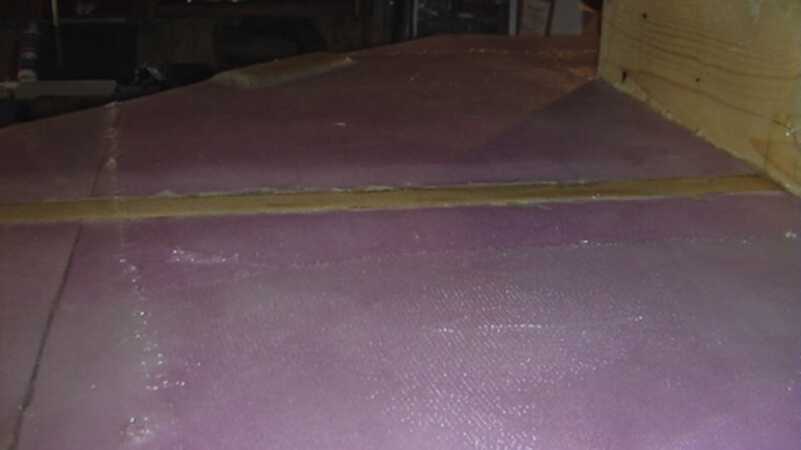
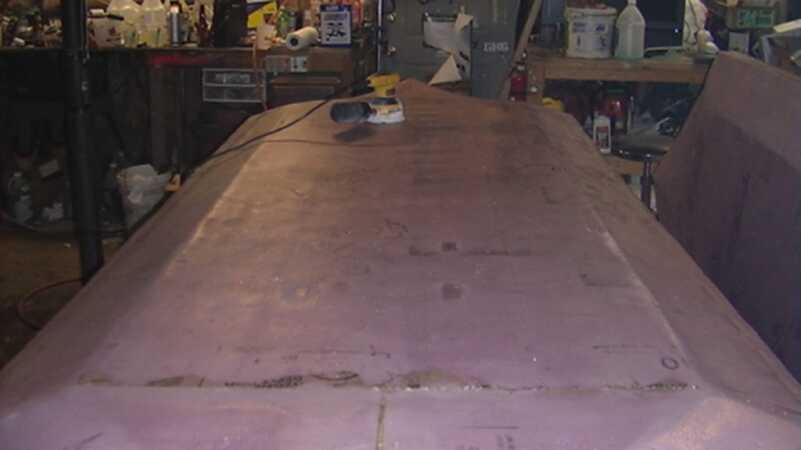
You should be ready now to begin sculpting the bottom, bow and stern section. The best thing to use is a rasp and sander with heavy paper. You will get foam all over the place, but you can easily get the shape you want. Fill any gaps with expandable foam spray.
Fiberglass
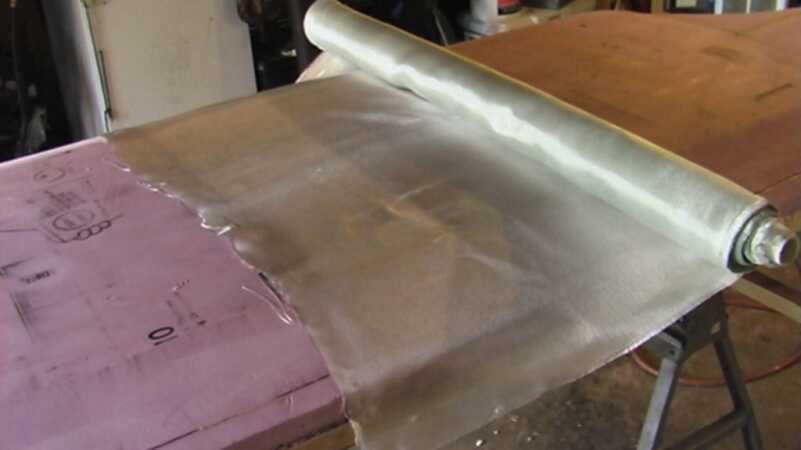
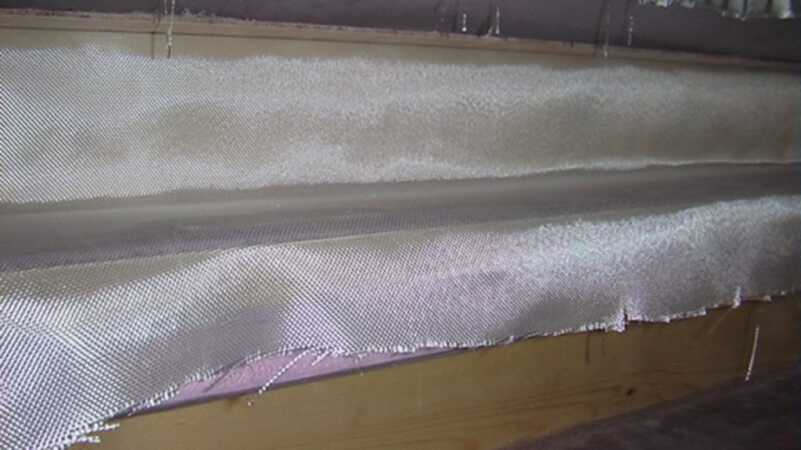
This process uses fiberglass cloth but is really a two-part epoxy that is easier to work with. I recommend a thin set epoxy with a slow curing hardener. Raka is a great place to get both the 7-ounce glass cloth and the epoxy. They have great prices and ship right away. Start with the bottom and layout your cloth. Have a sharp pair of scissors ready but get some cheap ones, as they tend to get covered in epoxy. Rubber gloves are a must.
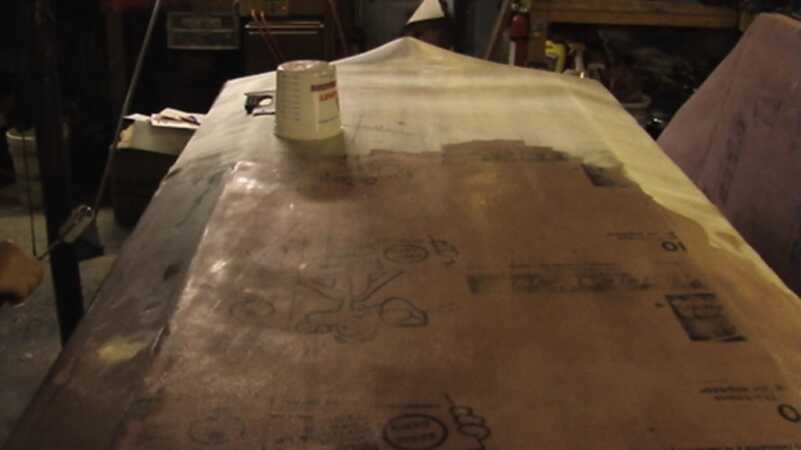
The bottom will be the easiest to cover. Mix up enough to get started and use a roller to work the epoxy into the cloth. You will have plenty of time with a slow set hardener. The sides are a little more difficult so drape the material along the sides and into the interior.
Corners are tough sometimes to cover so layout the material and cut in the corner so they fold in and the epoxy holds the fold in place. Get the boat completely covered and your next step is to sand down the covering. Make sure you use a mask as the glass can get into the air. Use caution to avoid sanding too deeply.
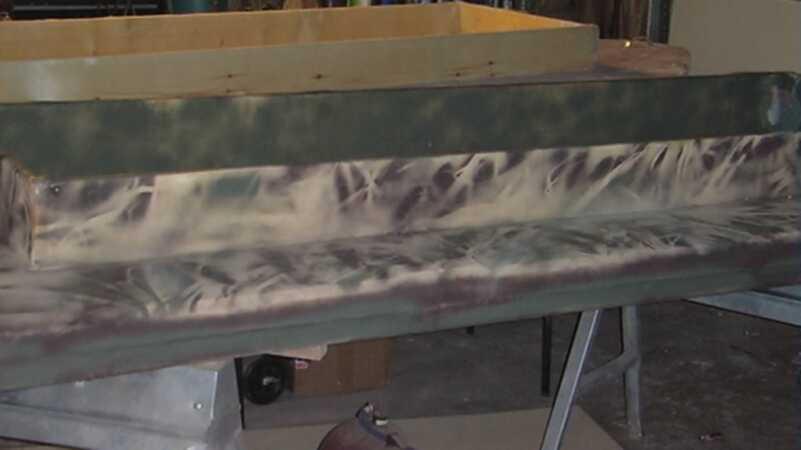
Painting is easy so just grab some foliage and use that as a stencil. Layer in different colors and the end product will keep you dry, and haul a ton of stuff into the marsh. As the boat is used, you can apply patches to fix any tears. I have used this type of boat on ice, drug it across gravel and pretty much beat it up every use. I guarantee this will stand up to your abuse for several years of use. Simple covering with grass mats or other wetland plants will make your concealment excellent.
So yes, we built the boats for $100 each and they weighed less than 100 pounds. The motor mount worked great and we used both small HP outboards and electric trolling motors. The boats are extremely stable and can hold up to two people if needed. Not sure how many times I hauled people out on my boat that did not want to walk back. The hard surface on the bottom when glassed will not break and as you can see, two people can easily stand and float in these boats. These two people are weighing in at over 500 pounds.
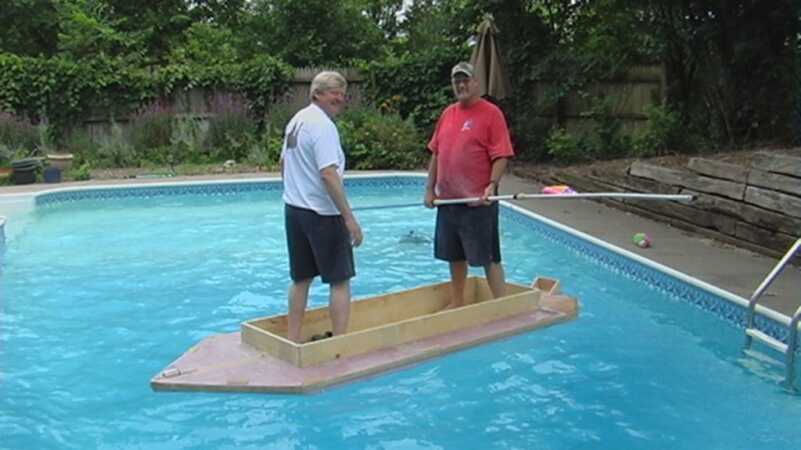
Really, we could put another person in here and still float. I figure 6-dozen decoys, a dog, trolling motor and battery each trip.


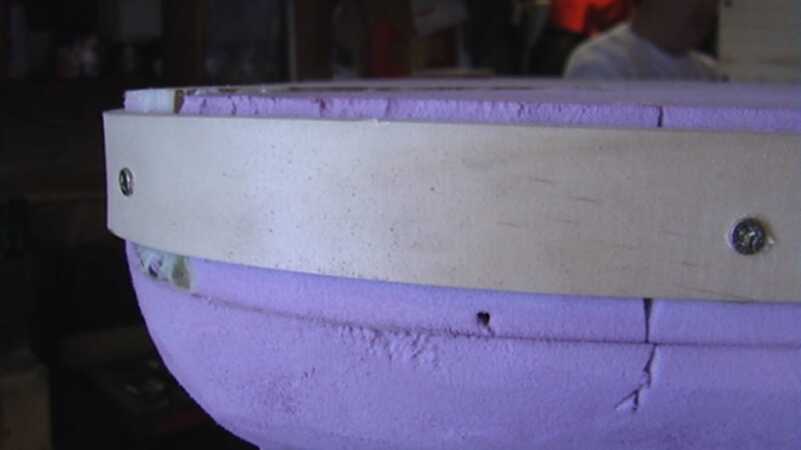
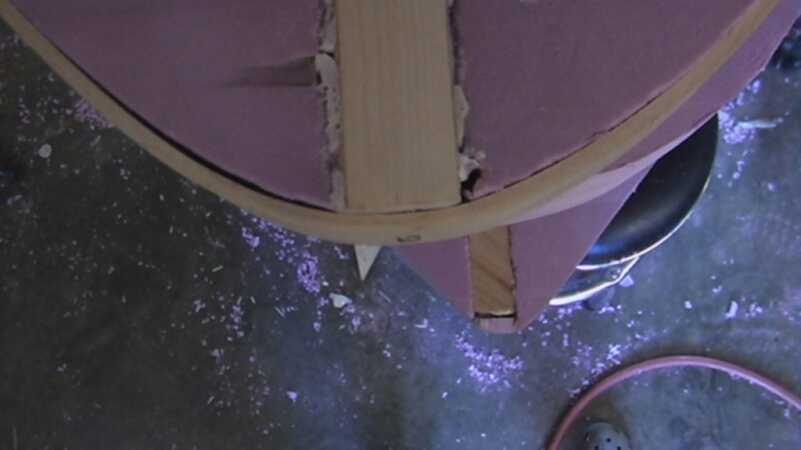
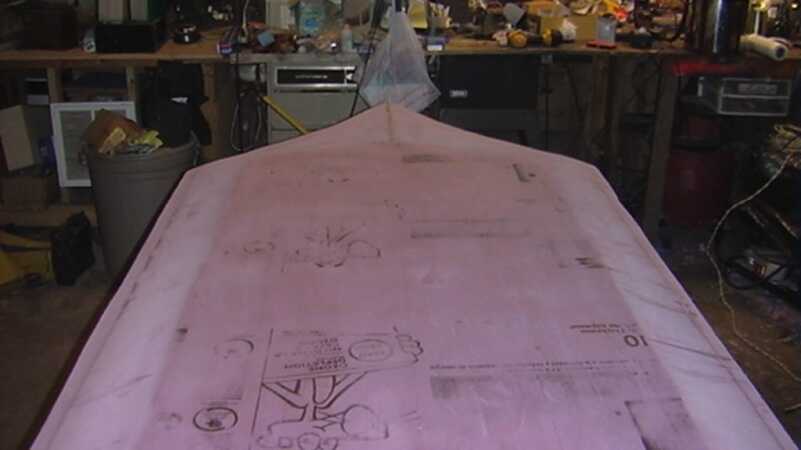
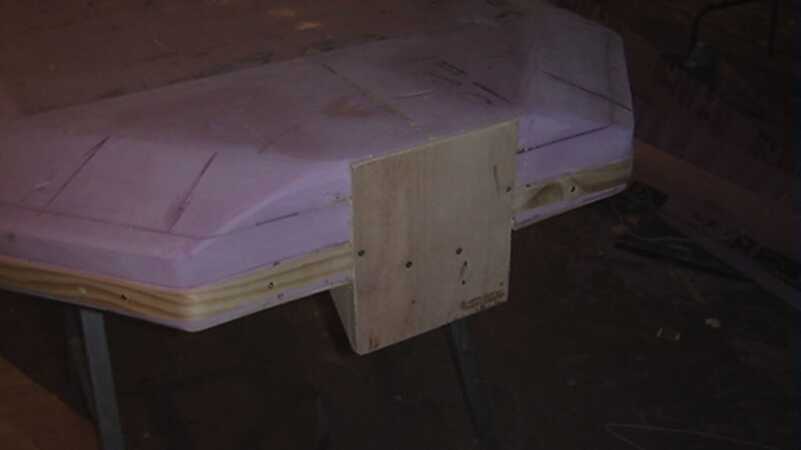
For any of y’all that made me his, what did you do to attach the nose? Glue, dowels?
Everyone seems to be missing this comment in the first paragraph:
“In my younger days though, money was a little tighter so two other friends and I decided to make three boats one summer in my garage.”
I’m thinking this was 10+ years ago. The author obviously made one recently to take photos. Would have been nice to have current prices, but even $300 or so would be much cheaper than buying a ready made sneak/duck boat.
Another point — fiberglass resin creates heat when curing and will melt regular insulation foam like that. He mentions using a slow cure epoxy, NOT RESIN. I’ve used regular resin on an automotive project over insulating foam — not a good idea! Ended up wavy and needed a lot of work and filler to get reasonably smooth. “Poor man’s fiberglass” would work well — using Titebond II waterproof wood glue instead of resin over the fiberglass cloth, and you could even use canvas, like a painter’s drop cloth. I’ve done that and used an old bed sheet, but the canvas drop cloth (or fiberglass cloth) would be more durable.
Great project and thanks for sharing.
However, the resin and cloth alone is $150 without shipping.
Foam board is $60 for 3 sheets
Plywood is $40
3- 2×8 boards $35 (cheapest)
I’m looking at $300-350 in supplies.
What am I missing here?
Article is dated May 3, 2021
It all looks great, however I don’t think it would be recommended for the South where Alligators abound. Its too low in the water especially if you’re using a dog to retrieve, gators love dog and would climb up in/on your paddle board/boat blind to get a snack
What thrust trolling motor do you recommend?
I used this pattern to build one a couple of years ago. I thoroughly enjoyed building it and still use it. My grandson and I fish out of it. Thanks for the great plan!
Larry
Where did you buy your materials to only spend $100
Great idea. This is going to be my next boat project
Great instructions! Now I have another summer project.
Regards,
Roy