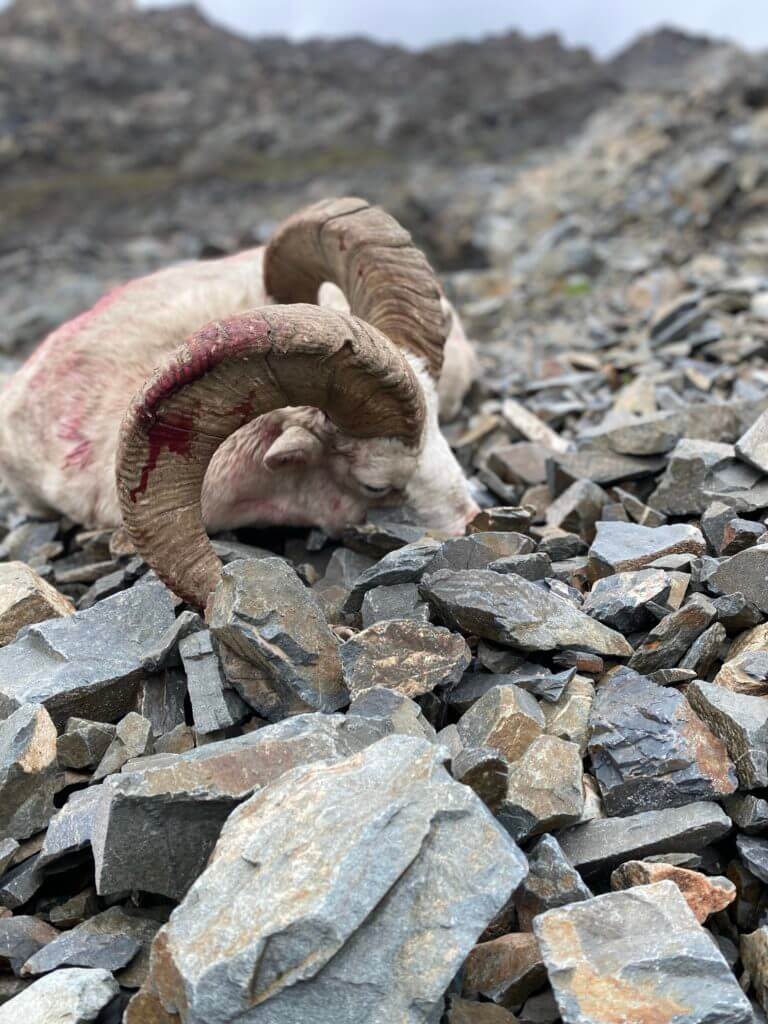
Someday, somewhere I hope you shoot an animal of your dreams. The what, where, and how may look different to each individual hunter, but that hopeful optimism is what drives most of us out of warm beds and into the frigid fall and winter weather.
If you’re like me and get your kicks out of hunting big mountains for big game, or exploring mountain hunting for the first time or prefer animals on flatter ground – read on. I’ll cover an important skill that hunters should be at least somewhat familiar with to ensure maximum enjoyment of their hard-won animals- dorsal caping for a full-body mount.
Mountain animals are hearty creatures out of necessity. Heavy bone structure, square and malleable hooves, as well as some of the most beautiful colored capes on the planet lend themselves to spectacular life-size mounts. It’s no wonder many hunters choose life-sizes for their big game trophies when conditions allow (biologically and financially). Being nominally familiar with the cuts can ensure the whole hide comes off of the mountain with a successful hunter, allowing the option for various mounts in the future without having to pay extra for a taxidermist’s cape.
After the photos are taken and the adrenaline’s burnt off, it’s time to start the work of converting an animal into pieces and parts. Let’s roll up our sleeves and grab a knife. The sharper the better for this chore so I prefer a replaceable blade model like the Havalon Piranta or something similar. The size lends itself to getting into tight places and blades can be changed on the fly as needed.
Step One:
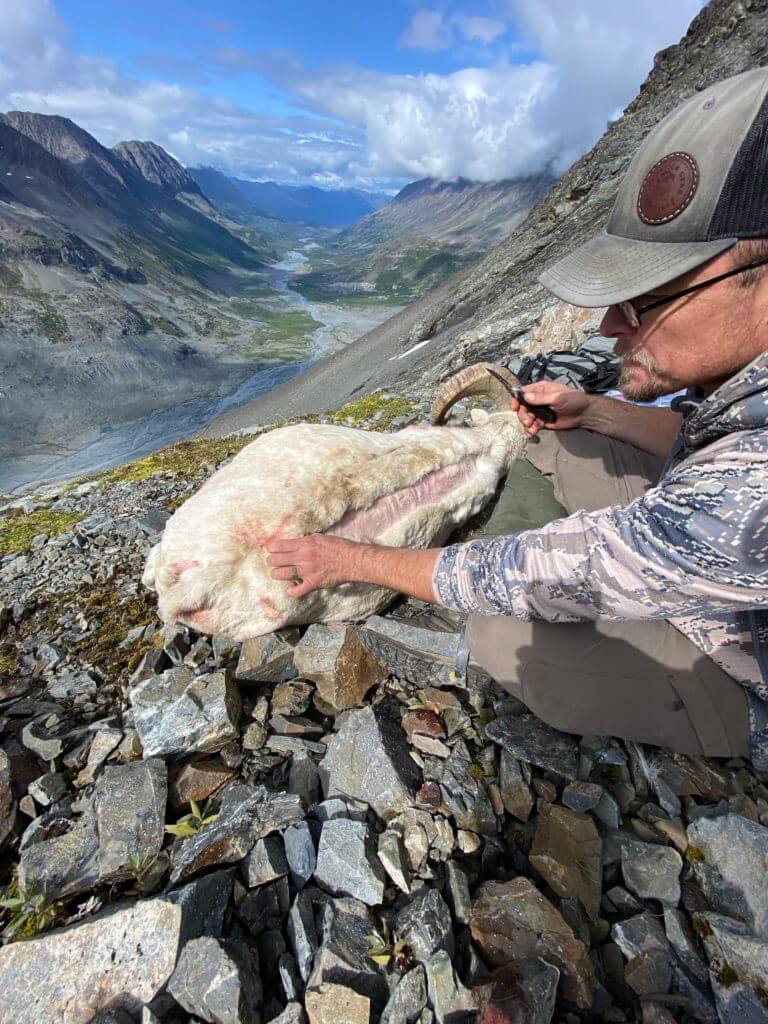
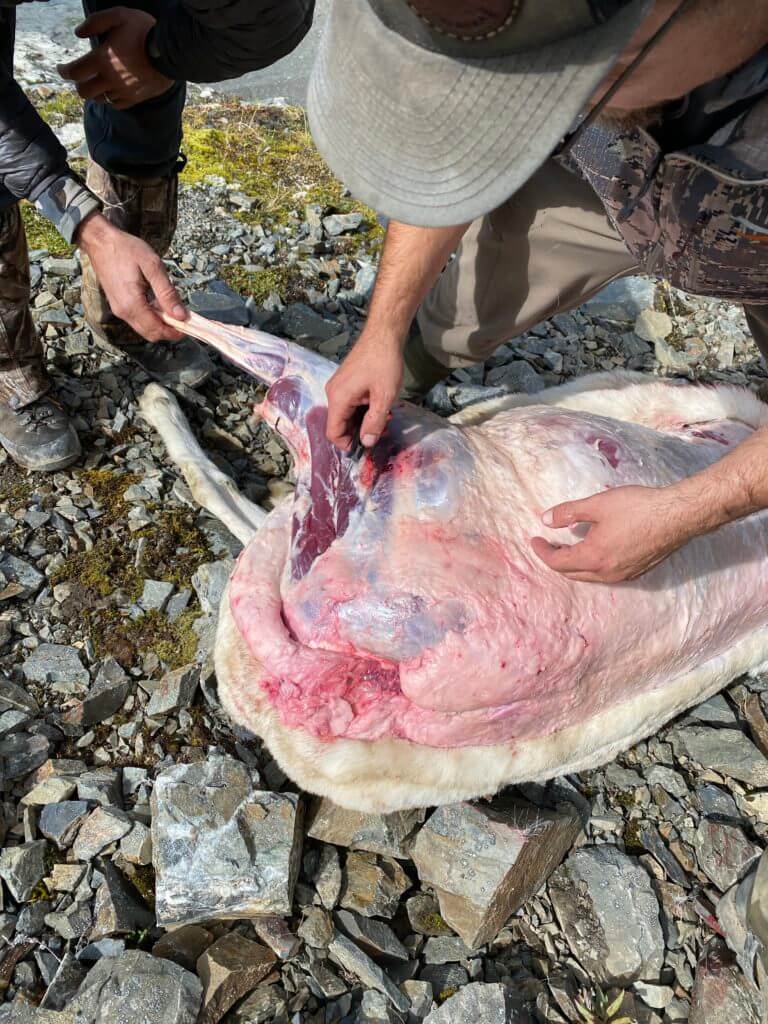
Lay the animal so the spine is as straight as possible with easy access for a knife. Starting from the Atlas joint (the first joint connecting skull to spine), follow the top of the back down to a point several inches above the base of the tail, cutting as straight as conditions allow. Using your hands whenever possible instead of a knife, push the hide away on both sides, leaving an opening running the length of the animal’s back. Work the hide down as far as is practical at this stage and cut the tail off at the base, leaving the bone in the cape.
Step Two:
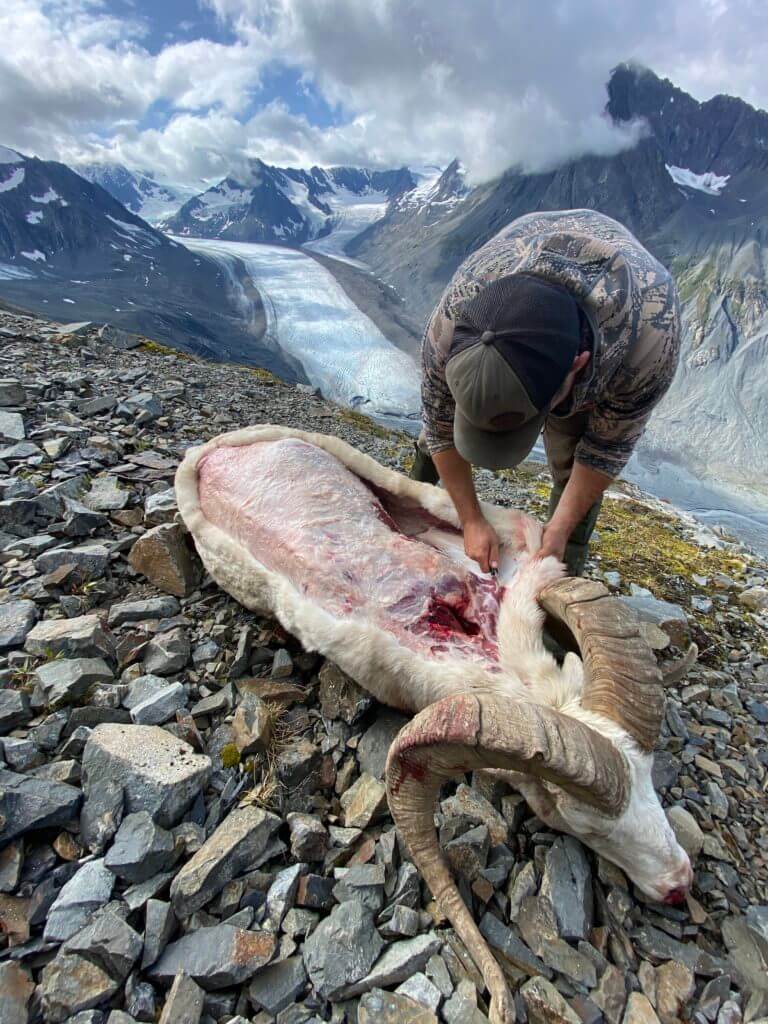
Pick one side to work at a time, I start on the left for no particular reason other than I’m a creature of habit. Both legs (front and back) should be split from between the dewclaws, then following the natural contour of the back of the leg, stop the cut several inches past the elbow or knee. Skin the leg out as much as possible from this cut, break or saw the “wrist” joint apart leaving the small foot bones in the cape for the time being. Stop at the next joint up the leg- let’s call it the “knee” joint- break or cut this joint as well. This should leave the lower leg bone (metacarpal for front, metatarsal for rear if you’re into anatomy) unattached and ready to discard, allowing the skinner to pull the now-skinned leg up through the opening from the first cut. Do this to both legs on a side then flip over and repeat. (Some hunters remove quarters, neck, and backstrap at this point while others wait until all the skinning is done before starting on the meat, personal preference).
Step Three:
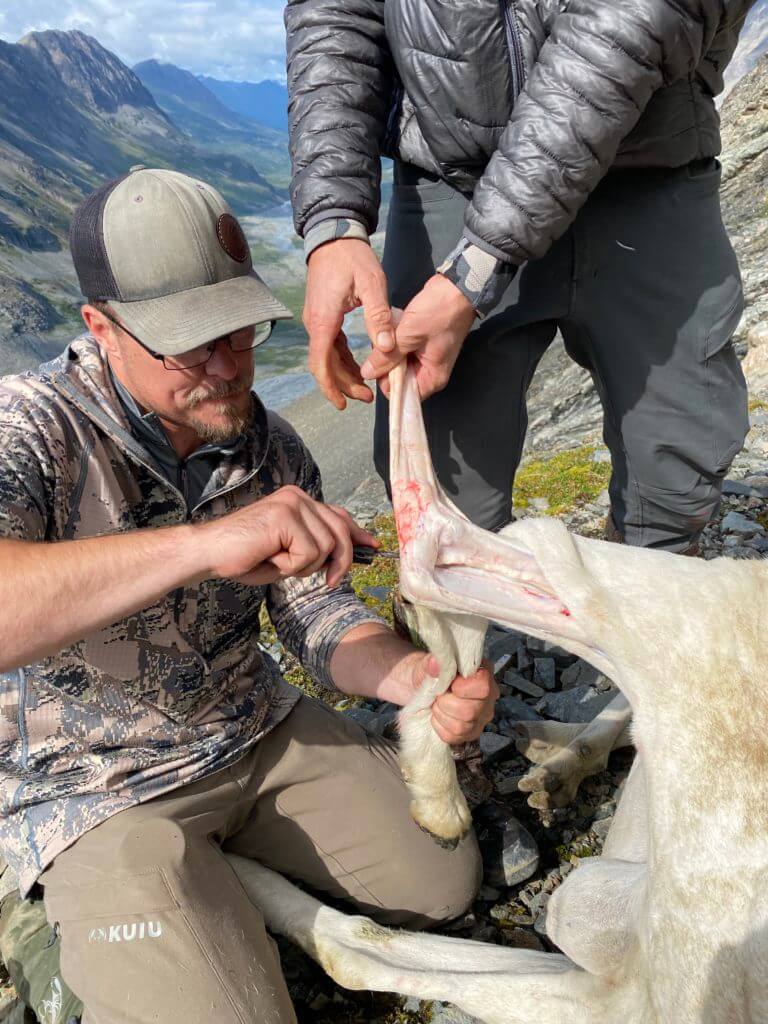
If you’ve made it this far, the bulk of the work is done. Now that both sides have the legs pulled up through the initial back cut, your cape should be hanging on by the neck only. Skin this around until you can sever the head at the Atlas joint, leaving the cape attached to the head. With the head and cape now removed, a hunter can roll up the hide as is and leave the head in or skin out the horn or antler bases, ears, eyes, nose, and mouth. This will separate the cape from the skull and will offer more packing options especially if the successful hunter has a buddy or two along. Skinning heads out is a tedious task that shouldn’t be attempted on a hunter’s first big game animal for preservation though. Practicing on several animals you don’t intend to mount is the best way to become familiar with the intricacies of the bone structure in a game animal’s face and make sure your cape is of the highest quality before it’s dropped off at the taxidermist. If the head isn’t skinned, don’t worry, a taxidermist will finish it, along with the tail and the hooves as long as you’ve done your job and kept everything cool.
Step Four:
If you didn’t cut off quarters while skinning, you should now have a complete carcass to debone free of hide. Mountain game, like their cousins of the plains, can have some of the most uniquely flavored meat in the animal kingdom and every piece should be used to its maximum potential. I like to gut the carcass at this point to get at the rib meat and tenderloins. I’ve found I’m time ahead by gutting instead of working around the ribs and a full paunch using the gutless method. Remove all edible portions required by the state or country you’re hunting in and enjoy a year’s worth of meat while you wait for a call from your taxidermist.
Step Five (optional):
Fleshing the cape is the process of removing meat and muscle that isn’t part of the hide itself. A quick in the field fleshing job can knock off a pound or two of muscle depending on the initial caping. If it was skinned “tight” there won’t be much left to get off of the cape and can be rolled up and put in a game bag for transport. If there’s a fair bit of meat still attached, it behooves a hunter to get the chunks off at a minimum to cut weight but also to allow even cooling of the hide.
Conclusion:
Of course, this method is fairly universal and doesn’t just apply to American game. A hunter doesn’t have to be a taxidermist-in-training to cape their own animals; some practice and preparation can give a hunter many more options when they’re in the field staring at that animal of a lifetime, wherever it may be.
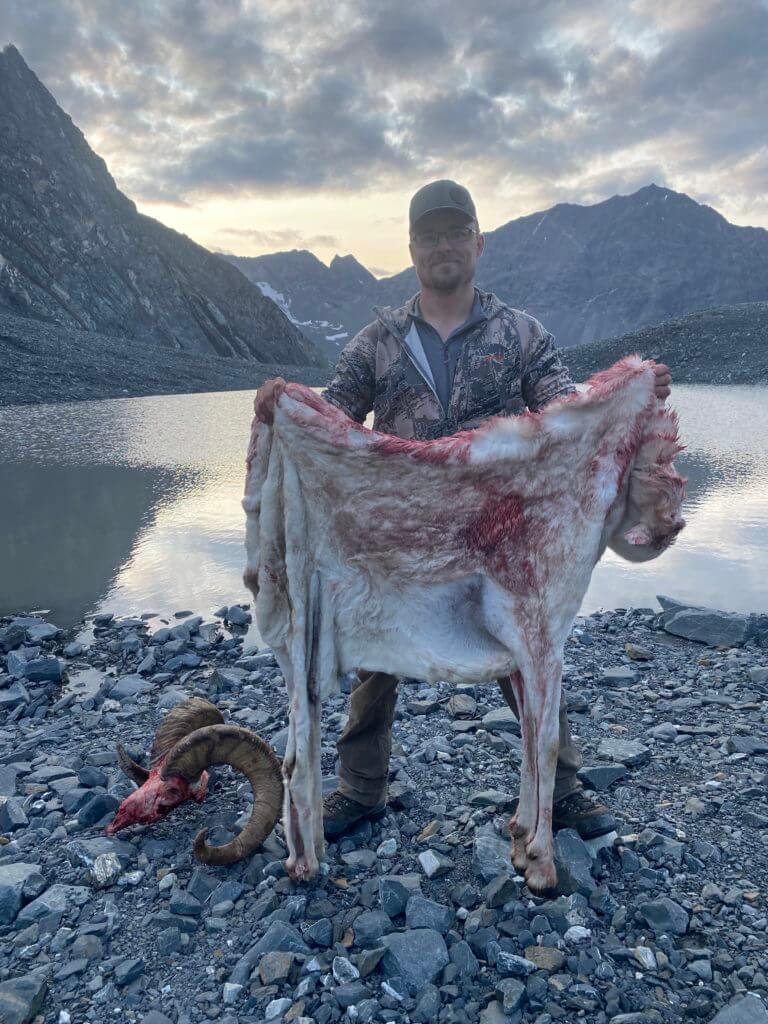


I used this method when shooting my Dall Sheep years ago. I thought I was going to get a full body mount, but instead sold the tanned hide to a taxidermist and just did a European skull mount on the ram. I used the money to buy tags for several years of moose hunting in Alaska. No longbow moose yet…I’m heading back for my sixth attempt this fall.