Estimated reading time: 7 minutes
When it comes to game meat, the backstraps and tenderloin get all the glory. Front quarters are composed of smaller muscles that do a great deal of work and are better used for grinding than cutting into steaks and roasts. Neck, rib, brisket, and flank are all pretty darn tough if not cooked for a long time or ground into burger or sausage.
Then we get to the hind quarters, where most of the meat on the animal resides. The hind quarter is easily broken down into some really nice and extremely underrated pieces of meat. I’m going to take you through the sequence I break down hinds and describe how I use each cut. This way you can do this at home with the next deer or elk you punch a tag on.
Table of contents
Before We Start Cutting
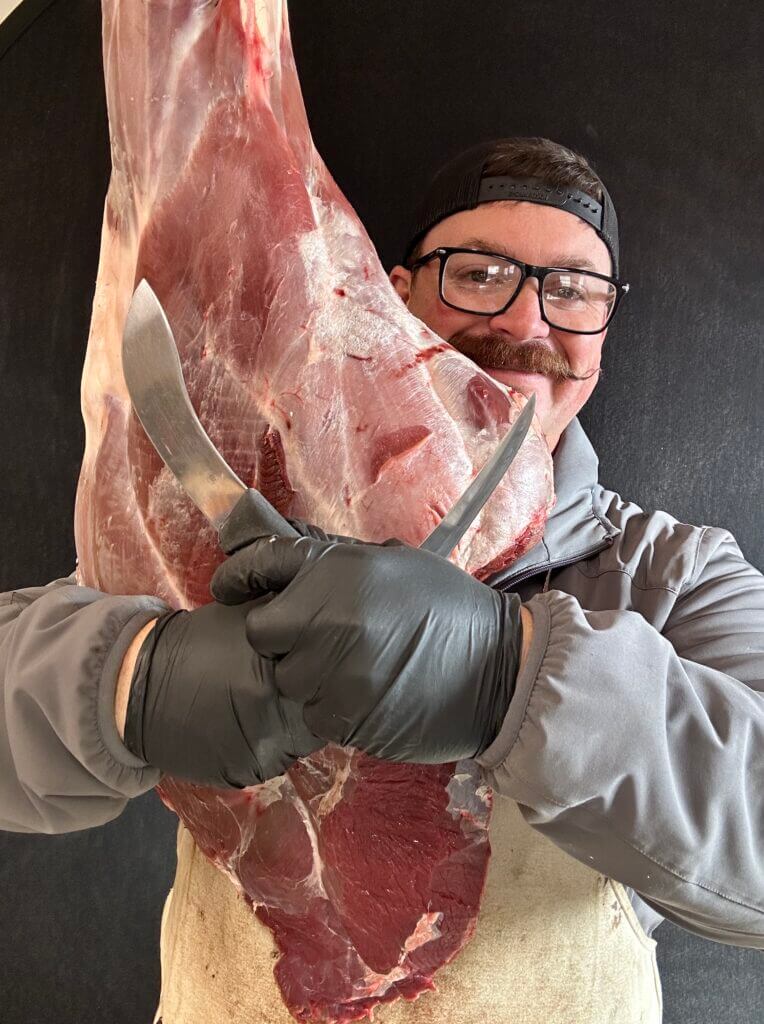
First off, all of these cuts can be done on a table. But I prefer cutting them while the quarter is hanging because gravity helps and I can easily work 360 degrees around the leg. I prefer using a 5” semi-flex boning knife for this job. These knives typically cost between $10-$32 dollars and will probably last you a lifetime. This is the order I make these cuts. As a rule, you will want to follow the seams between the muscles and work them apart with your hands as much or more than you actually cut with the knife.
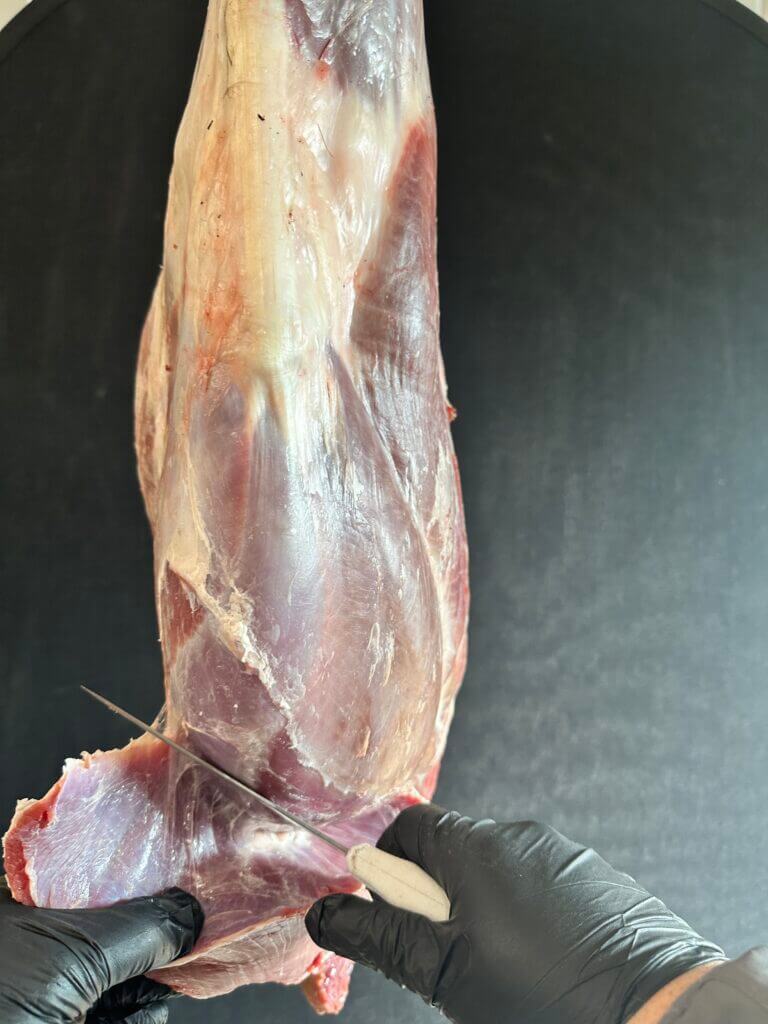
Cutting the Tri-tip
The tri-tip roast is one of the most popular cuts of beef in the northwest, almost as popular as brisket in the south. On a deer, this is a small piece of meat that not much can be done with. On an elk, it is more substantial and can be cooked with a hot sear to 125 degrees internal temperature and then sliced against the grain.
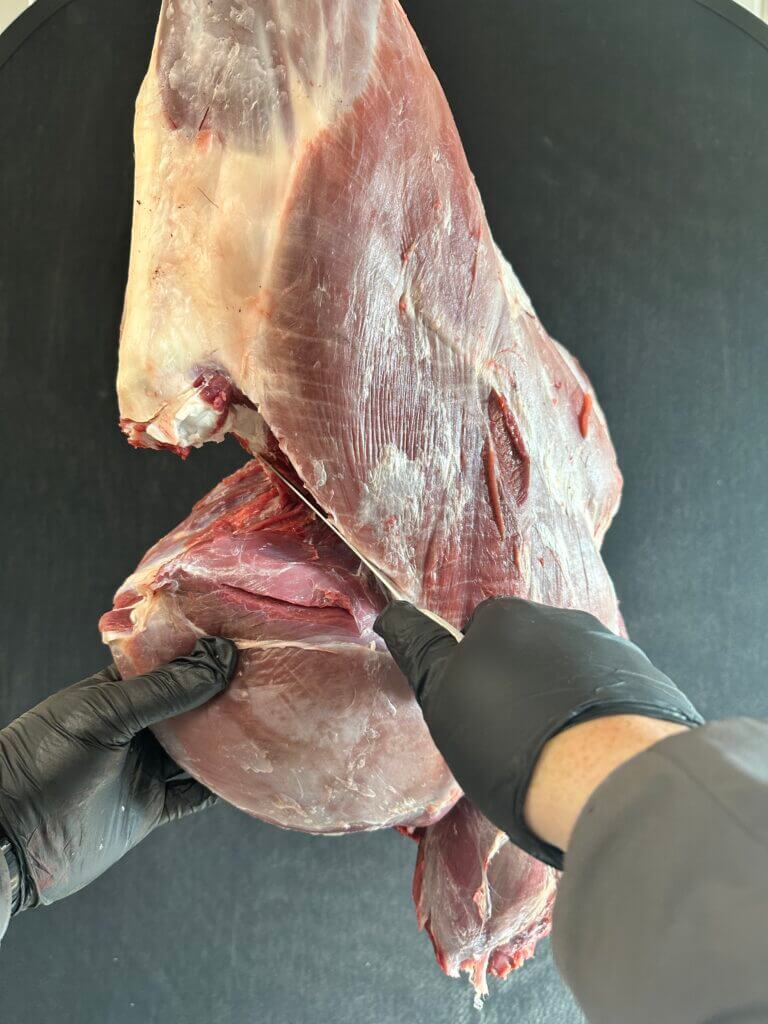
Sirloin Tip
Next, the Sirloin tip is a large cut of meat that is ideal for turning into a roast. You can cut steaks from it, but there are several internal seams that are a bit tough. Make sure to use lots of braising liquids and some kind of acid like vinegar, Worcestershire, tomatoes or coffee to help tenderize this meat as you cook. The sirloin tip is an ideal roast for wrapping in caul fat if you saved that when you were gutting the animal.
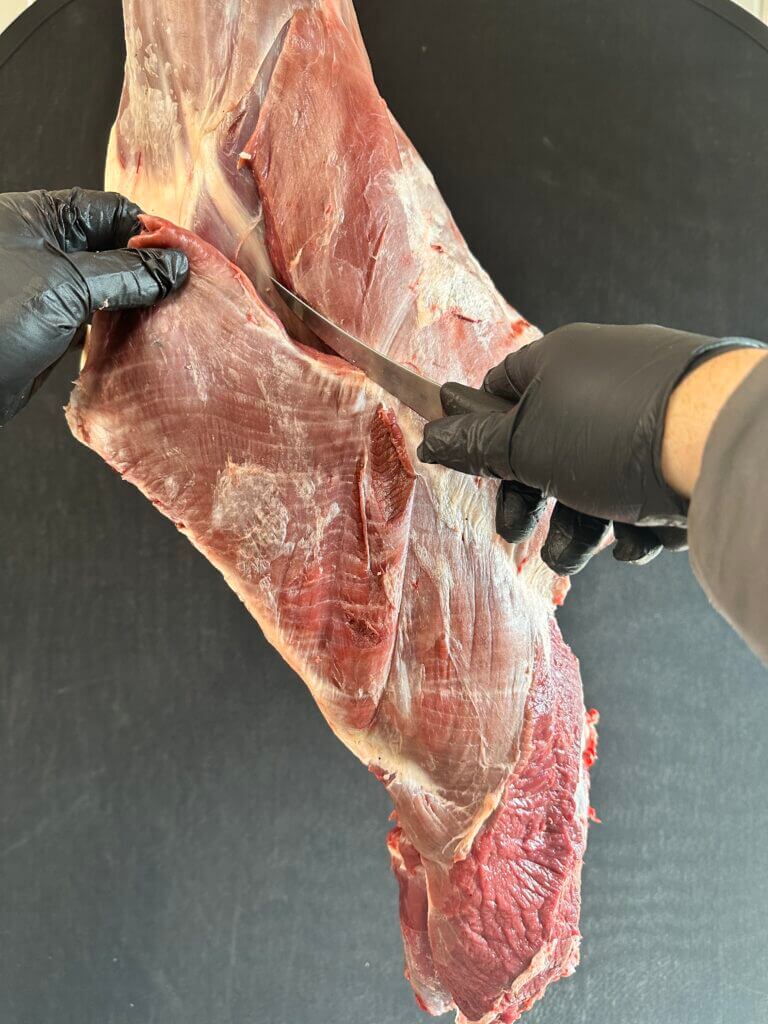
Top Round
The top round is a long cut of meat with course muscle fibers which tend to be a darker red than other meats. This is the ideal cut for turning into jerky. Cut the top round into long flat pieces, with the grain rather than against it. Marinate, season, and then smoke.
Available on GunsAmerica Now
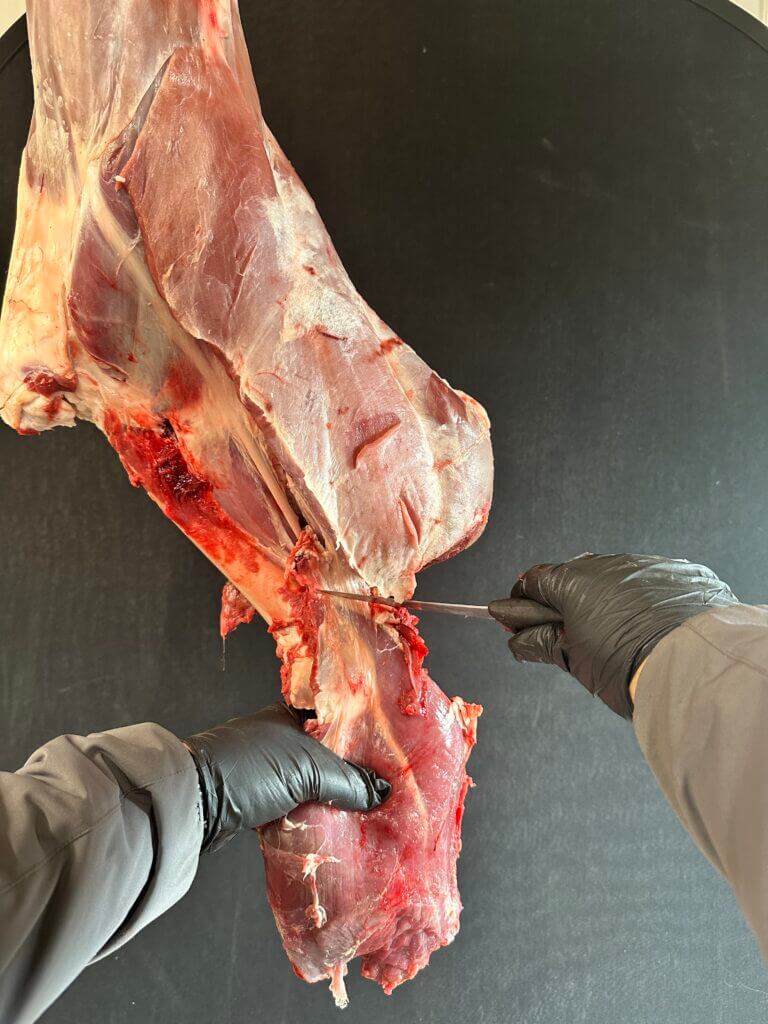
Cutting the Top Sirloin
If you ever ordered steak and eggs at a greasy spoon diner, chances are they gave you a piece of top sirloin. As a roast on a beef cow, this is a great piece of meat. On an elk or deer, it’s decent, but not one that I typically keep as a whole muscle. My preference is to cut this into cubes and can it with a pressure canner. Canned elk meat is a hot commodity around these parts and makes a great snack or filling for a sandwich.
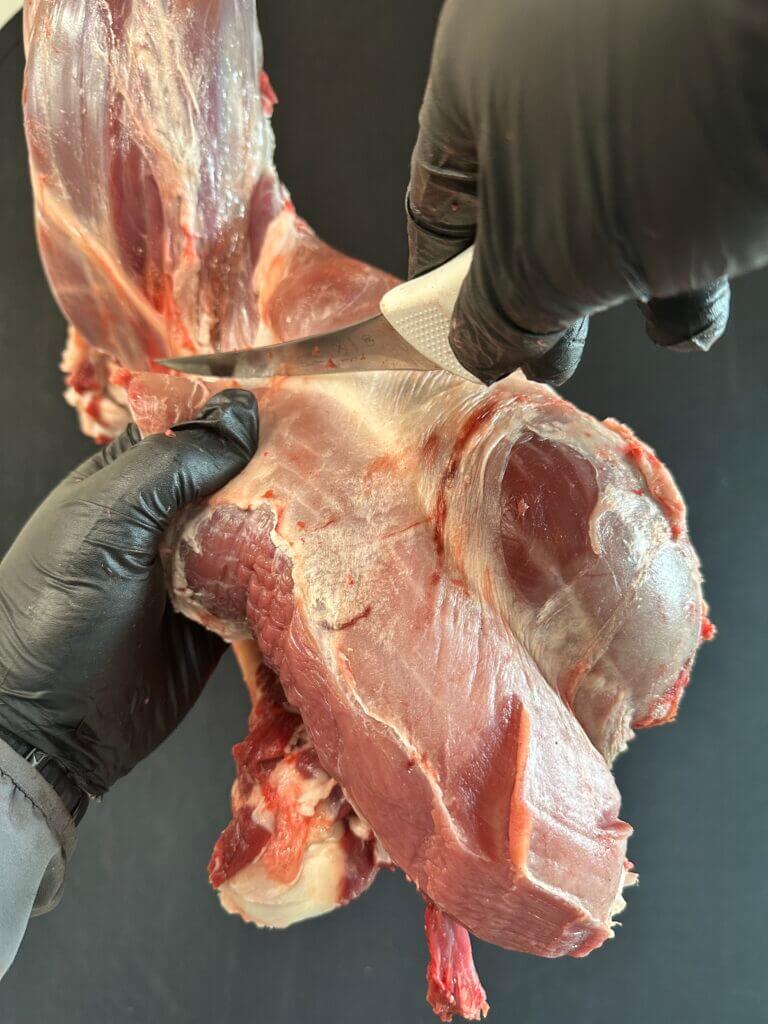
Eye of Round
The Eye of Round is a hidden gem. It lies between the top and bottom round. The muscle fibers are smaller and the meat itself is noticeably lighter in color. The Eye of Round looks a lot like the beloved tenderloin and actually cooks and tastes almost exactly the same, if not slightly better. Grinding the eye of round is a culinary sin.
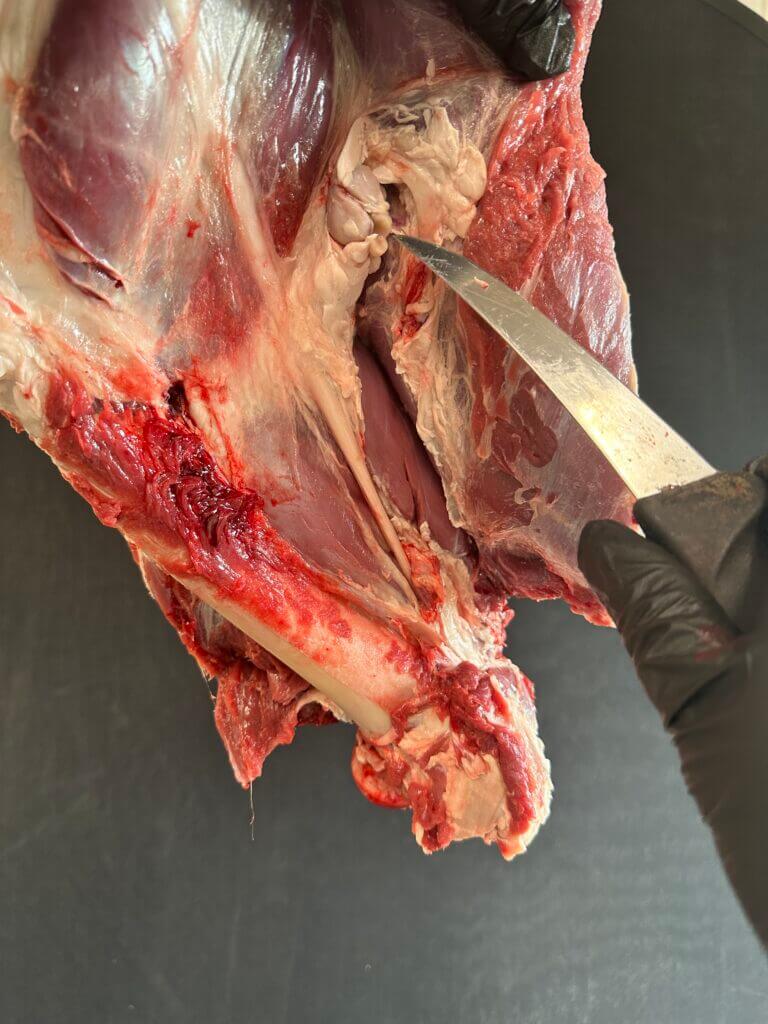
Cutting the Bottom Round
The bottom round is a really big piece of meat that can be cut into multiple roasts. Even if you plan on using it for steak, I suggest cutting it into larger pieces. Start with grilling the meat, go to slicing it after the meat has rested for a few minutes, then plate and serve. Aged balsamic vinegar is a wonderful condiment for these steaks.
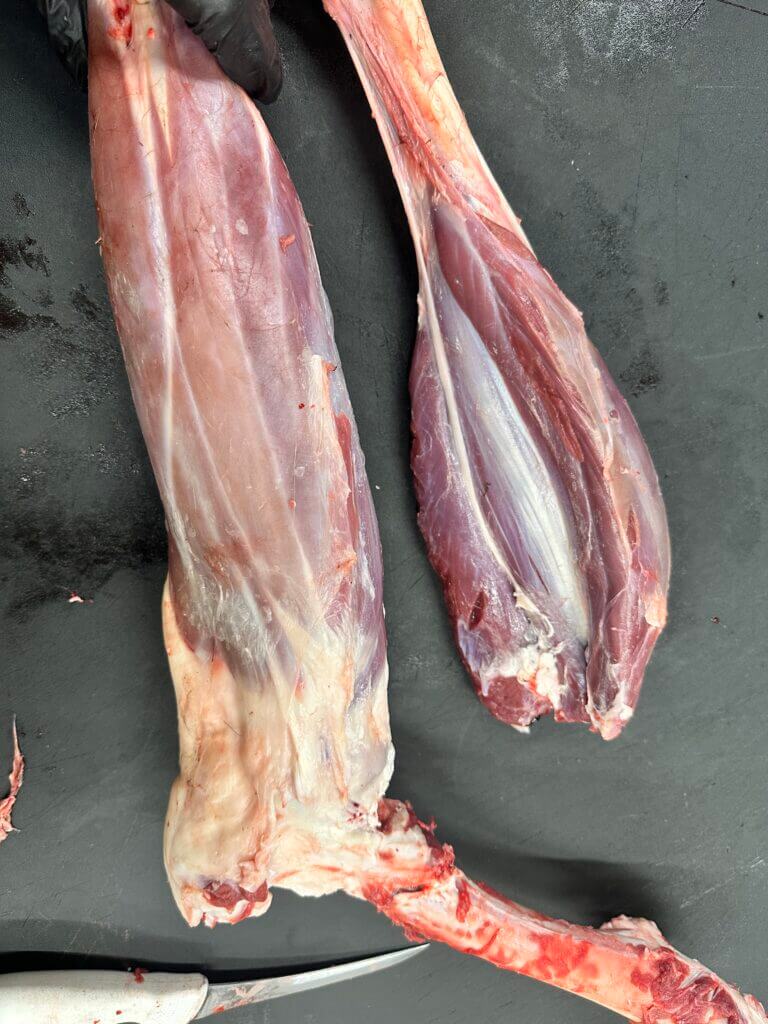
The Shank
The shank is composed of two separate muscle groups. The larger of the two (the calf muscle) attaches where the bottom round was cut off the femur. The part remaining on the shin can be sawed through to make osso buco, a classic Italian dish. These muscles are full of tendons and should not be used for a steak and don’t make great grind either. They are fantastic when braised and the collagen has health benefits.
READ MORE: Simple Gourmet: Big Game Drumsticks (Bone-In Shank Roast)
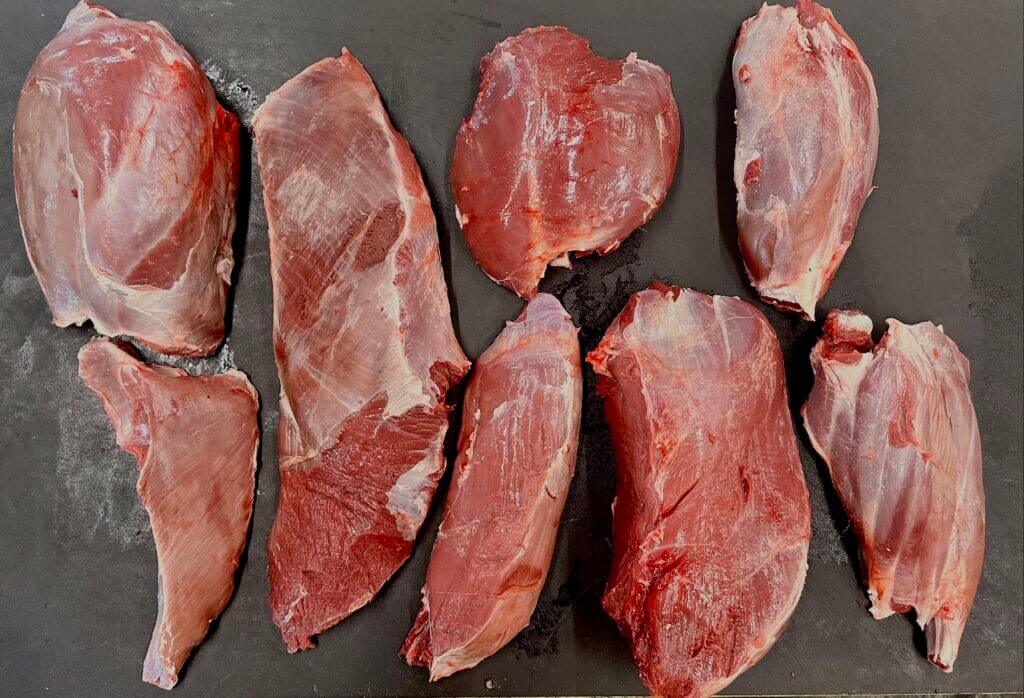
Make sure you sanitize your knives and cutting surfaces, wear gloves, and keep everything as clean as possible. Keep some bandaids and superglue close by for any cuts that might occur. The best way to prevent cuts is to keep your knives sharp. I use a ceramic honing rod every couple of minutes to keep the edge of the knife straight. A work sharp Ken Onion edition powered knife sharpener is fantastic. I sharpen to a 20-degree angle which seems to be the sweet spot on these knives between easy cutting and durability.
Don’t be intimidated to try these cuts. If nothing else, start by removing the sirloin tip and explore more of these cuts as you become more familiar with the landscape of the hind quarter. Once you’ve discovered how amazing the eye of round can be, you’ll want to learn more and more about the butchering process.
*** Buy and Sell on GunsAmerica! ***


I have been processing my own deer for decades. I found I get about half again as much meat as I would from a processor and this way I know I am getting the deer I took.
The eye round is one of my favorite pieces of meat off the hindquarter. I cut it in half with the grain down the long axis, and then slice each of those halves thinly on a bias across the grain. I will have slices that are an inch or so wide by maybe two inches plus or minus long. Put them in a bowl with a little baking soda mixed with water for ten minutes or so will work to tenderize them even more. This is just the beginning of a wonderful stir-fry. I have a number of copycat recipes from famous Asian restaurants, as well as those I created on my own, so I can choose between Korean, Mongolian, Chinese, Thai recipes for what style I am feeling like that day. I keep hoisin, soy, oyster, fish sauce, Mae Ploy sweet chili sauce, et al, in my fridge. This is also a good way to introduce venison to those who have never had it or thought it was too “gamy” when they did have it.
Hi, and thanks for the article. I was in no way expecting to become a butcher by reading your article. I do think however, that it would be much easier to understand if you had some labeled diagrams and/or pictures. Other than the shank cut, it’s not easy to understand which cut is which when looking at the hindquarter. My lack of knowledge notwithstanding, I’ve butchered, prepared and consumed dozens of Whitetails. Proof that you don’t necessarily need to know which cut you’re dining on.