Read Part 1 of Gunstock Building For the Average Joe
Step 6: Glass Bed the Action and Bottom Metal
If you are close enough with your inletting and do not want to glass bed your rifle, this step is optional. But this is a rather easy process that most gunsmiths will charge $100+ for, and you can do it yourself for about $20. Order some release agent from Brownells, which I have found to be my favorite, and some epoxy. I have used Devcon Plastic Steel and JB Weld and found that both work well. Now go watch some YouTube videos on how to glass bed because there is a plethora, and bed your action according to the instructions. I won’t be explaining it, but this is also the step where you would install aluminum pillars in your stock.
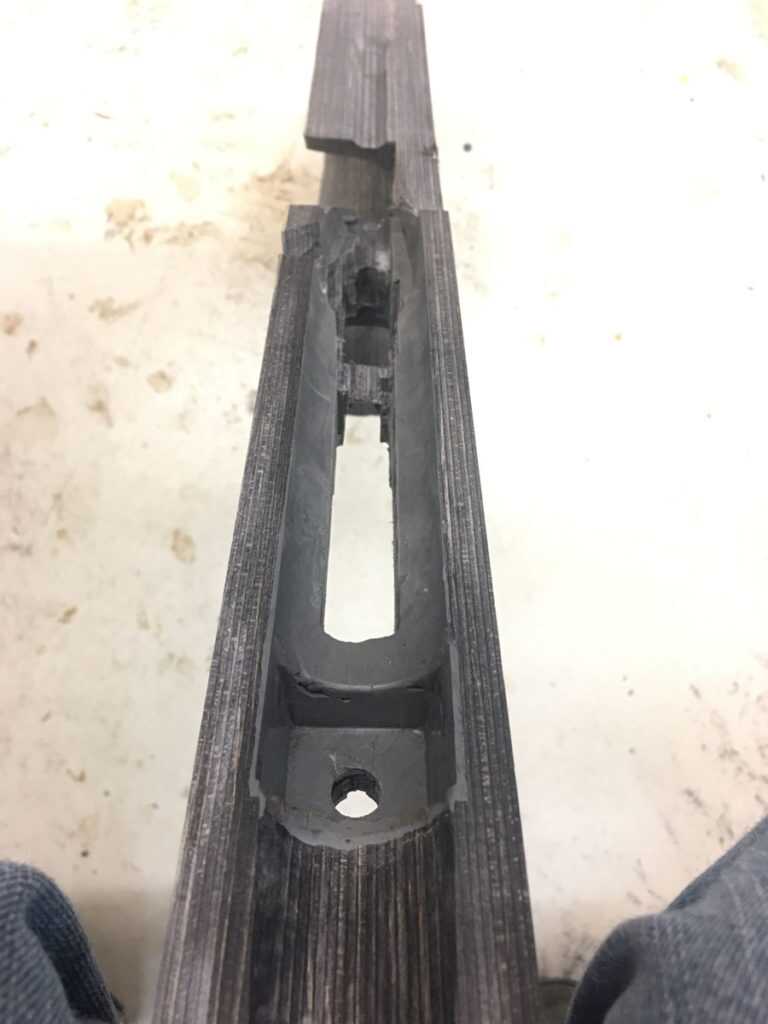
Glass bedding of the action. If you desire a perfect fit of your action in the stock, you may glass bed the action. The results shown here are not perfect, so I re-did the bedding. You can see air bubbles left on the front lug, which are not desirable.
Step 7: Install the Buttpad
Before you install the butt pad, you will need to have bought one. Really, anything will work as long as you have accounted for its size in your design, but I have found that my favorite are Limbsaver pads. They are very soft, come in many different shapes and sizes and are usually held in abounds at Sportsmans Warehouse. Once you have it, you will need to find the center of the thickness of your stock and strike a line down the butt of your gun. Now, fit the pad over the butt and use a pencil or center punch to mark the screw holes. Once this is done, drill guide holes for the screws that are just undersized. This allows the screws to go in without cracking the wood. From this point, you will be removing and reinstalling the butt pad as needed.
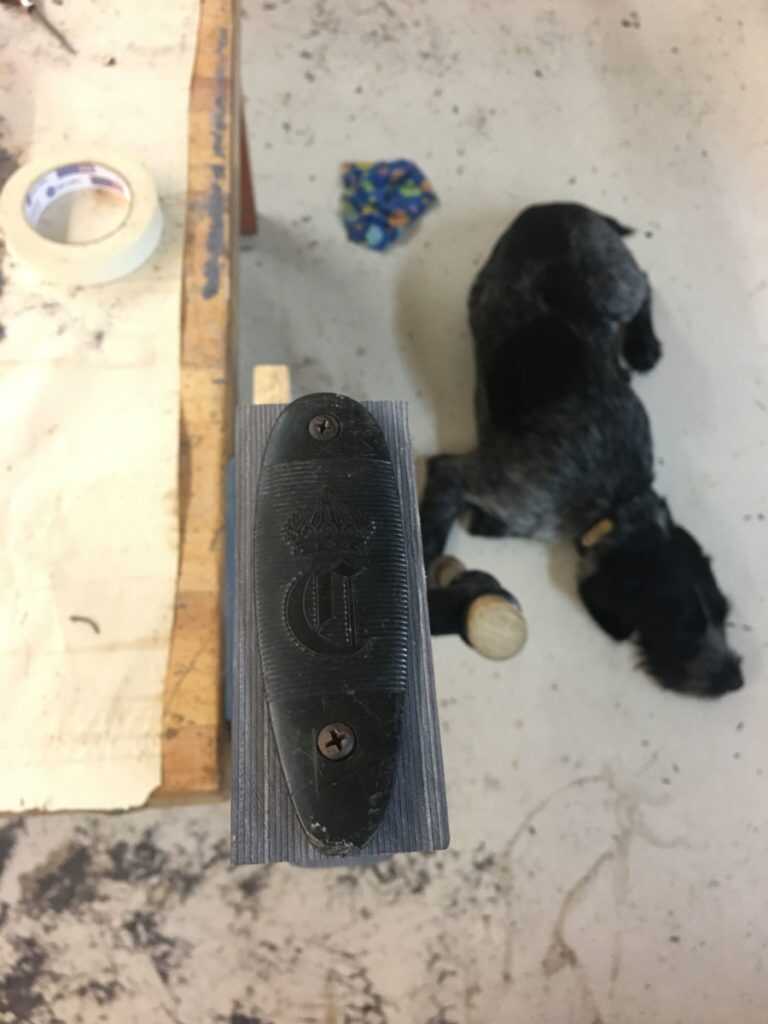
Installing the butt pad. The pad was installed, traced around and then filed down to. This achieved the best fit possible.
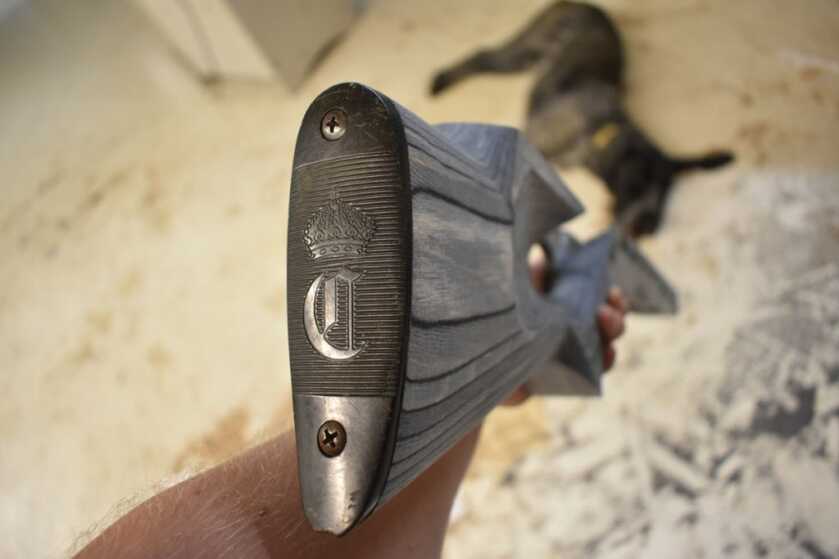
Step 8: Start Shaping the Stock
At the moment, you have a functioning gun stock that is just rather ugly. You will need to find some good wood rasps to file down the sharp edges and turn it into an ergonomic piece of art. I recommend clamping the stock into a solid vice with two pieces of soft wood on either side to avoid marring the stock itself; I use pine. Once held solidly in place, you will start at the butt end of the gun and rasp the profile that you want. While doing this, keep in mind that you will again need to leave a bit of extra thickness so you can later sand out the rasp marks that you will undoubtedly leave.
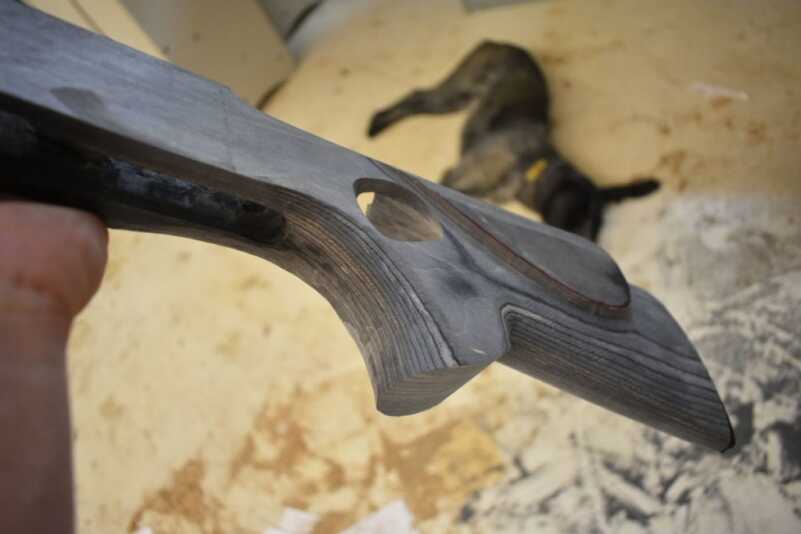
Shaping the gunstock. I use a wood rasp to file the desired profile into the stock. This tool gives the best control and most uniform results. I go on to complete the forend using the same method.
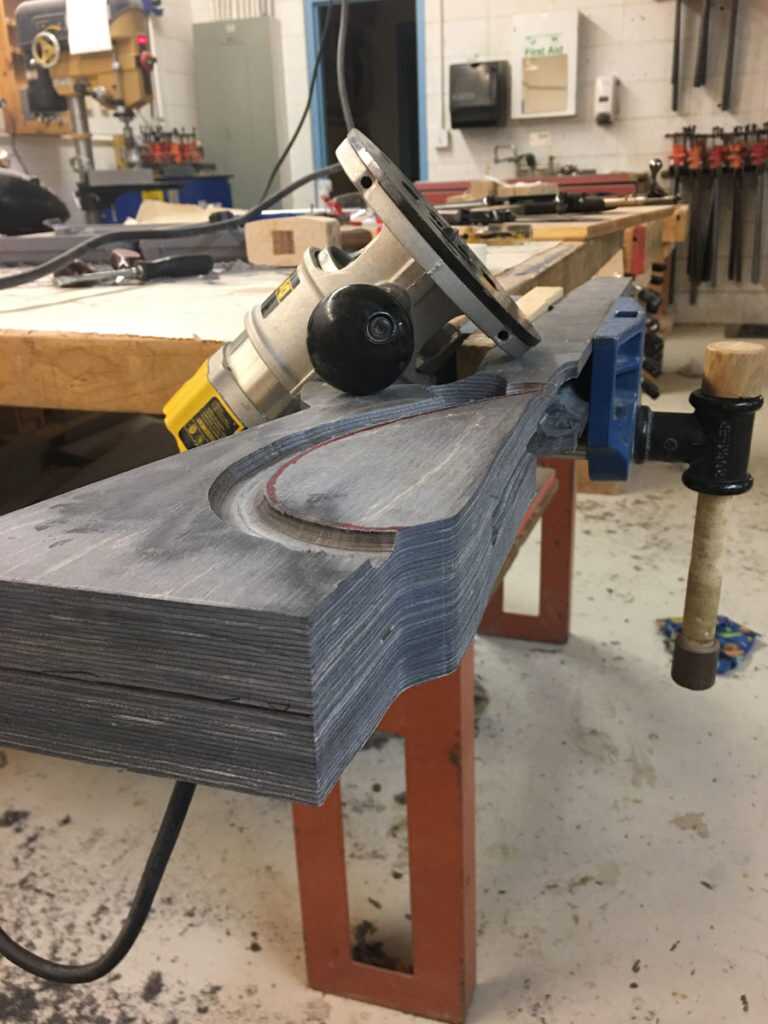
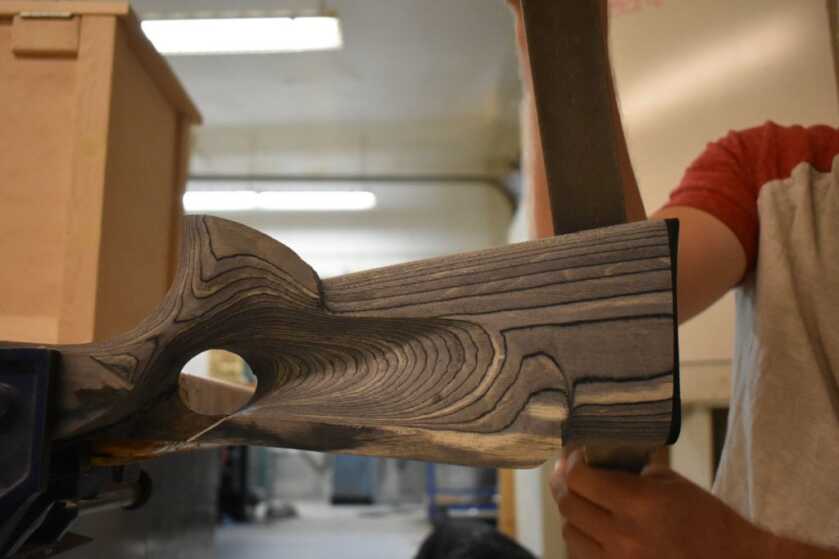
Adding the Cheek piece. Between installing and shaping the butt pad and grip, I also profiled in a cheek piece on this gunstock. This adds a level of complexity that I wouldn’t recommend for a first stock, but adds to the aesthetic and functionality of the gun in the end. If you are up for it, it is a rewarding challenge.
Step 9: Sanding and Finishing.
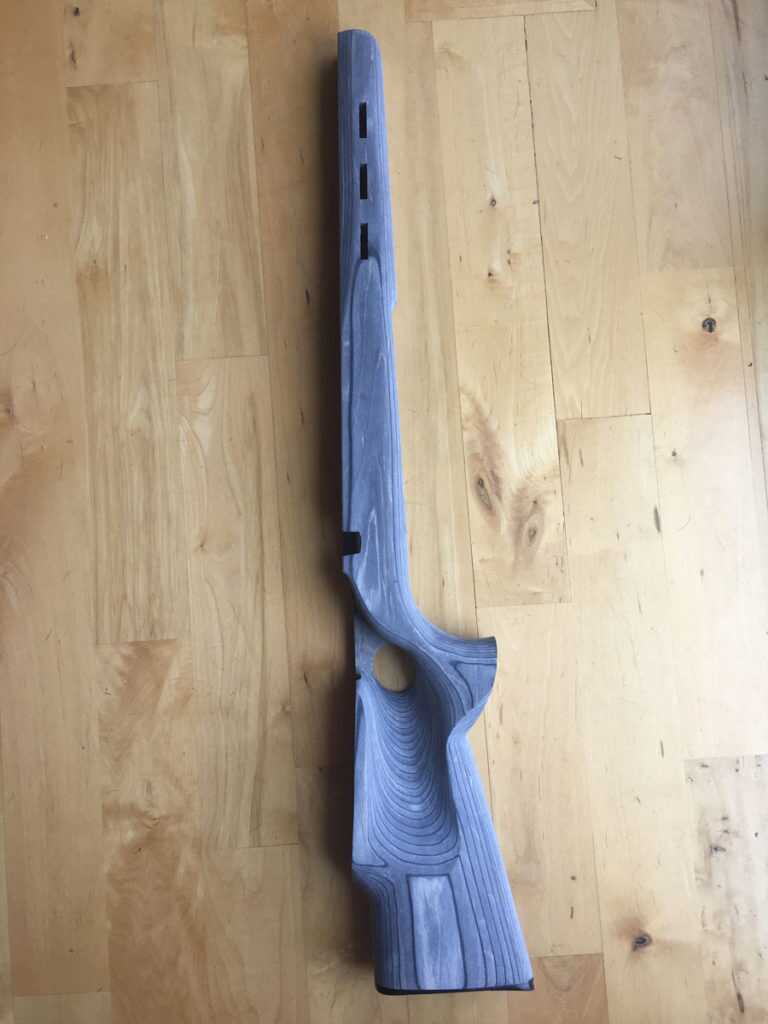
I lumped these two steps into one, because they almost coincide. Once the shaping is done with a rasp, or dare I say a Dremel, you will have to sand. This step removes all of the tooling marks and makes for a professional looking product. I start with 60 grit and spend the most time here taking out all of the gouges and uneven spots by wrapping a rectangular block of wood or a cylinder in sandpaper and using that to sand. If you sand without a block, you will most likely get an uneven or wavy finished product, so I advise against this. Once you are done with 60 grit, slowly step up to 220 and then you are ready for applying finish.
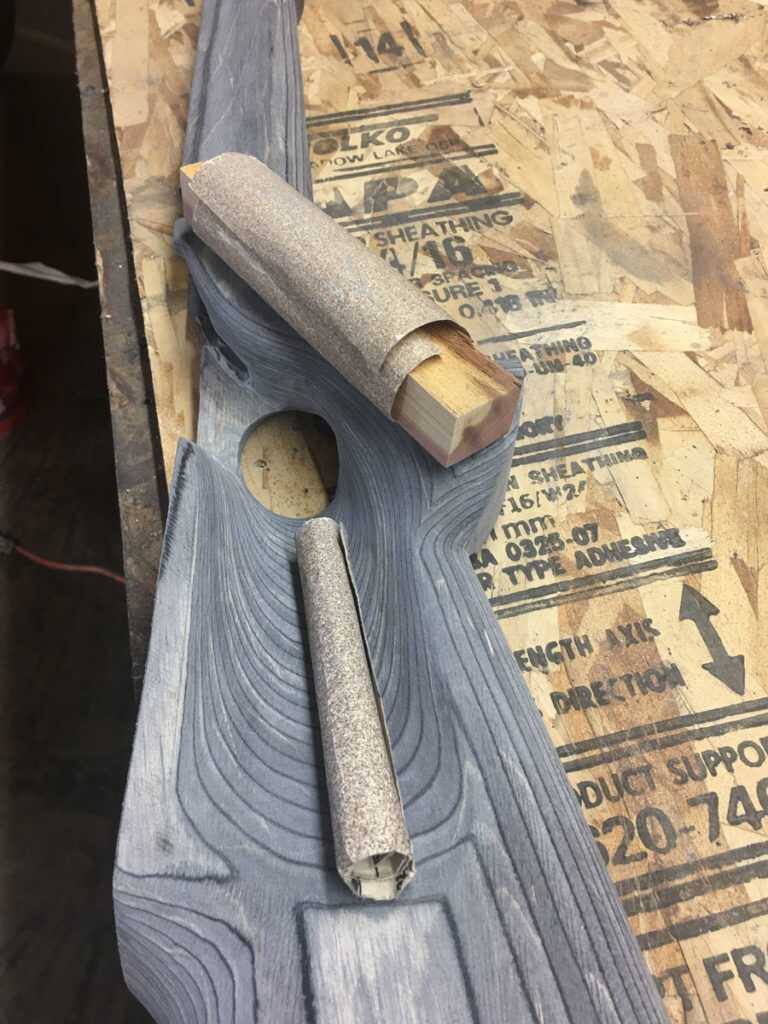
Sanding the gunstock. At this point, the shaping is done and sanding is started in order to remove any tool marks. The use of a sanding block (shown) is important in this step in order to get the most uniform surface.
My favorite finish is Birchwood Casey Tru-Oil. It is great because it is inexpensive, builds up fast, sands easy and is tough when cured. Your will need to apply approximately 5 coats of finish. After the first, watch for sanding marks in your stock because this is the last opportunity to drop back down a few grits and sand them out while working back to 220 grit. After the finish cures, you can take 00 Steel Wool and buff the whole stock till it is smooth. Apply another coat of finish and repeat the process till you have the sheen/thickness you want. Finally, buff the whole stock and wet your rag with a bit of oil and close the bottle so you don’t use more. Rub in the final coat. It will almost be dry to the touch when finished and will restore the shine it had while retaining the smoothness.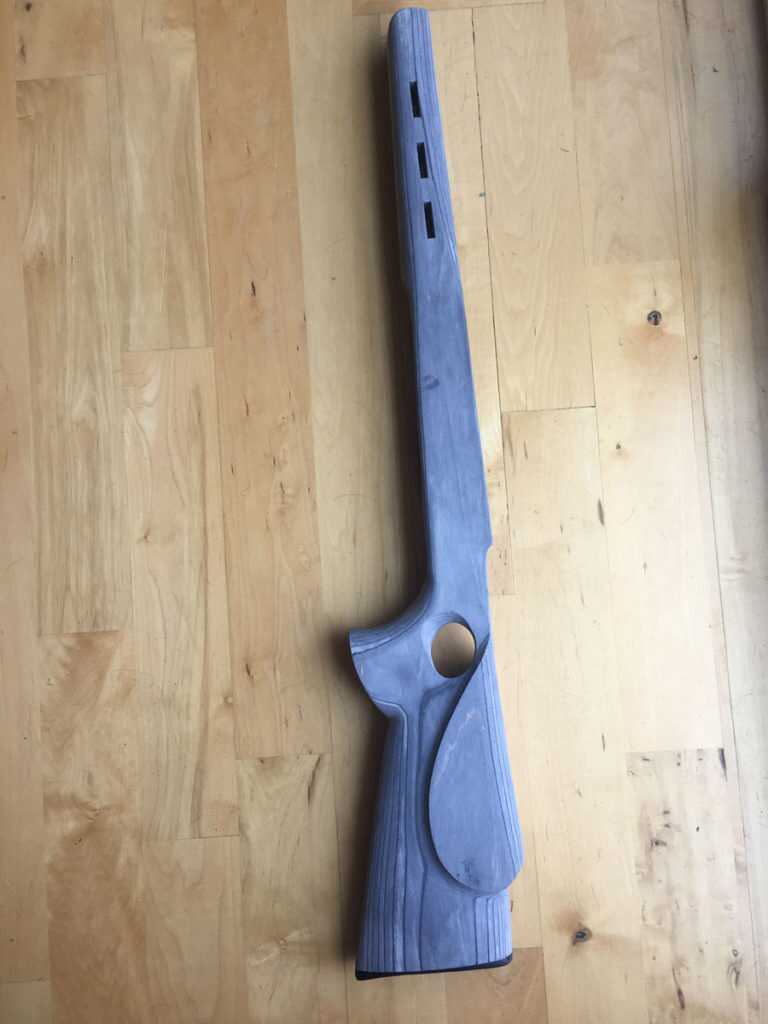
Step 10: Install the hardware.
This is the point where you can finally start showing your friends because they will be impressed with what you have done. You may even receive the same old, “I want to build a gunstock someday.” that I have heard time and time again. But you are not done; you need to install your picatinny rails on the forend, your sling swivel studs, flush cups or whatever else you may have planned into your end product.
Finally, enjoy your one of a kind custom gunstock.
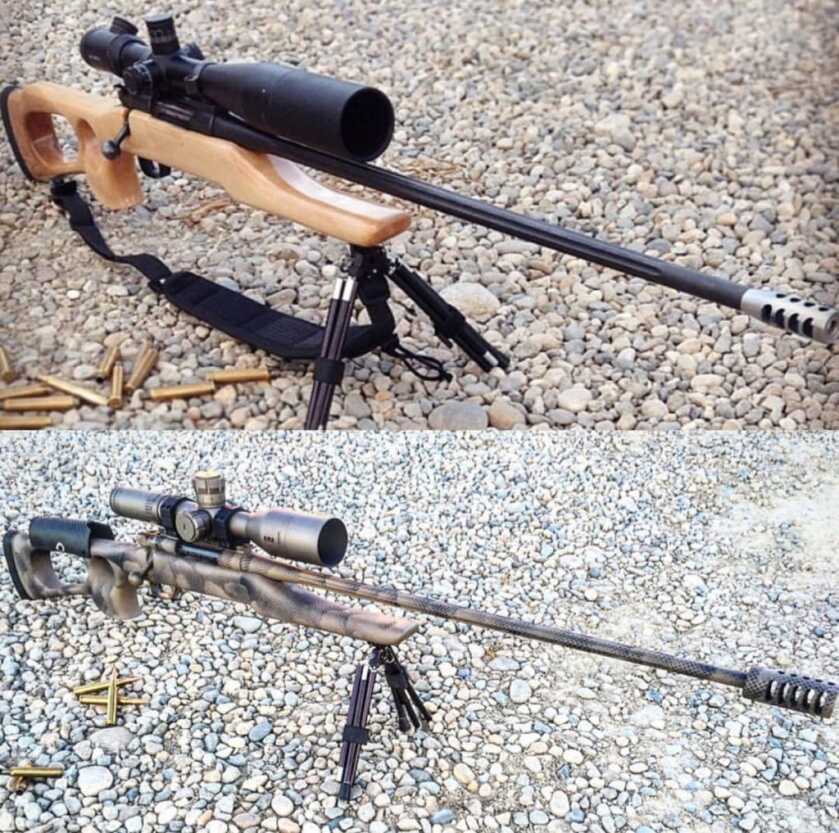
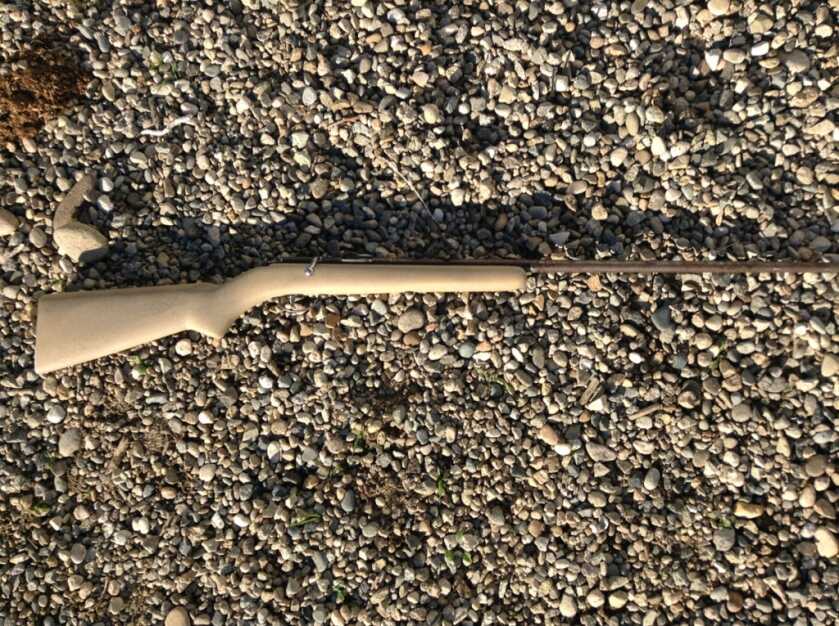
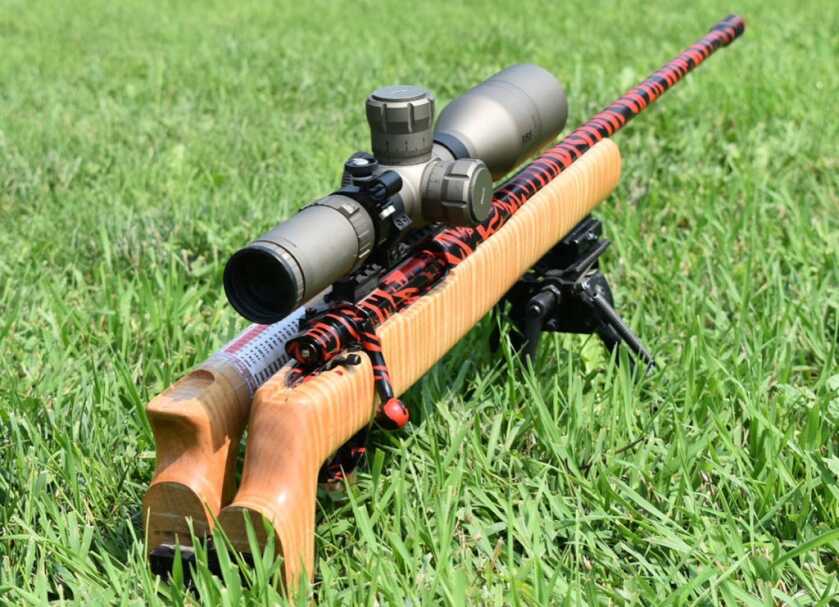
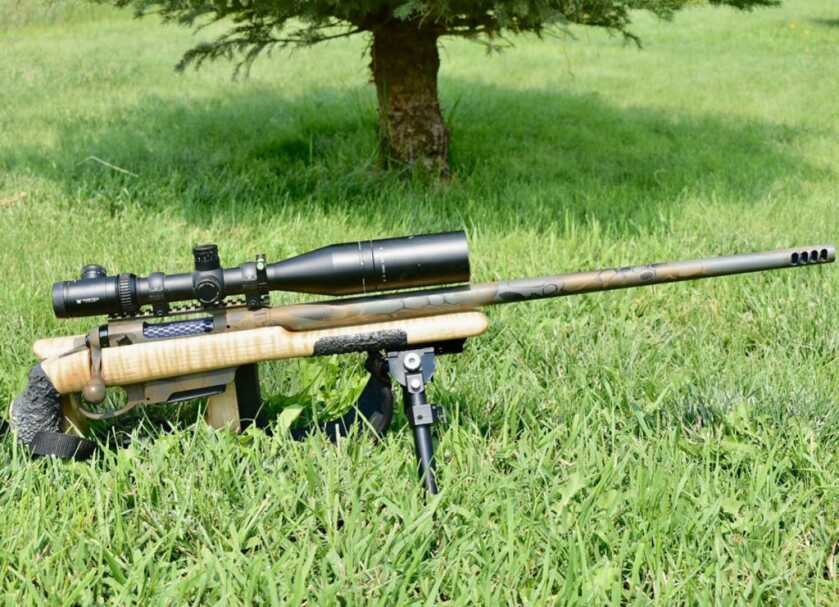
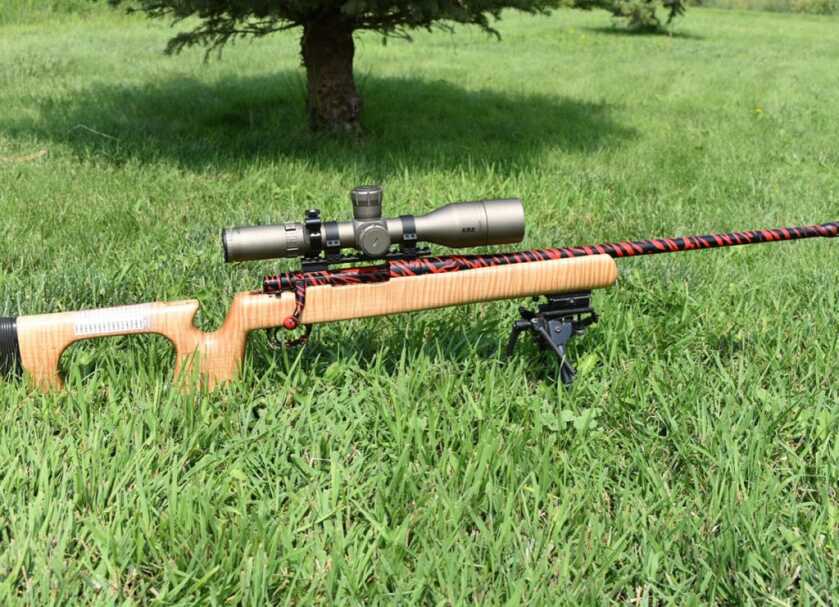
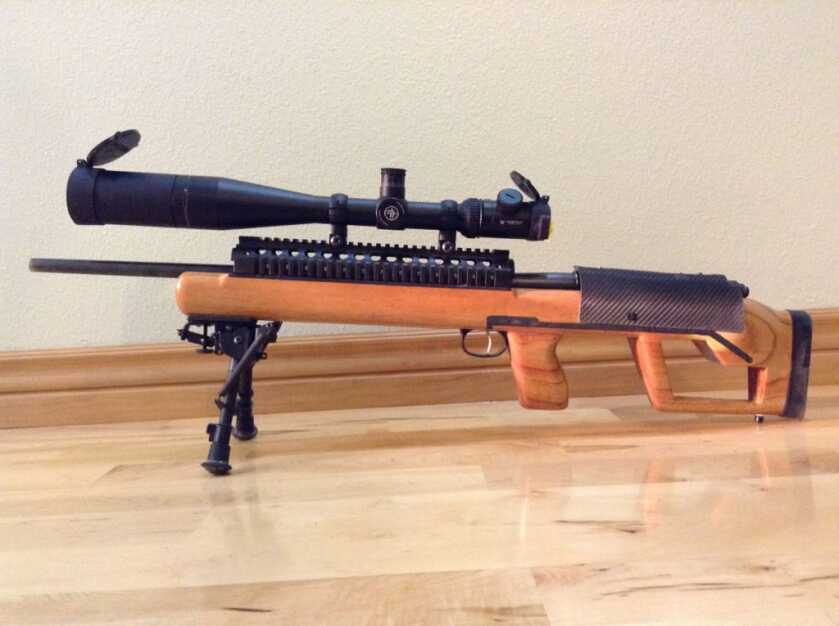
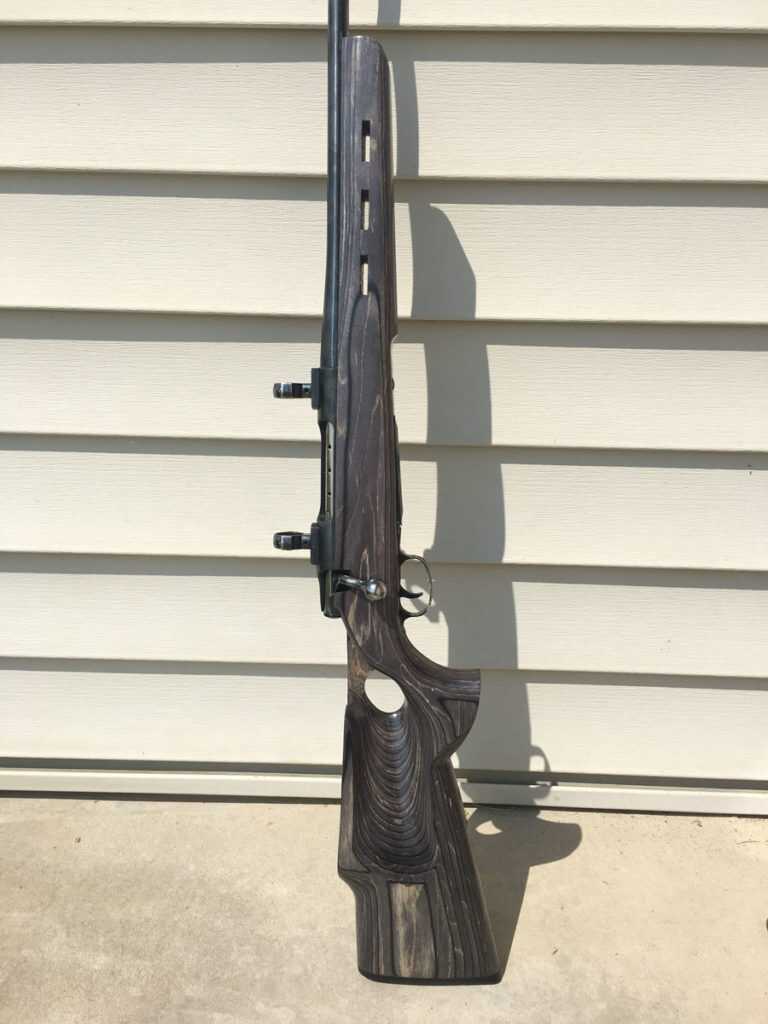
Below are a few of the gunstocks I’ve built.



if you could share the details of the fold stock build that would be lovey
@Riley Baxter your builds look amazing just wanted to know what you used to make the folding stocks fold.
Riley,
True craftsmanship. If you would like to see some backwoods Hillbilly hand carved stocks, give me an email address.
marty
Riley,
Absolutely fantastic. Your deigns, precision cuts and finish are tops. Ive made a few stocks myself but they definitely aren’t close to your level. If you would like to see amatuer stocks, just send me an email address and I’ll send you some pictures. Meanwhile, keep up the beautiful work.
marty
Hello Riley,
How did you build the folding stock. Great workpiece.
I’ be delighted to learn that.