It is time for Part 6 in my Factory to Table Series. But if you are just joining us, I should backtrack a tiny bit to bring you up to speed…
I started my Factory to Table series while thinking about all the of the moving parts that have to come together in order for me to make a trip to the range, or out into the backcountry to go hunting. Between what goes into building the gun, ammunition, sling, as well as all of the periphery equipment.
I also asked myself what would be a great little gun to have here up in the Pacific North West. While out west you can be met with large open spaces and long-distance shots, up where I live in the panhandle of Idaho, you are shooting across clear cuts. You’ll be lucky to have a 150-yard shot.
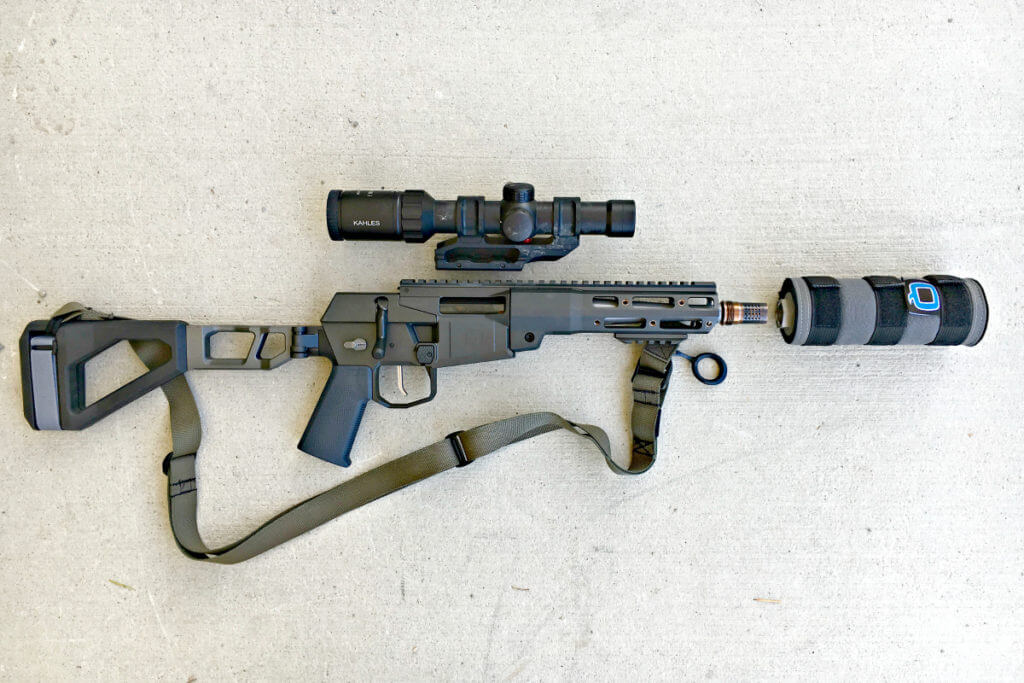
With all of this in mind, I set out on my journey to take a gun from factory to table. Building as much as I can along the way and ultimately culminating in me take game with it. For the gun, I decided on and built a Mini Fix Pistol by Q LLC, chambered in 300 Blackout. I then built myself a Trash Panda Silencer with them as well.
Traveling north from Portsmouth NH, I headed up to Discrete Ballistics and made some subsonic solid copper expanding ammunition for the Mini Fix. From there I met up with the guys at Cole-Tac where I had a hand in making a custom suppressor cover for my silencer. After that, I met up with Edgar of Edgar Sherman Design as he walked me through sewing up a sling for my gun.
Which brings us to Part 6. It is time to put an optic on this little shooter. As much as I would love to go to Austria to have a hand in building a Kahles K16i, it isn’t in the cards. So I’ll do the next best thing and go build a LEAP 30mm Scope Mount with Phil from Scalarworks.
If you are unfamiliar with Scalarworks, they are a small shop out of Pennsylvania that specializes in rigid, lightweight, quick – detach scope mounts. Making mounts from most of your popular red dots, to include Aimpoints and Trijicons as well as 30mm and 34mm scope tubes.
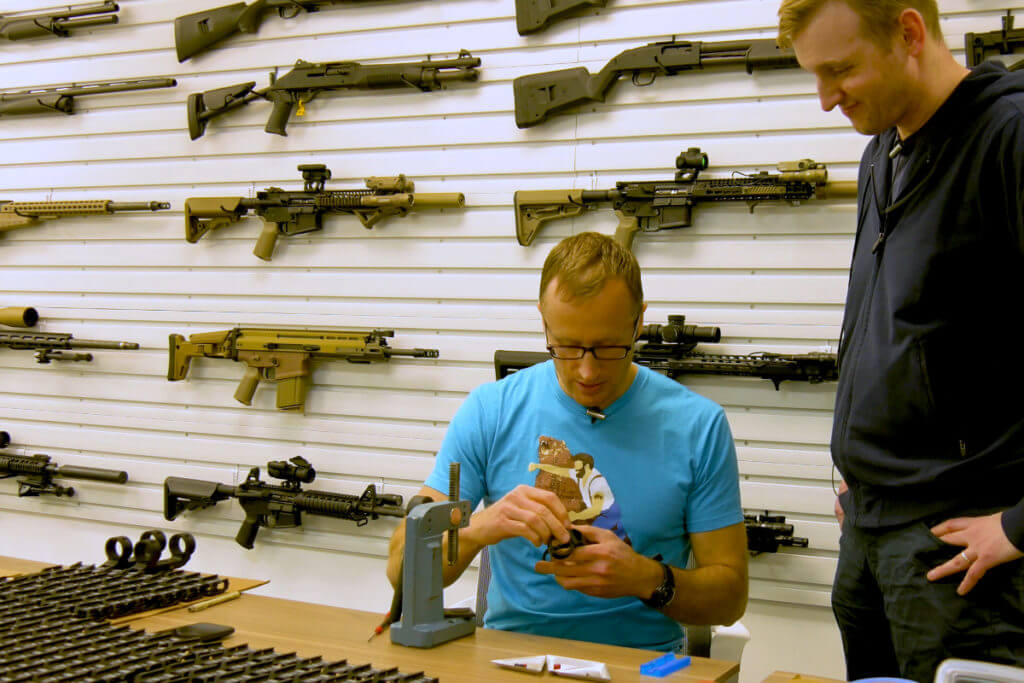
Meeting up with Phil we started with a quick shop tour. During which he showed me a pretty impressive (and expensive) machine. What is the purpose of it? To break things. A giant machine that basically applies pressure until things break. And collects all the data along the way, such as how many pounds of force it takes to push an optic mount off of a rail. Pretty impressive. After the short tour, and admiring the wall of guns he uses to test out various optic mounts, it was time to get to work.
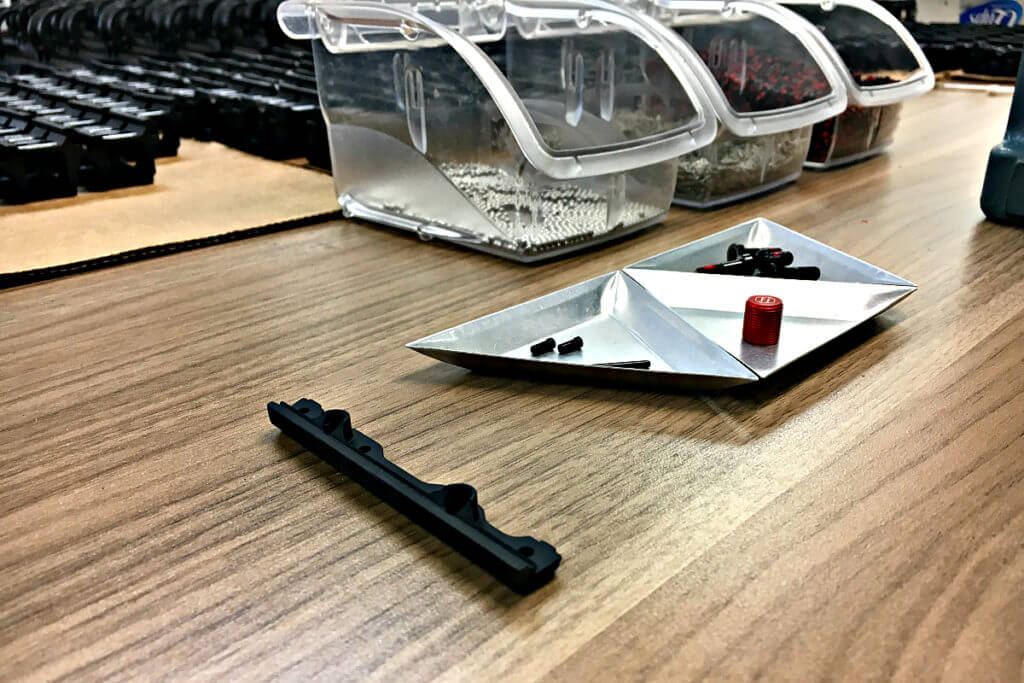
Fortunately, the hard part was done for me. The initial quality control of all of the parts was already accomplished. Before assembly, everything is inspected to make sure the parts are within tolerances. As well as ensuring all the finishes are even and clean across the anodizing.
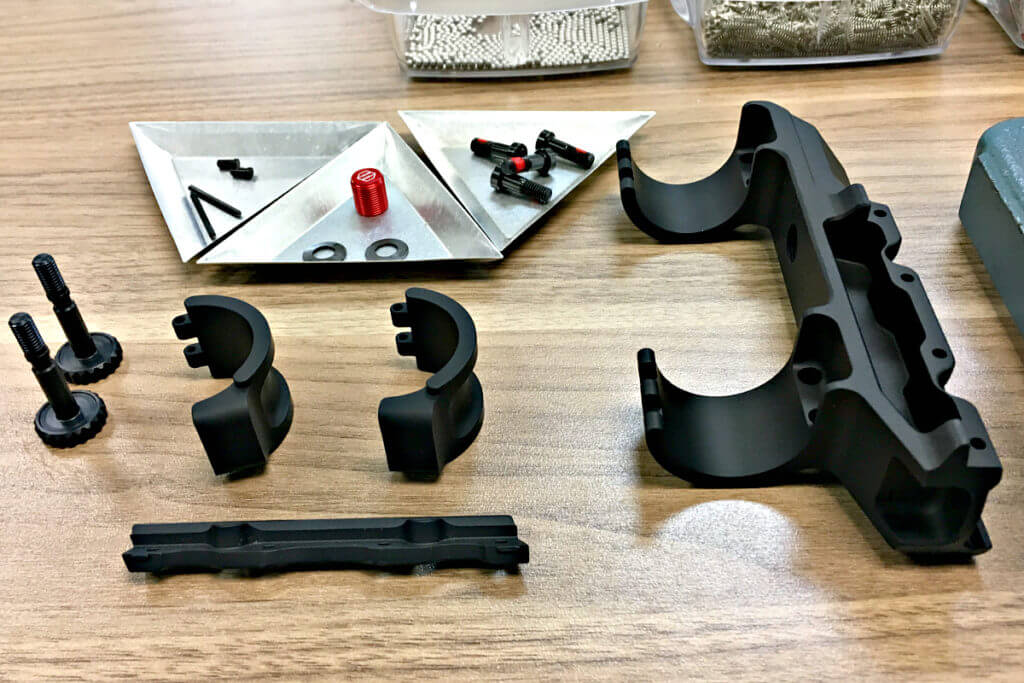
Since I was going to be putting a Kahles K16i on the Mini Fix, I would build a 30mm LEAP Mount. So I sat down to a rather daunting pile of parts. Granted, the end-user would never see half of them, but since I was going to put this thing together, I got acquainted with all of them.
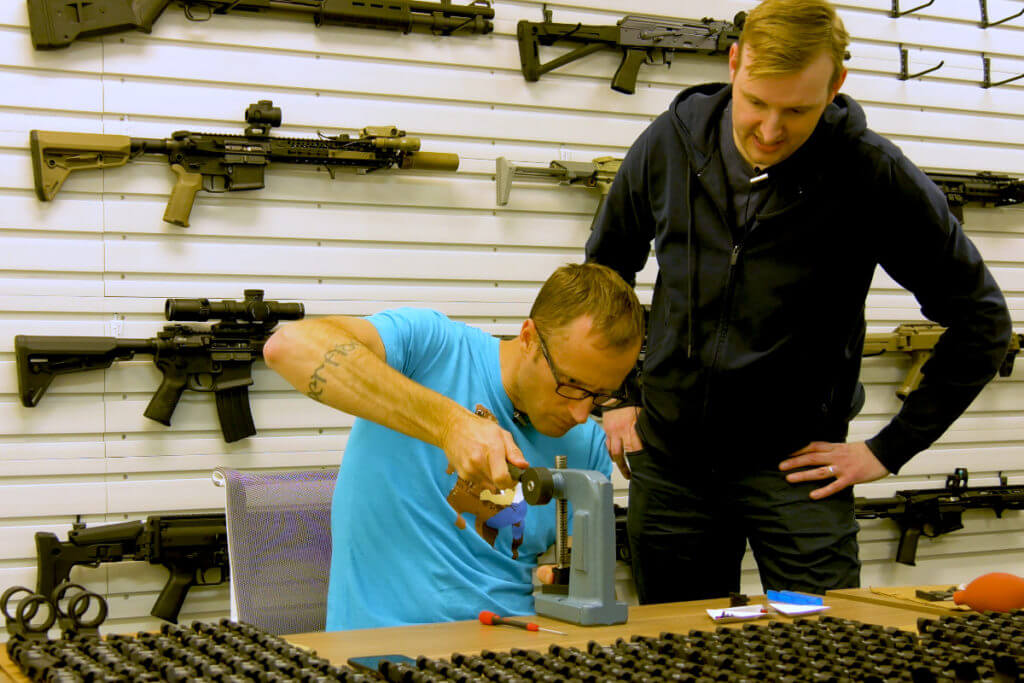
The process went a lot smoother than I had expected. First off there is a matter of capturing the clamp portion of the mount to the base. After prepping the thumbscrews with disc springs, I threaded the screws into the clamp and base. Then using a jig, so that I couldn’t screw it up, I pressed two pins into the clamp. This made sure that the clamp was captured and couldn’t fall away from the mount when the thumbscrews were completely loosened.
Next came the rings. After dry fitting the ring into the base, another press-fit pin is used. Once again, I placed the mount onto a jig, ensuring alignment, and pressed the pin down into the front and rear ring. This then lets the rings move freely to allow the mounting of the optic, but they are at the same time captured. Rather than having half your scope ring fall off your workbench and roll away under a shelf, these make for a very easy time.
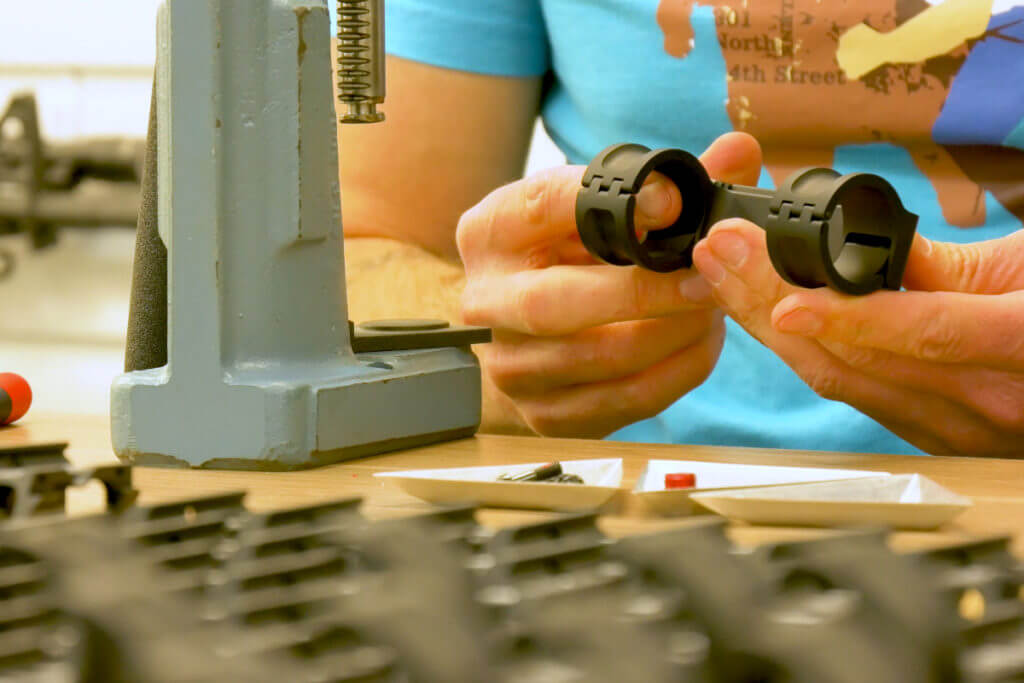
The following step was where the magic of the mounts comes in. Installing the guts of the LEAP Mount that allows for the Scalarworks Click Drive to work. Click Drive refers to the method used in the Quick Detach portion of the mount. While most mounts require a throw lever to create a high amount of force to lock the clamping section of the mount to the base, the LEAP goes a different route.
The Click Drive lets the user’s hand tighten the thumbscrews until the mount is secured onto the weapon. Rather than requiring a lever or secondary locking mechanism, it uses detents built into the mount to push small bearings into the side of the thumbscrews. These apply just enough force to ensure the thumb screws don’t back out. Thereby keeping the mount truly tool-less and repeatable.
The mounts repeatability comes in with the user. By tightening the thumbscrews as tight as you can by hand, you not only secure the mount but ensure that it maintains the same tension. Since you can only tighten it so tight by hand, you create the constant, ensuring it is to the same tension every time. This allows you to remove and replace it as needed, always maintaining the same tension and in turn zero.
Having said all that, I carefully installed the small bearings with the spring followers and finally the set screws, which capture everything. These ensure that under recoil the thumb screws can’t move and therefore the mount won’t loosen.
With the mount basically together at this point, I threaded the leveling screw into the bottom and got to work mounting my Kahles K16i. I will go ahead and say, this is probably my favorite aspect of the mount. The process for actually installing your scope into the mount is painless.

Instead of bubble levels and plumb bobs, the Scalarworks LEAP Mount makes the process incredibly easy. To start you back out the leveling screw in the bottom of the LEAP Mount. Next, you place your scope into the mount and tighten one of the screws in each ring so that you can just barely move the scope in the rings. Then, slowly tighten the leveling screw from the bottom of the mount. The leveling screw makes contact with the flat underside of the optic and levels itself out. With the leveling screw flat across the bottom, snug but not too tight, you then set to work tightening down the scope rings to around 25 inch-pounds. Then it is just a matter of backing off the leveling screw.
And just that fast you are done. There isn’t any need for levels or even mounting the set up onto your rifle, aside from setting eye relief. The entire process is fast and painless.
Which brings us to cost… The mount is $399.00, which is honestly expensive. But if you are looking for the lightest Quick Detach scope mount, along with the most painless way of mounting an optic, and you happen to have that money… …I think it is a fair price. Every time you heft that weapon you will deal with the weight. And while you may only mount one optic in it, how much is your time and frustration worth?
With my Kahles mounted onto my Mini Fix, I’m ready to put some rounds through it. In Part 7 I will get some time out on the range, stretching the legs of the Mini Fix and getting it zeroed in preparation for hunting.
You can watch the video of me assembling my Scalarworks LEAP Mount here.

Yo Broseph!!! Fantastic Article as always!! You are the Shiz!!