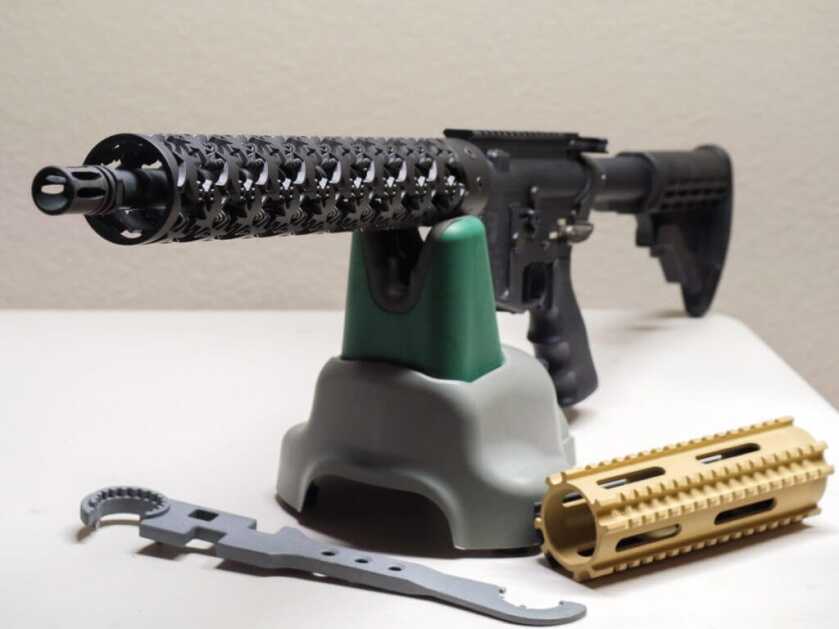
We all love our ARs because they are completely customizable, and most of the changes can be made without having to go to a gunsmith. Knowing that everything can be swapped and having the confidence to swap it are very different things — especially when you’re talking about making adjustments to the barrel. Let me show you how simple it actually is to change the handguard and the tools you’ll need to do it.
I’m swapping from one free-floating handguard to another. If you have a different style, you may need different tools, but the process is very similar.
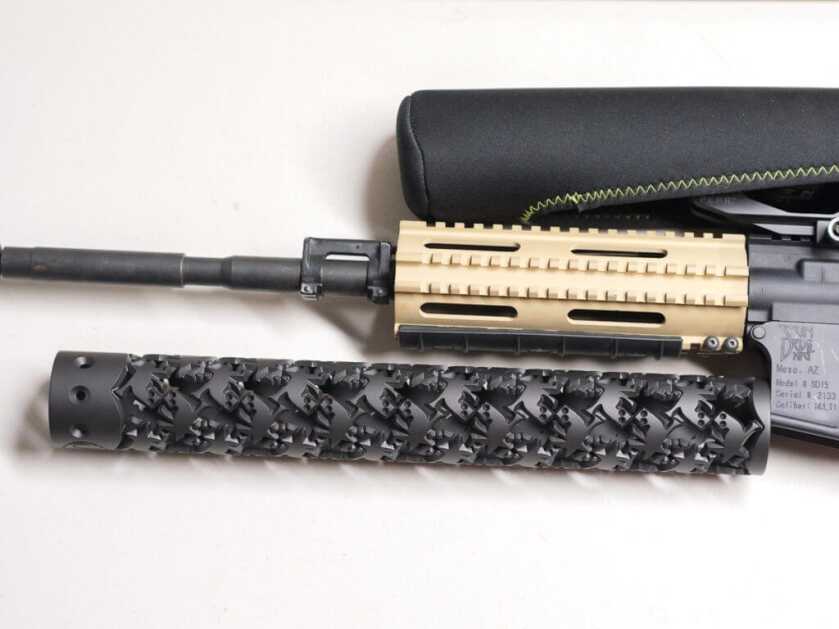
I wanted to upgrade my handguard to a custom low-profile design from Unique-ARs. Their handguards are easier to hold and more modern than my old short version with Picatinny rails all the way around. (Learn more about Unique-AR products in this article.)
Tools You’ll Need
- Vise or clamps with blocks
- Adjustable wrench
- 1/16″ punch and light hammer
- Allen wrenches for your handguard
- Armorer’s wrench for your barrel nut
- Blue Loctite thread locker (optional)
- Gun cleaner
Remove Muzzle Device & Optics
Start by removing your muzzle device. The gas block won’t slide off the barrel with it on. If you have a fash hider, you can probably use an adjustable wrench to remove it. Also, remove any optics.
Remove Handguard & Gas Block
You’ll probably remove the handguard first, but if your gun is like mine was with an A2 sight and gas block combined in one piece, then you need to remove the gas block first. If so, see this article for full instructions on removing the A2 sight/gas block.
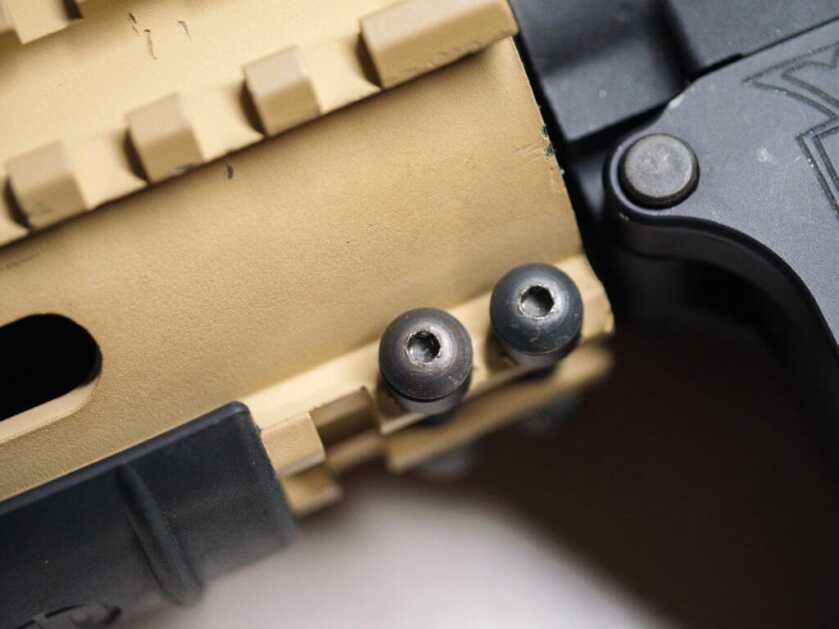
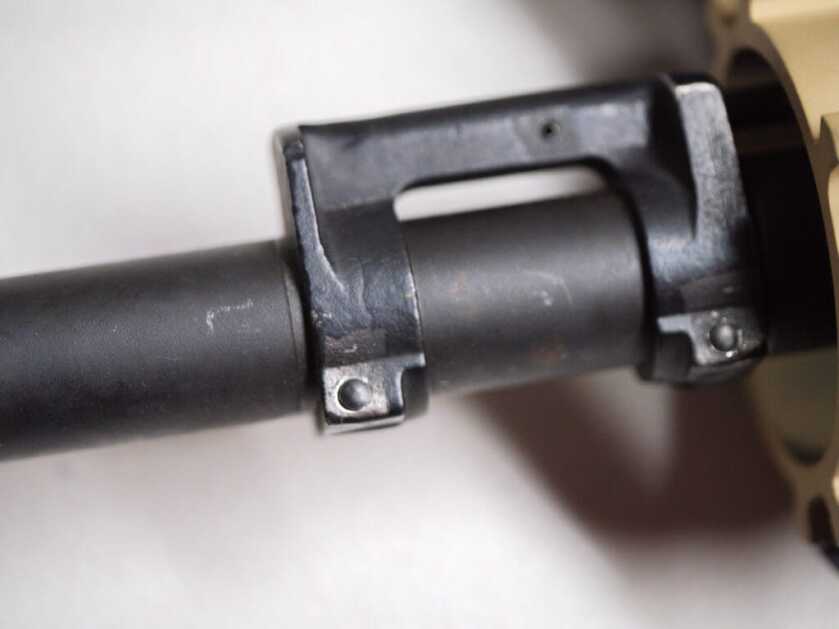
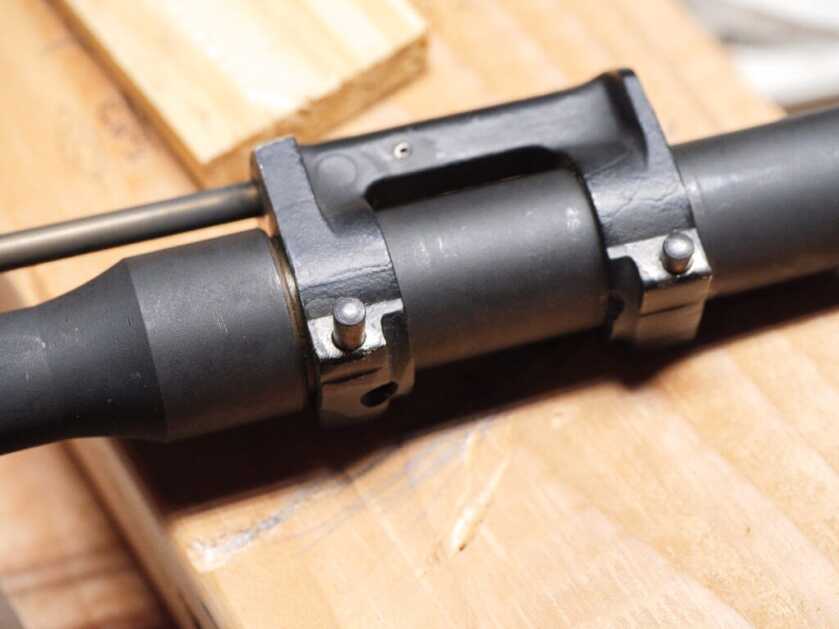
Use the Allen wrenches to remove the bolts that hold the handguard tight to the barrel nut. Your gas block may also be held in place with Allen screws. If not, use the 1/16″ punch to remove the two pins that keep the gas block in place. The pins push through from the left side of the weapon to the right side. Be sure to place some blocks to support the weapon and the barrel as you tap the pins out.
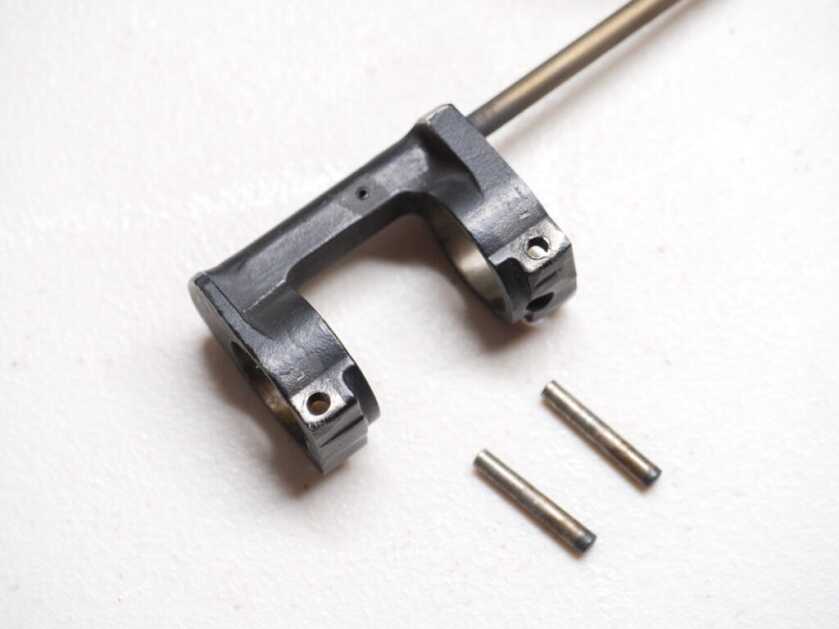
The gas tube goes from the gas block back through the barrel nut into the upper receiver. It looks like a rod, but it is a hollow tube. Slide the gas block and tube off the front of the barrel — give it a little wiggle.
Separate & Secure Upper Receiver
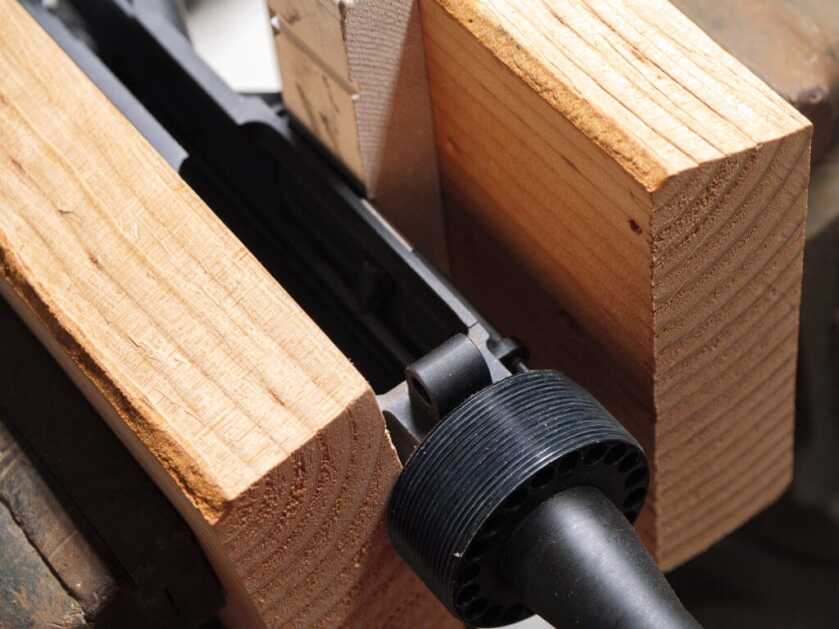
You’ll need the upper receiver to be locked down in a vise in order to replace the barrel nut with the new one. Separate the upper from the lower receiver. Remove the bolt carrier group. Use wooden blocks to pad the upper and help you secure it in the vise. Position it in the vise with the barrel nut as close as possible to the jaws so that it doesn’t rotate down as much when you put weight on the wrench.
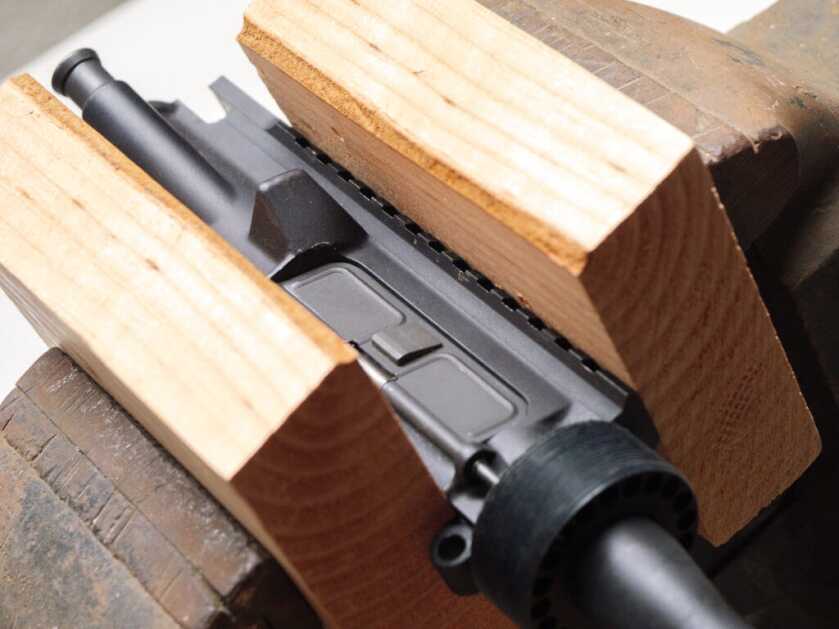
Be careful not to smash the receiver in the vise. Don’t put it in the vise in its natural orientation — instead, turn it 90 degrees so the top rail and the bottom edge of the receiver are being squeezed. If you squeeze it with the Picatinny rail on the top, you can easily deform the receiver.
Remove Barrel Nut
The upper receiver has a threaded extension and the barrel fits flush against it. Then the barrel nut goes over the barrel and threads onto the upper which pulls the barrel tight against the upper. Another way to do it is the way Unique ARs does it. The barrel nut goes onto the upper, then the barrel is pulled into the receiver using a castle nut which threads into the barrel nut.
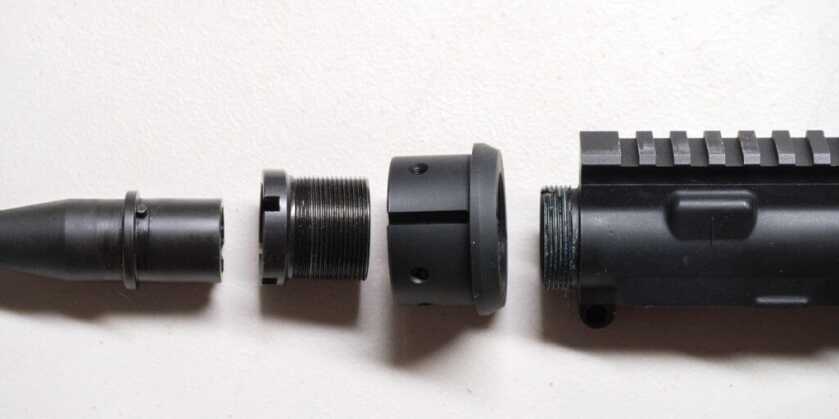
This is where the armorer’s wrench comes in. There’s just no other tool you can use that won’t ruin the barrel nut’s threads. Some new barrel nuts include flat surfaces so you can use an adjustable wrench, and I think those are great. But, for the barrel nut on my gun and for the castle nut from Unique ARs, an armorer’s wrench is necessary.
You can buy cheap wrenches for about $20 from Amazon or eBay. You’ll see reviews that say they are garbage and reviews that aren’t specific but give 5 stars. The 5-star reviews were paid for and the person probably didn’t use the wrench. Pay attention to the reviews that say the wrench was cheap metal that bent and wasn’t usable. If you pay about $60 you can get a quality wrench from someplace like Brownell’s. Or, you can borrow your buddy’s wrench (as I did here).
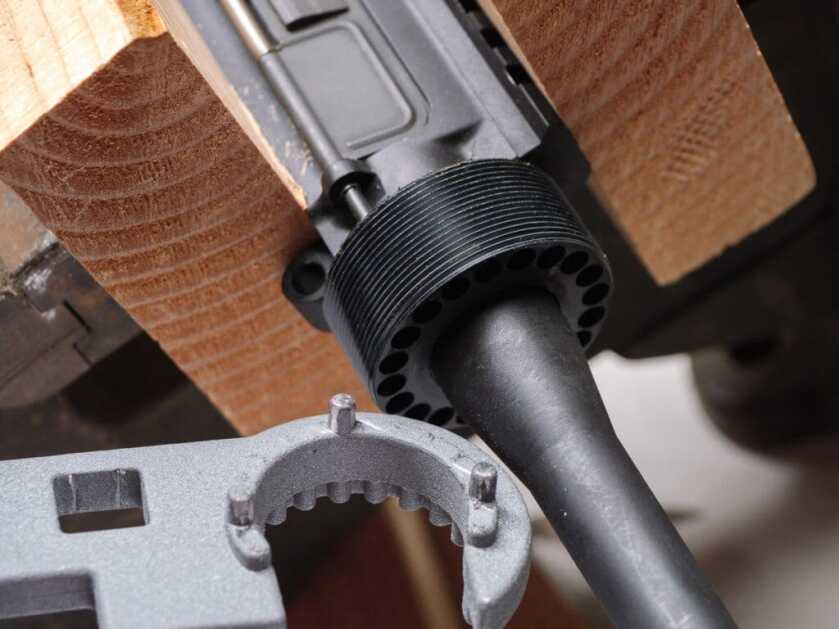
Use the wrench to remove the barrel nut. It can be very stiff. I had to get my entire weight behind it to break it loose. Remember to keep an eye on the vise and make sure you don’t deform the upper. Once it breaks loose, it’ll come off with your hand.
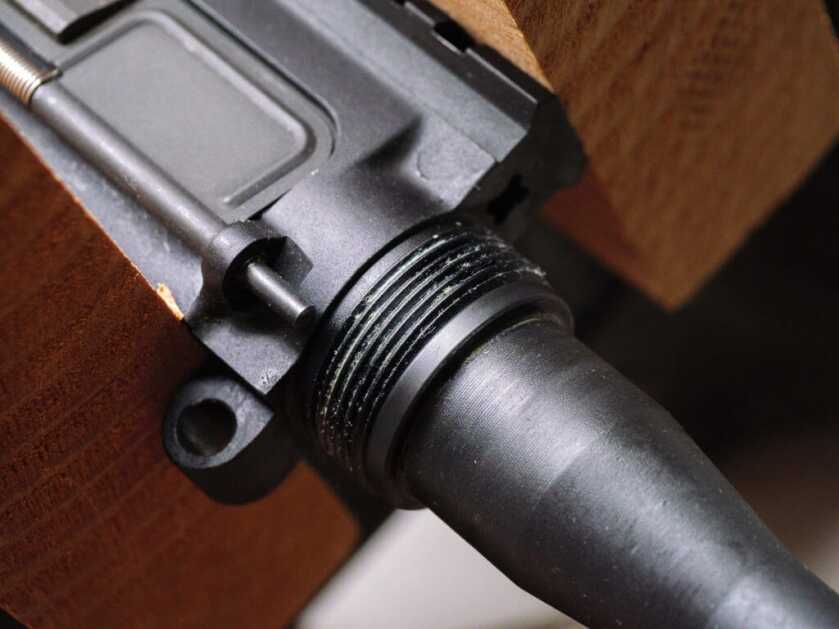
Clean It Up
Now you can pull the barrel off the upper. It’s a good opportunity to clean the barrel extension and the barrel. Also, clean grease or oil off the threaded upper receiver extension. You can use Loctite on those threads, but it won’t work if it’s greasy.
Attach Barrel Nut
Now you’re ready to assemble the gun. The barrel nut goes onto the upper first. Thread it on and off once or twice to make sure the threads are clear and smooth. Also, make sure it’s going on in the right direction so the handguard can slide on.
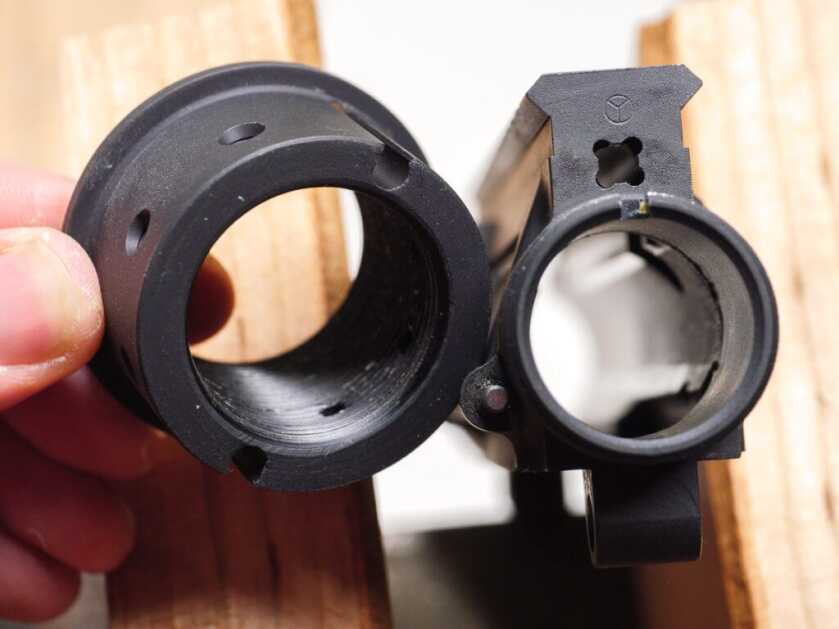
The thing to pay attention to is that the hole in the nut for the gas tube has to line up with the gas port in the receiver. Making sure the two holes line up is called timing the holes. On mine, I screwed the nut on and the holes lined up just right when it was very tight using only my hands. If the holes don’t line up for you, put it on as tight as you can, then back it up until the holes line up.
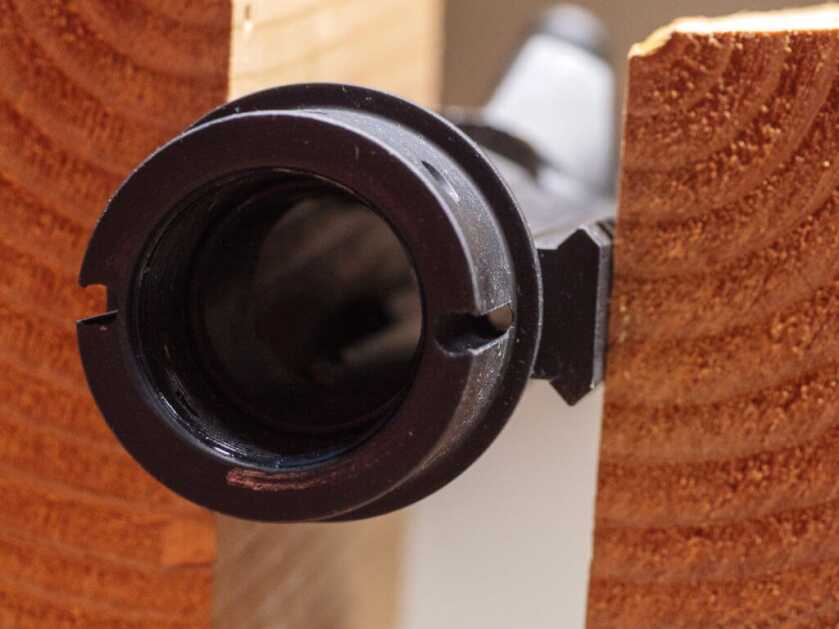
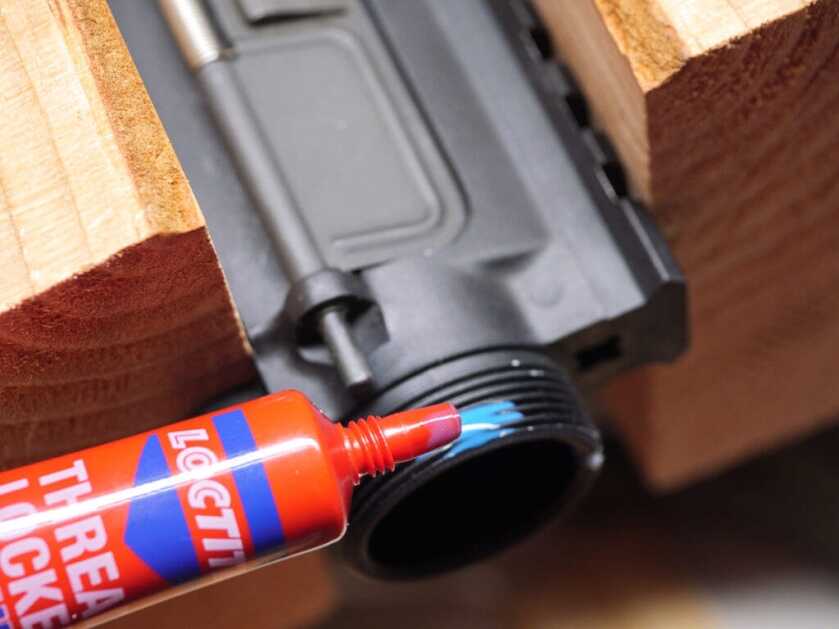
This step is not totally necessary, but it will help keep the holes aligned when you secure the castle nut. Unscrew the nut and add a drop of blue Loctite to the threads (Loctite comes in different colors for different uses–blue can be more easily removed for service later). Tighten the nut back into place so the gas port holes align. Allow the Loctite to dry for at least a couple of hours, maybe even a whole day.
Attach Barrel
Now you can attach the barrel with the castle nut. Remember, the barrel has a key peg on the top that aligns with a slot in the upper receiver. Put it in place and slide the castle nut down into place. I applied another drop of Loctite, but it’s probably not necessary.
It’s important that you keep the gas port holes aligned. Use a punch or an Allen wrench in the holes to keep them aligned as you torque the castle nut on.
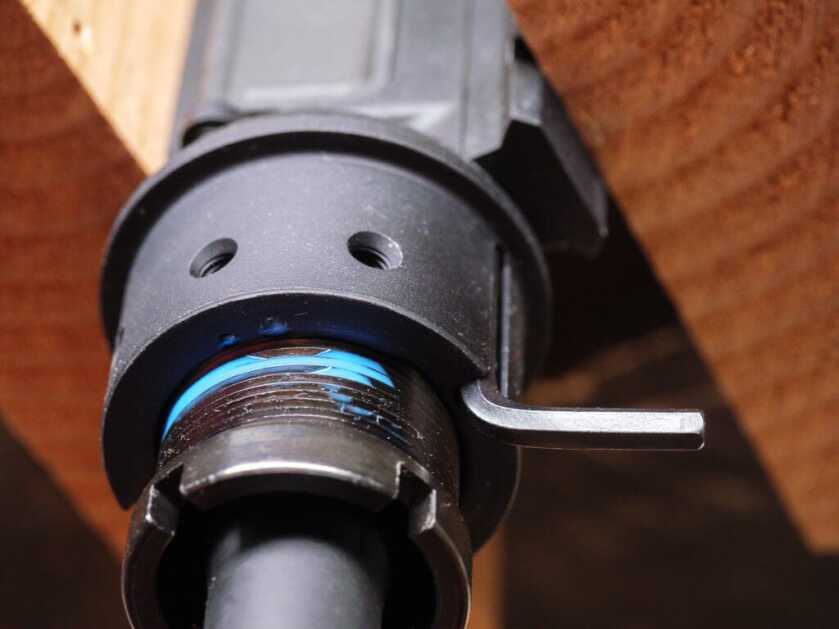
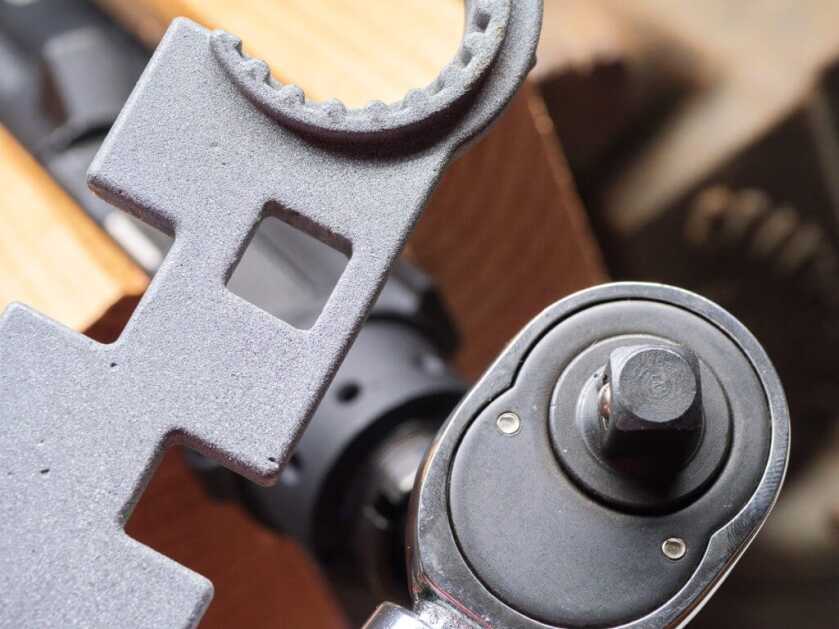
Use the armorer’s wrench to tighten the castle nut. There’s a square hole in the wrench for a torque wrench. Check with your owner’s manual, but most barrels are torqued somewhere between 30 and 80 ft-lbs. The range of torque allows you to twist until the gas ports align in some designs.
Attach Gas Block
Now put the gas block and gas tube back in place. Remember, if your gas block attaches with pins, push them from the left side to the right.
Attach Handguard
Now slide the handguard over the barrel and align the holes on the barrel nut. Unique-ARs’ handguard comes with Allen screws and a small Allen wrench. Put the screws in loosely to align all the holes then tighten them starting with one, then tightening the one opposite, like a car wheel. The screws have thread locker applied, so you don’t need to crank down really hard on the screws.
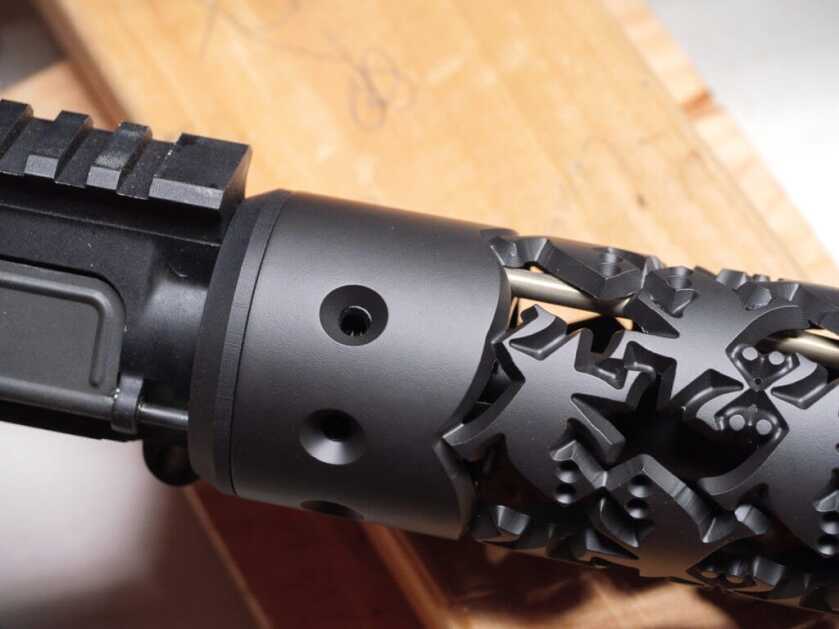
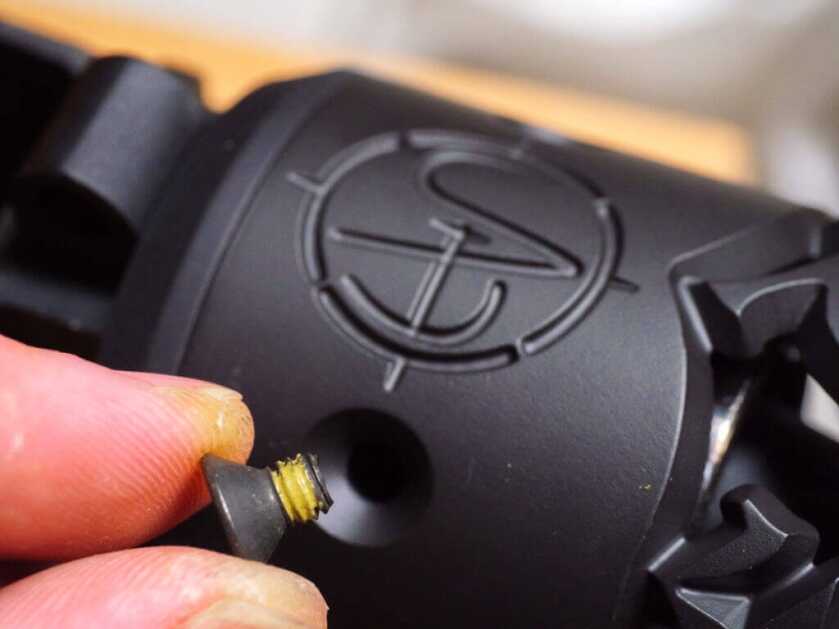
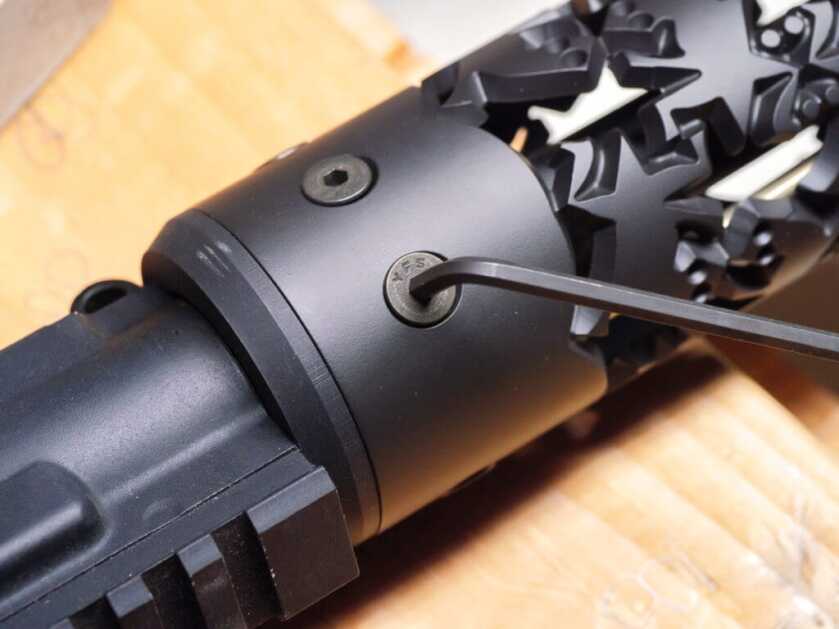
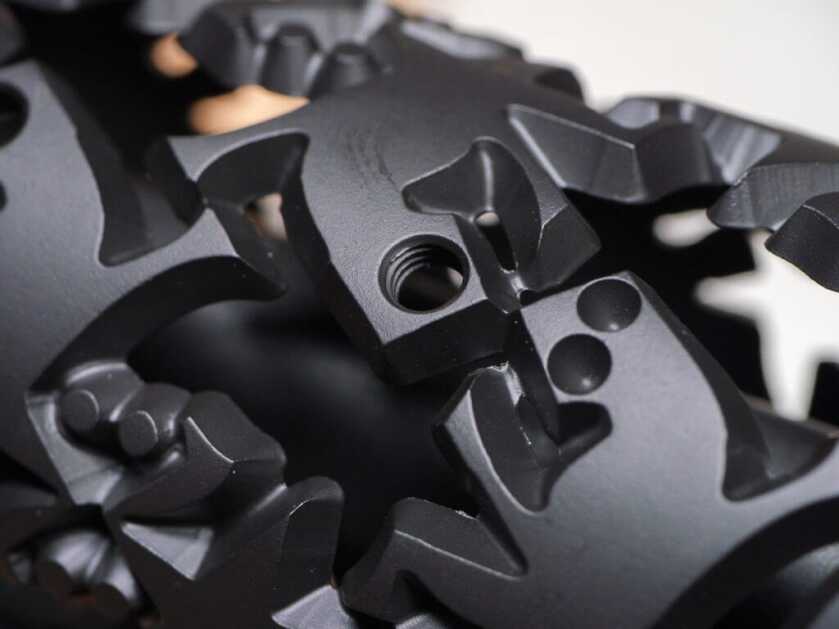
Unique ARs’ handguards have threaded holes for attaching accessories. Orient these holes to fit your needs.
Attach Muzzle Device
Reattach the muzzle device and pay attention to the timing so the ports align properly.
Go Shoot!
After you reattach the lower receiver, you’re done! You’ll need to zero your optics at the range, but you’ve got your new handguard in place and you’re ready to rock. I like the well-machined feel of the handguard I put on my rifle. It is so well-made that it feels almost soft and is extremely grip-able.
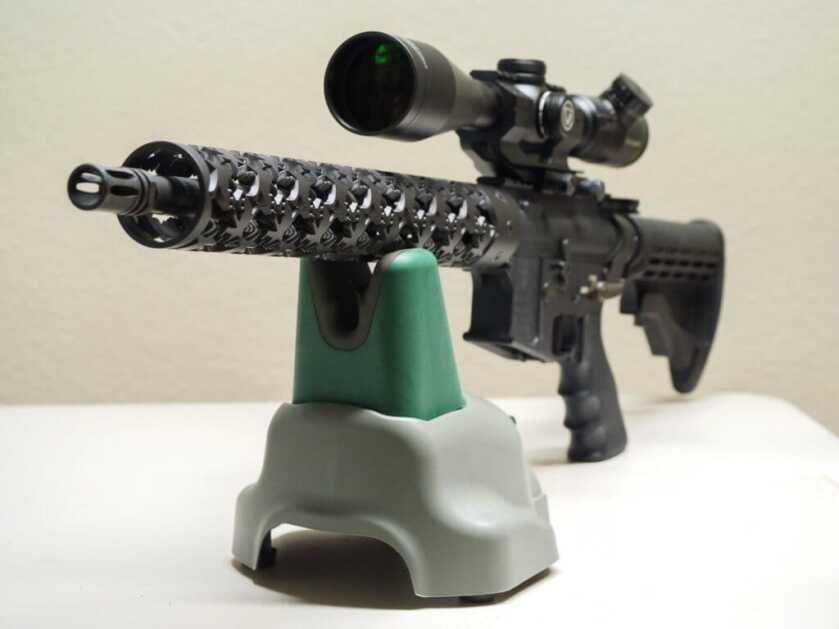
Once I got my old handguard off, I was surprised to find that it and the Unique ARs both weigh 10.2 ounces. Those Pic rails on my shorty really added up. Also, the weight of the Unique ARs is dependent on the design and how much material is removed. Your mileage may vary.
The most important thing is to get out there and put some lead downrange. Practice and become proficient with your new tools.

The standard “armorer’s wrench” only fits the teeth of the milspec barrel nut. A special wrench for the new free float nut may be required. As for torque, the spec is to get it past 30# but not to exceed 80# to prevent stripping the threads on the upper, which ruins it. The intent is to get the gas tube hole lined up somewhere in that range – it’s NOT a very specific number.
I’ve tightened a milspec nut with teeth using a pair of 16″ channel locks. Yes, it scratched up some teeth. No, you can’t even see it. Having tightened lug nuts for a living by hand as a AAA wrecker guy, you get the feel for what 85 ft pounds on a lug nut is after a few hundred of them in a month. It’s not rocket surgery despite the protests of overwrought posters on line.
Thread locker? OMG, or, why not? Another flame war online is what grease to use to lube the barrel nut, and in this case, I’m not sure threadlocker is wrong. It WILL be harder to disassemble – which, if you are tinkering with AR’s, will happen. If the free float has smaller screws holding it on, definitely use it.
Having used vice blocks to hold uppers as I assembled them, I finally relented and bought a set of AR upper blocks, and they flat out work right the first time. They sandwich the upper, holding it correctly, leaving no marks, which I cant say for wood, aluminum, or the worst choice, those rubbery ones that squeeze over and let the upper go. I used the generic ones with the upper sideways – one block on the pic rail, the other on the mag feed side, and still wonder how I got a barrel nut installed at all – but I was using channel locks, so it was all hillbilly all the time. It worked. Just don’t – get some polycarbonate upper blocks and that “was never issued” armorer’s wrench. I still use taped vice grips to install roll pins, tho, just get the thin spring rolled ones, not the heavy steel walled kind as they are a definite hassle. Beating pins into tight holes while compressing the single wall is a recipe for damage worse than the 1911 “idiot scratch.”
Free floats have some advantages – they will reduce sighting errors caused by slings or support moving the barrel off the mark. They are also cold in winter hunting, and the one I have rings like a bell when brush rub on it. I’ve added some camo stretch tape to cut down noise. Using clip in handguards is still done, and works, just don’t sling up tight when aiming – and with optics these days, works fine. Getting them off and on is made more of than it should be – we have to remove them every time we cleaned our issue rifles, guess what immediately stopped when the M5 got a free float? Nobody is allowed to remove it – Art 15 if you do, like disassembling the trigger. Never gets cleaned much under there now. I have figured out a way to use paracord and some long screwdrivers to lever down the delta ring but these days nobody cares anymore.
Yeah, MOST definately ‘Anti Seize’, not loctite…but to each his own. It’s good to read other people’s take on how they ‘smith their own AR’s, or any arms for that matter. Nothing personal but THAT handguard!?
Dude, Did you put locktite on your barrel nut!? I use anti seize as I may want to swap handguards or a barrel one day. Not sure anybody should be following your instructions but hey what do I know….
Torque Correctly! Lets say the Torque spec is 40 FTLB.
If you use a 18 inch TQ wrench and the TQ wrench drive point is 3 inches from the center of the nut AND you use the TQ wrench in-line with the Armorors Wrench: you will over torque the nut by 6 FTLB! You can look up formulas to calculate above variables of torque wrench adapters and get the correct torgue value.
The simple way is to insert the torque wrench drive into the Armorer’s Wrench at a 90 degrees offset from the center line of Armorer’s Wrench: Torque as specified to 40 FTLB. At 90 degrees, the distance between nut and drive point does not matter.
Don’t over screw the pooch!
Brownell’s says as close to 30 without going under as you can. The last two AR’s i disassembled, one had a nut so tight I had to hang on the breaker bar to loosen it. The other one was so loose I unscrewed it with my fingers. Both were from the same manufacturer’s facility. Neither ran right and I stripped the uppers and reassembled them at 30-35 ft. lbs on new Les Baer stripped flat top upper receivers. 100% reliable ever since.