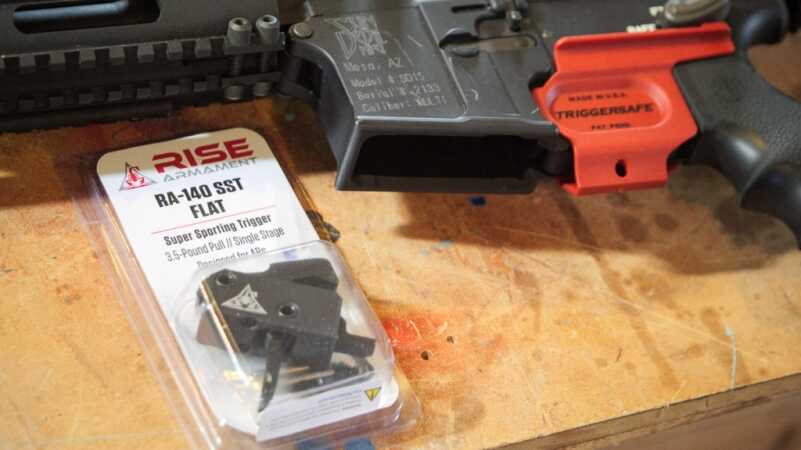
Upgrading your AR’s trigger is the simplest and most impactful change you can make to your AR. I’m using a RISE Armament drop-in assembly.
Upgrading your trigger is the most impactful change you can make to your AR. There are all kinds of cool furniture upgrades, scopes, sights, etc. But if you want to be more accurate and shoot better, then trigger work is the thing to do–and it’s not that costly. A drop-in trigger assembly is easy to install and can be done at home with a screwdriver and a little oil.
Choose a Trigger
Many manufacturers offer drop-in trigger assemblies. You can pick and choose features and weights. Look for things like singe- or two-stage triggers, the weight of pull, and the shape of the bow (curved, flat, roller). I’ll show you how to do this using a trigger from RISE Armament, the RA-140 Flat Super Sporting Trigger, which they sent me for review. It’s a good option, with a mild price-tag (MSRP $139) and it’s a significant upgrade to the mil-spec trigger assembly I had before.
The RA-140 includes anti-walk pins, and whatever trigger you choose is going to need them, too, so be sure to buy them or get them included. I’ll explain why below.
1. Remove the Upper Receiver
Clear the gun and remove the upper receiver. It’s simple to do and may not require a tool. First, with the left side of the weapon up, push the takedown pin through, then tilt the upper forward and push the pivot pin through. Both of these pins are kept in place with a detent and won’t fall out.
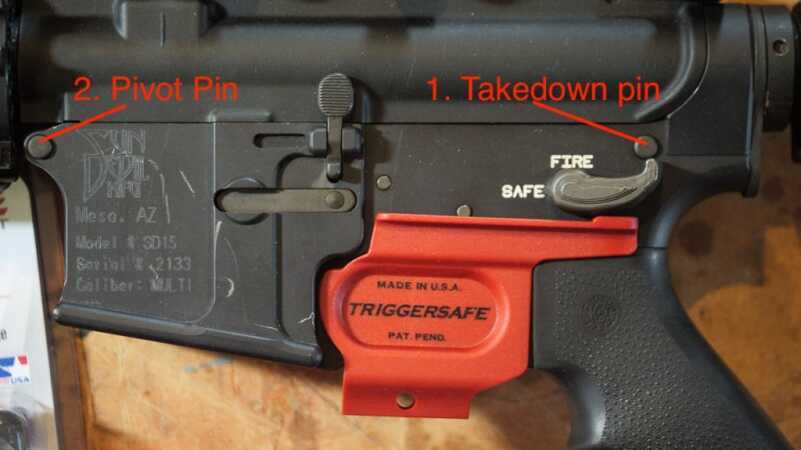
First, push the takedown pin through, then tilt the upper forward and push the pivot pin through. Don’t worry, the pins won’t fall out.
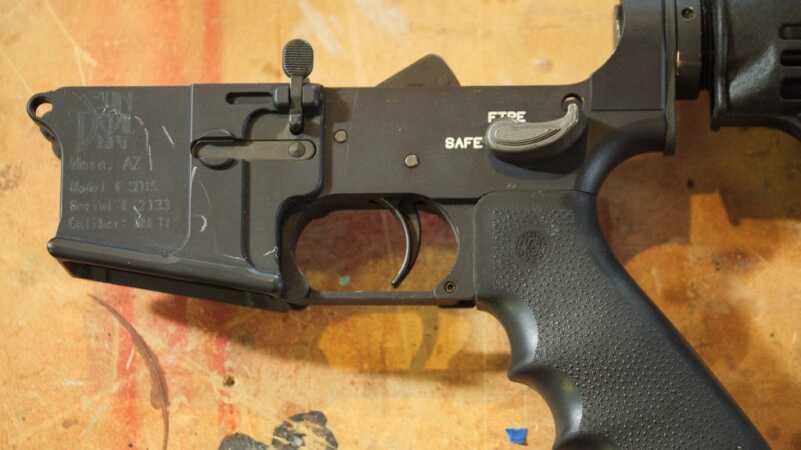
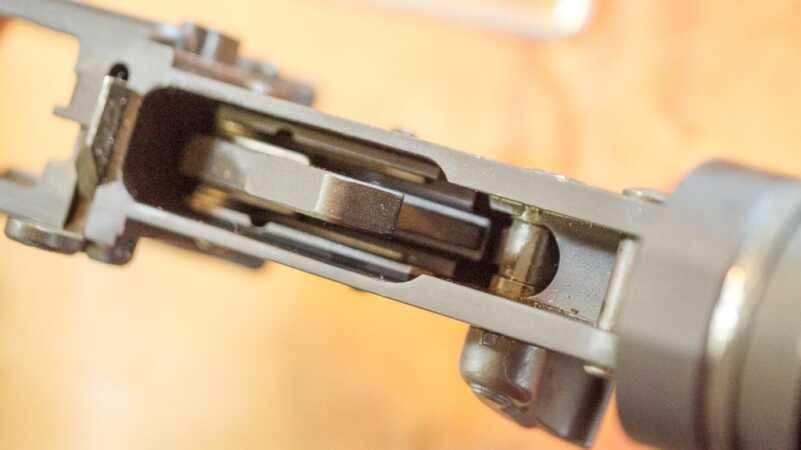
With the upper removed, you can see the trigger hammer. It’s cocked in this picture–don’t let it slam forward against the bolt release.
2. Remove the Grip and Safety Switch
Now, look up inside the grip from underneath and you’ll see a hex-head screw–it’s probably a 3/16″ hex. Remove this screw, and don’t lose the washer.
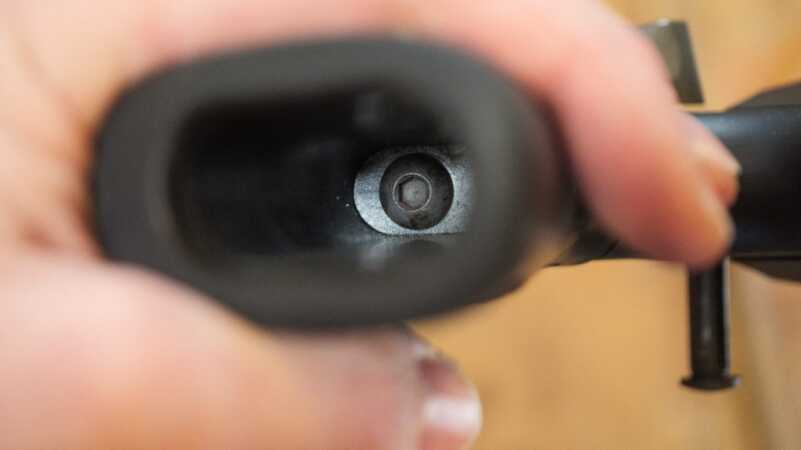
Use a 3/16″ Allen wrench and remove the screw from inside the grip. Yours probably has a washer, too.
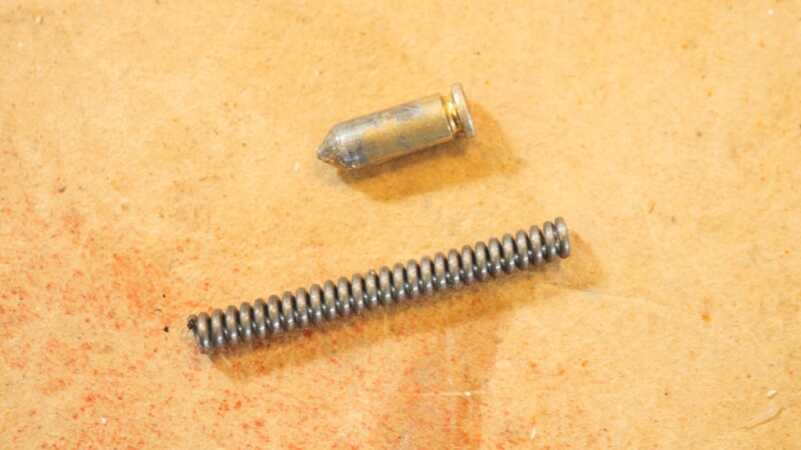
Separate the grip from the lower receiver, but be careful not to lose the spring and detent that are on the right side of the weapon. The detent keeps the safety switch in position, and the spring allows it to click back and forth.
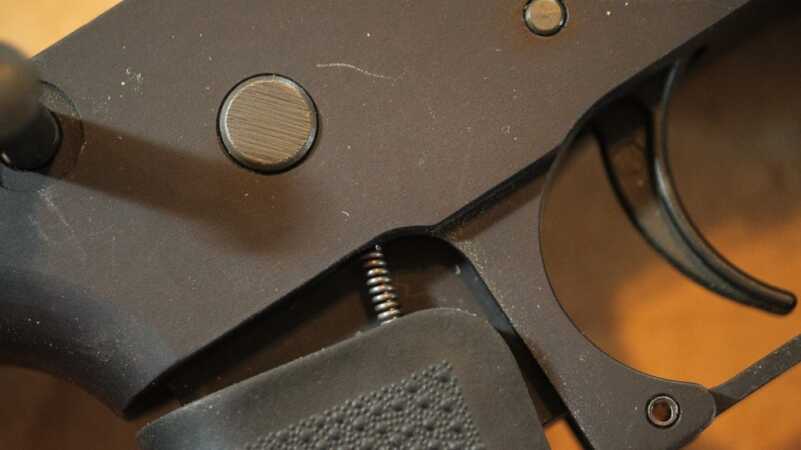
Remove the grip, but don’t lose the spring and detent on the right side of the weapon. These keep the safety switch in position.
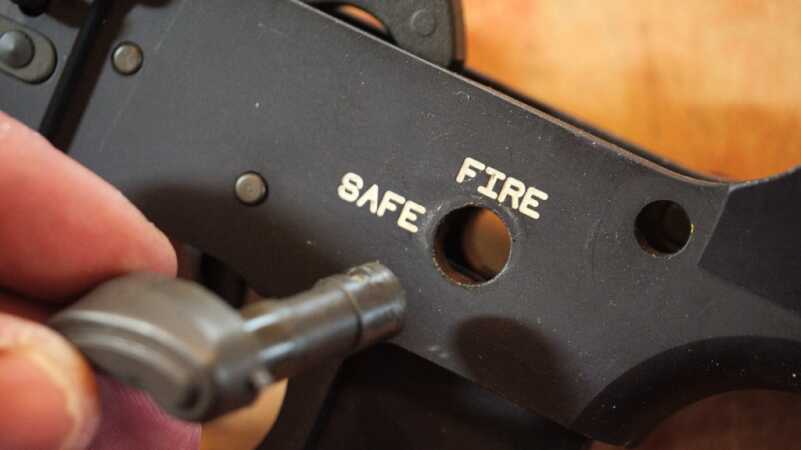
Now just pull the safety switch out.
3. Push the Trigger Pins Out
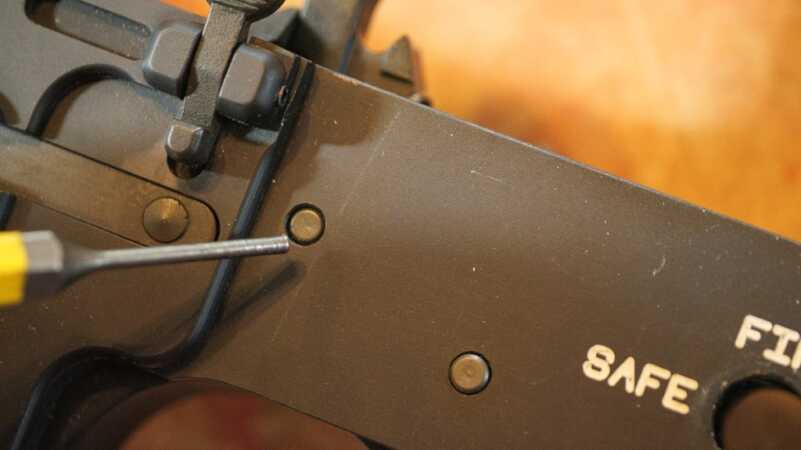
With the left side of the weapon up, push the trigger pins through. These are a little stiff at first, but they don’t take too much force. You can use a punch to push them or a screwdriver, or even a pencil with a broken lead.
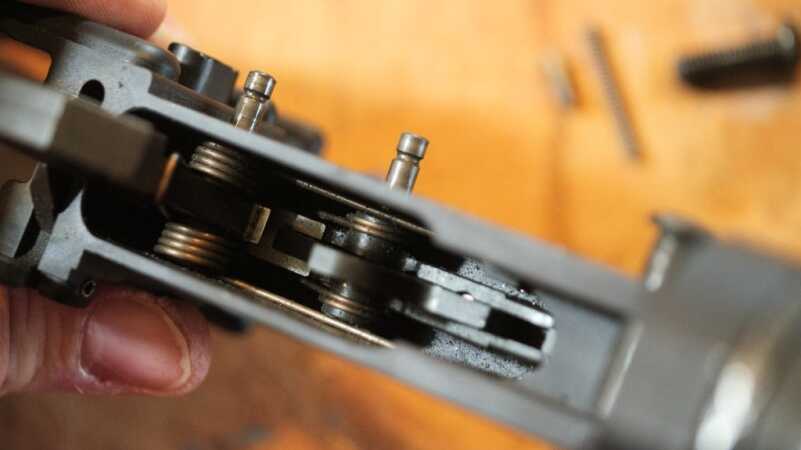
You’ve got to push from left to right because the pins are held in place by grooves which the trigger spring is set into. Before you finish pushing the pins through, put your thumb over the trigger assembly to keep it from flying apart when you remove the pins. Remove the mil-spec trigger assembly.
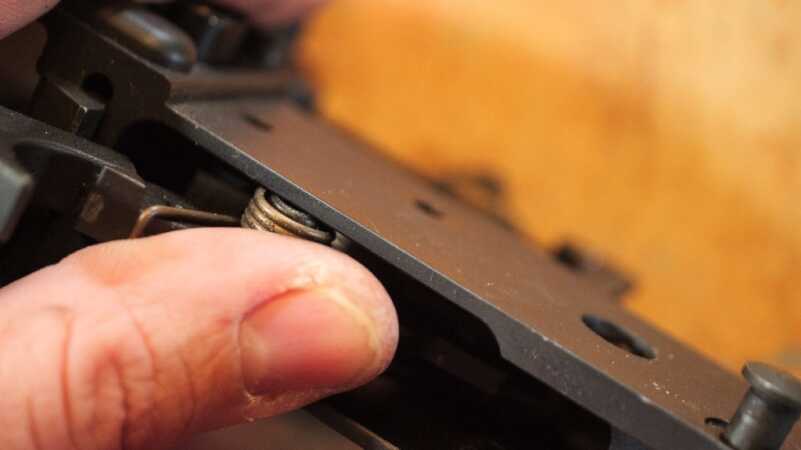
Put your thumb over the trigger assembly to keep it from flying across the room when you remove the pins.
This Is Why You Need Anti-Walk Pins
Those grooves on the trigger pins have a spring set against them and that tension keeps the pins from falling out of the receiver. With a drop-in assembly, there isn’t a spring pushing against those pins to keep them in place, only their tight fit inside the gun. Anti-walk pins have screws that cap the ends of the pins to keep them in place.
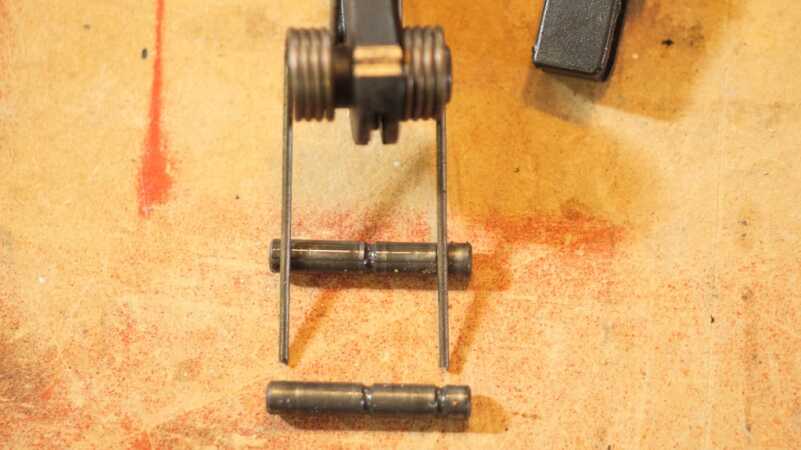
Spring tension keeps the mil-spec pins from moving, but there is no tension with a drop-in assembly. Make sure you get Anti-Walk pins with your drop-in trigger.
4. Drop-in and Pin the New Trigger
Now you just need to drop in the new trigger assembly and pin it in place. Take a moment to clean the housing of any grit and excess oil. The trigger assembly may fit pretty tightly. My Sun Devil Mfg. receiver is machined from an aluminum billet, and it’s precisely shaped. The trigger assembly is also machined to a precise fit, and I had to add a little oil and coax it with light tapping to get it lined up so I could insert the trigger pins. It may be a little easier on stamped receivers, and take care with polymer receivers. But, the trigger fits snugly and there is no play between the receiver and the trigger assembly.
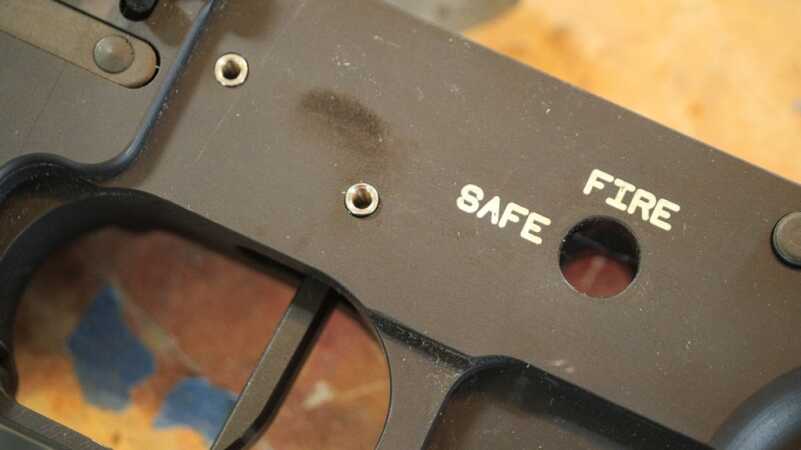
Drop in the trigger assembly and pin it in place. You may need to add a little oil to and use some light tapping to get the assembly to line up.
5. Install the Anti-Walk Pins
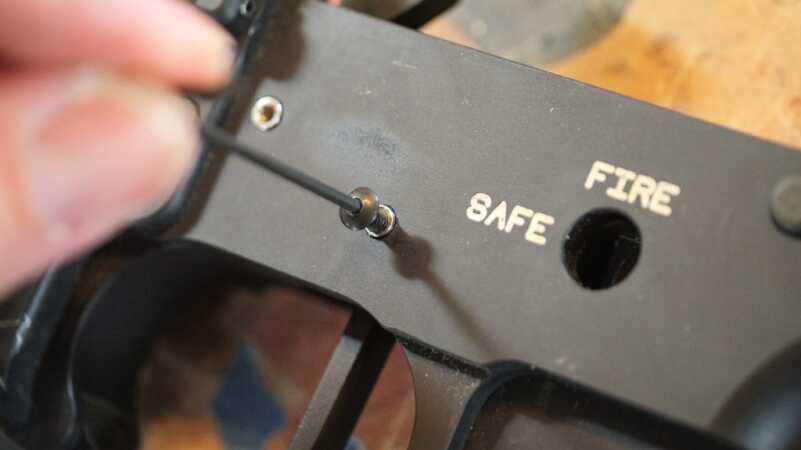
Remember to use the screws to keep the trigger pins from walking out. The screws are just caps, and they overhang on both sides of the pins so they go one way or the other. They do not tighten against the receiver, and that’s normal–they shouldn’t apply any squeezing pressure to the receiver.
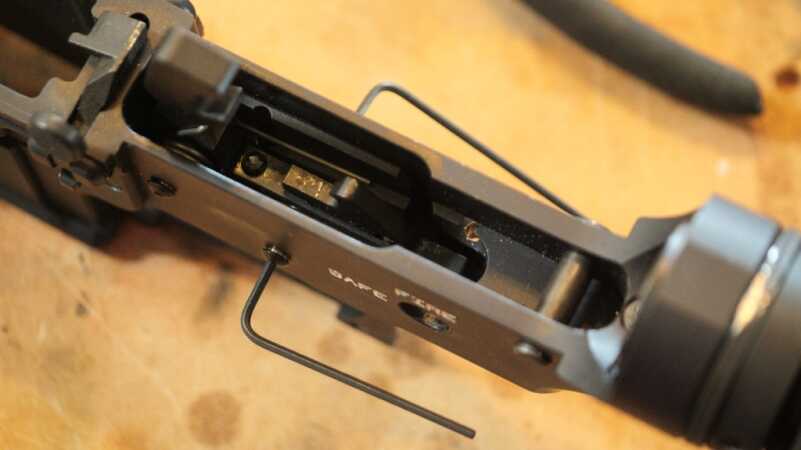
Use two wrenches to tighten both sides at the same time and note that the screws don’t tighten against the body of the receiver. My trigger included the wrenches.
6. Replace the Safety and Grip
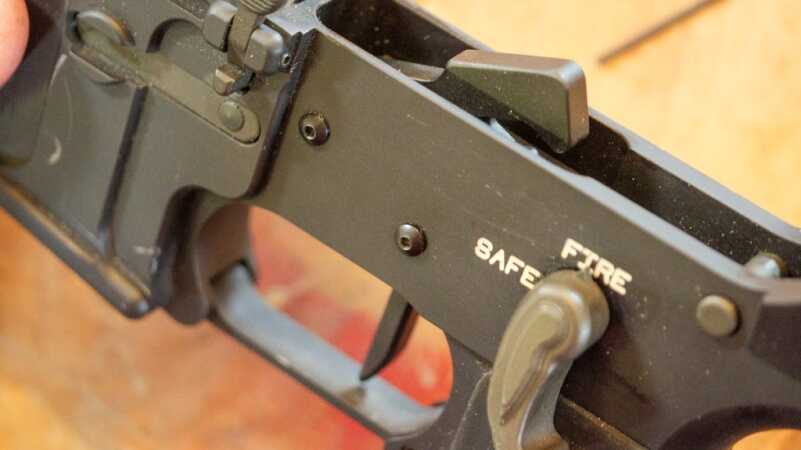
Put the safety detent back inside the right side of the weapon and see how it keeps the safety switch in place. Press it down flush with the hole for the switch and put the switch in place. Make sure the switch is either in the Safe or Fire position so the detent will line up.
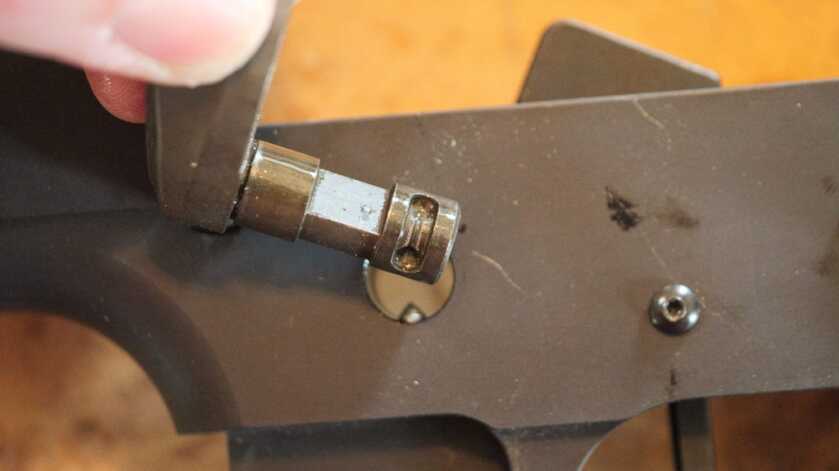
Now put the spring back into the hole in the grip and line it up with the detent hole. Put the grip back in place and secure with the grip screw.
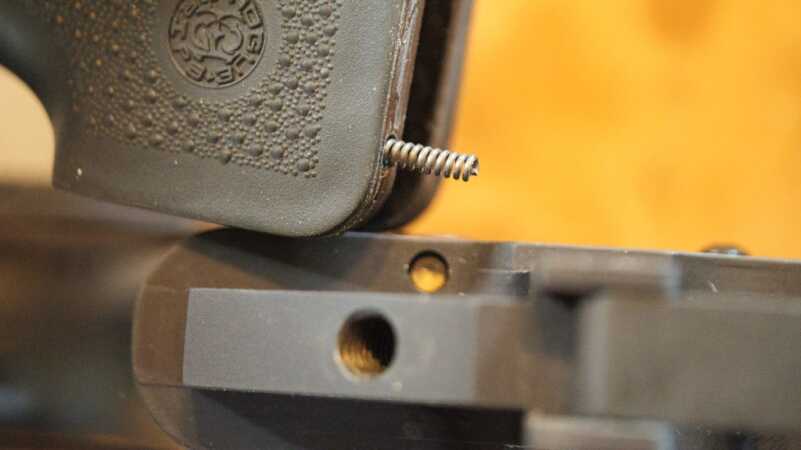
Put the spring back in the grip and line it up to fit back into the detent hole. Secure the grip back in place with the grip screw.
Go Shoot!
The new trigger should be lighter and tighter and you need to get used to it. Get out there and start shooting. I bet your groups are tighter and you’re more precise overall. At just 3.5 pounds, I like the feel of this new RISE Armament trigger, and I’ll have a complete review for you soon. Whatever you choose, your new trigger should be a big improvement over the 7-10 pound mil-spec trigger assembly and, as mentioned, it’s the best upgrade you can make for your rifle!

What is the longer Allen wrench on the back of the package used for? It does not fit the anti-walk pins?
Great article but you forgot the final and most important step, which is to tighten the 2 set screws down until they are snug against the bottom of the lower receiver. That is what puts tension on your pins.
i just bought this trigger and am a novice. I havent opened the package yet from the rise armament video i thought the set screws were only if using conventional pins? so the set screws are easy to identify? Thank you for this great article in my opinion it is better than the manufactures video! great detail about detent and spring i was concerned about that because i did not understand it by the video.
Very nice. Love seeing the TriggerSafe on the rifle. It also helps to protect that nice new trigger from unwanted side impacts during transport and storage. Thank you.
Helpful hint. Using threadlocker(222 Is my go-to) install one of the anti-walk screws in to the pin before inserting. It prevents accidently rolling the end or marring the threads of the pin while tapping it in to place. It also prevents overinsertion.
“Stamped”? Is this what high brow sophisticated billet receiver manufacturers call our forged receivers?
My mistake! I should have said forged.