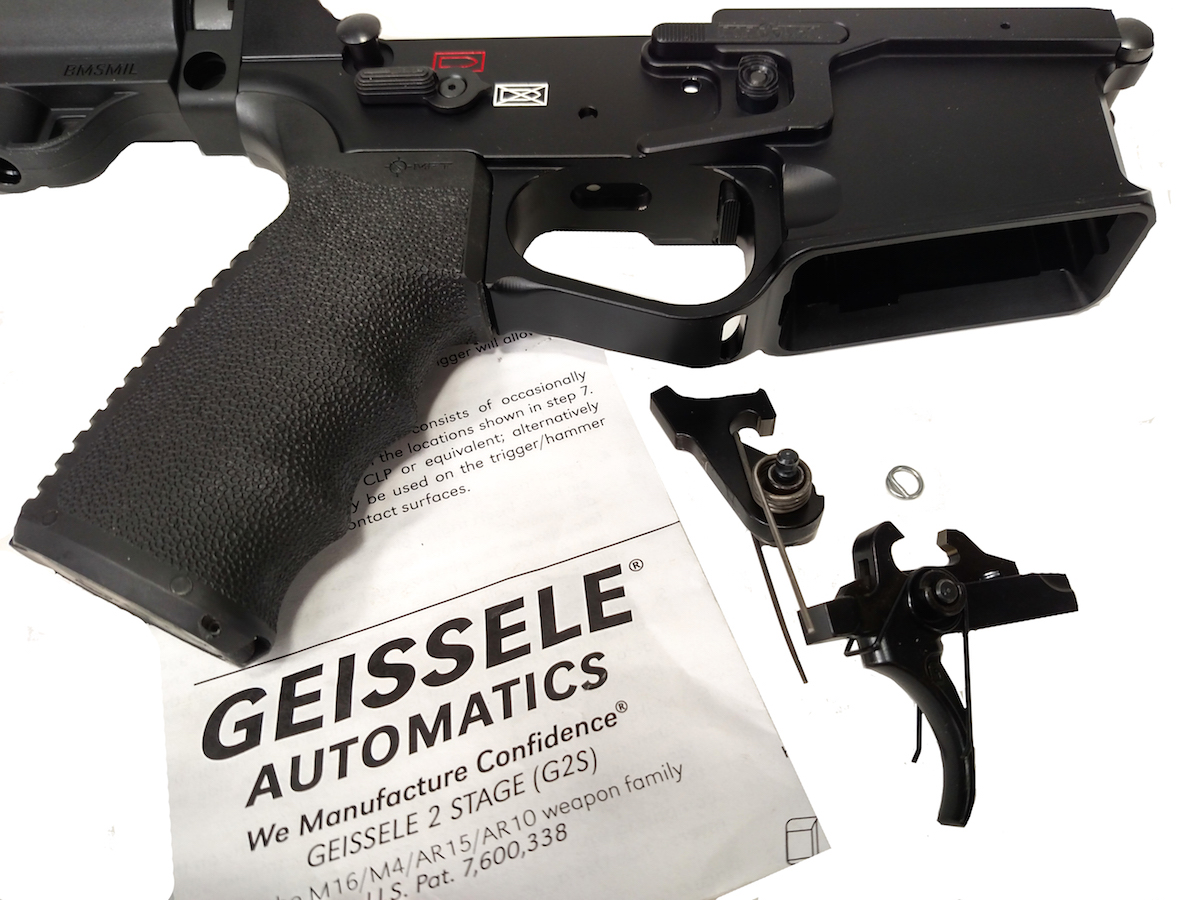
The Geissele G2S two-stage trigger is a great option for those looking for an affordable and easy way to upgrade the performance of their AR rifle.
To purchase the Geissele G2S trigger from Midsouth Shooters, click this link: Geissele G2S $165.
To enter the Midsouth Shooters’ GunsAmerica Giveaway contest, click this link: https://www.midsouthshooterssupply.com/landingpages/gunsamericagiveaway.aspx.
One of the most commonly replaced items on modern AR-15 rifles today is the trigger. The inclusion of “Mil-Spec” triggers may impress some, but to serious shooters the need for better triggers is a must. One of the most popular replacement triggers on the market comes from the good folks at Geissele. They have been building some of the best triggers available since 2004 and show no signs of letting up, and one of their more popular (and affordable, priced at $165) triggers is the G2S.
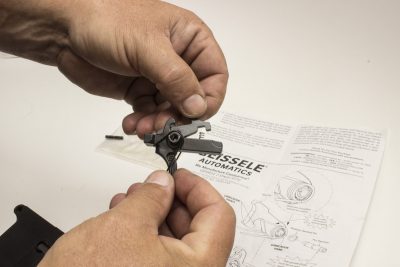
Priced at $165 and available from Midsouth Shooters, the G2S is reasonably simple to install by shooters familiar with the AR design.
I recently had the opportunity to test a G2S that I acquired from Midsouth Shooters. The Geissele 2 Stage (G2S) is a precision 4.5-pound, non-adjustable combat trigger that allows precise and accurate trigger control. It is a well-made precision component machined from a casting that is then “super-finished” in the same fashion as used on aircraft transmission gears. According to the company, the sear surfaces are wire EDM cut within an incredible half a thousandths of an inch. All of the trigger parts are deburred by hand then cryogenically treated. Following a final thorough visual inspection, triggers are packed up and sent off to their new homes.
A solid design allows the G2S to provide a smooth take up and crisp break. Unlike some other aftermarket triggers, the G2S is still suitable for duty rifles with its 4.5-pound pull. This not a varmint rifle trigger, but rather a good two-stage unit for a practical use rifle. Many law enforcement agencies are not fans of super light triggers, so the G2S is a great solution. For the same reason, civilian shooters should also find it appealing. In range testing of my test unit, I found the trigger to be lightyears ahead of general duty triggers. The Geissele provided a consistent smooth action with a clean break and reset. At no time did I have to worry about breaking shots early because of a light trigger. It has what I believe to be a great balance between pull and performance. In many cases the trigger is the weak link in regards to a rifle’s accuracy. The inclusion of a well-made professional trigger eliminates the wrestling match that occurs with many stock triggers. By replacing their trigger with a G2S, end users can expect to improve their group size and overall shooting.
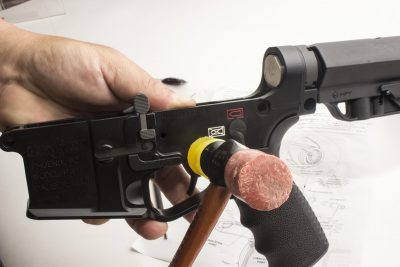
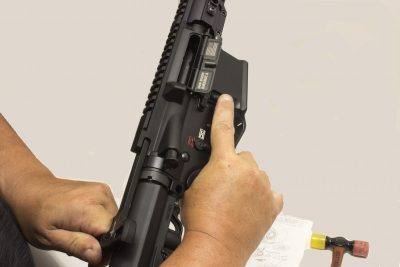
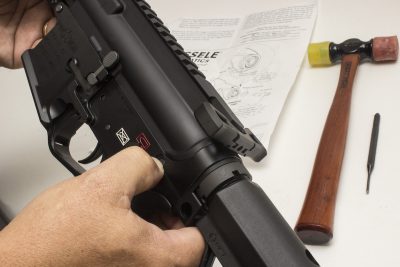
Installation of the G2S is straightforward, and it includes all the parts you need—short of a punch and a mallet.
So, do you have to be a gunsmith to install it? In a word, “no.” If you have a working knowledge of the AR-15 rifle, you can easily install the G2S. The trigger comes complete with all the needed pins and springs. In reality, the only things you will need for installation is a punch and possibly a light soft-surface mallet. While bench blocks and work stations are handy, they are not ultimately required for putting your new trigger in if you do not have them (and do not want to make that investment). A clear, clean surface and good lighting will round out your installation requirements. On a special note, Geissele includes a unique locking device that installs on the hammer. This design keeps the hammer pin from walking out during heavy use without the need for aftermarket pin retention devices. See below for full, step-by-step installation guide.
As part of my testing after installation, I found the G2S to have a very clean break and smooth reset. The comparison of a Geissele trigger to a stock trigger is like comparing a high-performance car to a Ford Pinto. One of the biggest challenges I see in shooters is trigger manipulation. Unless a company makes an effort to focus on the trigger, the one they include is often more focused on cost than performance.
The painful truth is that we can’t all afford a $3,000-plus precision AR-15. What we can do is invest in a solid rifle and take the first step to improve accuracy by installing a Geissele G2S. It is one of the best general-use precision triggers available in my opinion. I say general use because it can be used by everyone from recreational shooters to police officers. Our time and cash are valuable and we need to make sure modifications are worth it. The G2S is definitely worth it if you ask me!
MIDSOUTH SHOOTERS’ GUNSAMERICA GIVEAWAY
 Midsouth Shooters is a great resource for products like the above pieces at great prices. The company is offering you the chance to win one of the items covered in this and future GunsAmerica articles on Midsouth’s products. Just click the link, and gain tons of entries right up until the giveaway scheduled for 11-23-16. In addition, you can receive a free copy of the 240-page Reloading and Shooting Supply catalog from Midsouth Shooters! For more than 45 years, Midsouth Shooters has provided reloaders and shooters top-quality supplies and great prices. Click on the link and sign up to receive your free copy. See why so many shooters across the country shop at Midsouth Shooters.
To enter the Midsouth Shooters’ GunsAmerica Giveaway contest, click this link: https://www.midsouthshooterssupply.com/landingpages/gunsamericagiveaway.aspx.
To purchase the Geissele G2S trigger, click this link: Geissele G2S $165.
INSTALLATION INSTRUCTIONS
[one_half]
[/one_half]
[one_half_last]
[/one_half_last]
[one_half]
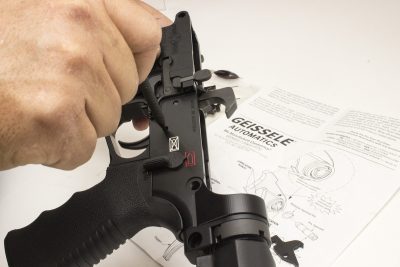
STEP 3: Remove existing trigger assembly and clean receiver. Note: It is not necessary to remove the safety selector, however, the safety selector must be in the FIRE position so the G2S will fit underneath the safety selector.
[/one_half]
[one_half_last]
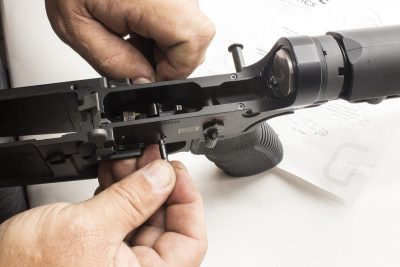
STEP 4: Install trigger into rifle. Align trigger pin bore with receiver pin holes. Insert trigger pin into receiver, through trigger disconnector, and into the receiver on opposite side. Do not force the pin. The pin is a slide fit into the receiver, trigger and disconnector. If the various components are not aligned, manually align them when looking through the opposite side of the pin hole.
[/one_half_last]
[one_half]
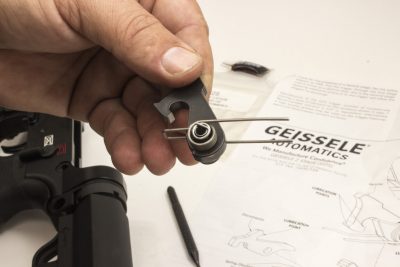
STEP 5: Install hammer pin retainer onto cutout on right side of hammer. Make sure the hammer spring is installed correctly on the hammer. The spring legs are toward the hammer strike face and away from hammer sear. It is possible to install the hammer spring backwards so this must be checked by comparing with the picture of the hammer spring in the instructions.
[/one_half]
[one_half_last]
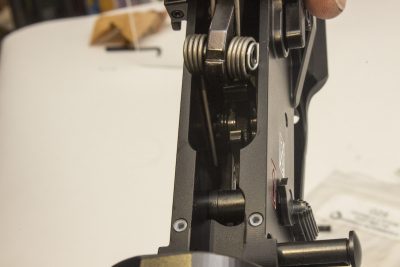
STEP 6: Install hammer into receiver with hammer spring legs on top of the trigger pin. Insert hammer pin into receiver, through hammer, and into receiver on opposite side. The end groove on the hammer pin must be on the right side of the weapon (magazine release side). The hammer pin retainer will snap into the side groove in the hammer pin keeping the hammer pin in place.
[/one_half_last]
[one_half]
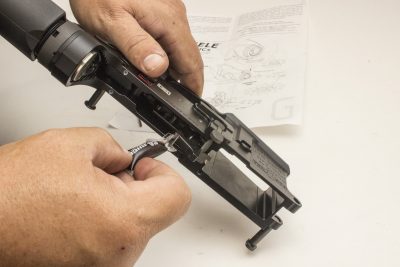
STEP 7: Apply a small amount of lubricant on the following locations: Each side of the disconnector, above the trigger pin, hammer and trigger sears, face of the disconnector, hammer tail where it contacts the disconnector, and the top of each side of the hammer spring where the spring contacts the receiver wall.
[/one_half]
[one_half_last]
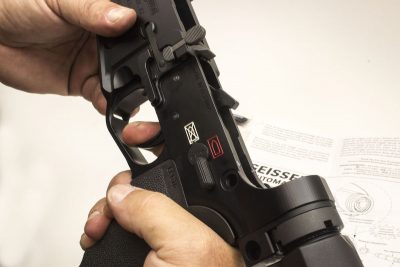
STEP 8: Check safety operation: With the hammer cocked and the safety selector set to the SAFE position, pull the trigger hard. The hammer should not fall.
[/one_half_last]
[one_half]
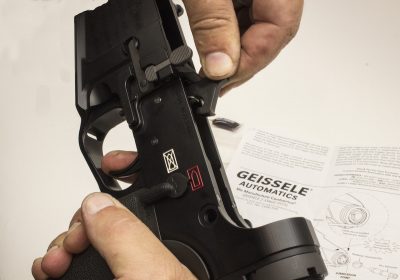
STEP 9: Check trigger reset: Set safety selector to FIRE. Dry fire weapon and keep trigger held back. Reset the hammer and it should not fall. Release trigger. Hammer should stay locked in position and not fall forward.
[/one_half]
[one_half_last]
[/one_half_last]



Easy to install
a good trigger is a must for accuracy
I Purchased one of these fine triggers from Brownells for one of my AR-15s. Installation was a breeze, until I got to the last part of aligning pin for the hammer. A trick I learned from many frustrated attempts was to merely cock the hammer and the pin slid home very easily. As for the performance, you can not beat this 2 stage trigger. I would recommend it to everyone, a super product from a man who knows AR’s. many thanks, Larry Williams.
Stopped reading here:
“The Geissele 2 Stage (G2S) is a precision 4.5-pound, non-adjustable combat trigger”
How many of these are already on the market?
I want to see a trigger that makes the SD3G look bad.